
What is HTML Element in Popupsmart?
The HTML Element lets you place custom HTML, CSS, and JavaScript directly inside your popup. It’s designed for cases where you want to embed a third-party widget (like a scheduler or form) or build a custom layout that isn’t available through native Popupsmart elements.
⚠️ Security note: Any JavaScript you add here will run on your website. Only paste code from sources you trust.
When to Use the HTML Element
Use the HTML Element when you need:
- A third-party embed (scheduler, form, chat, review widget, etc.)
- A custom layout built with HTML/CSS
- A snippet from another platform that requires script tags
- Device-specific embeds (different markup for desktop vs mobile)
Step-by-step: Add HTML to Your Popup
1. Add the HTML Element to your popup
- Open your popup in the Customize view.
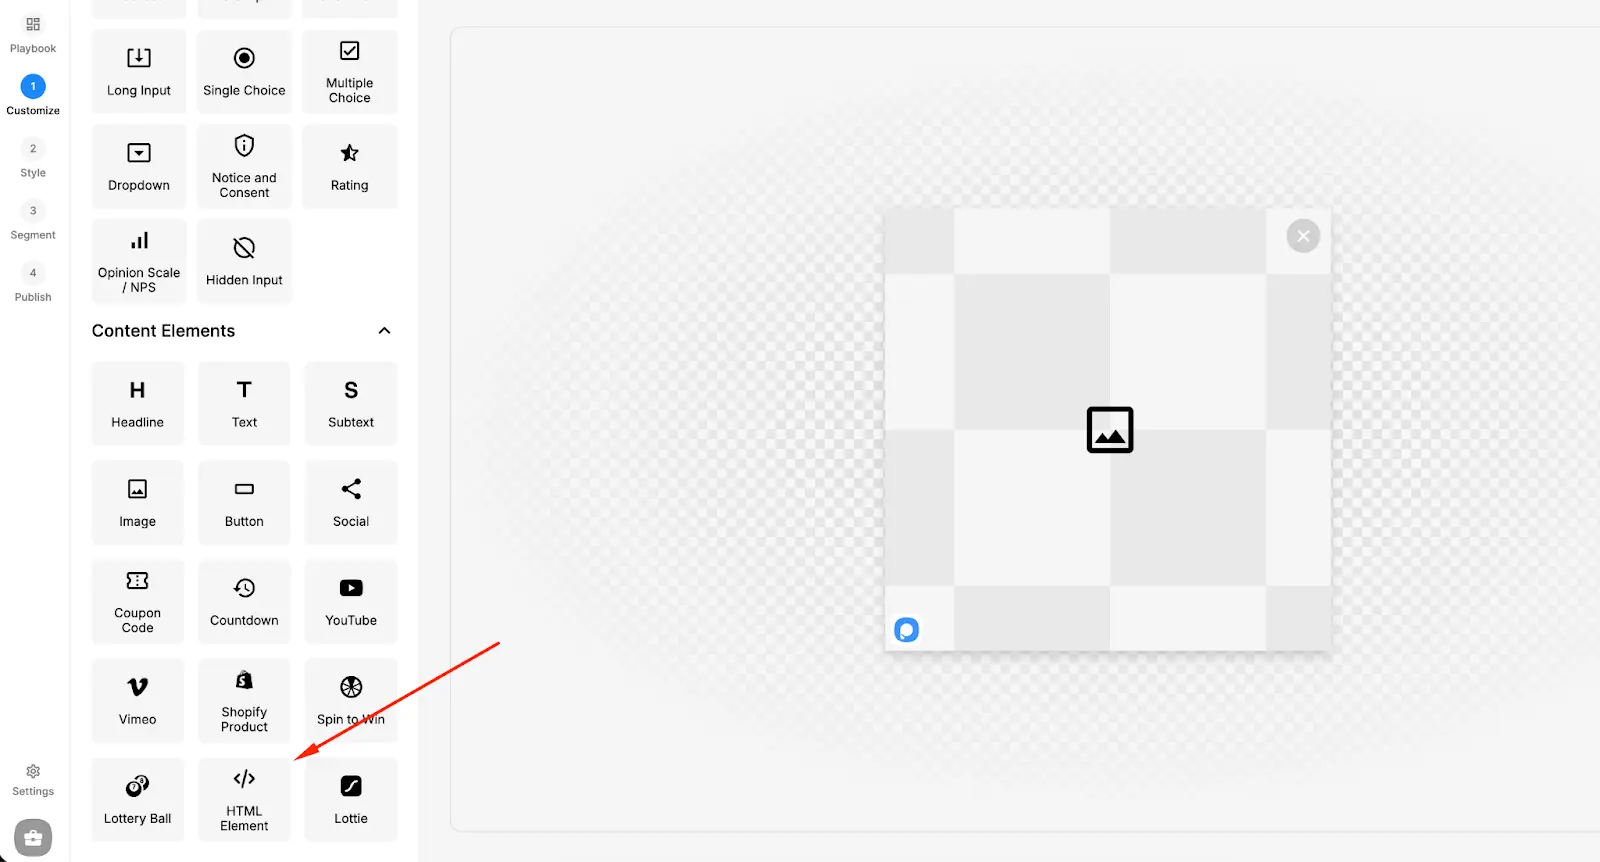
- Find the Content Elements list.
- Select HTML Element to add it to your popup canvas.
Once added, the element appears as a block in your popup that you can click to edit.
2. Open the HTML Editor
- Click the HTML Element on the canvas.
- Click HTML Editor.
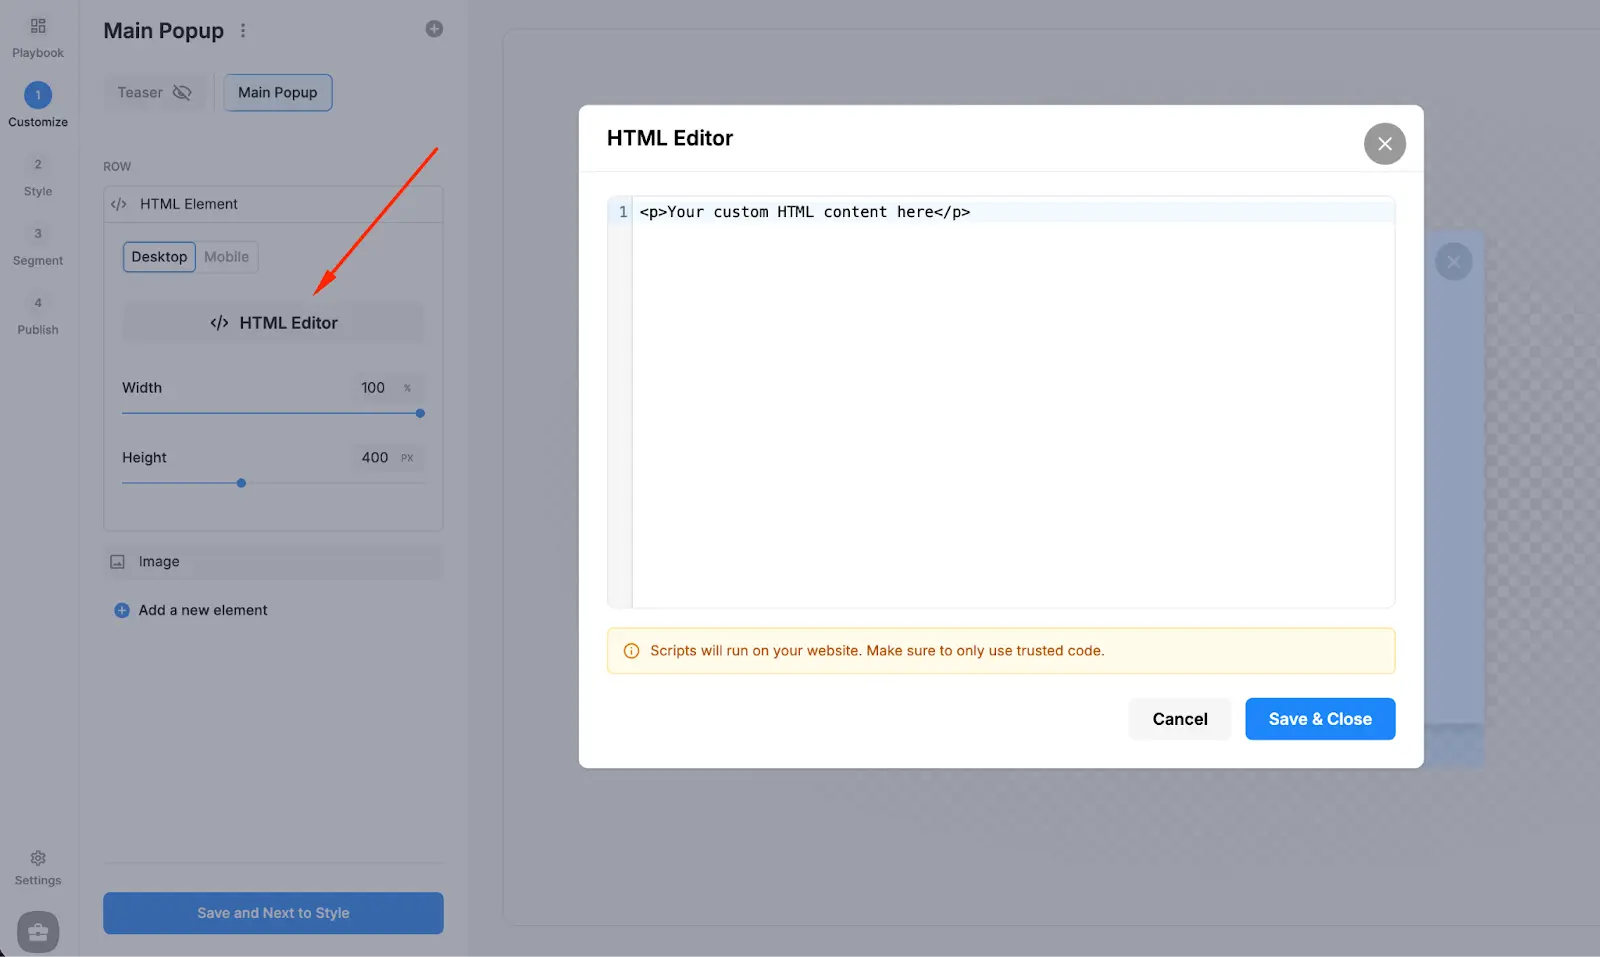
This opens the editor modal where you can paste and manage your code.
3. Paste your HTML (and optional CSS/JS)
Paste your code into the editor field.
You can typically include:
- HTML markup (divs, headings, buttons, etc.)
- Inline CSS (style attributes or <style> blocks)
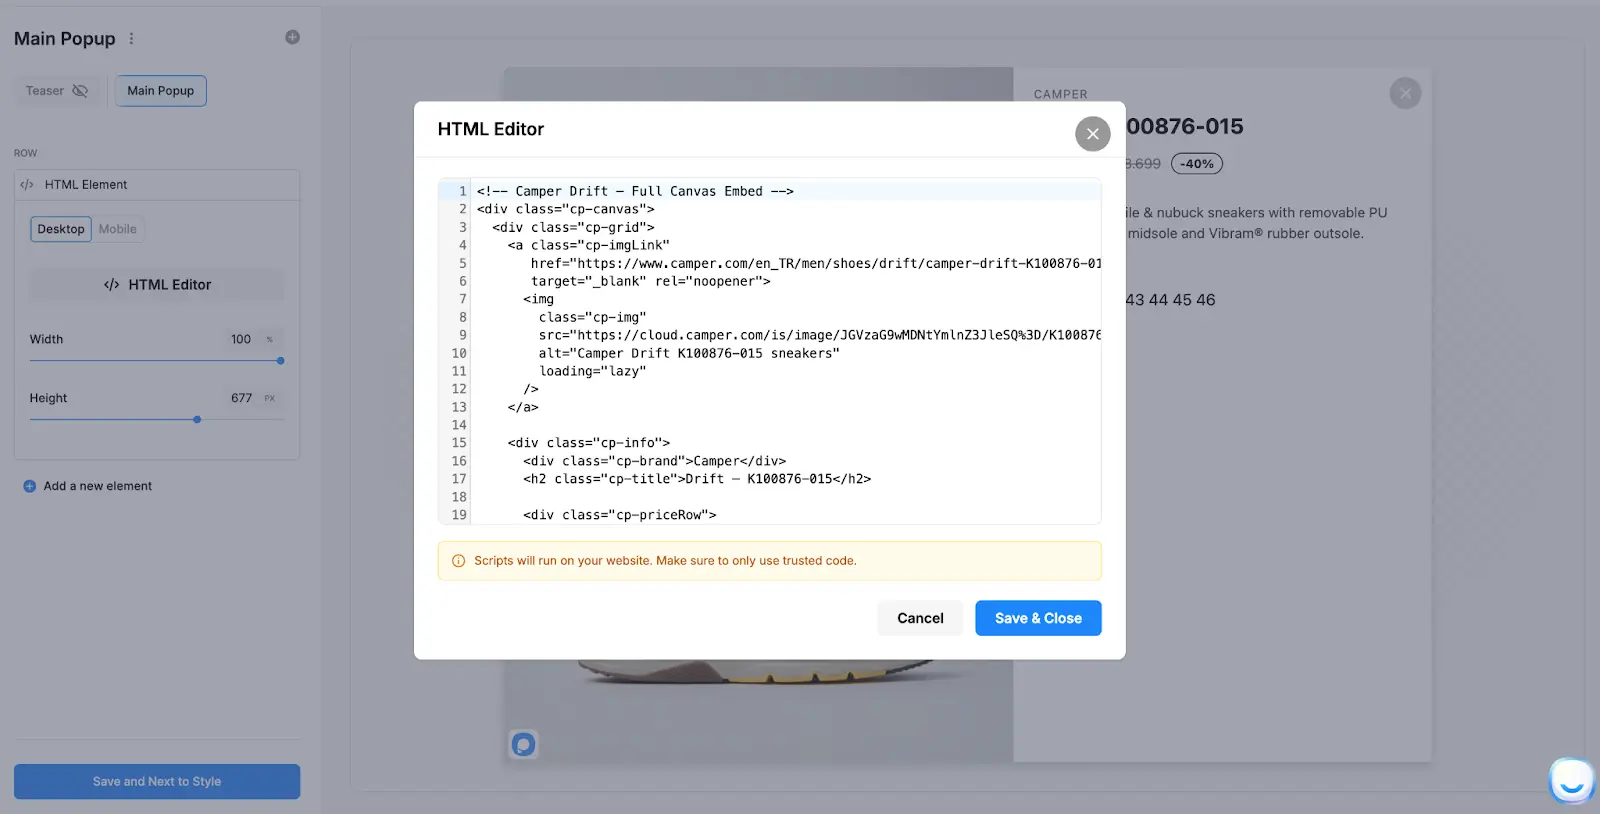
- Script tags (when required by third-party widgets)
Click Save & Close to apply the content to your popup.
Tip: If you’re embedding third-party tools, use the provider’s official “embed code” and paste it as-is.
4. Set Width and Height for a clean fit
After adding your code, adjust the element sizing controls:
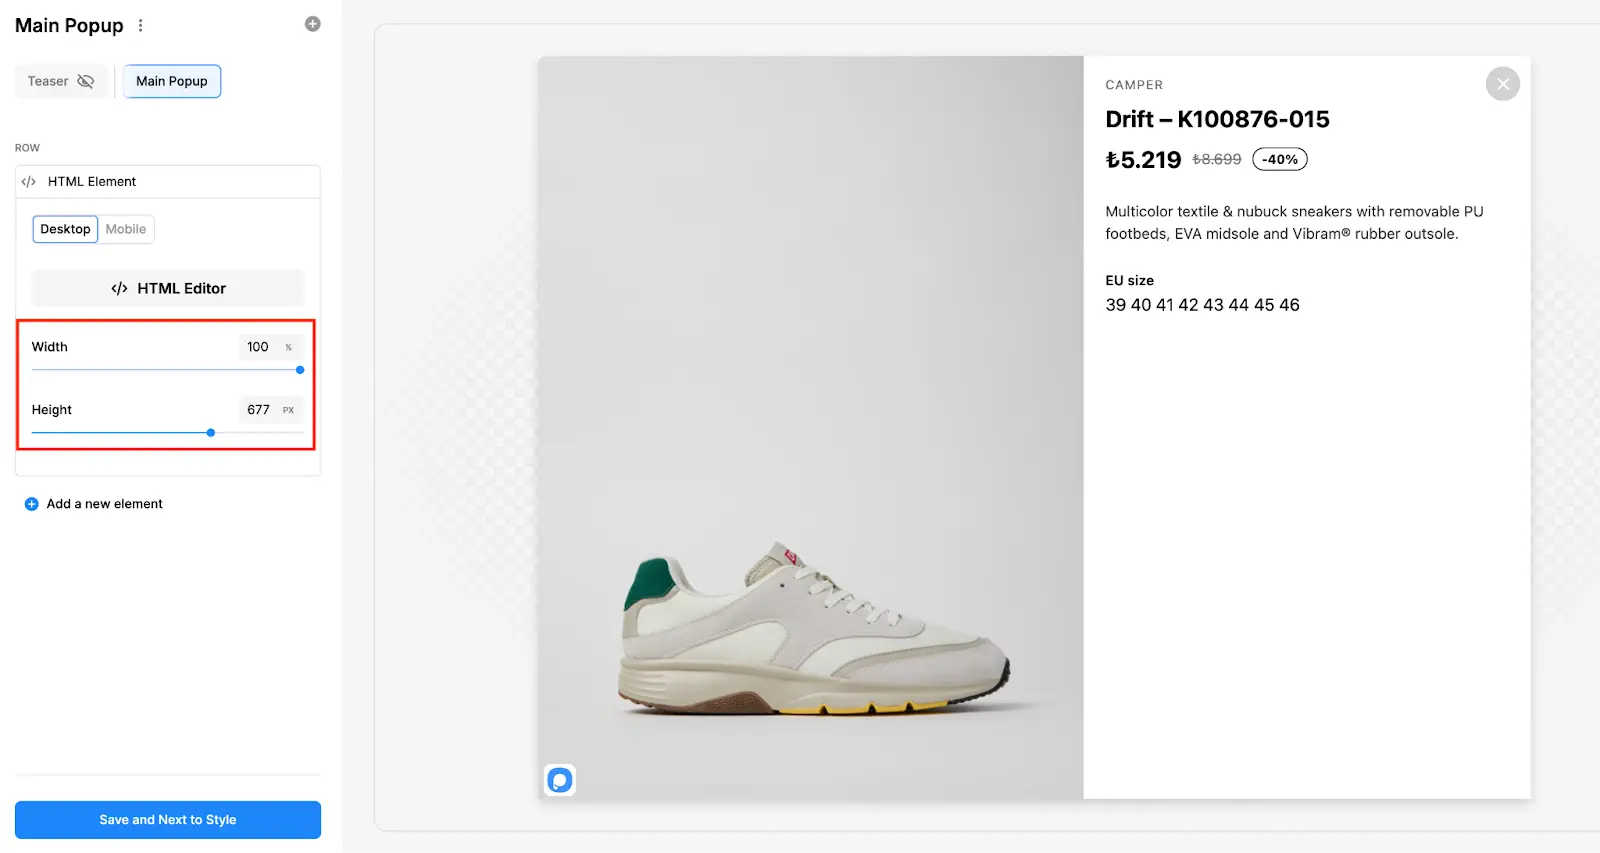
- Width (often a percentage): Use 100% when you want the embed to fill the popup column/container.
- Height (usually pixels): Increase height if content is cut off, especially for forms, calendars, and multi-step widgets.
Common sizing guidance
- Short embeds (badges, small widgets): 200–400px height
- Forms or multi-step widgets: 500–900px height
- Scheduling widgets: often 600–800px height (varies by provider)
5. Preview and test
Before publishing:
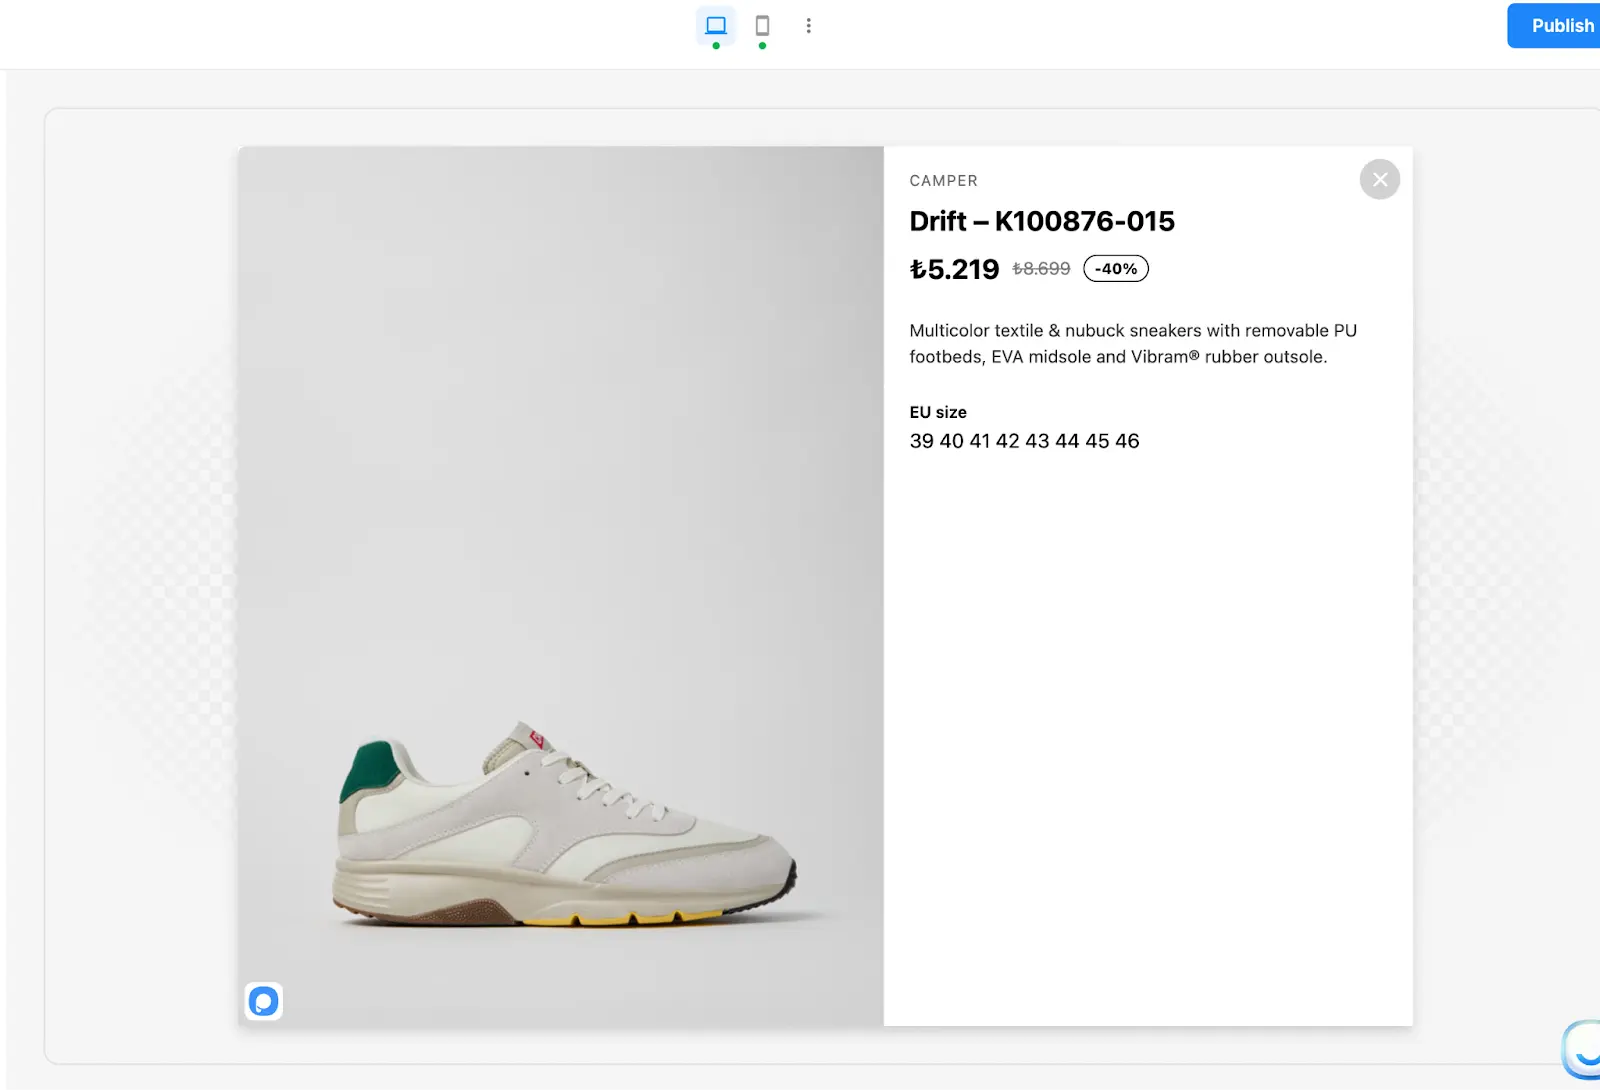
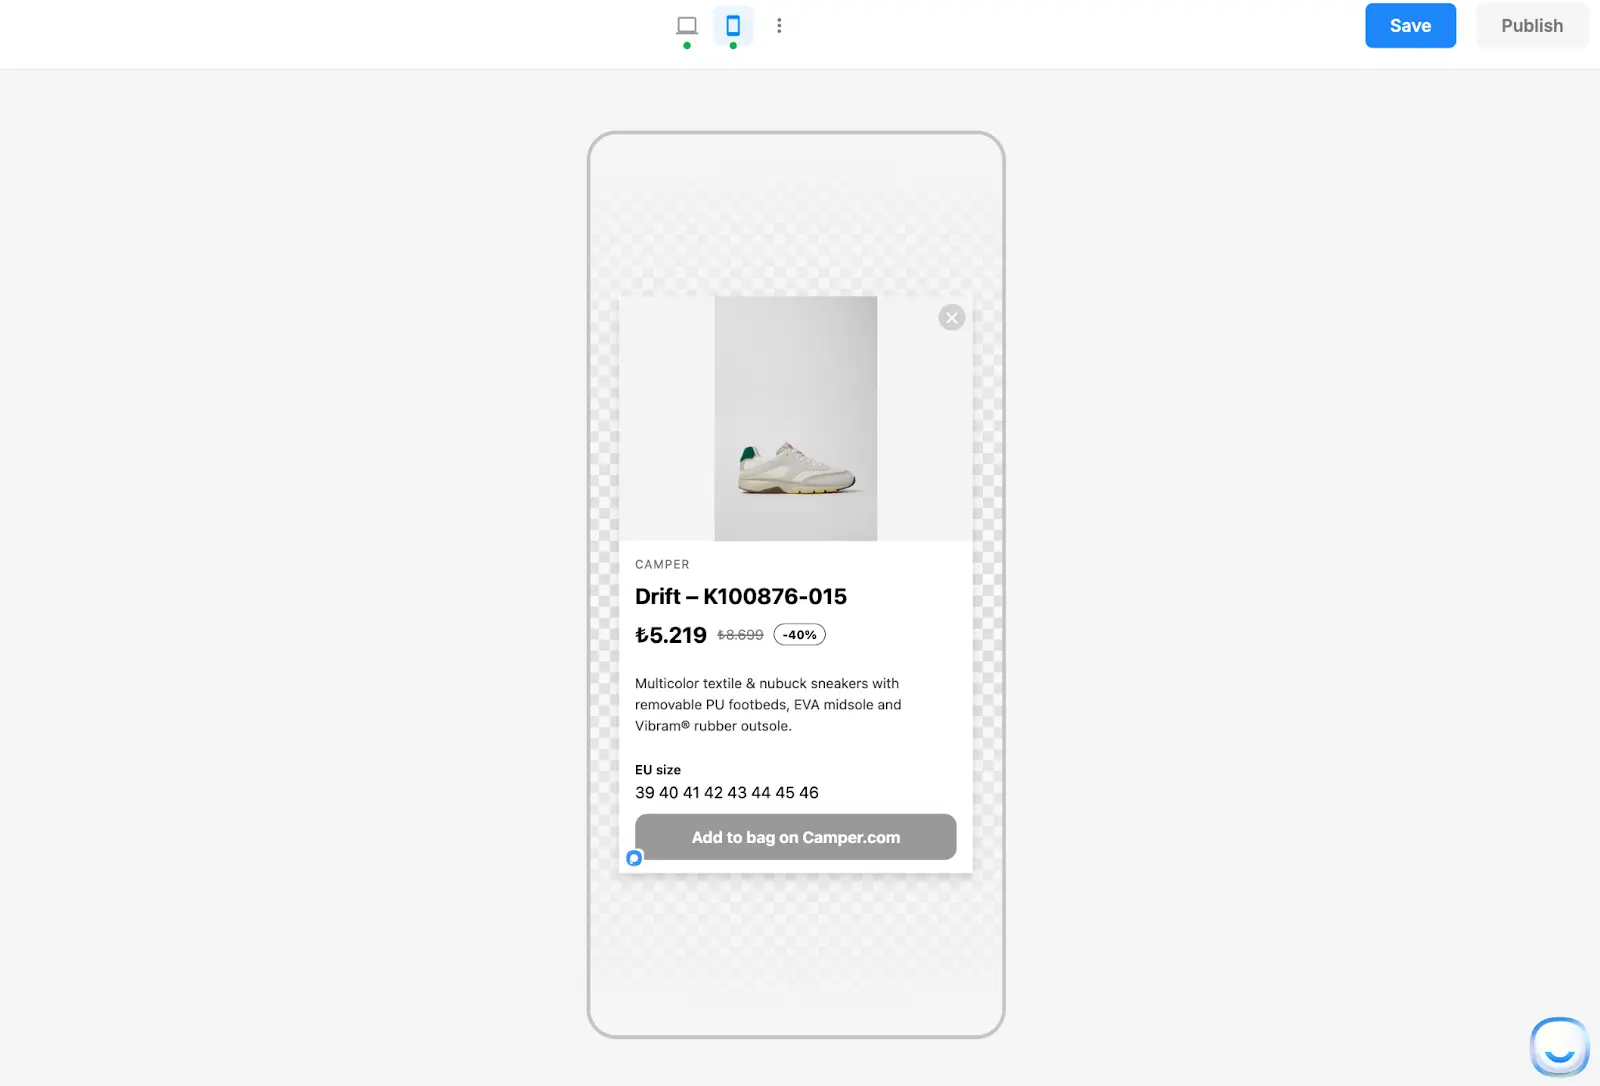
1. Preview the popup on desktop and mobile.
2. Confirm the embed loads correctly.
3. Check for:
- Cut-off content (increase height)
- Horizontal scrolling (reduce width or ensure responsive HTML)
- Slow loading (remove unnecessary scripts or optimize embed)
6. Publish
When everything looks right, publish/update your popup as usual.
Popular Use Cases
Embed a scheduling tool
- Calendly / booking widgets for demos and appointments
- Best practice: set a generous height so the calendar isn’t clipped
Add external forms or surveys
- Typeform, Tally, Google Forms, HubSpot embed codes
- Great when you need form logic beyond built-in elements
Insert iframes and custom widgets
- Video embeds, interactive calculators, review widgets
- Use width 100% and set height based on the widget’s requirements
Create custom layouts with HTML/CSS
- Two-column sections, icon + text blocks, custom badges
- Useful when you want exact brand styling inside the popup
Add custom scripts (advanced)
- Third-party integrations that require script tags
- Only do this if you fully trust the source and have tested performance
Troubleshooting
The content is cut off
- Increase the Height value of the HTML Element.
The widget doesn’t load
- Some providers block embedding or require specific domains/settings.
- Confirm the embed works on your site outside the popup first.
The popup feels slower
- Reduce heavy scripts, remove unused embeds, or replace with a simpler version on mobile.
Best Practices
- Only paste trusted code (especially anything with <script>).
- Keep HTML embeds responsive (avoid fixed pixel widths when possible).
- Use Desktop/Mobile versions when an embed needs different sizing or layout.
- Test on real devices to confirm scrolling, touch behavior, and load time.