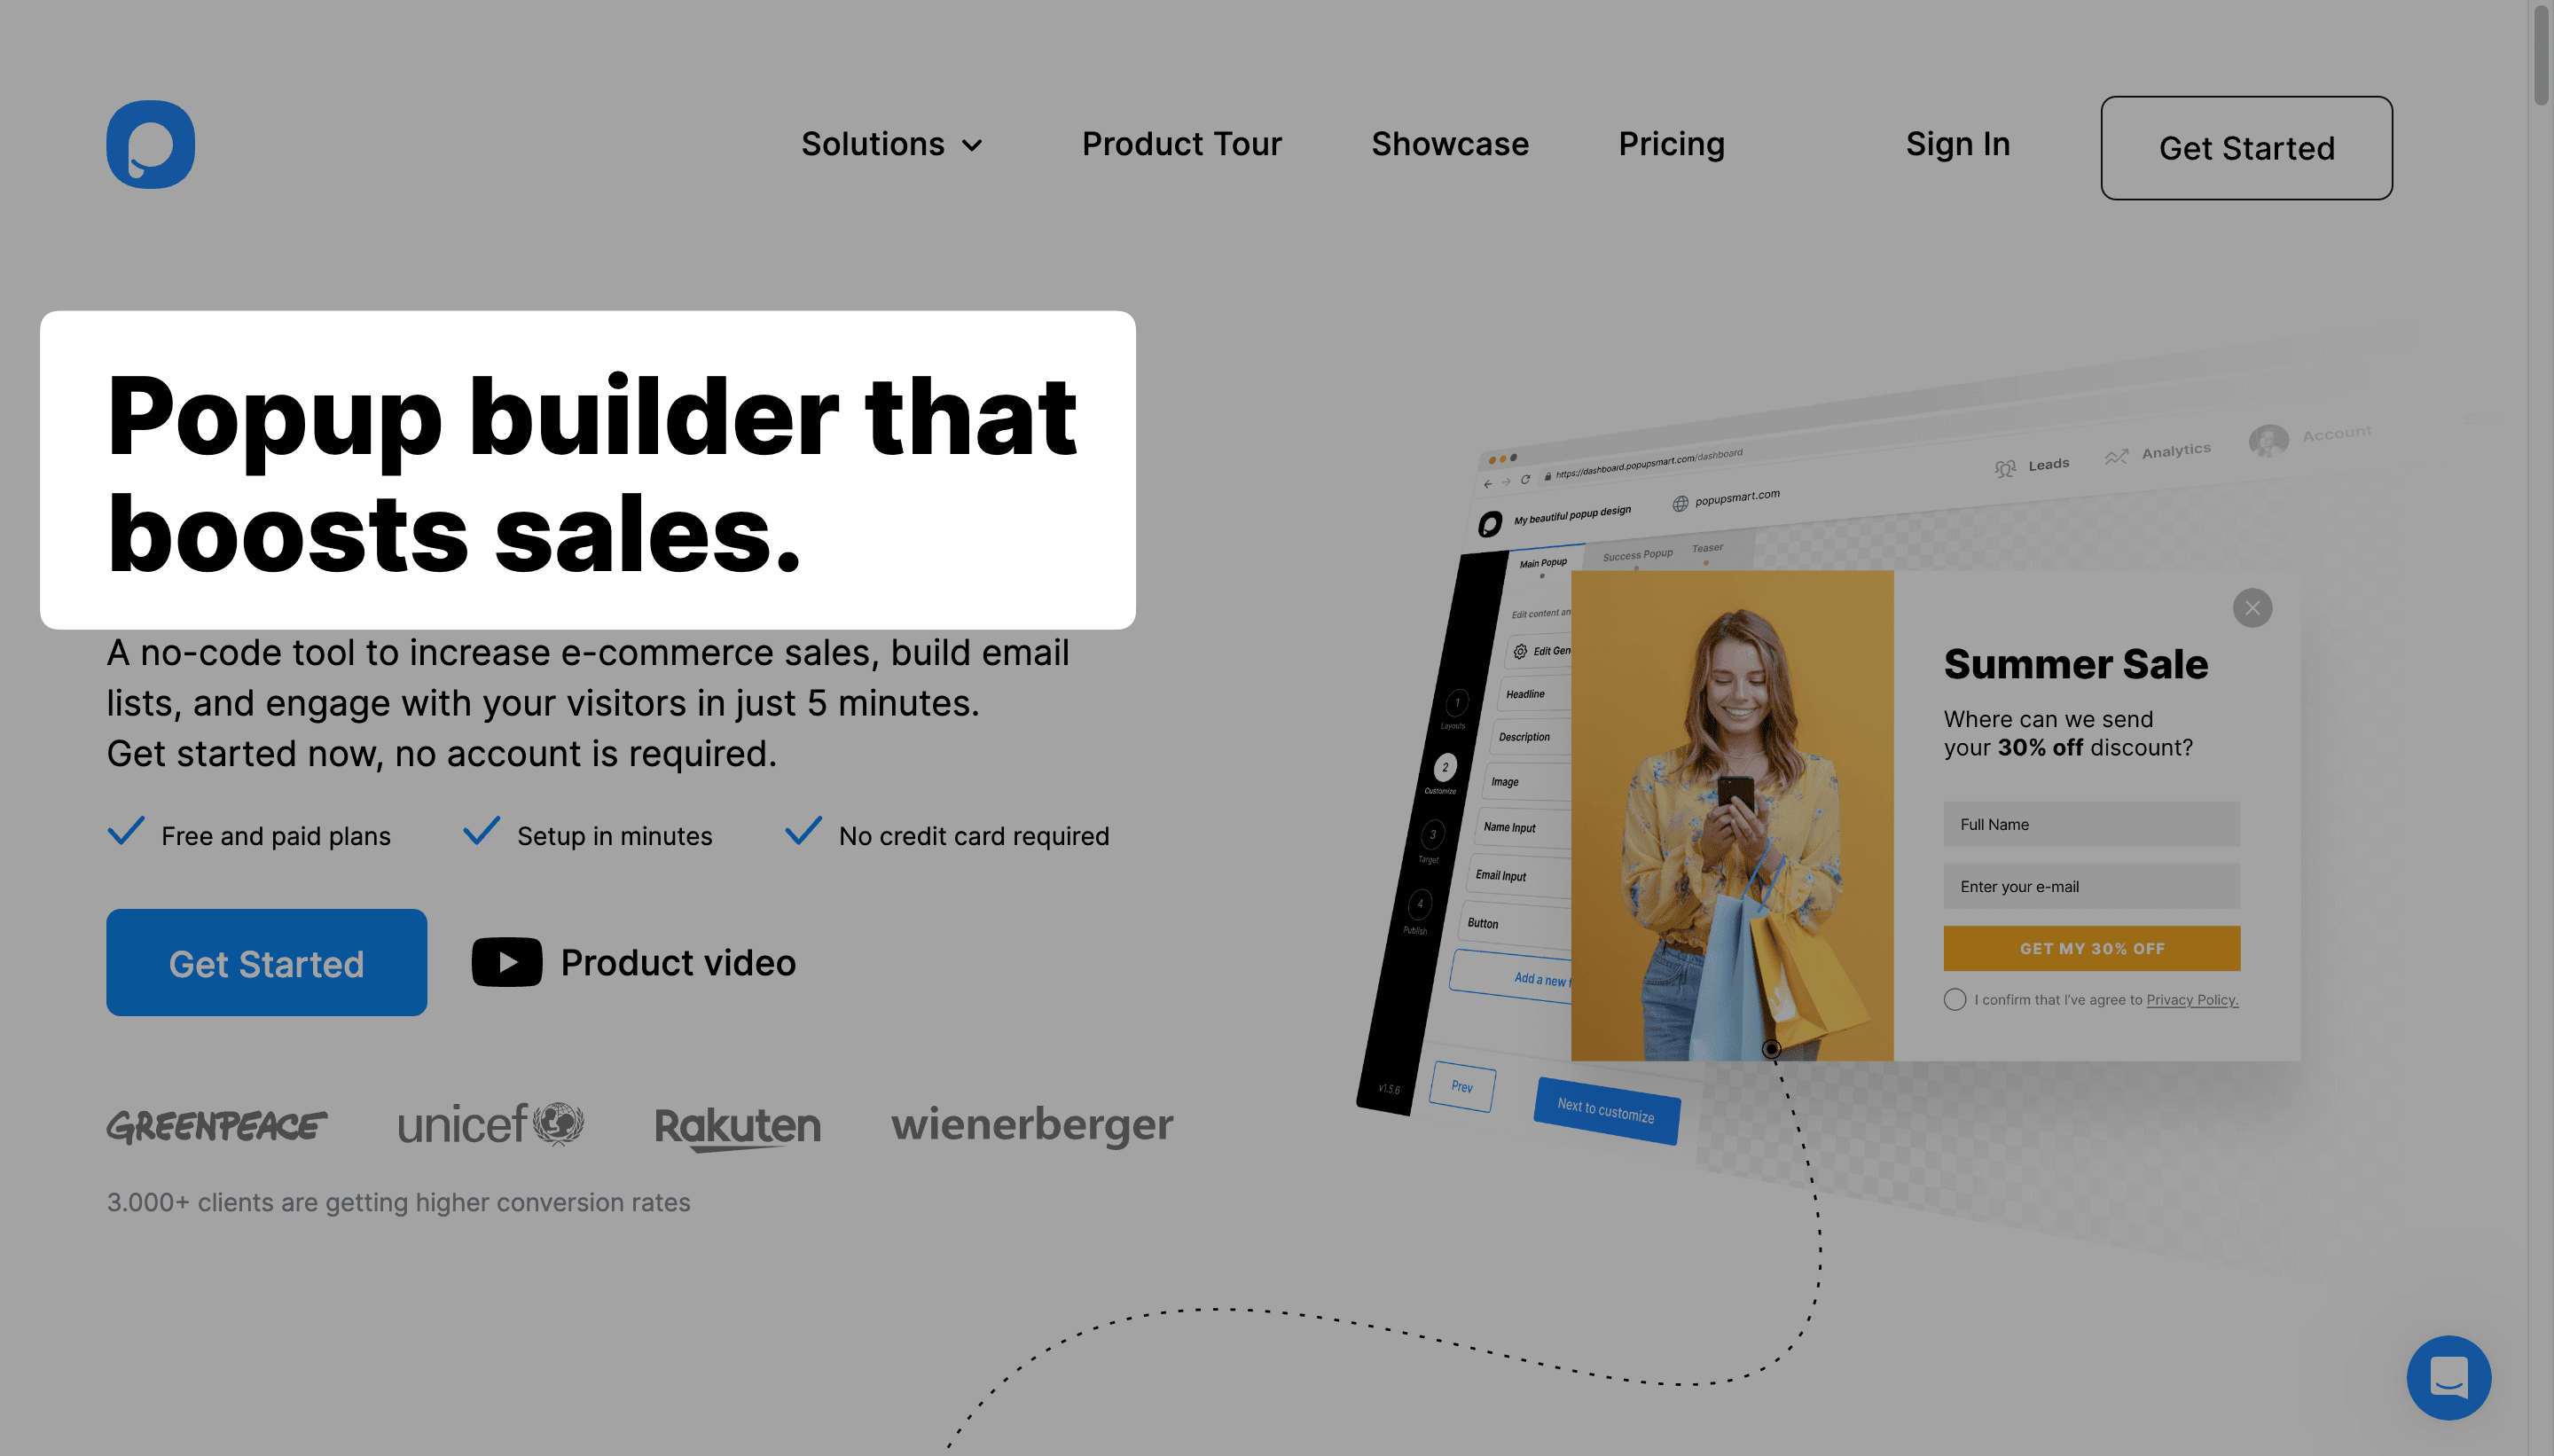
HTML Targeting
Do you want to display your popup based on a targeted post's or content's specific element? Popupsmart makes it simple to show your popups only to targeted HTML.
Do you want to display your popup based on a targeted post's or content's specific element?
With Popupsmart, you can specify and set up an HTML condition for a popup in a matter of minutes.
How to Copy an HTML Element
Before we start HTML targeting a popup, we need to know how to copy an HTML element. Here is how:
Inspect the Element
Go to the page where the element exists. Highlight it with your cursor and right-click your mouse to choose "Inspect" from the opening menu.
Copy the Selector
This will open a window that displays the CSS elements on the page. The element you selected will be highlighted. Right-click your mouse on the selected element, move your mouse to Copy and select "Copy Selector".
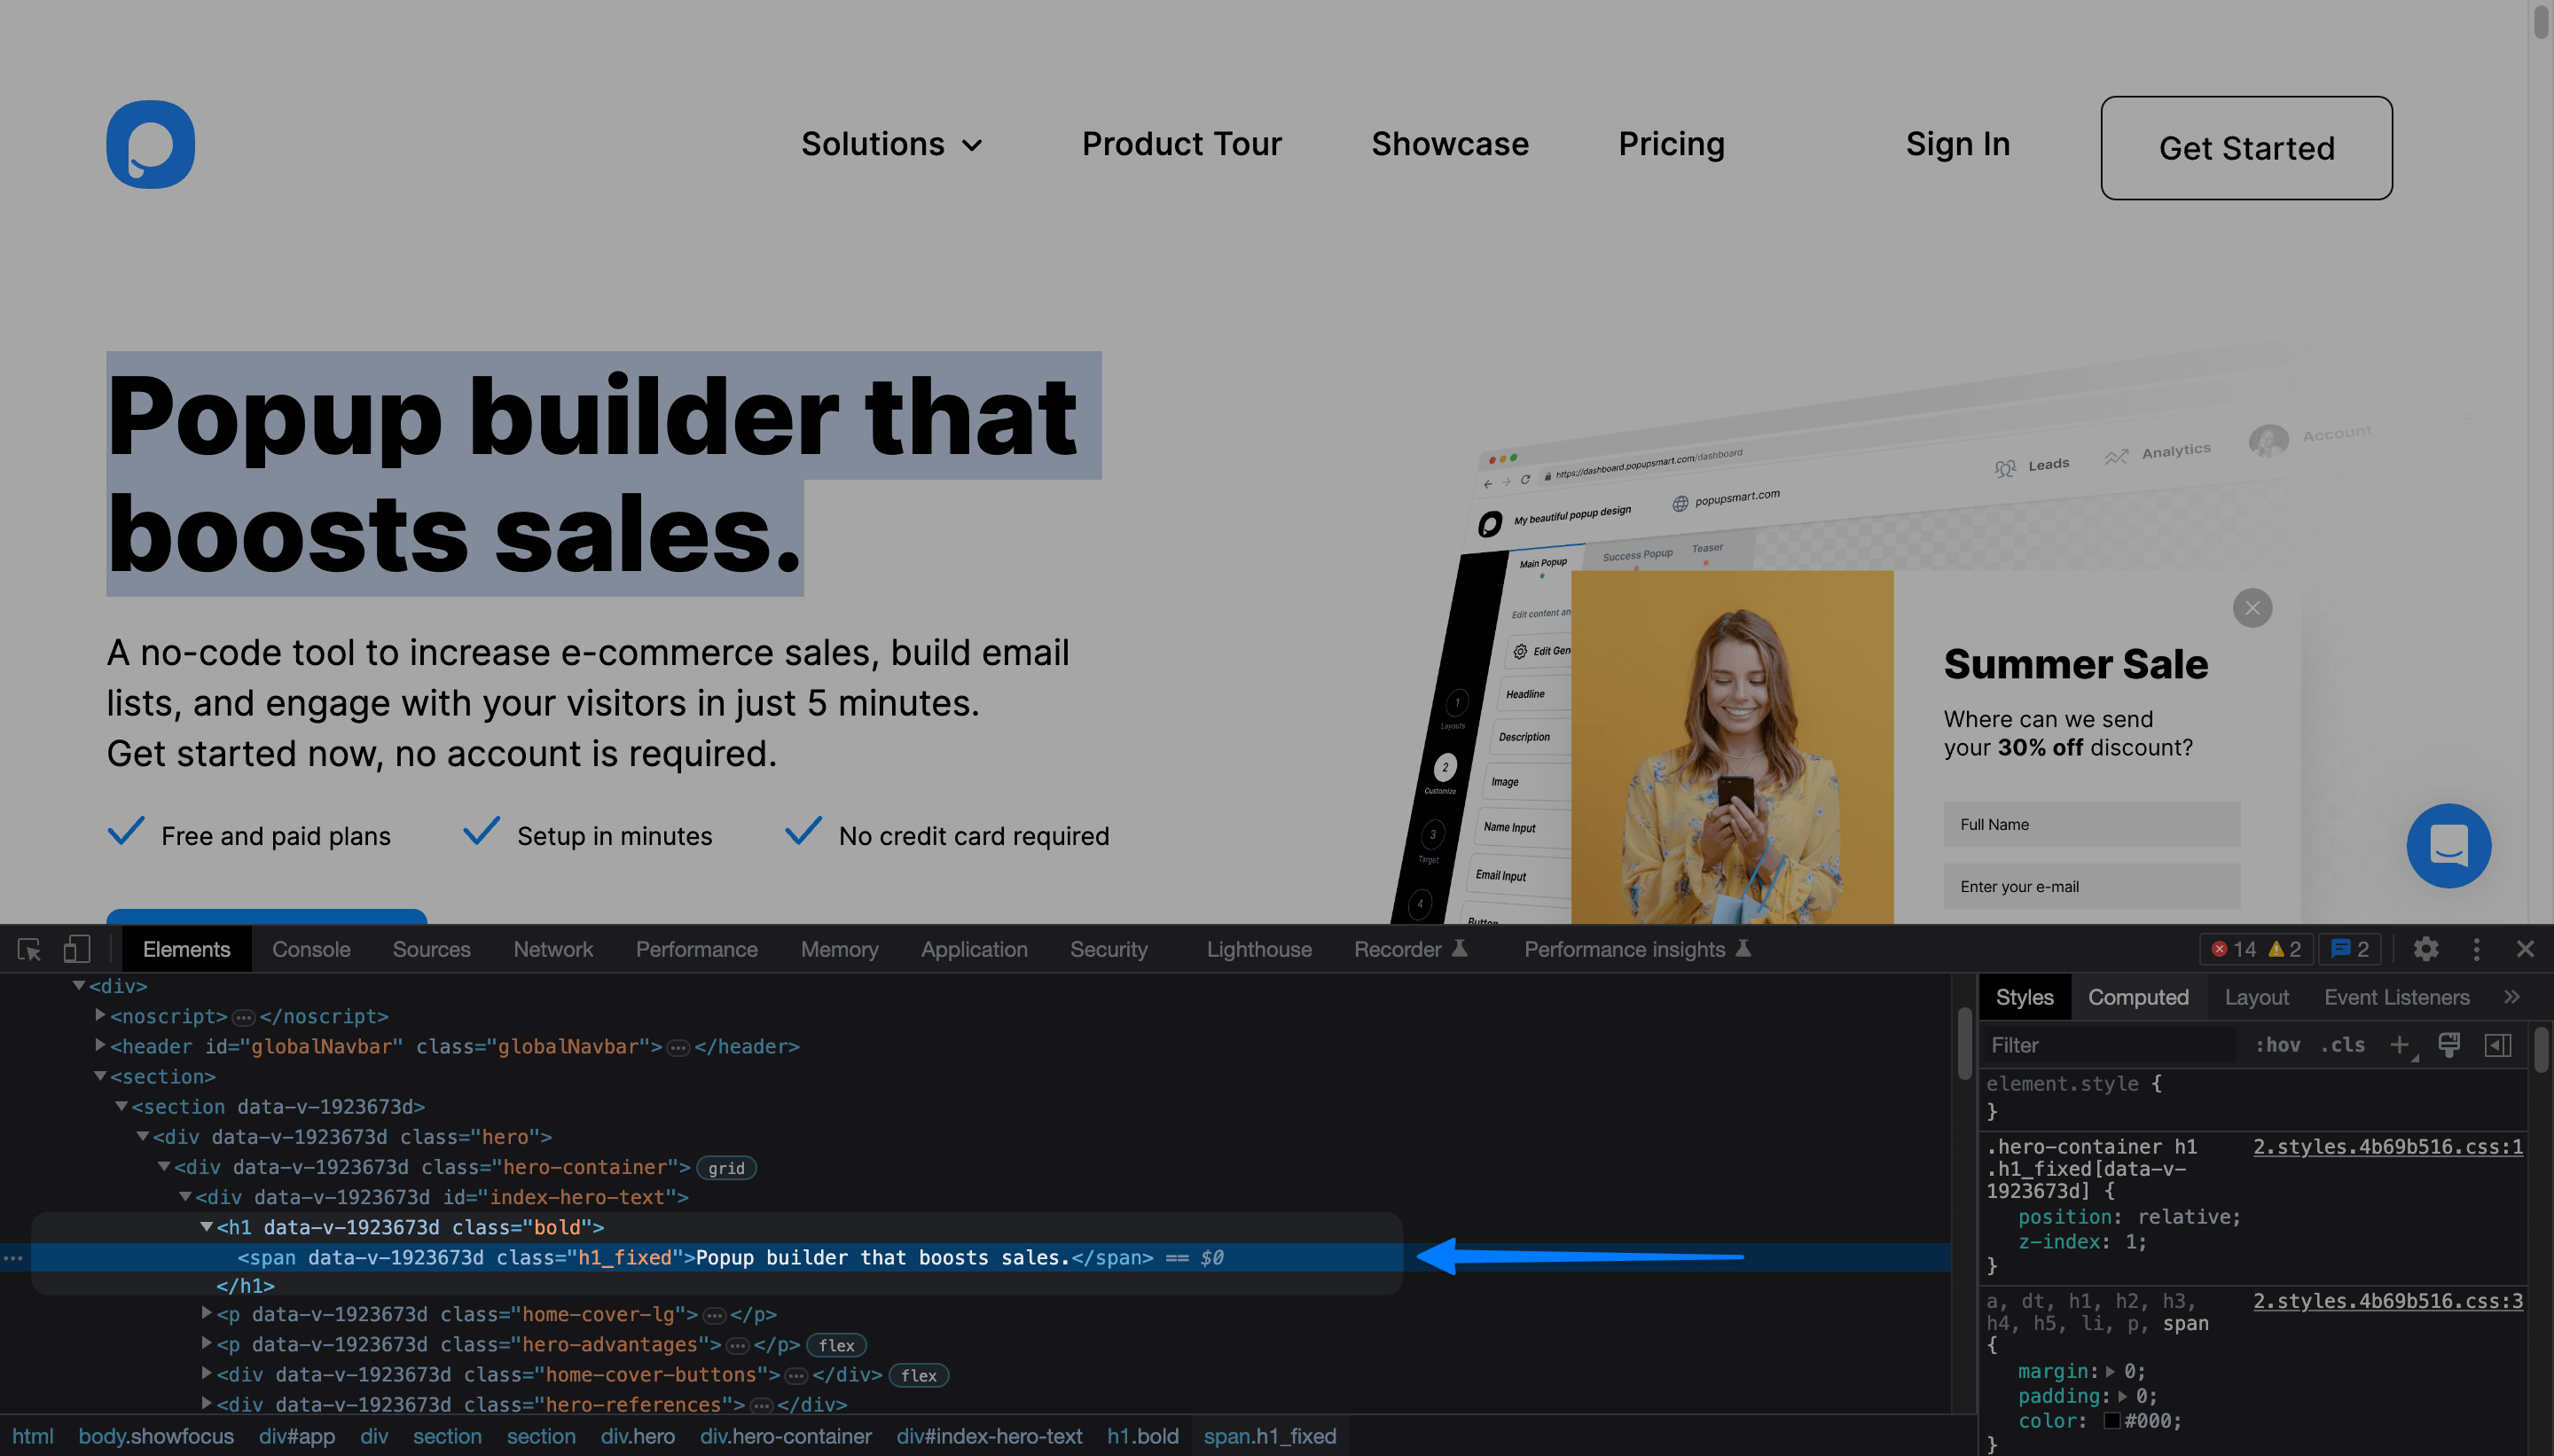
You'll use this copied element for the CSS Selector on HTML Targeting, as you'll see in the following steps.
Setting Up HTML Targeting in Popupsmart
Navigate to Segment
On the popup builder screen, navigate to the "Segment" section and click "Edit Segment." (If it's a new campaign, click the two circular arrows to choose a predefined segment or create one from scratch in "My Segment.")
Add HTML Targeting
Click "Add audience targeting" under Audience and click add next to "HTML Targeting".
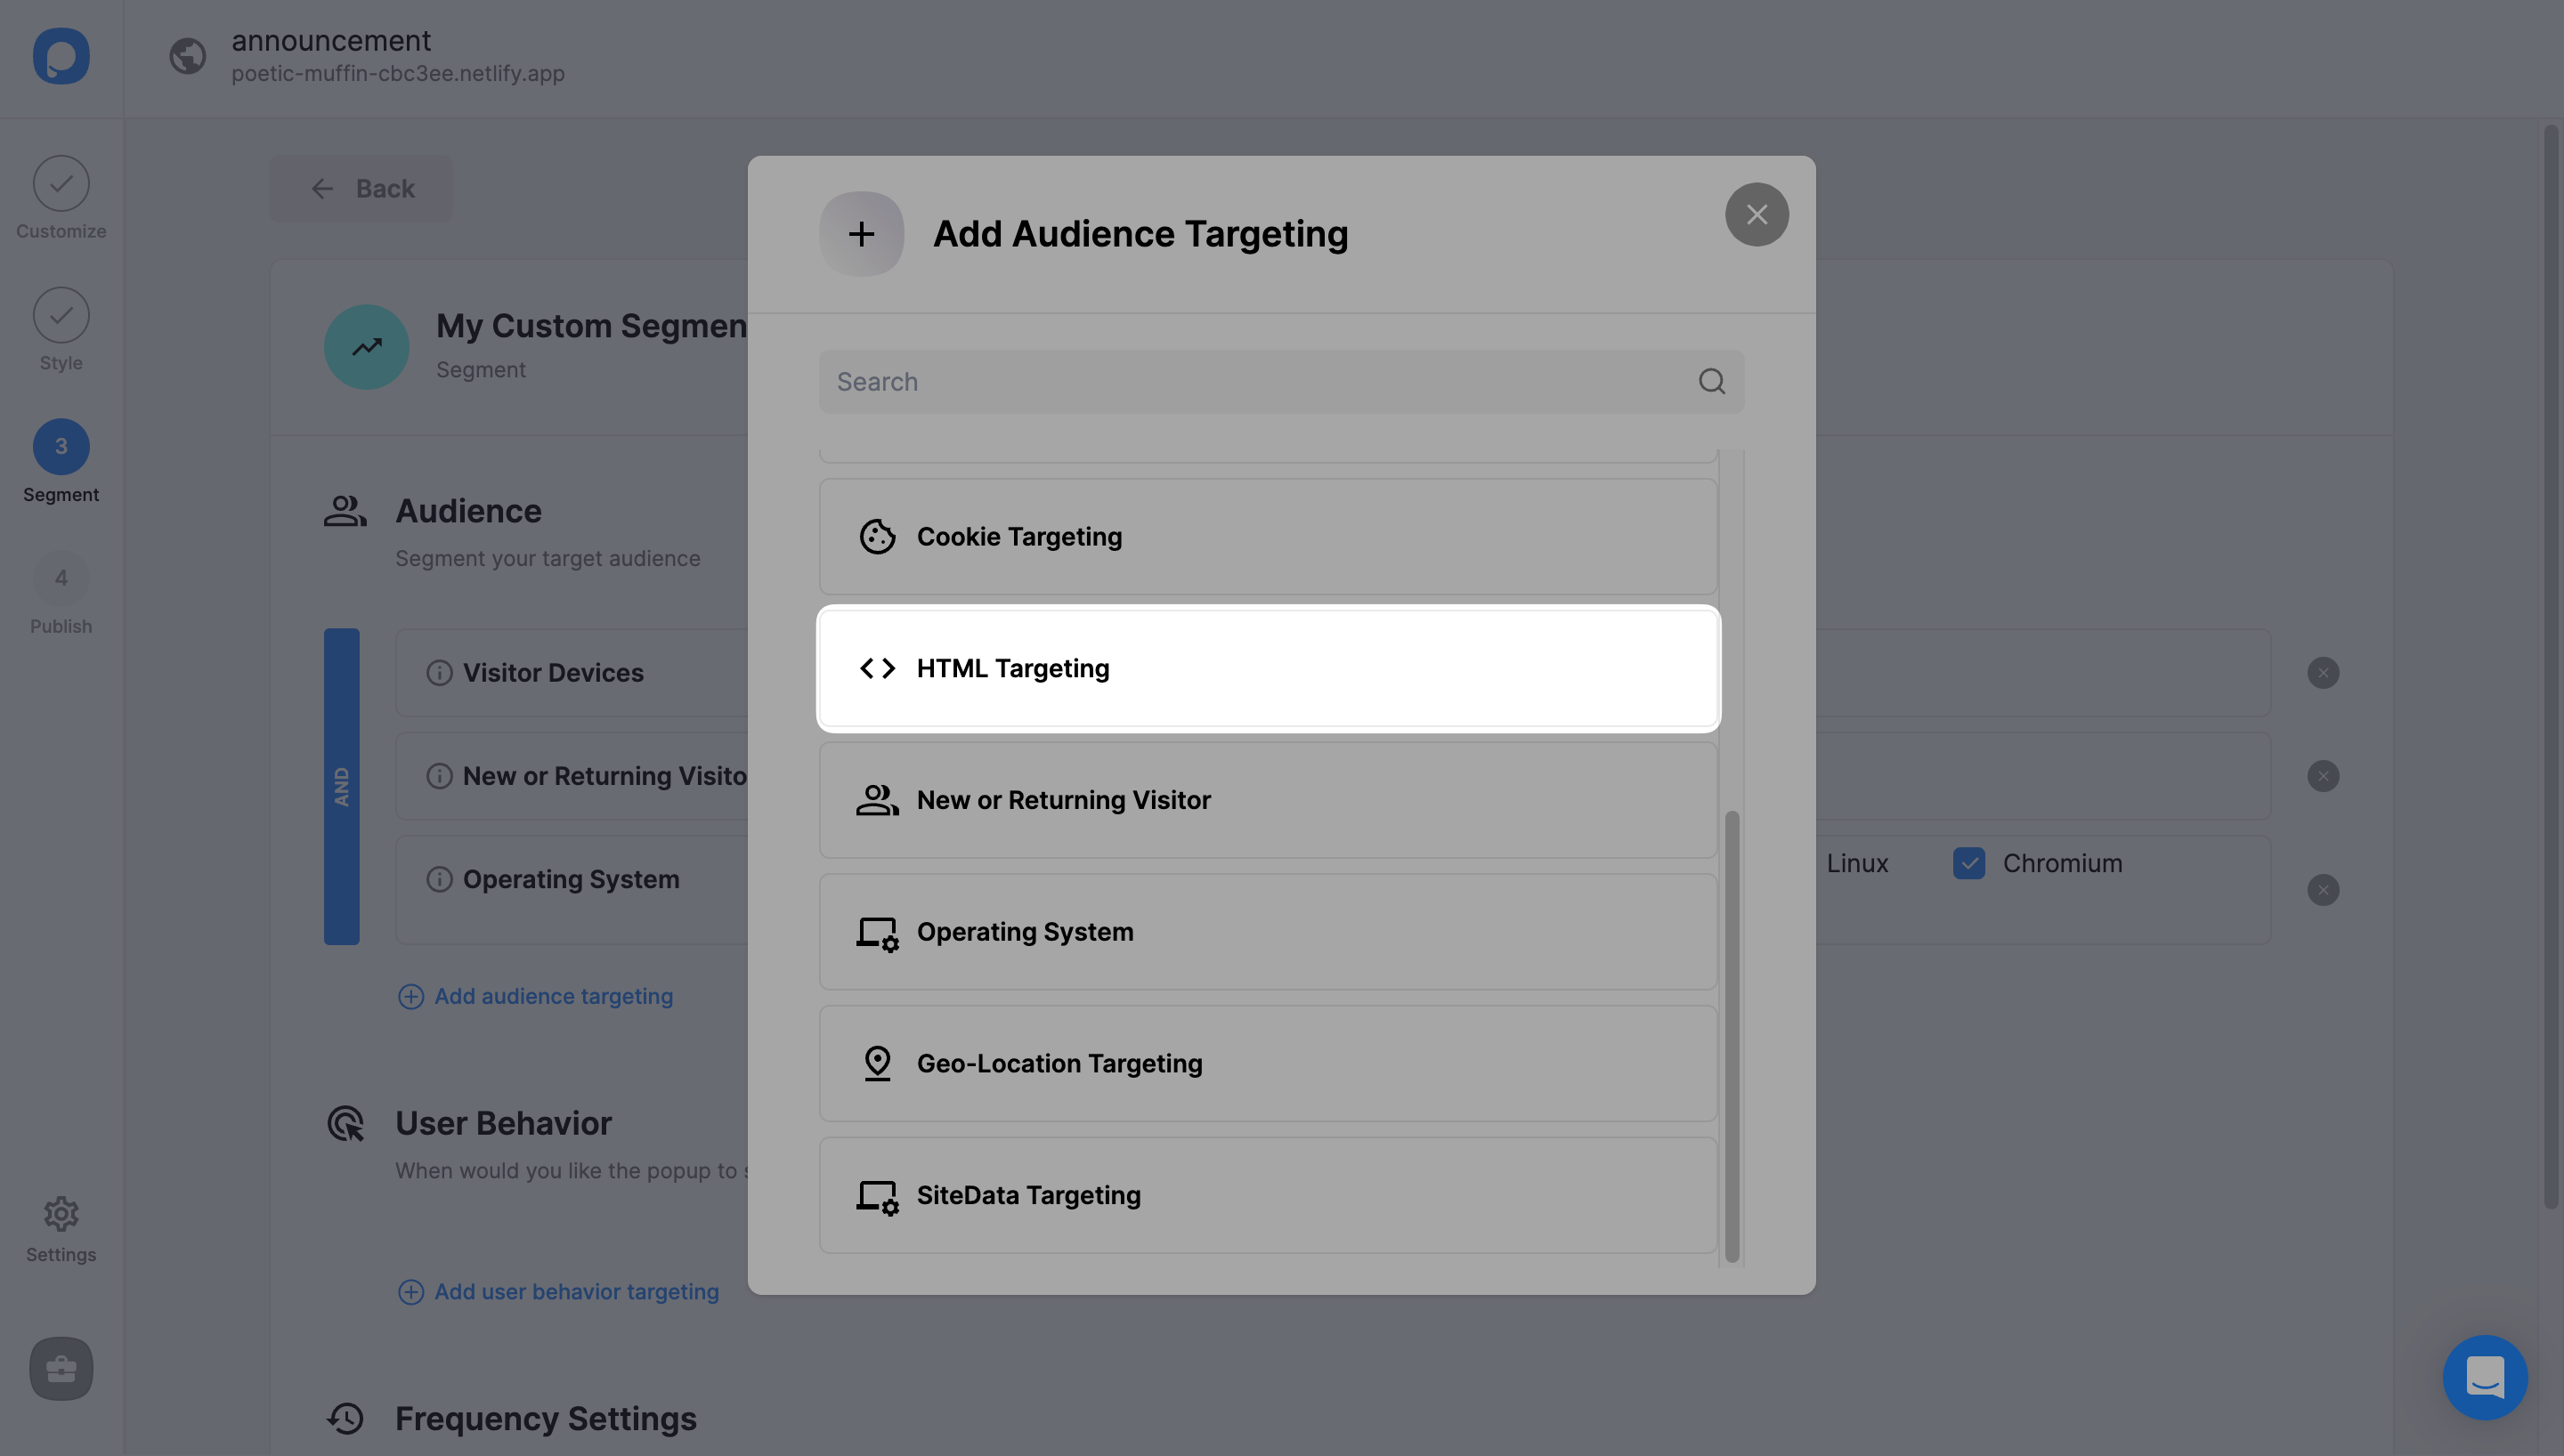
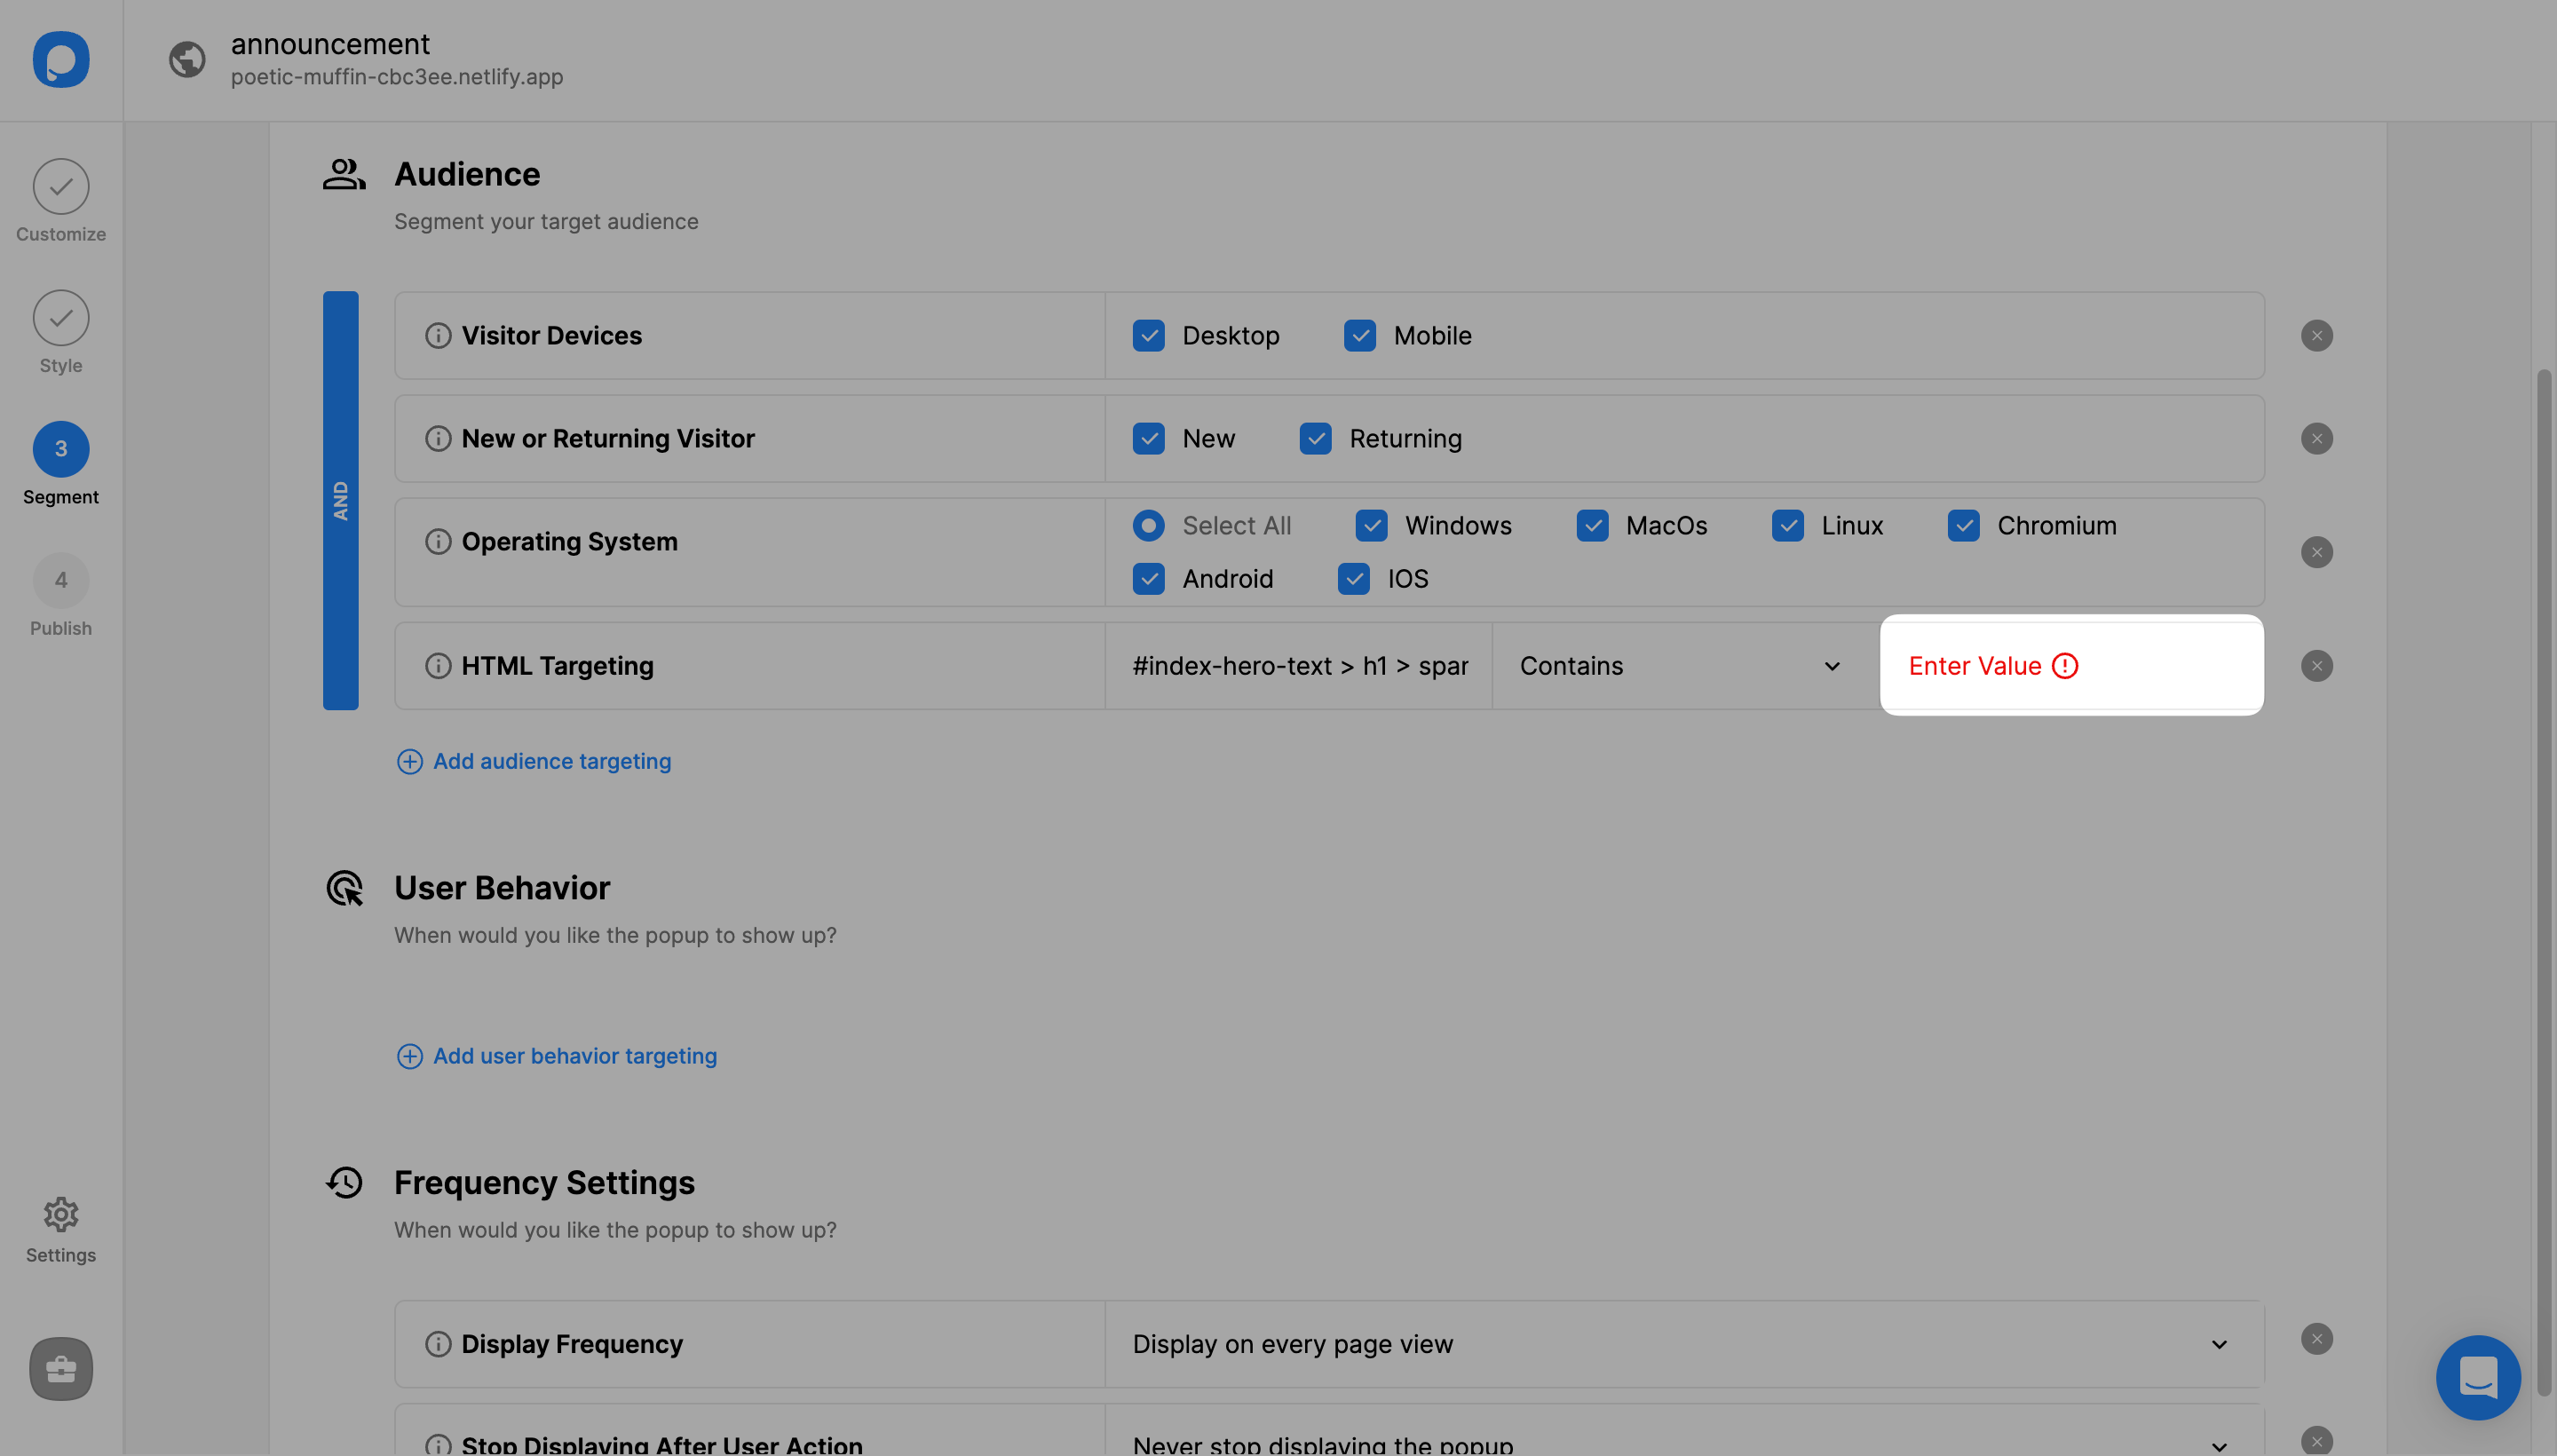
Configure CSS Selector
Paste the HTML you copied to "CSS Selector" and determine the "Query type". If you target a text, it is best to select "contains" from the dropdown "Query" menu. If you are targeting shopping carts, then you can select other options such as "less than" or "greater than".
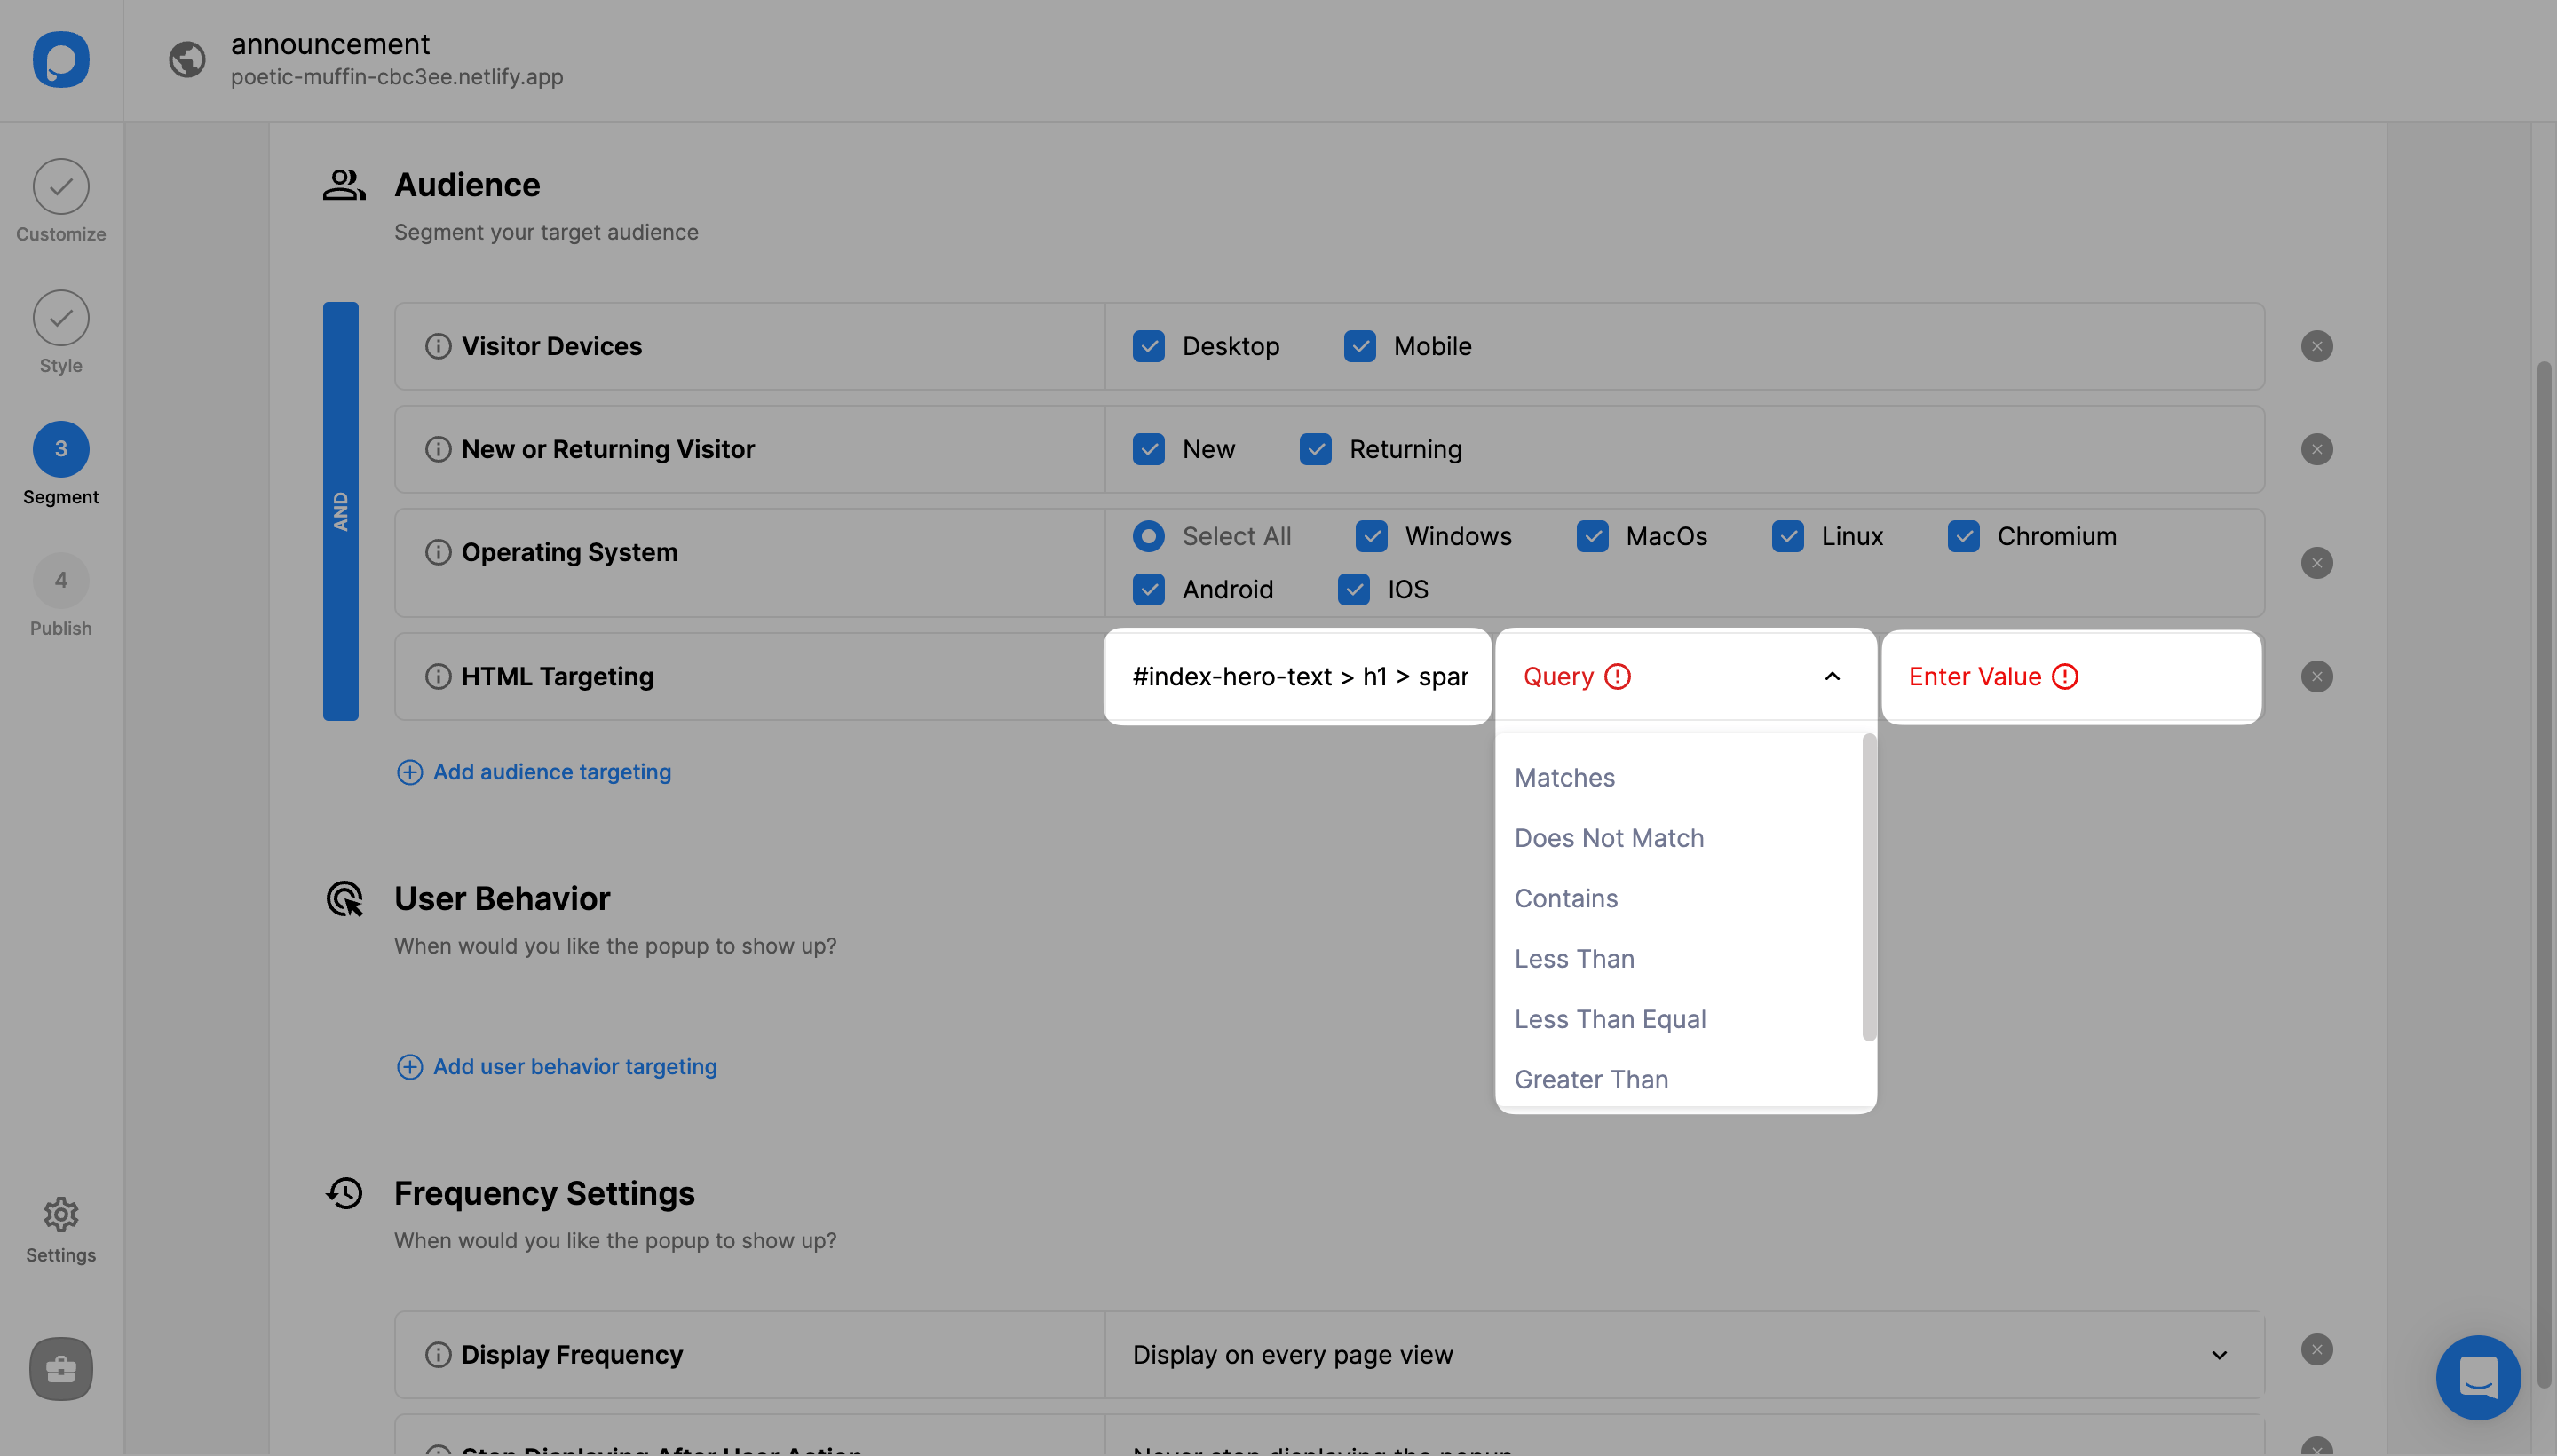
Enter the Value
Enter the "Value". For example, our copied element is the H1, and it's also the element value, meaning the value inside the CSS code.
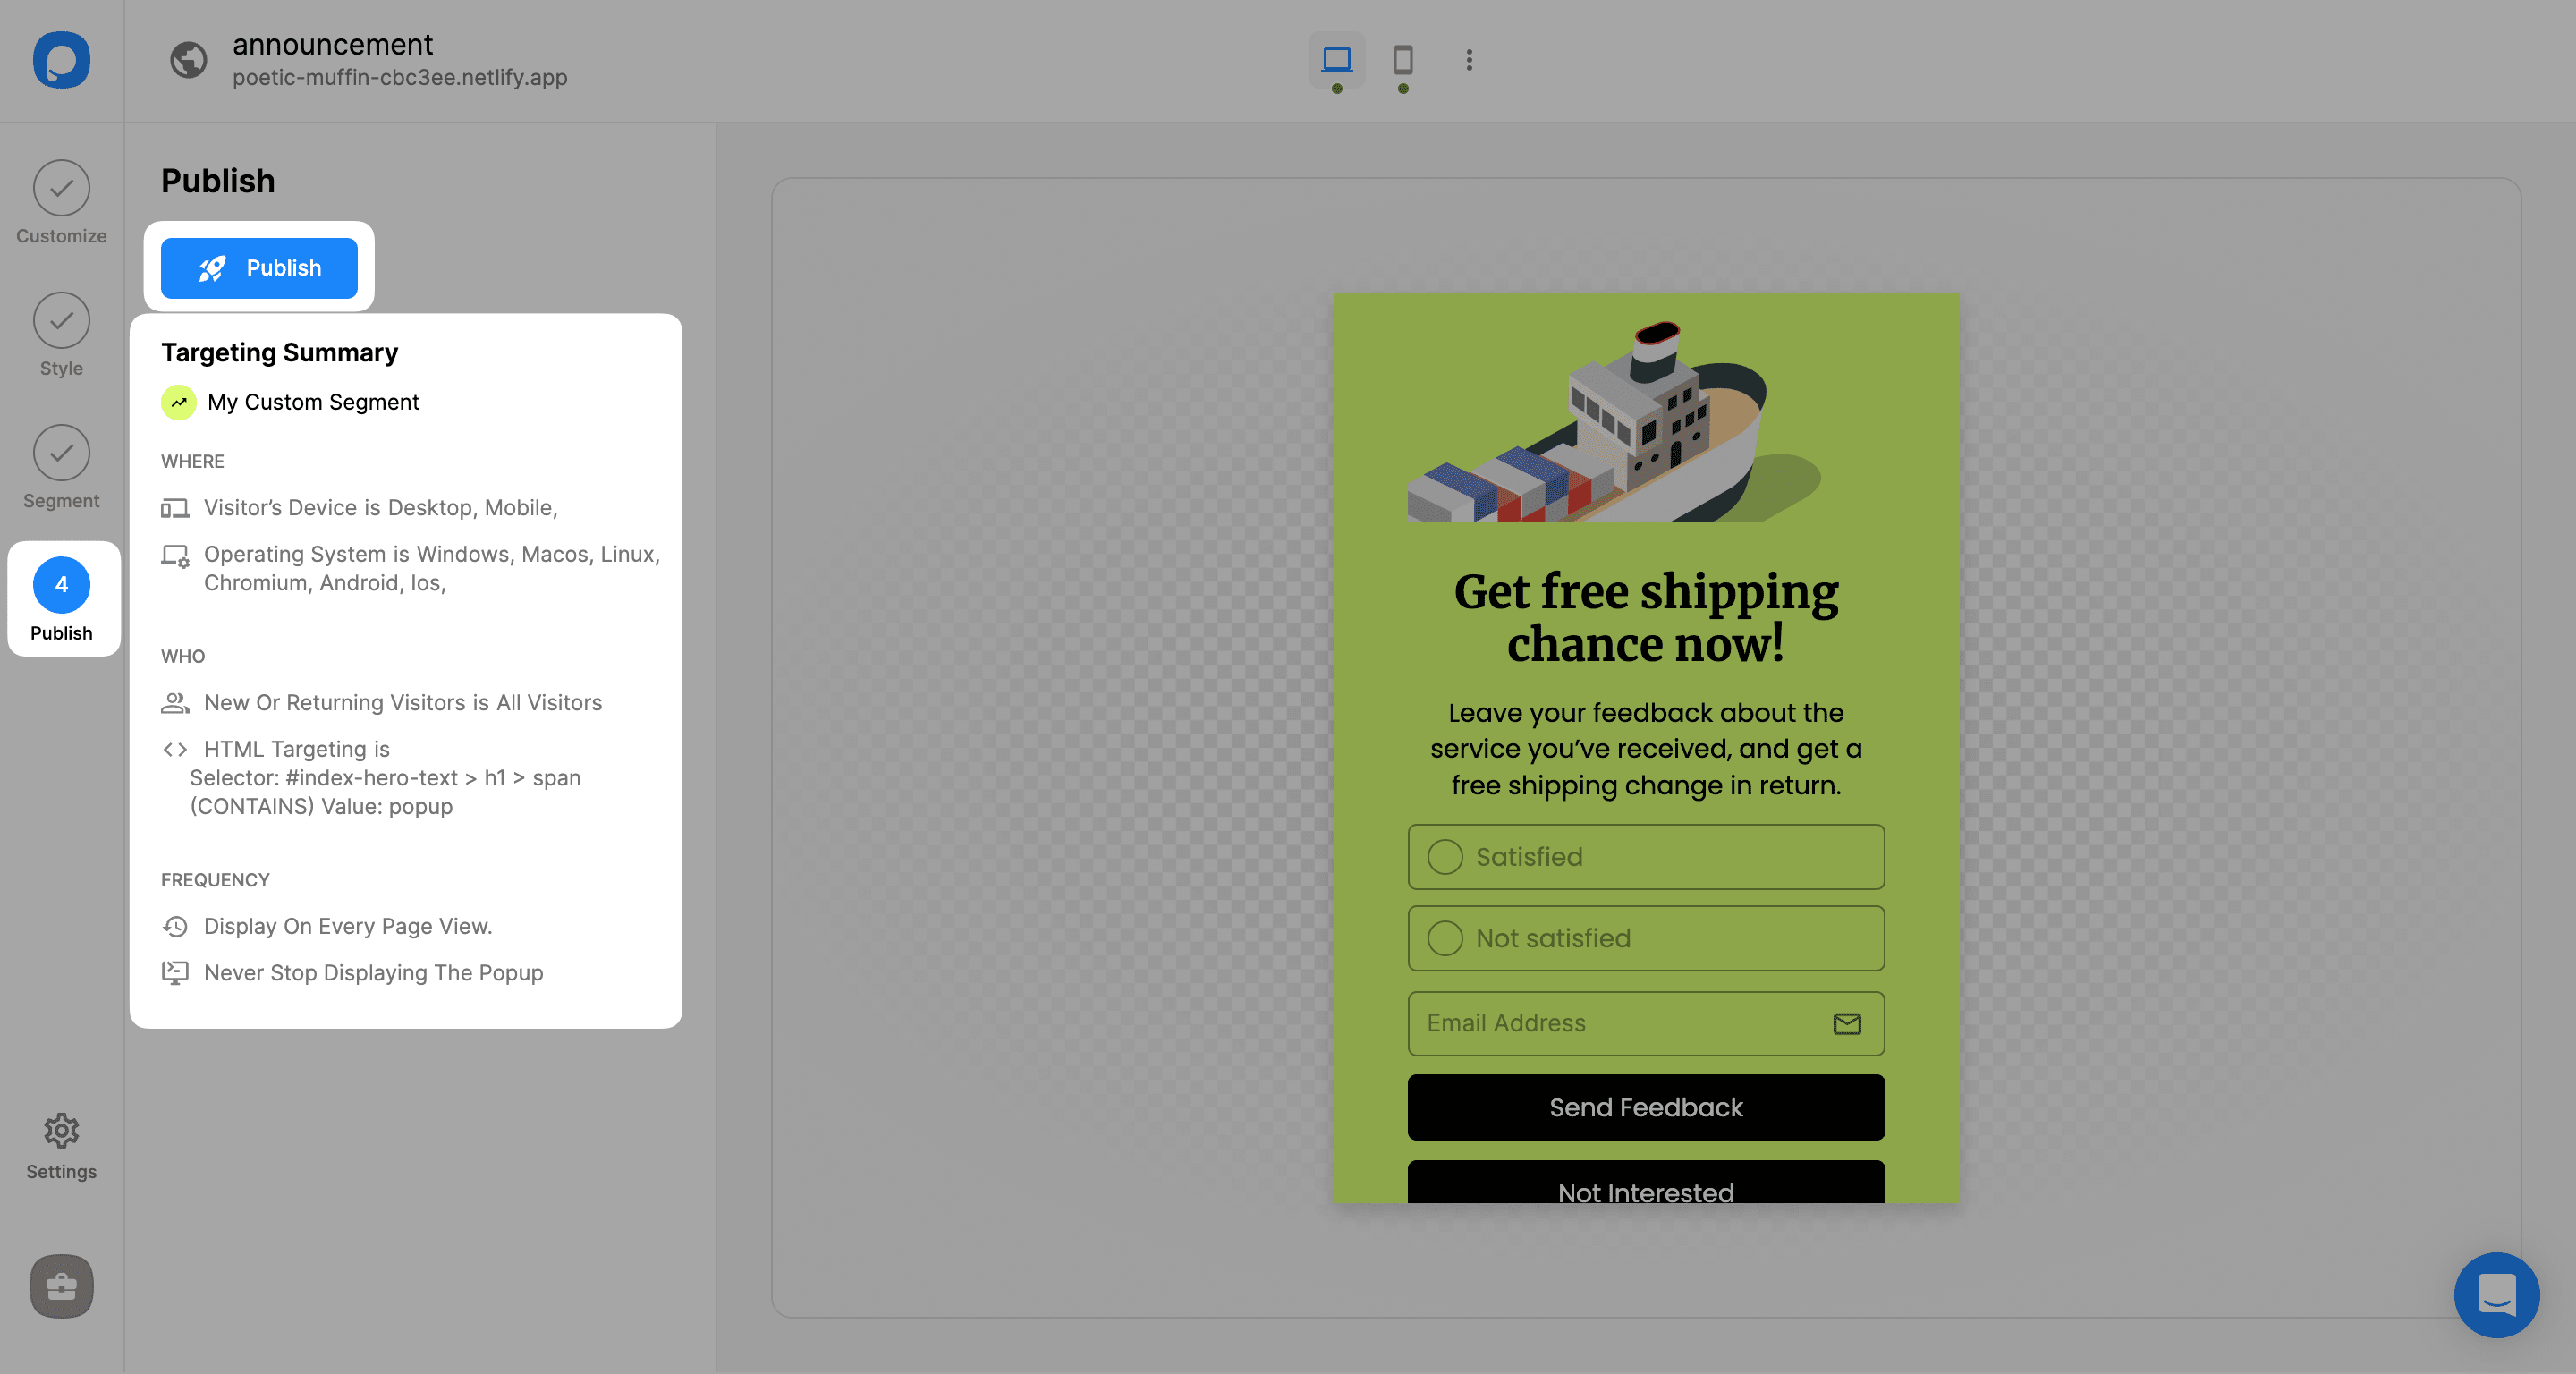
Save and Publish
Click "Save" from the upper-right corner if all is done. Or you can continue with the "Publish" step from the left-hand panel to see the Targeting Summary.
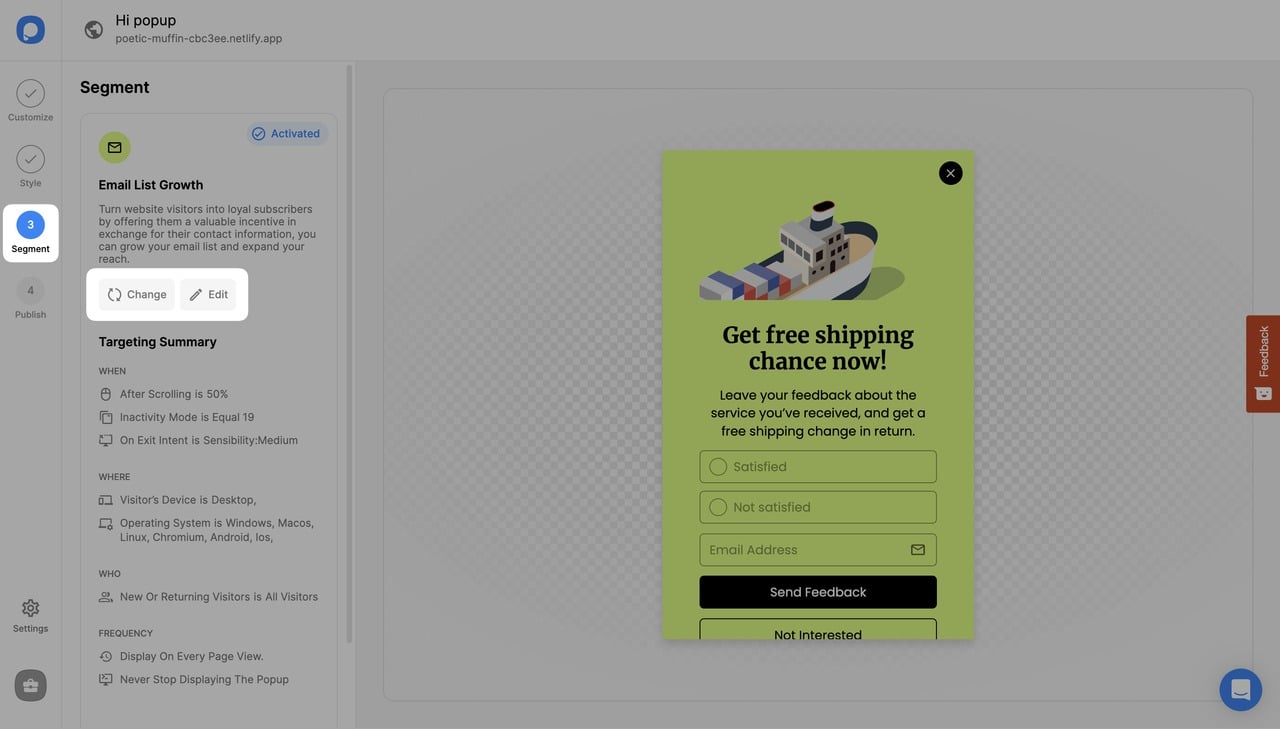
What Can You Do with HTML Targeting?
- Present customized messages with popups at the checkout.
- Create and display different and multiple popups on pages with the same URL: Some pages may have the same URL. In such cases, URL targeting may not provide the desired results. You can set up HTML targeting not to annoy visitors with irrelevant messages.
- Show or hide popups based on HTML content.
Need a hand? Contact Popupsmart!
How is this guide?