
Creating Your First Popup
Popupsmart's easy-to-use and user-friendly interface allows you to create conversion-ready popups in minutes.
You can find all the information here on how to get started to create a popup in a very simple way without the need for any coding knowledge.
Also, when you log in to the Popupsmart dashboard, you will meet your onboarding guide.
It will be enough to follow the onboarding steps to successfully create your first campaign and publish it on your website.
1. Sign in to your Popupsmart account.
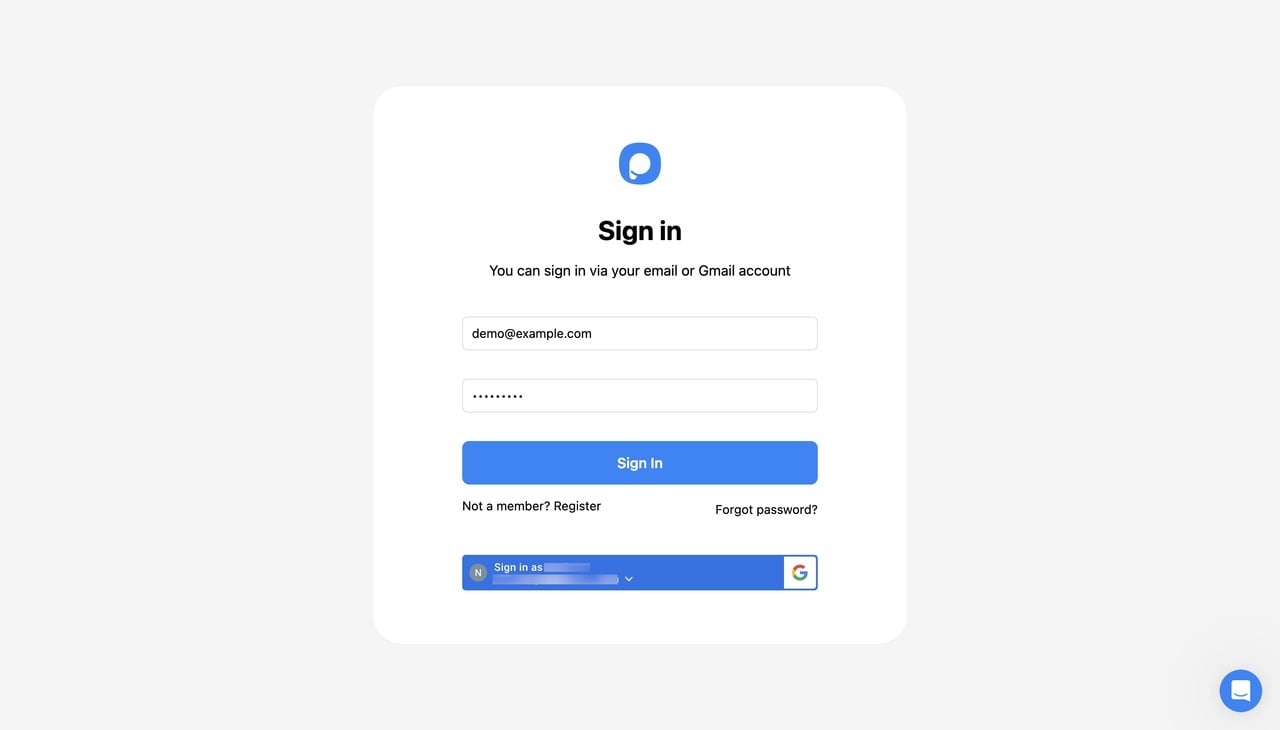
If you haven’t created any campaign yet, you’ll see an onboarding screen on your dashboard.
Next, you can proceed with Installing Popupsmart’s embed code step , then watch the product walkthrough video for a quick tour and check out the popup use cases.
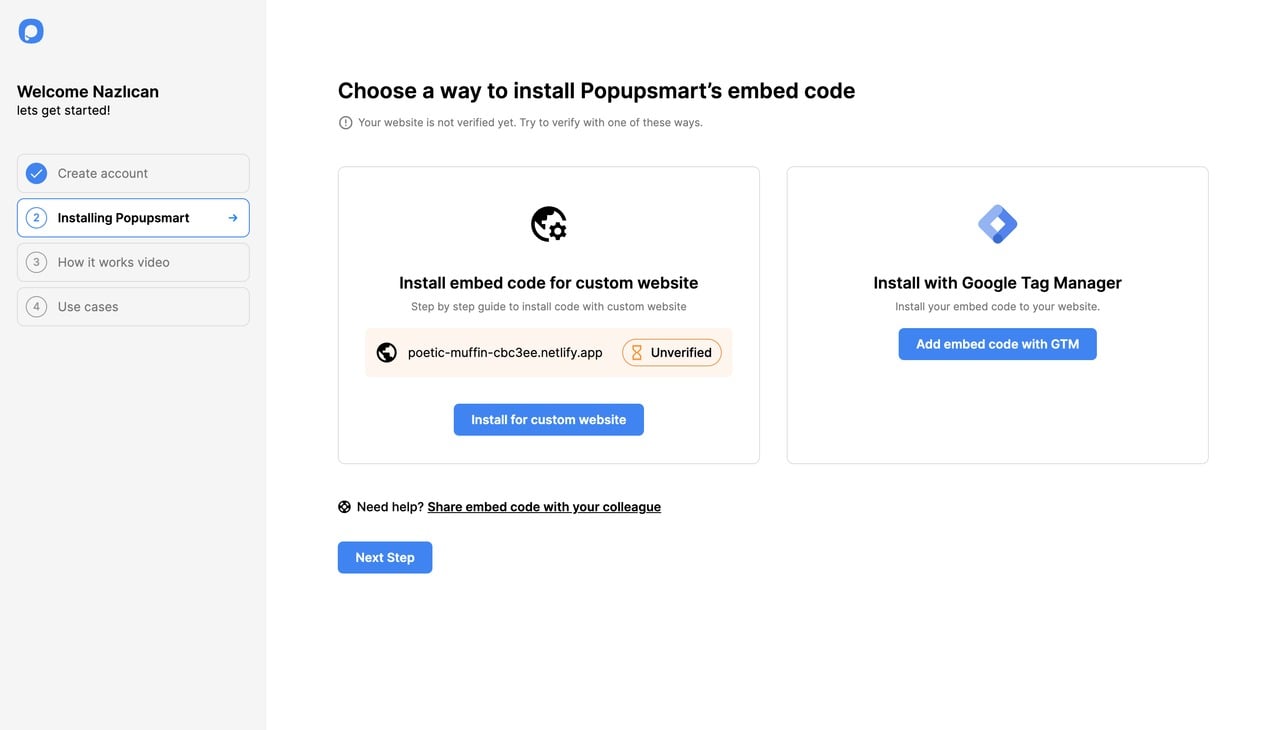
Once you click on Installing Popupsmart, you will see your options to embed the code on your website and install Popupsmart:
• Installing embed code for custom website
• Using Google Tag Manager to set up
❗️Important: The instructions for each option are available on your onboarding screen. You can see the instructions when you click on the option you choose.
Moreover, if you need help, you can find an extra option to share the code with instructions with your colleagues.
2. To embed the code on your website manually, click the “Copy to Clipboard” button.
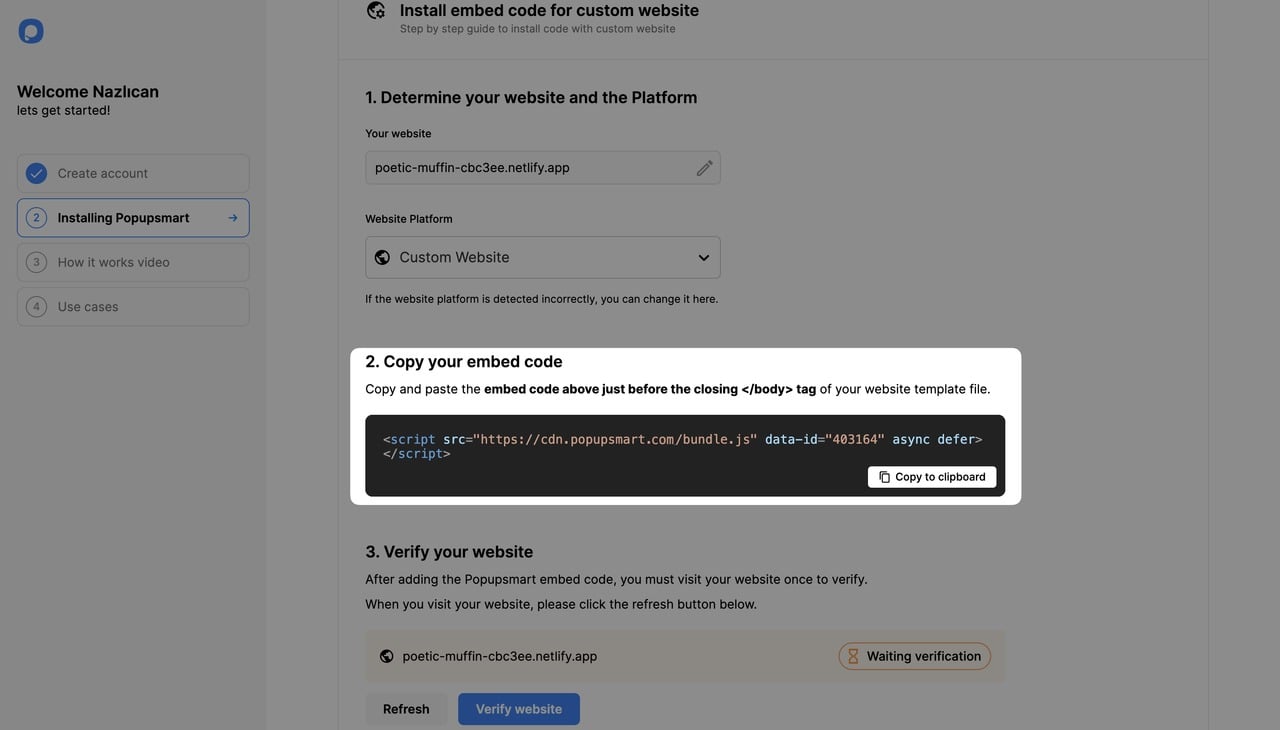
You can do the same process by the left bar of your dashboard and clicking on “Embed Code.” This will open a modal containing your unique code (the same as the one on your 3rd onboarding step).
3. Open a new tab on your browser and go to your website admin panel. Find the template file of your website and paste the embed code just before the closing of the <body> tags.

Depending on your CMS, CRM, or website builder, this process may vary. We have a guide for many of them. You can find them on the Integrations page or see our YouTube channel.
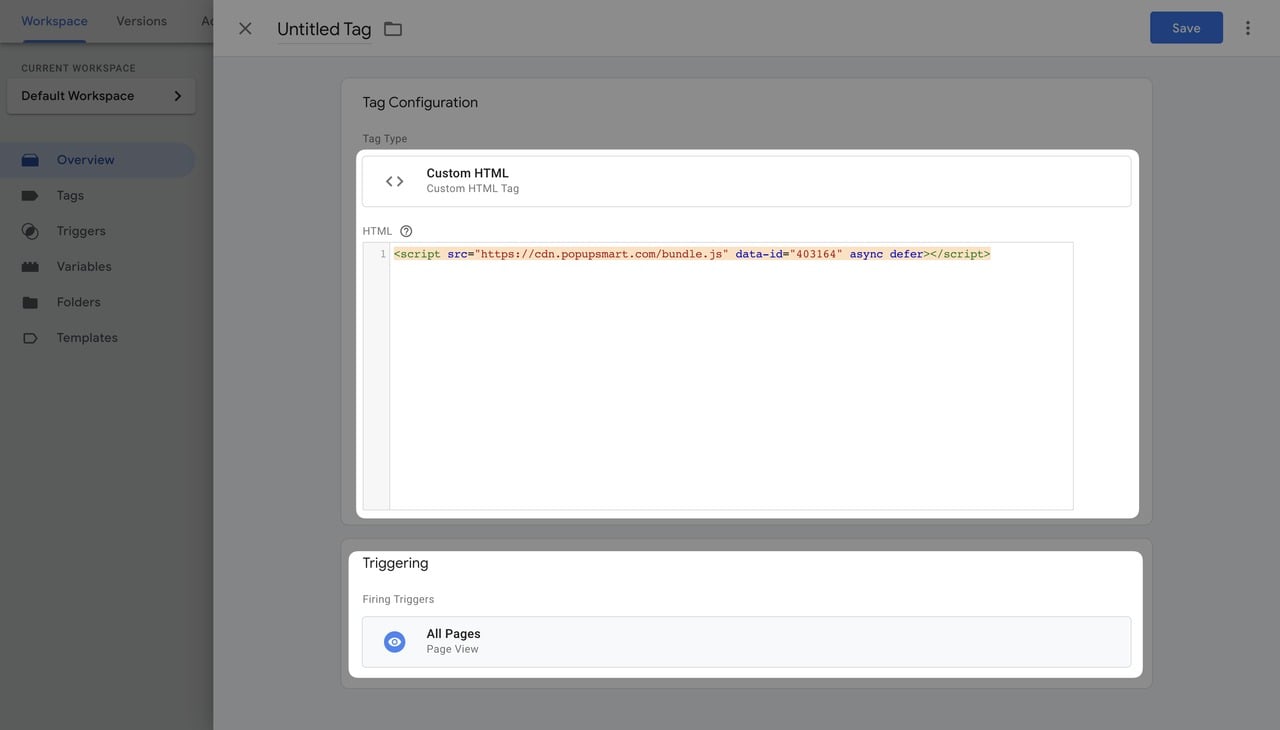
4. If you want to install Popupsmart using Google Tag Manager, follow the steps below.
• Click the “New Tag” button on GTM.
• Add a new tag as “Custom HTML” and put the embed code.
• Add a new trigger, choosing “All Page Views,” then save and publish!
❗️ Important: If you don’t want Popupsmart to count all your website traffic but just the pages with the popup, choose the trigger configuration differently in GTM. You can set it to either All Page Views or Some Page Views.
5. Once your installation is complete, you can add more websites to your Popupsmart account. Go to your Popupsmart dashboard > Account > Websites.
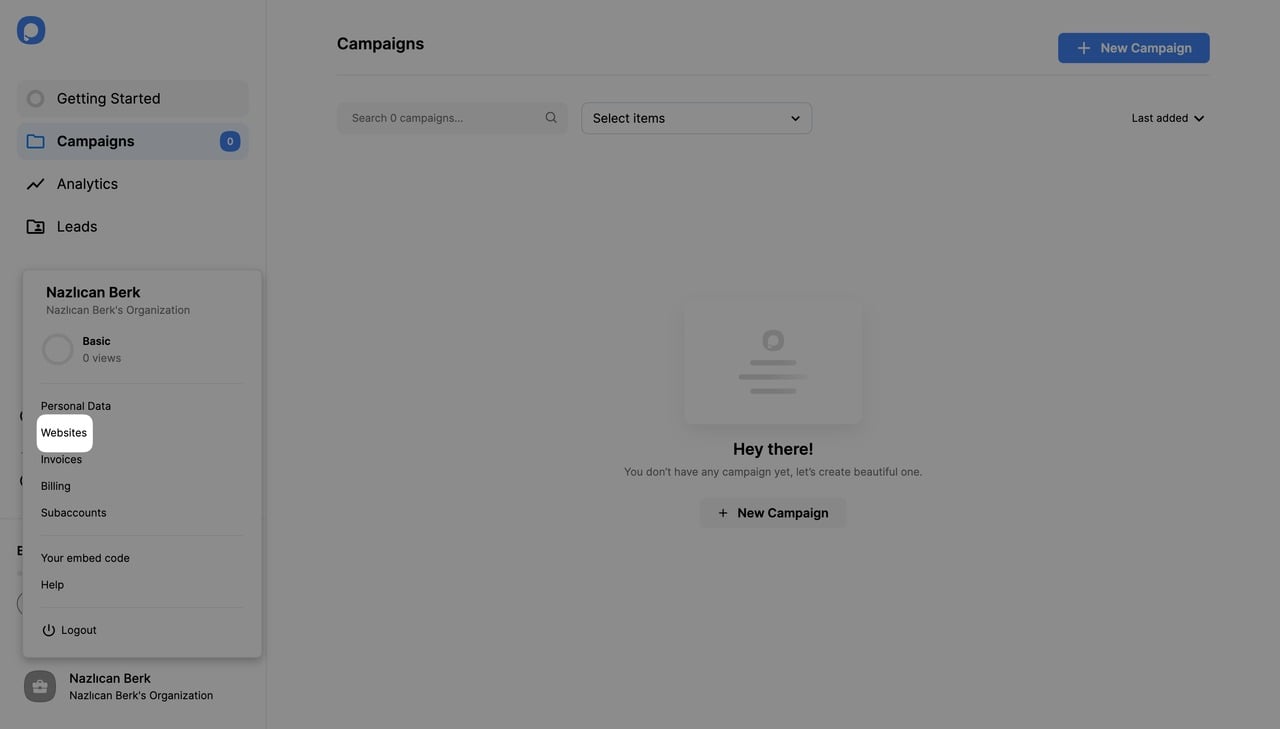
• Click on “+New Website”. Note that Free Plan users can add only one website. To add multiple domains, you need to upgrade your plan.
• Enter your website URL from the opening modal and click Save.
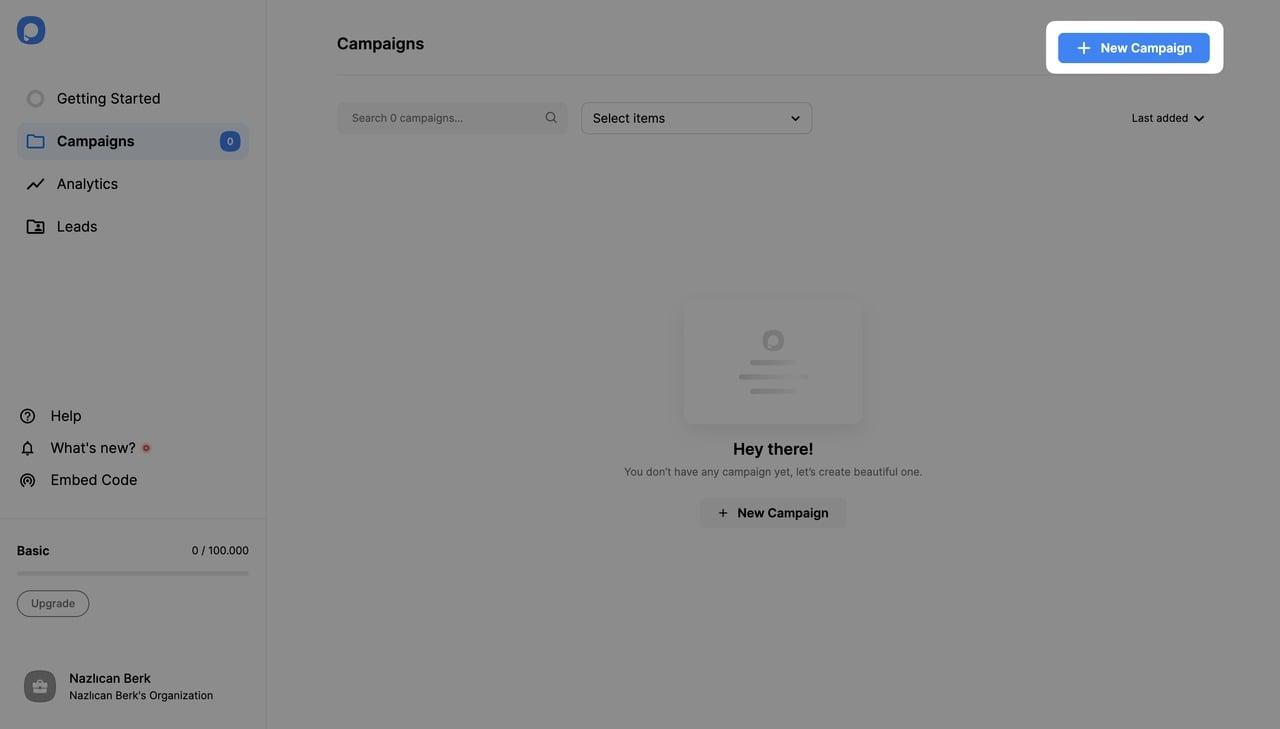
6. Next, go back to your Campaign screen and click the "+ New Campaign" button in the upper-right corner.
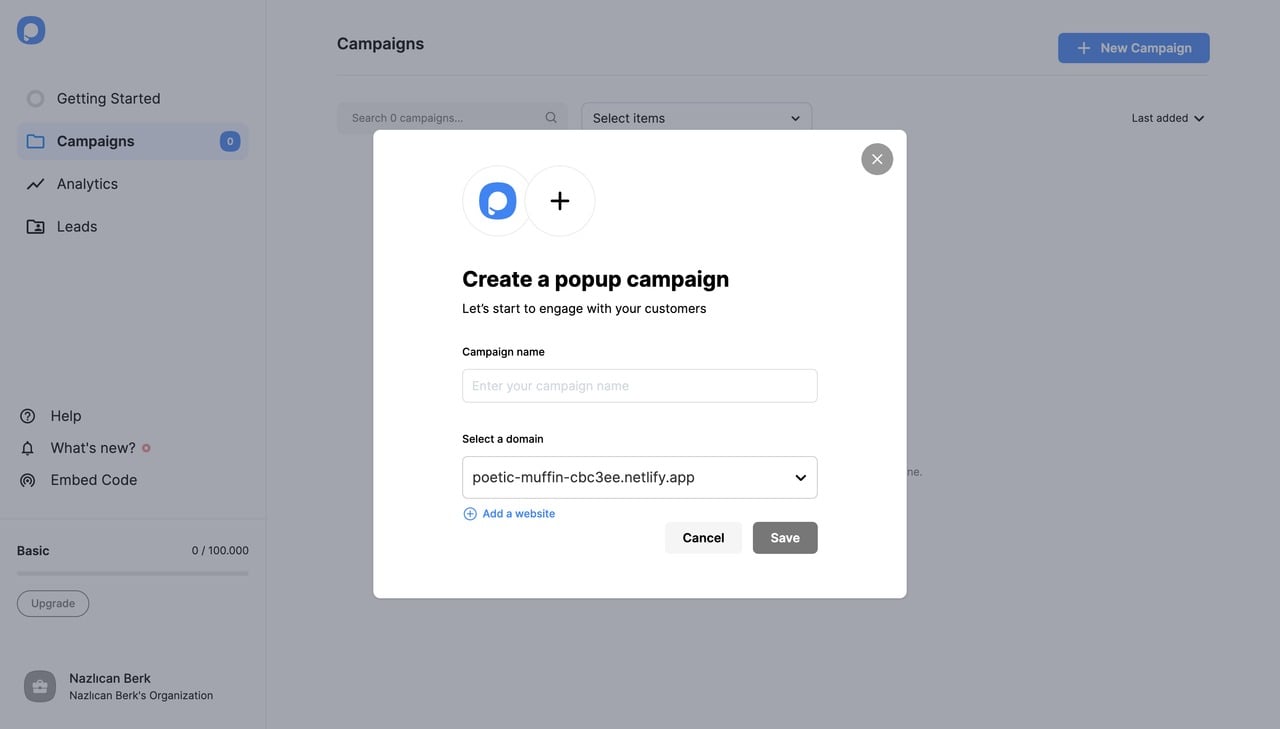
Give your campaign a name and choose a domain for your campaign from the dropdown menu. Then, click Save to proceed to the builder screen.
7. Select a template for your popup from the template gallery. You are able to choose your template according to the popup type (Light Popups, Full-Screen Popups, Floating Bar), and you’ll also have filters for animated and multistep popups.
While all ready-made templates are fully customizable, you can also choose a blank page to create a popup template that's completely your own.

8. When you click on the templates, you’ll also see ready-to-convert segmentation settings designed for maximum effect (you can customize them, too).
After selecting the template, you can add new elements from the “Customize” step.
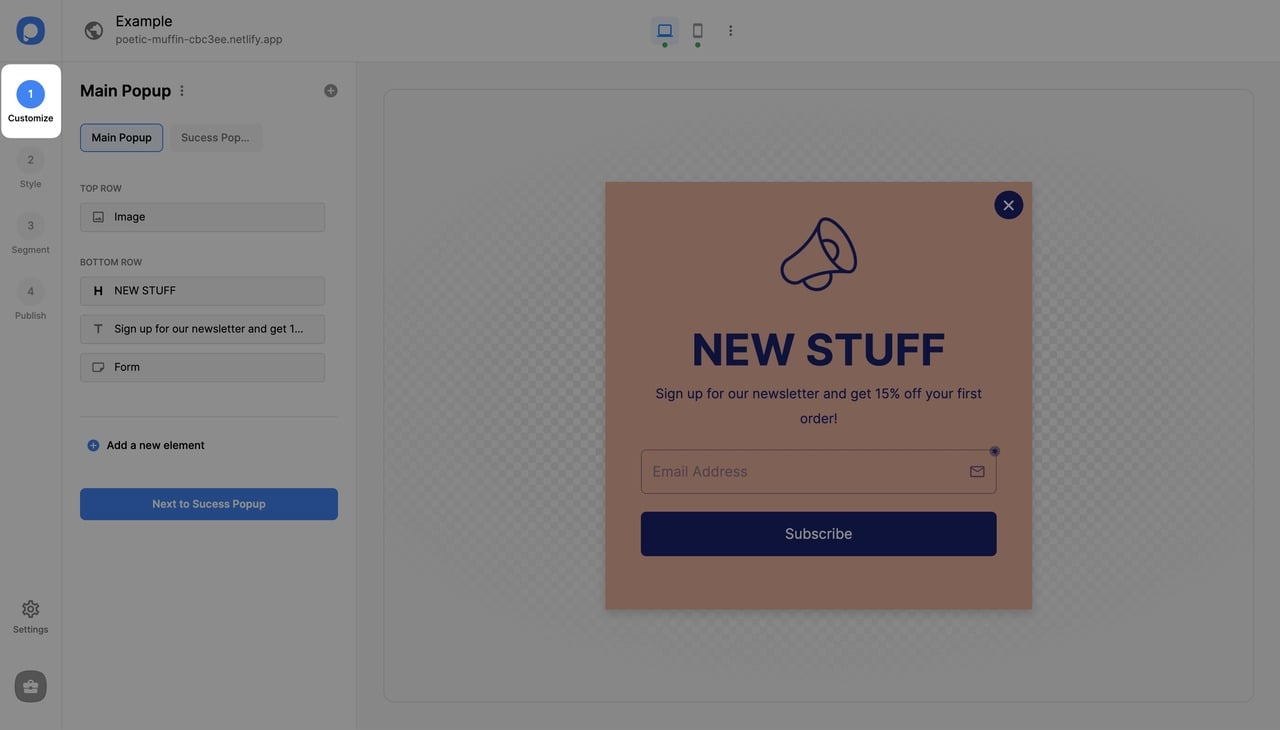
9. Make necessary design changes in the “Style” step. For example, adjust the size of your popup in the Style screen.
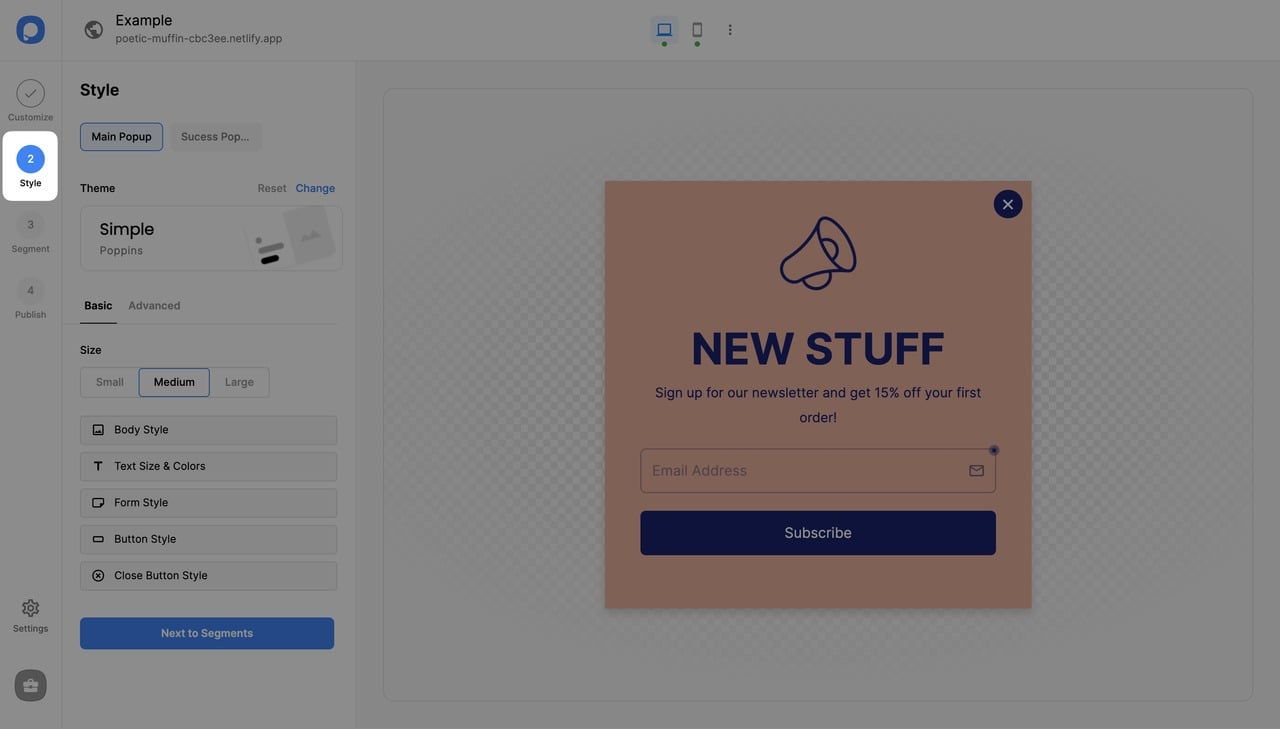
You can tweak the elements on your popup as you like and add new form fields, a countdown timer, and other elements you wish.
10. Click on the “Segment” section from the left vertical bar, where you can either choose a predefined segment by clicking on the button with two circular arrows…
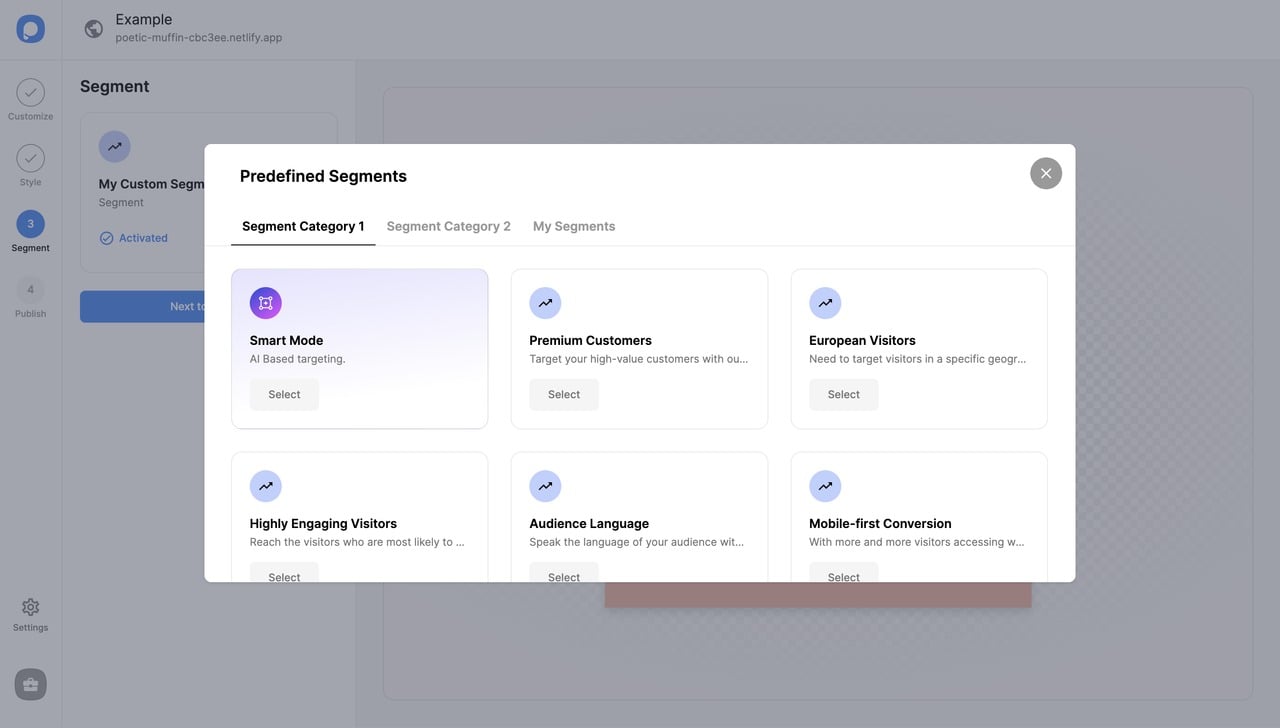
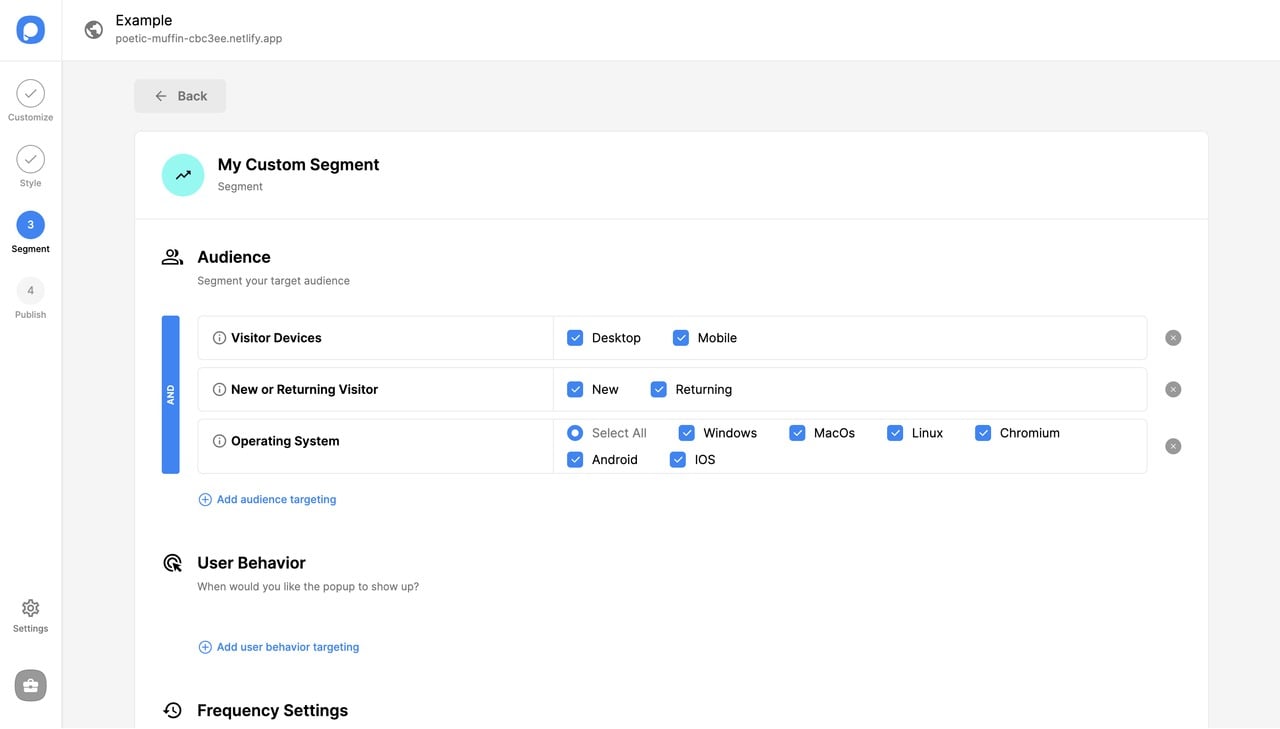
Or create a custom segment by clicking on the three dots and “Edit Segment”. This is where you will be setting up audience targeting and popup triggers such as exit-intent or after-scroll.
🔔 Notes:
• To learn more about targeting features, visit the Targeting documentation pages.
• You can schedule your campaign, activate your popup for mobile devices (Visitor Device), and set the view frequency on this step as well.
• Either configure the targeting settings manually or turn the Smart Mode toggle on to activate AI-backed automated targeting from the “Segment” step by clicking the button with two circular arrows.
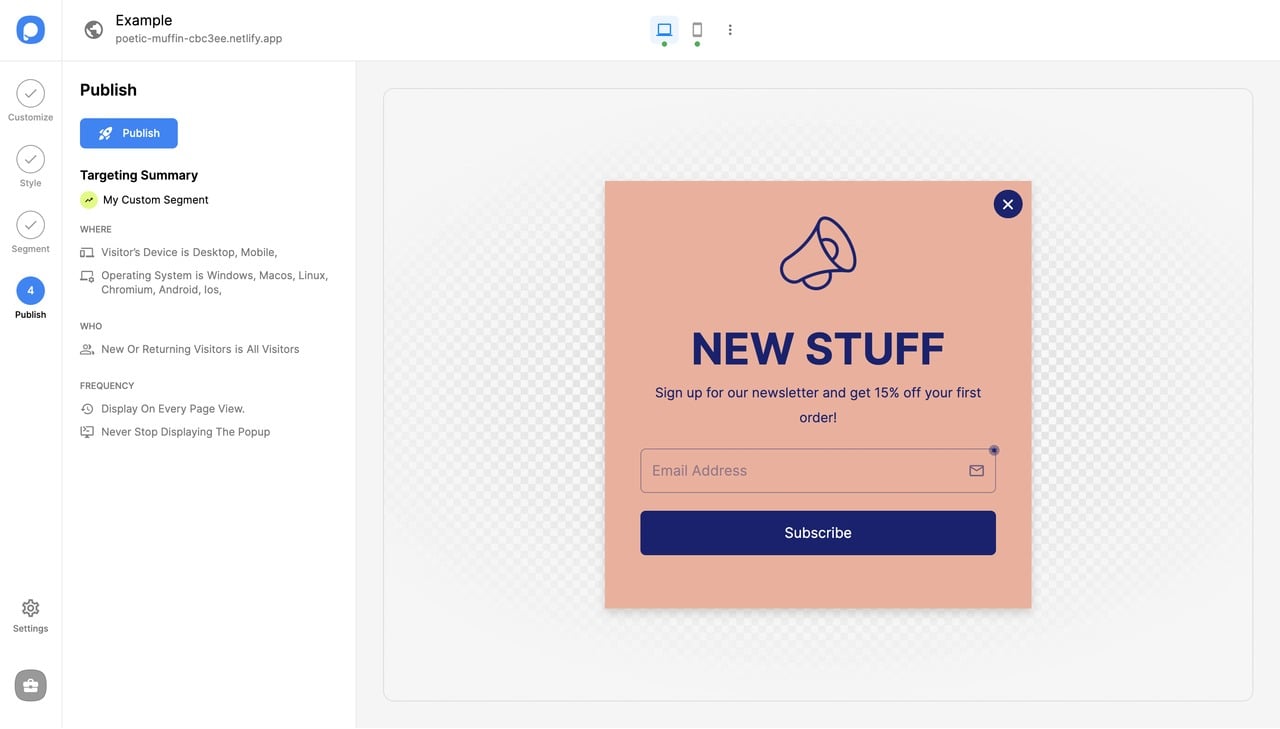
11. Continue with the “Publish” step if all is done to see the Targeting Summary and publish your popup campaign by clicking the “Publish” button.
12. Click on the Settings section from the left vertical bar. Make sure your website is verified first. See the related documentation to learn how.
You’ll need to verify all the websites you added to your account in order to show popups on them. Verification works only if you correctly embed the Popupsmart installation code on your website.
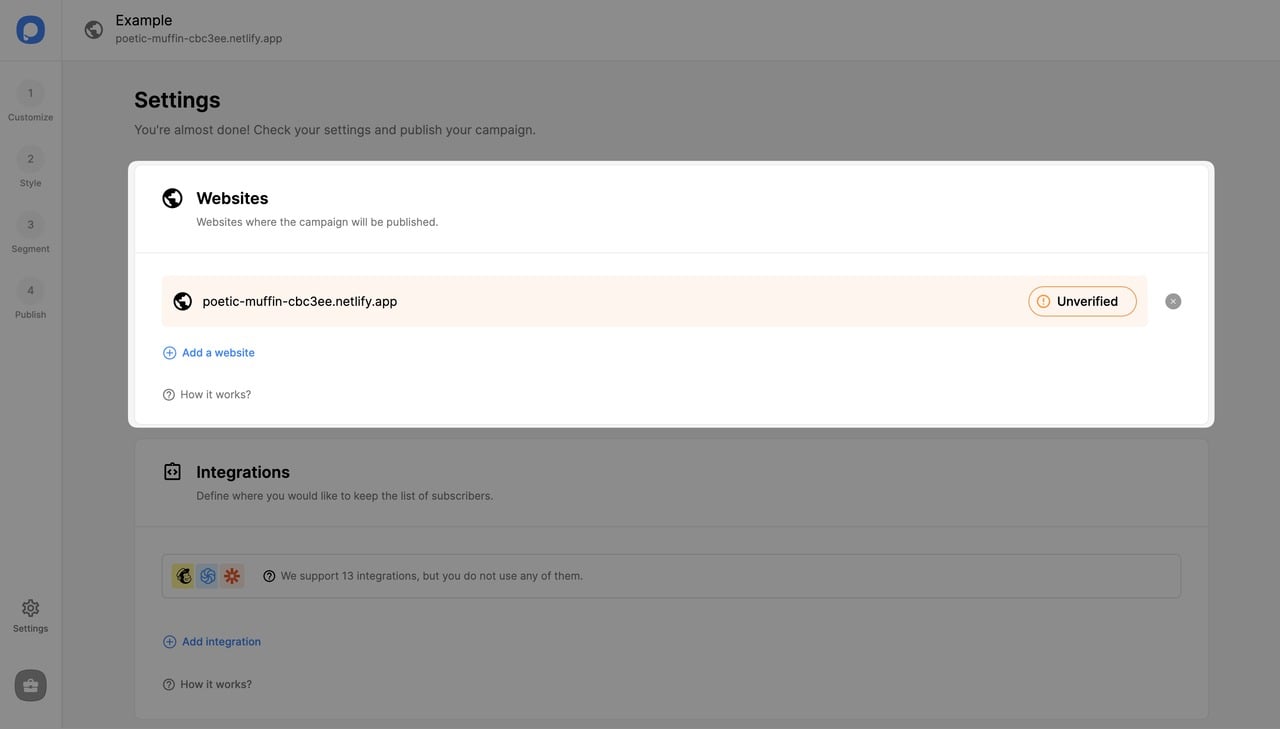
After completing the verification, you can continue the remaining settings from the Settings section on the builder. Click on Integrations to connect your popup with your service.

❇️ Additional optional settings:
Autoresponder Email Notifications
🔔 Good to Know:
• You can find the analytics of your campaign from the bar > Analytics
• Leads information collected with your campaign is listed in your Leads Table
• If you want your campaign to show up on your live website, make sure your popup status is on. Dashboard > Campaign Status Toggle > On/Off
• You can see the preview of your popup on your website on the “Publish” step after you publish it by clicking on the button with the triangle, which is in the upper right.
Feeling stuck? See our help documentation or contact us.