How to Integrate Popupsmart with EmailOctopus
Boost email campaigns with Popupsmart-EmailOctopus integration. Learn to connect seamlessly for efficient engagement and streamlined data flow.
EmailOctopus is a drag-and-drop email builder and presents powerful analytics.
Now, it is possible to integrate your Popupsmart account with EmailOctopus seamlessly.
Follow the step-by-step guide to make this process easier for you.
Prerequisites
- You need to have an EmailOctopus account.
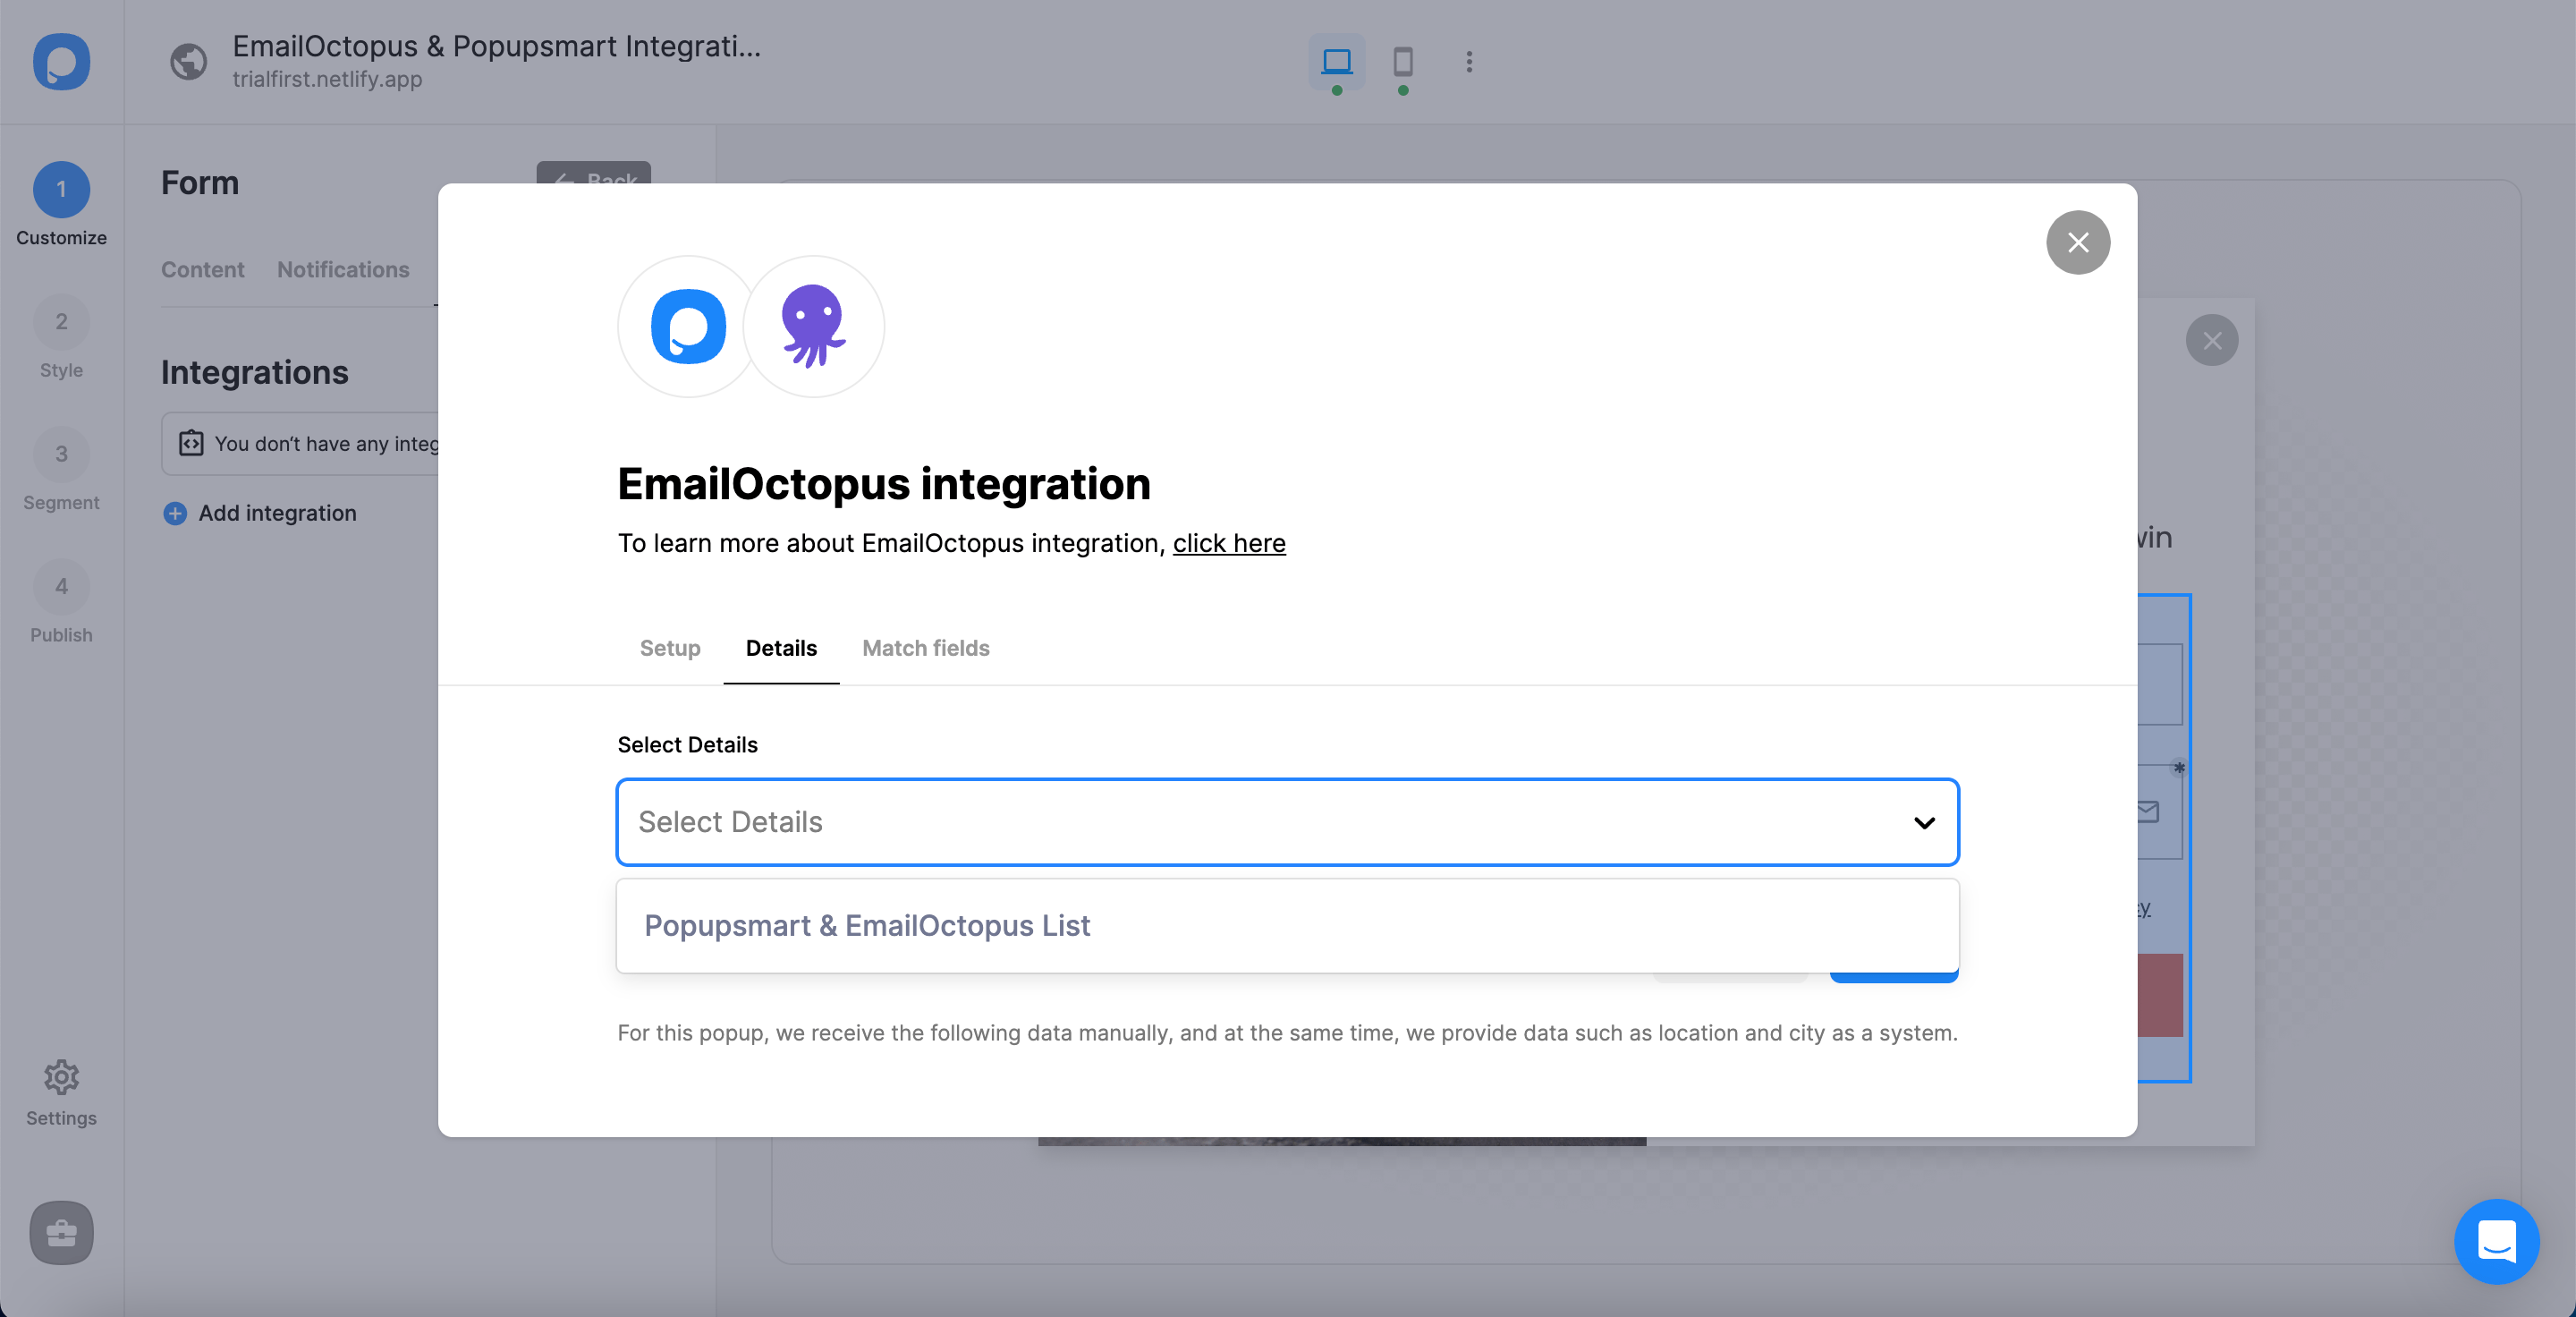
- You need to have a contact list for your campaign on EmailOctopus. You can create a list by clicking 'Lists' at the header.
- You need to verify your website on your Popupsmart account.
How to Set Up EmailOctopus Integration
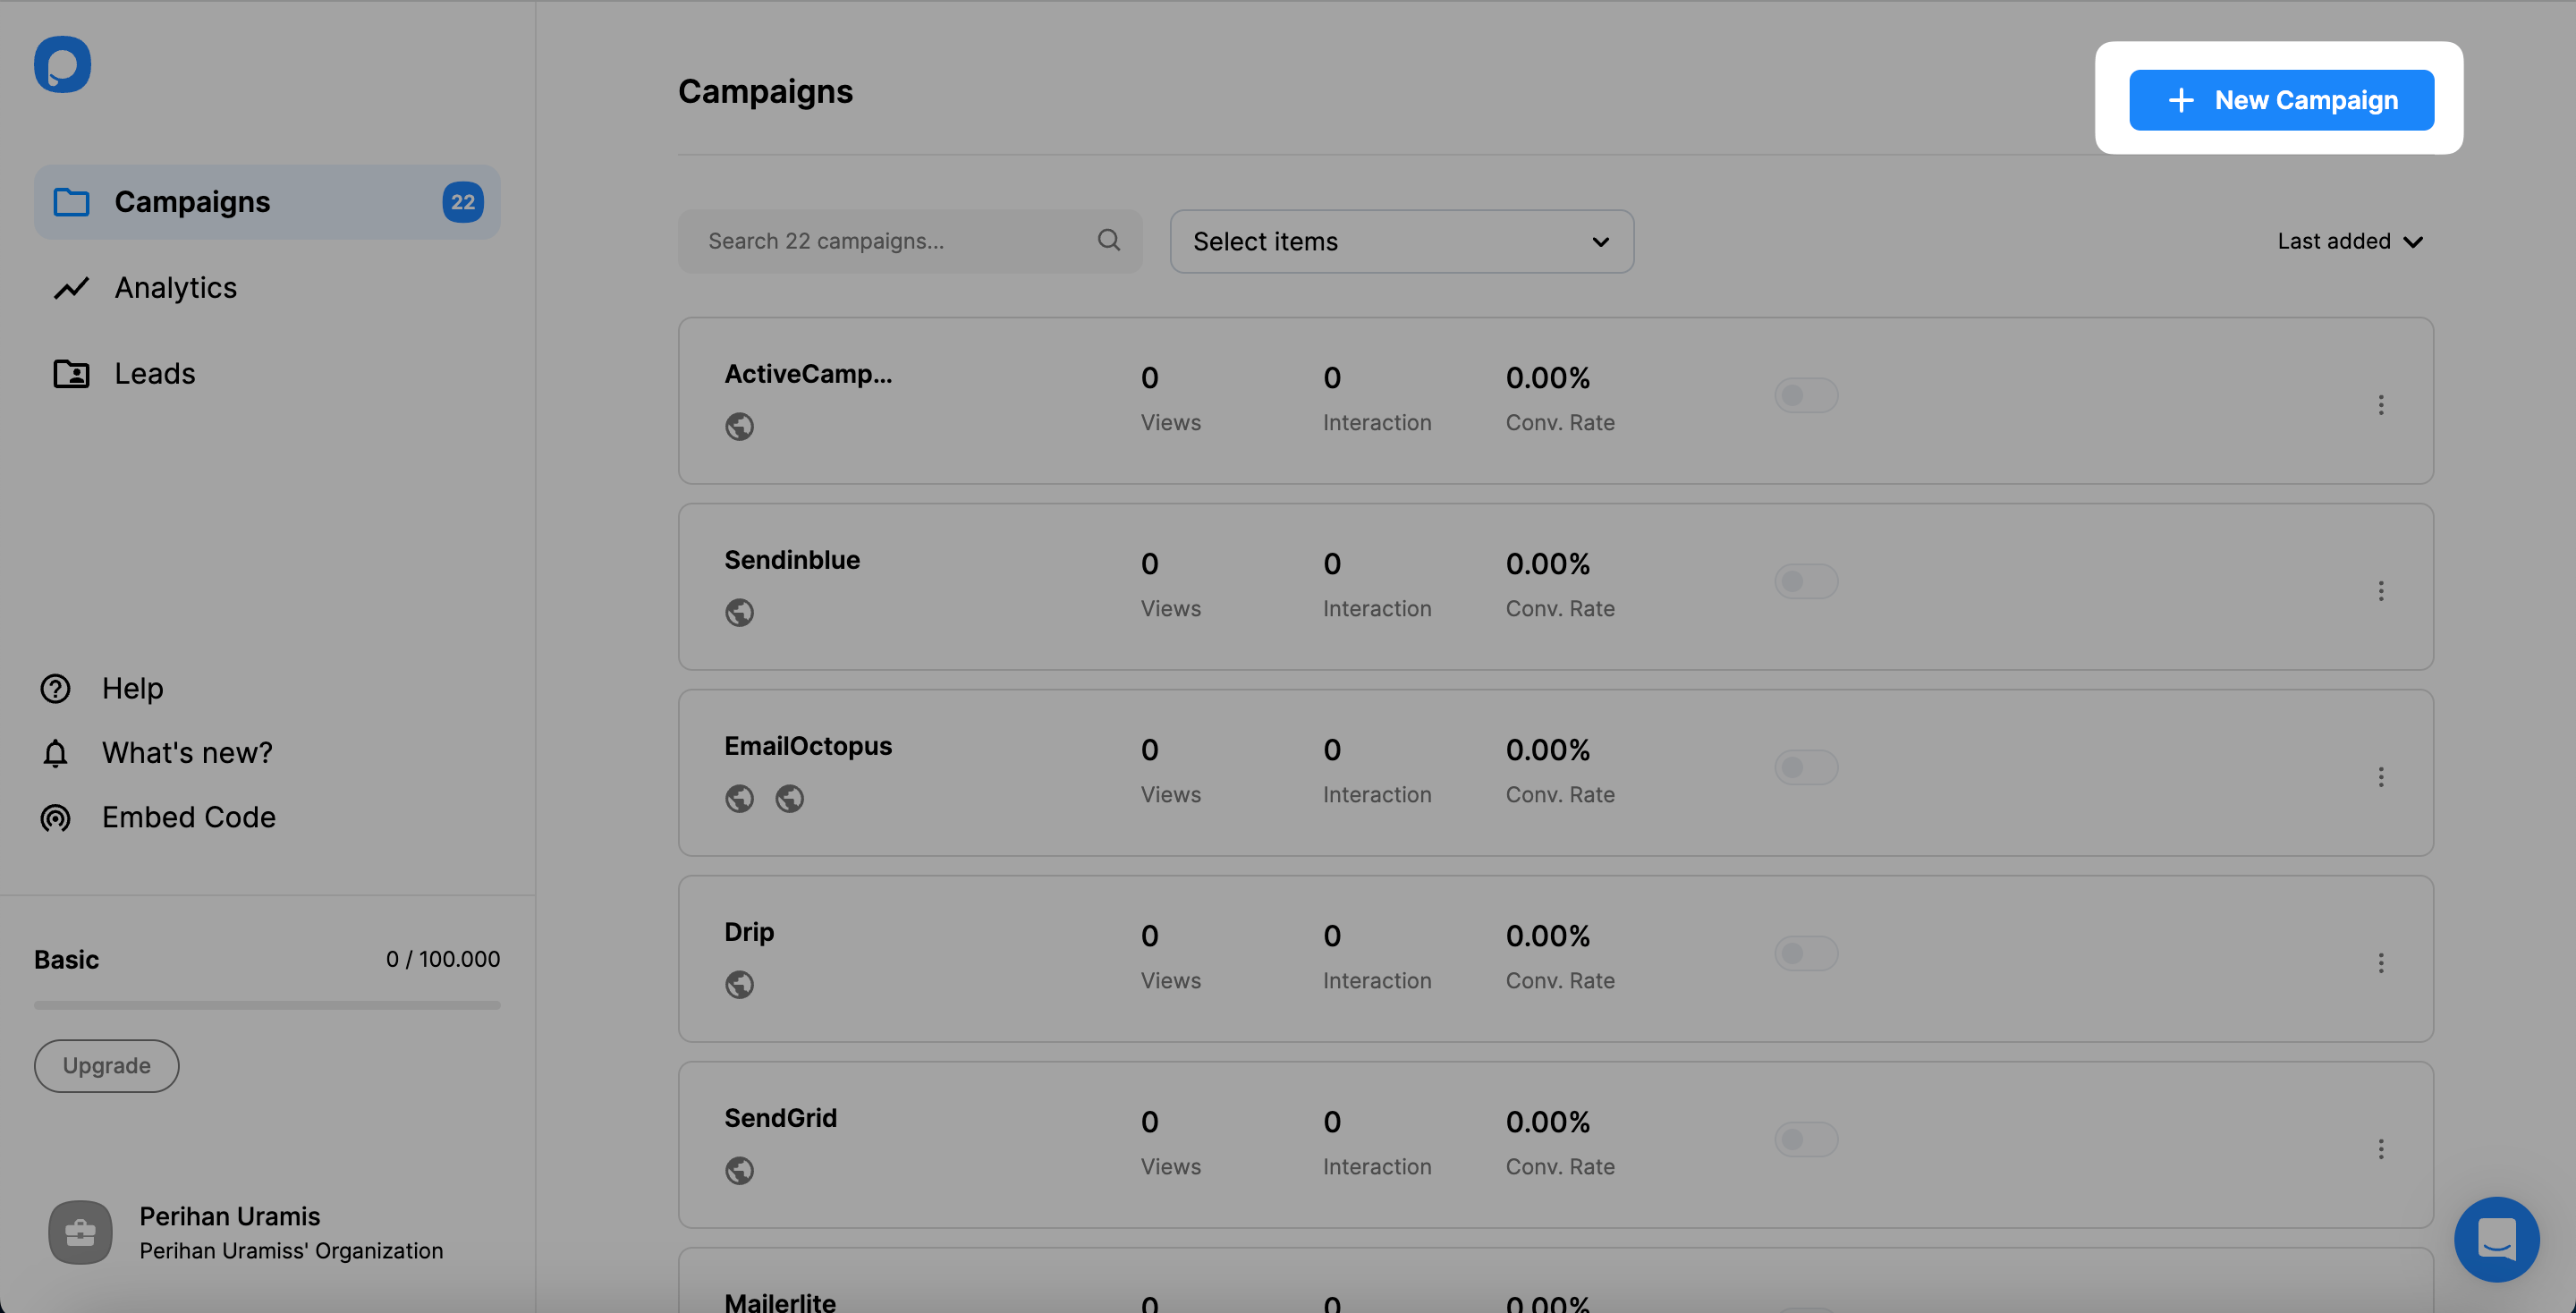
Create Campaign
Sign in to your Popupsmart account and create a new campaign. For the next step, you can choose a ready-to-convert popup template or a blank popup with a form input element.
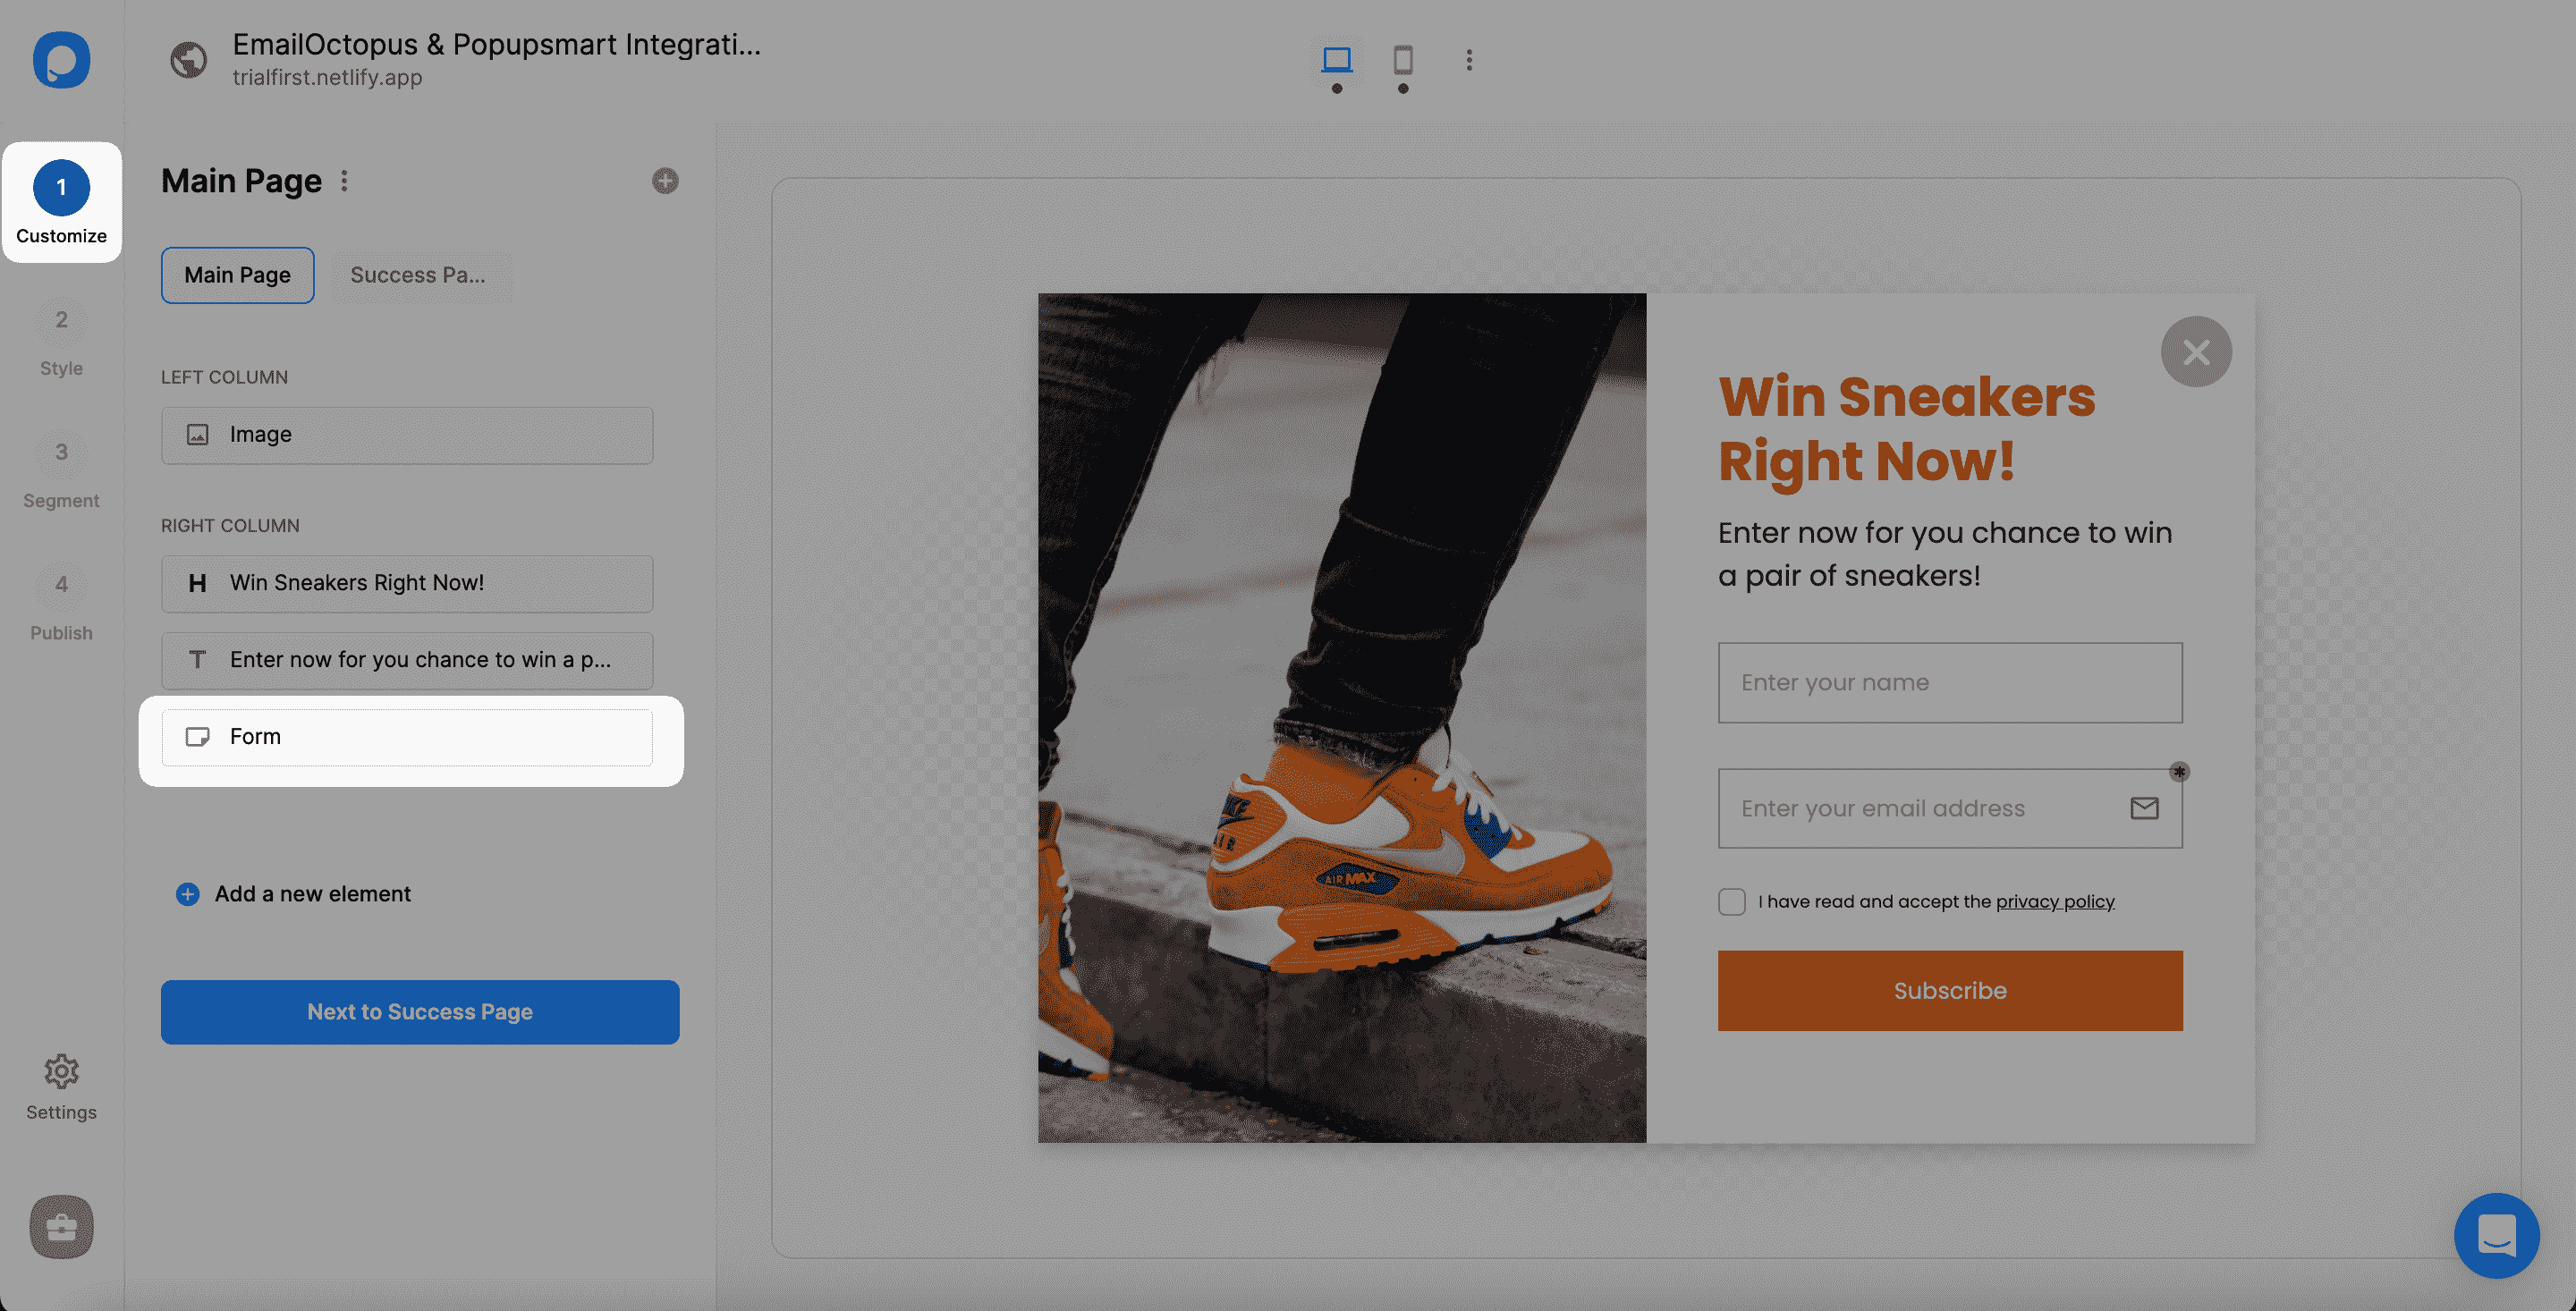
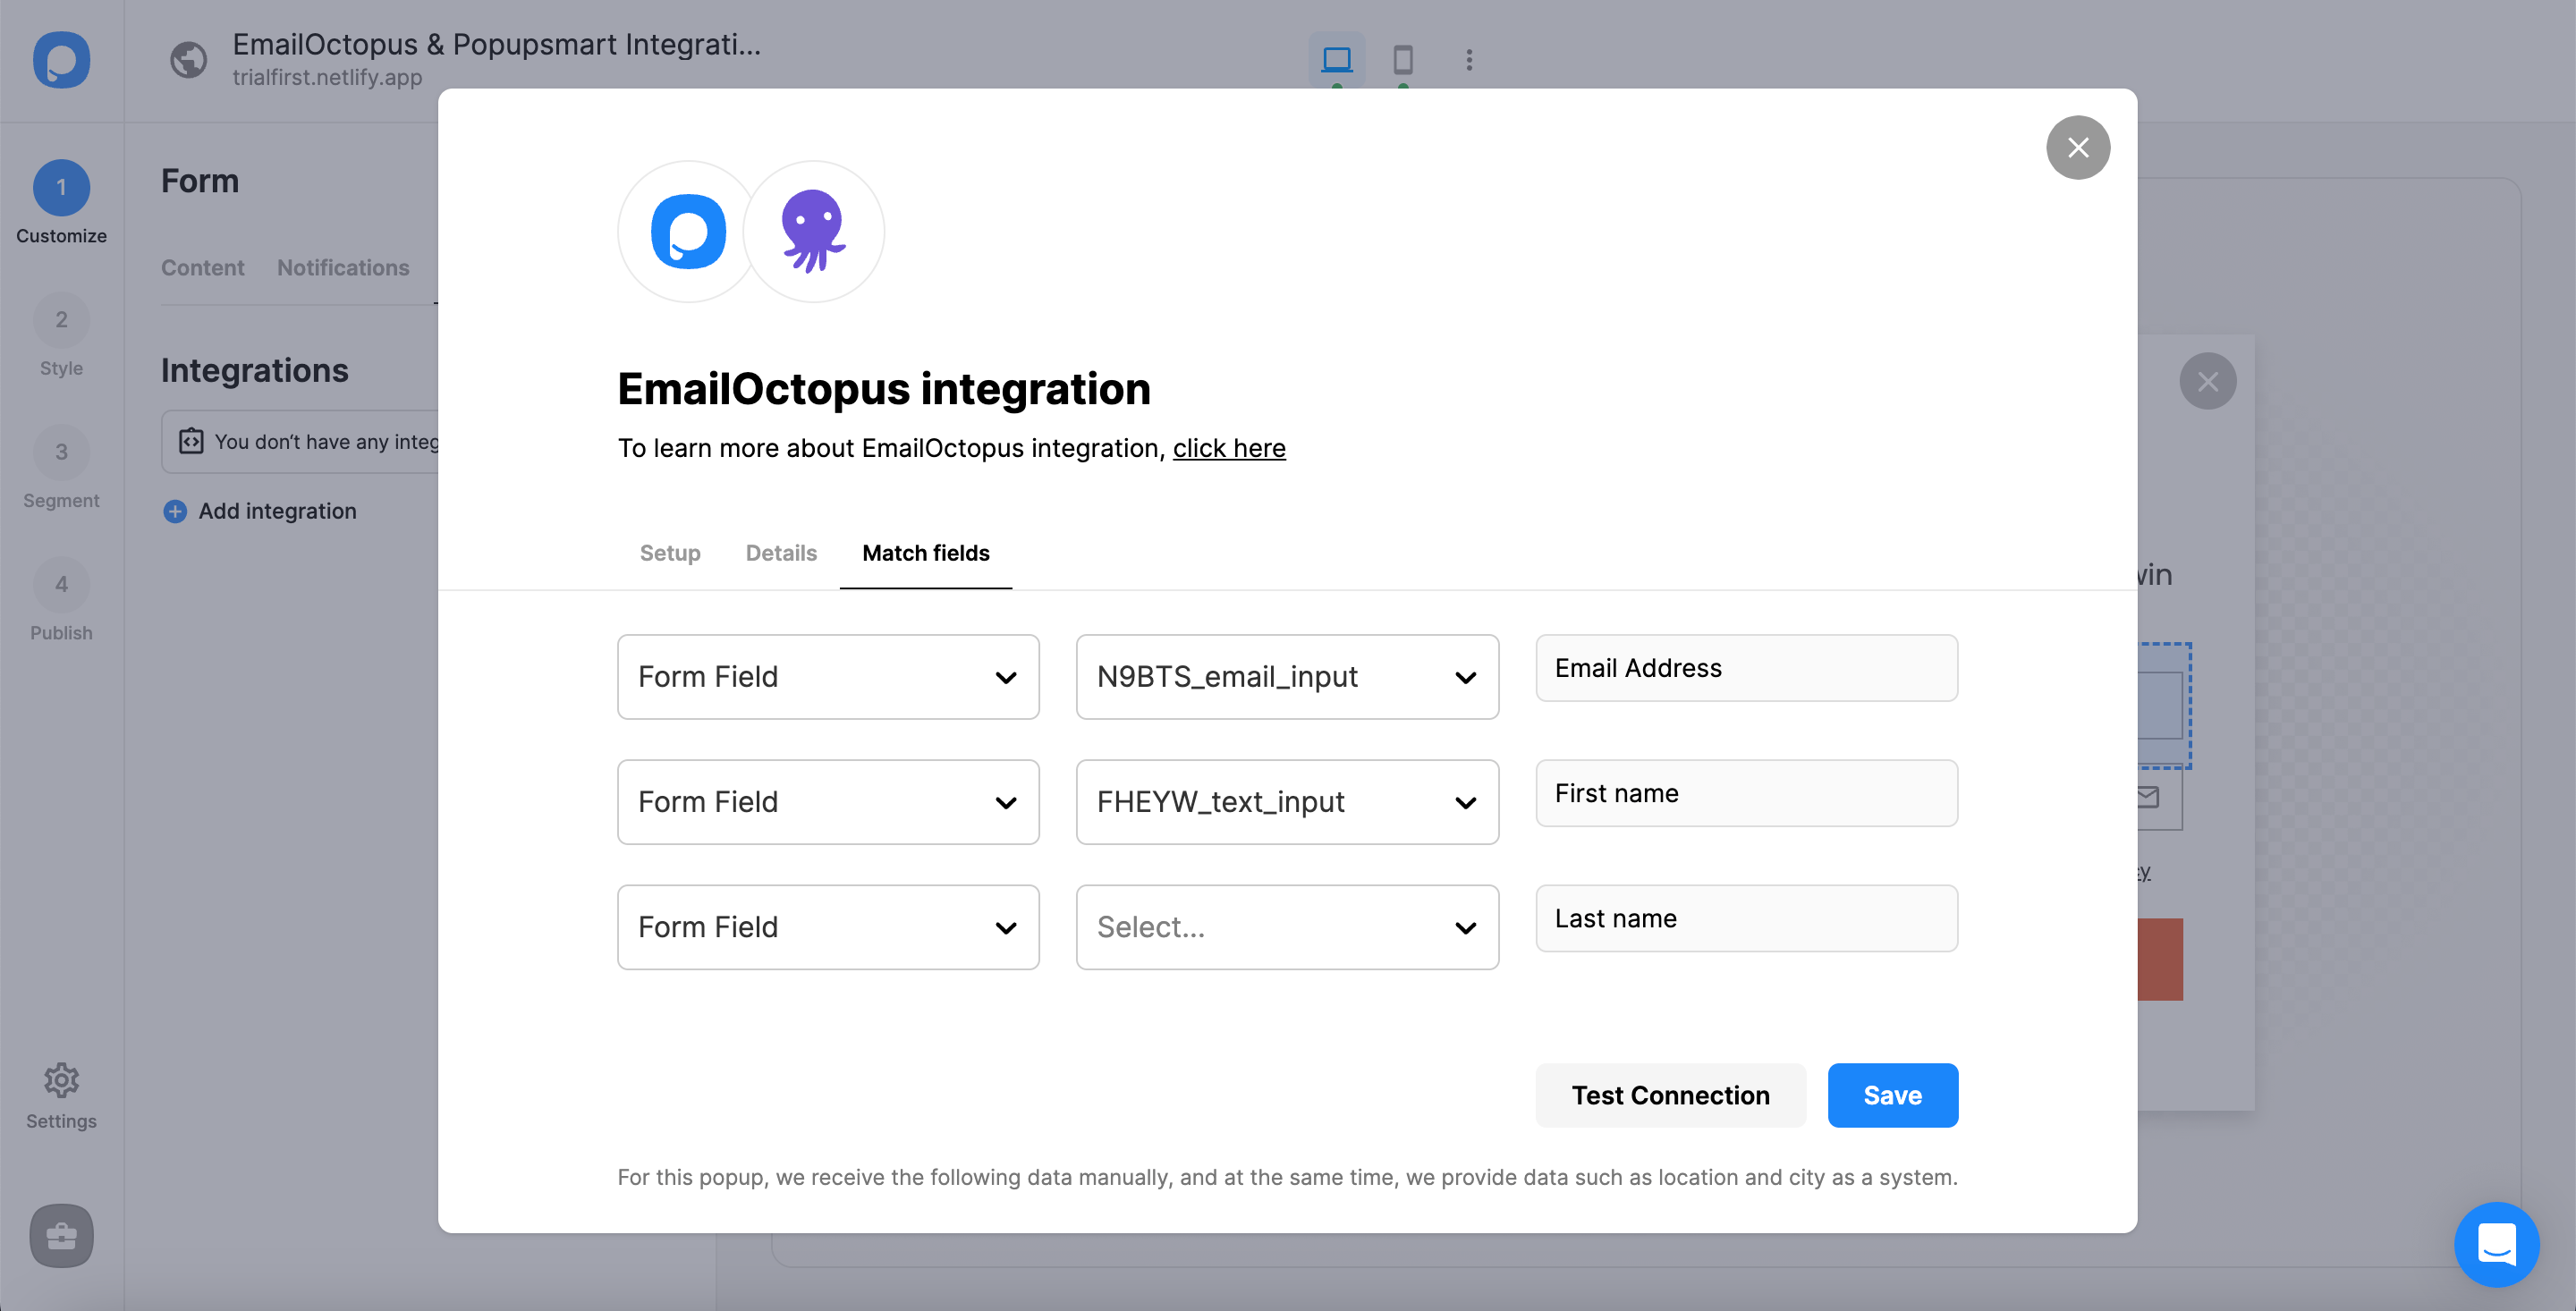
Select Form Element
You need to click the form input element on the Customize step to start the integration. The form input element only helps you carry the related data to your list in EmailOctopus.
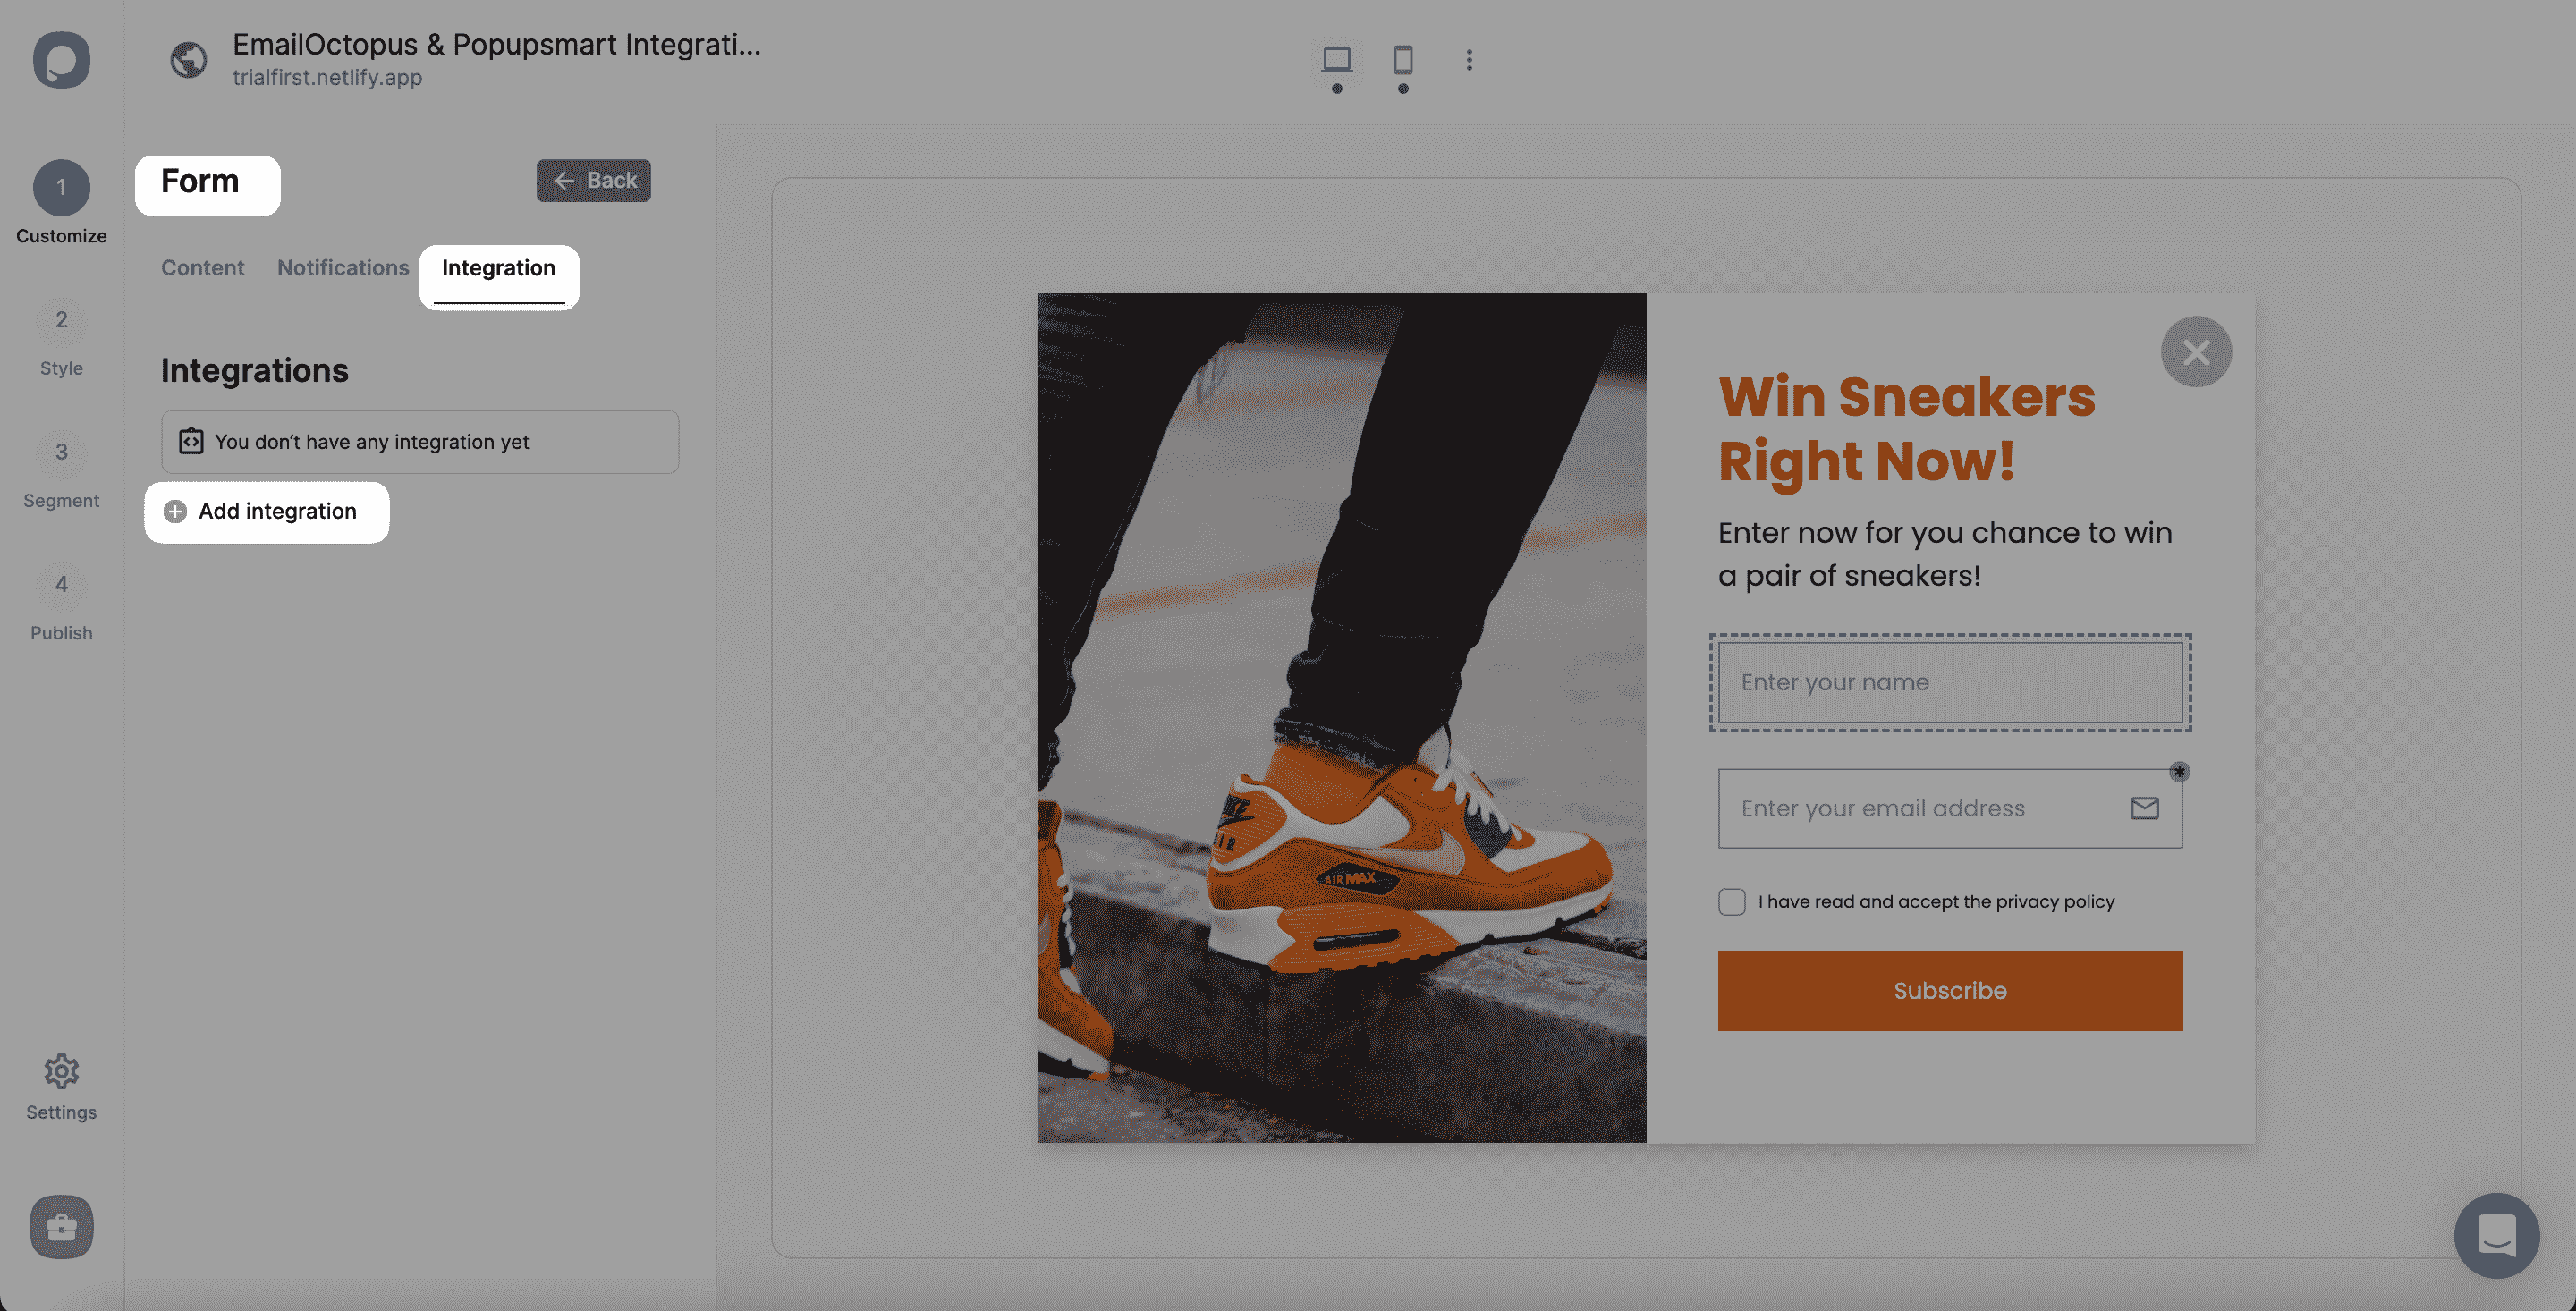
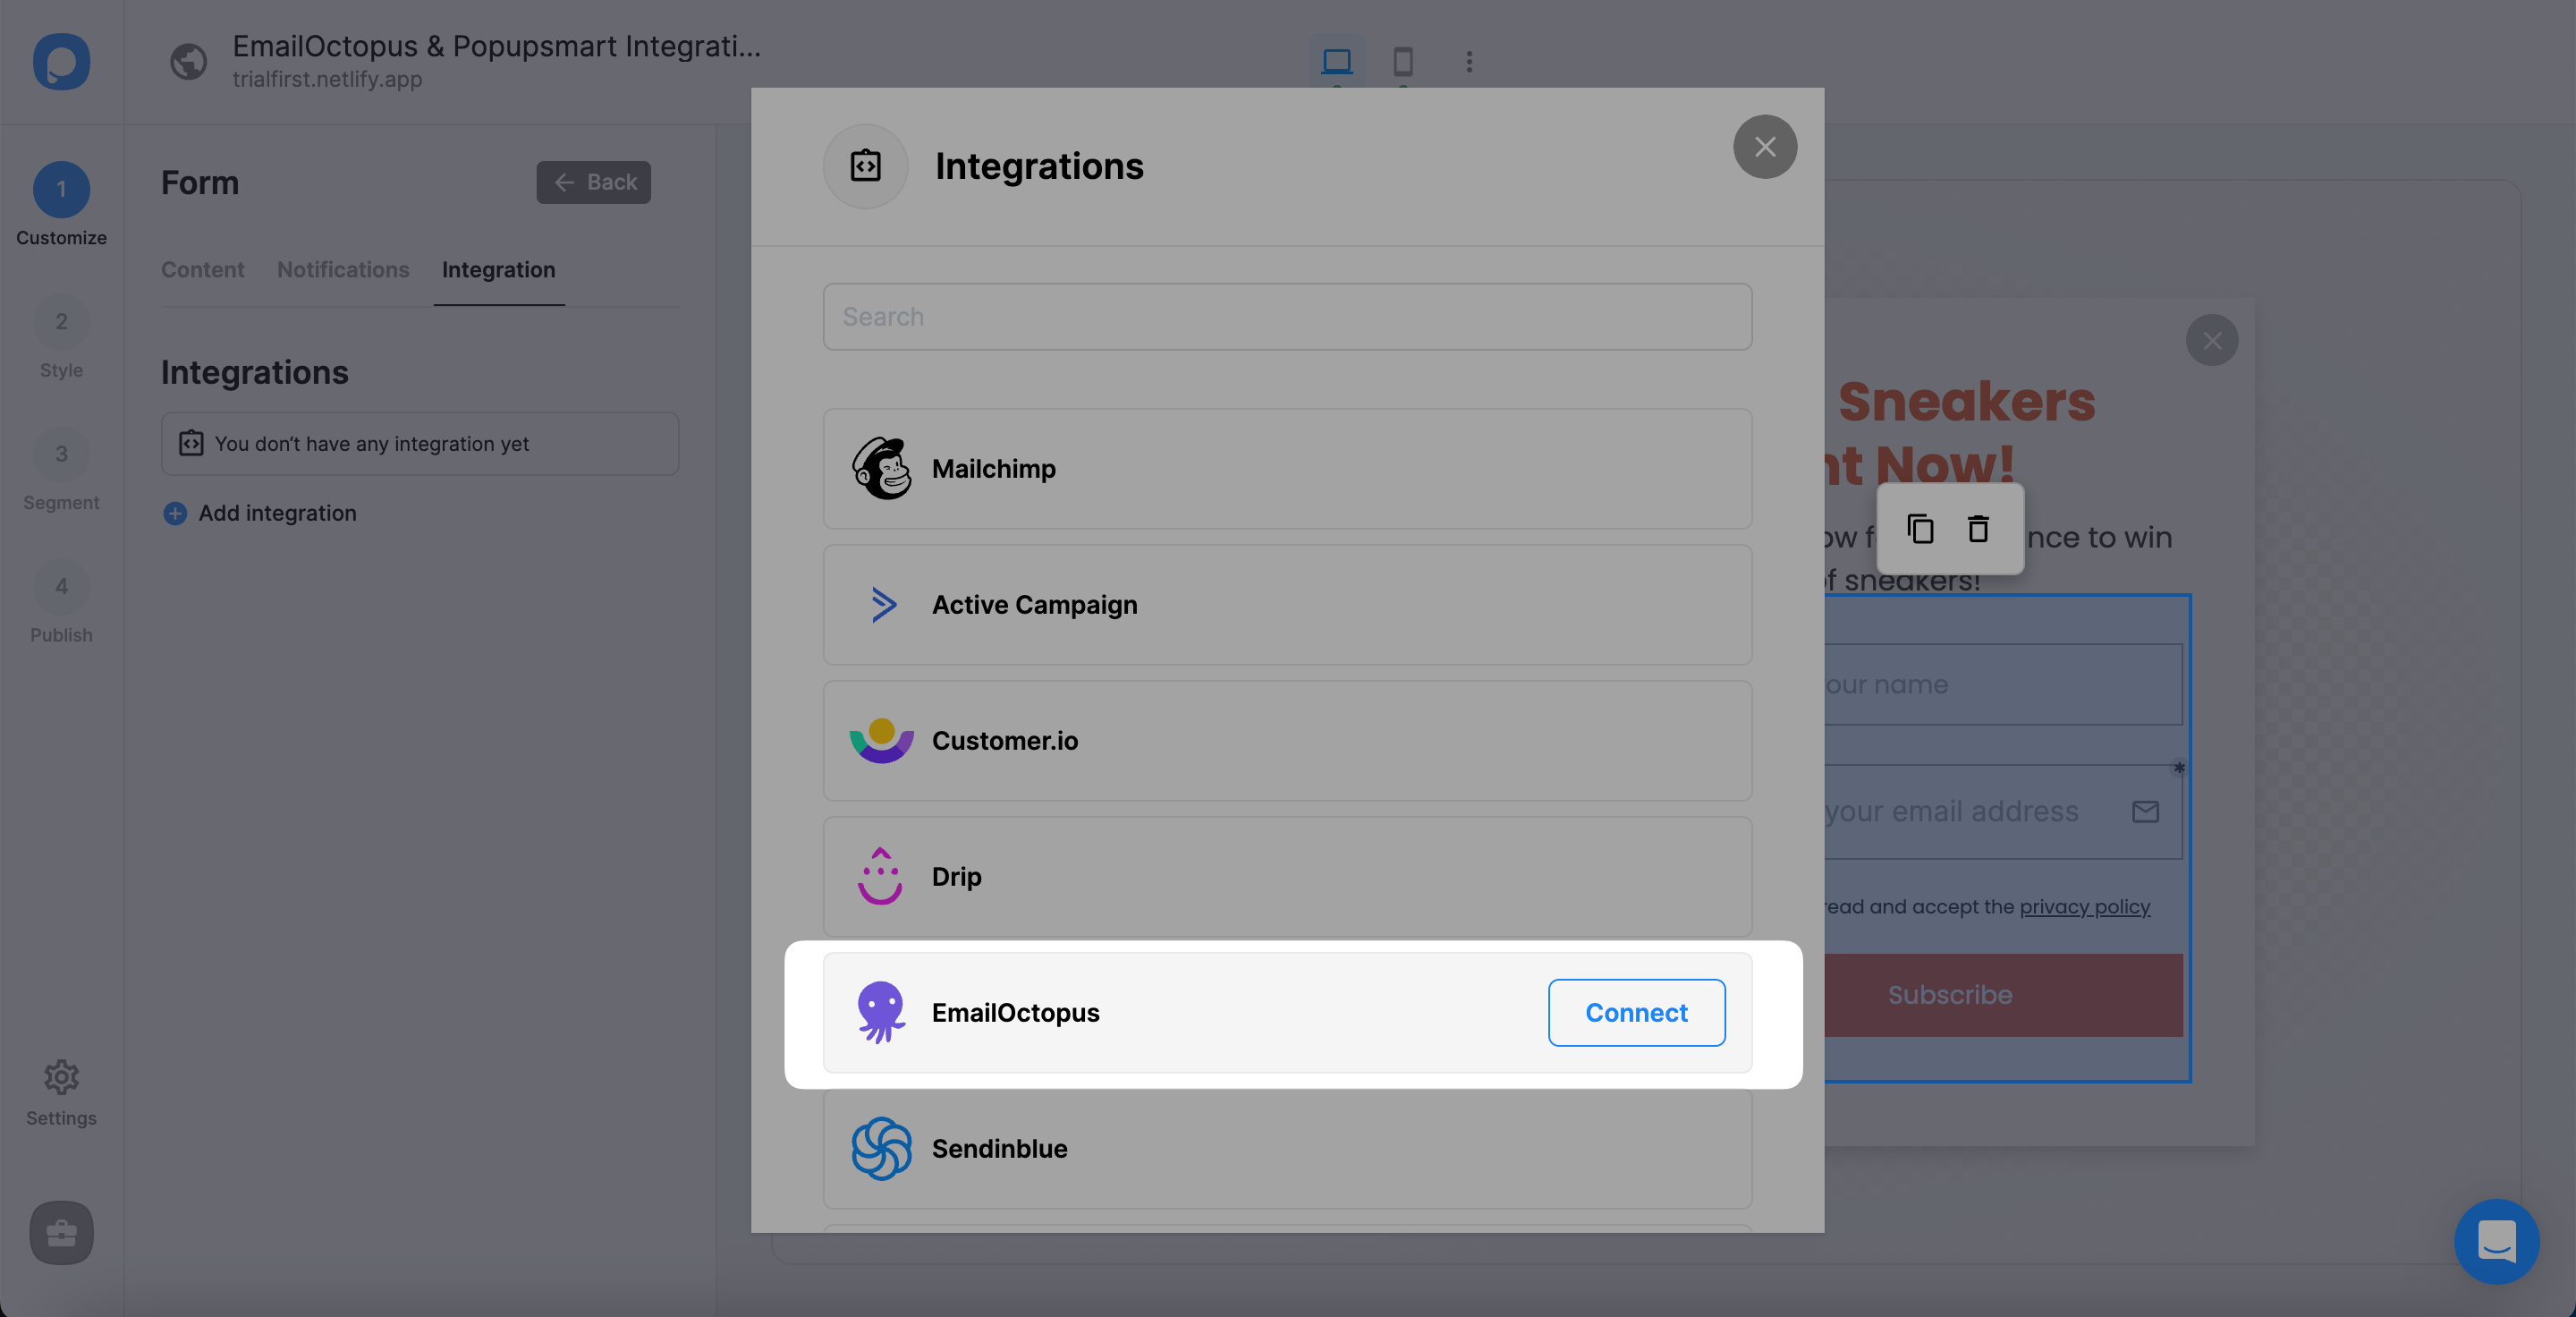
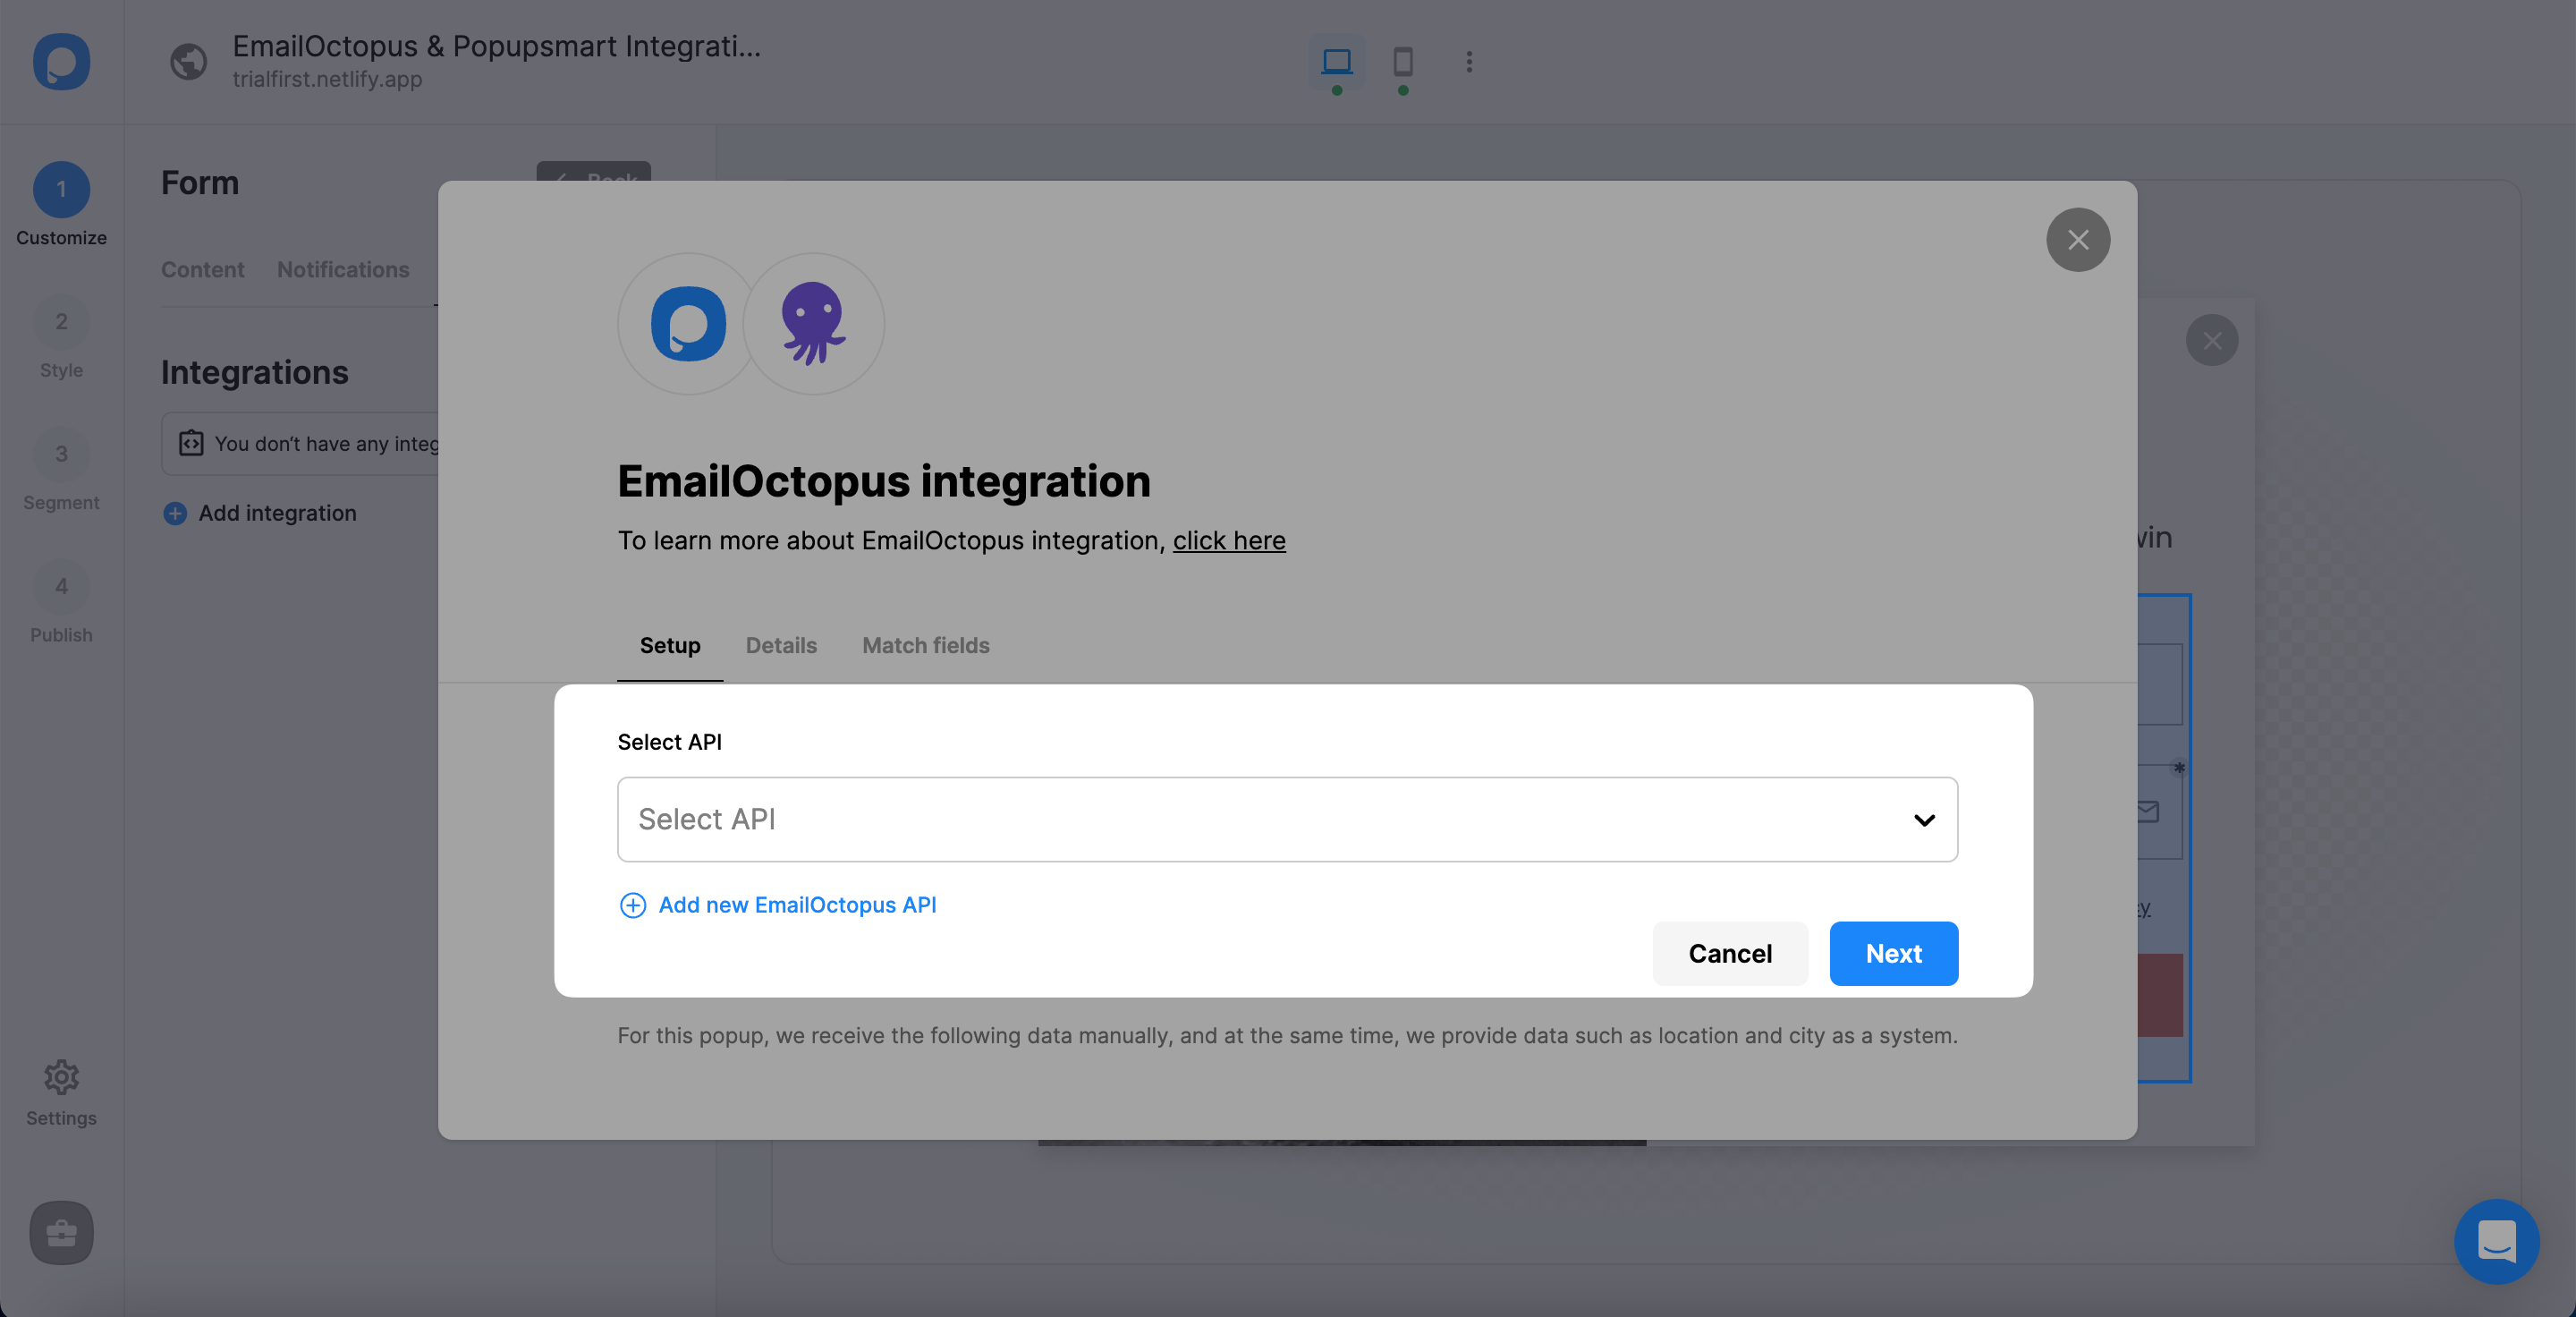
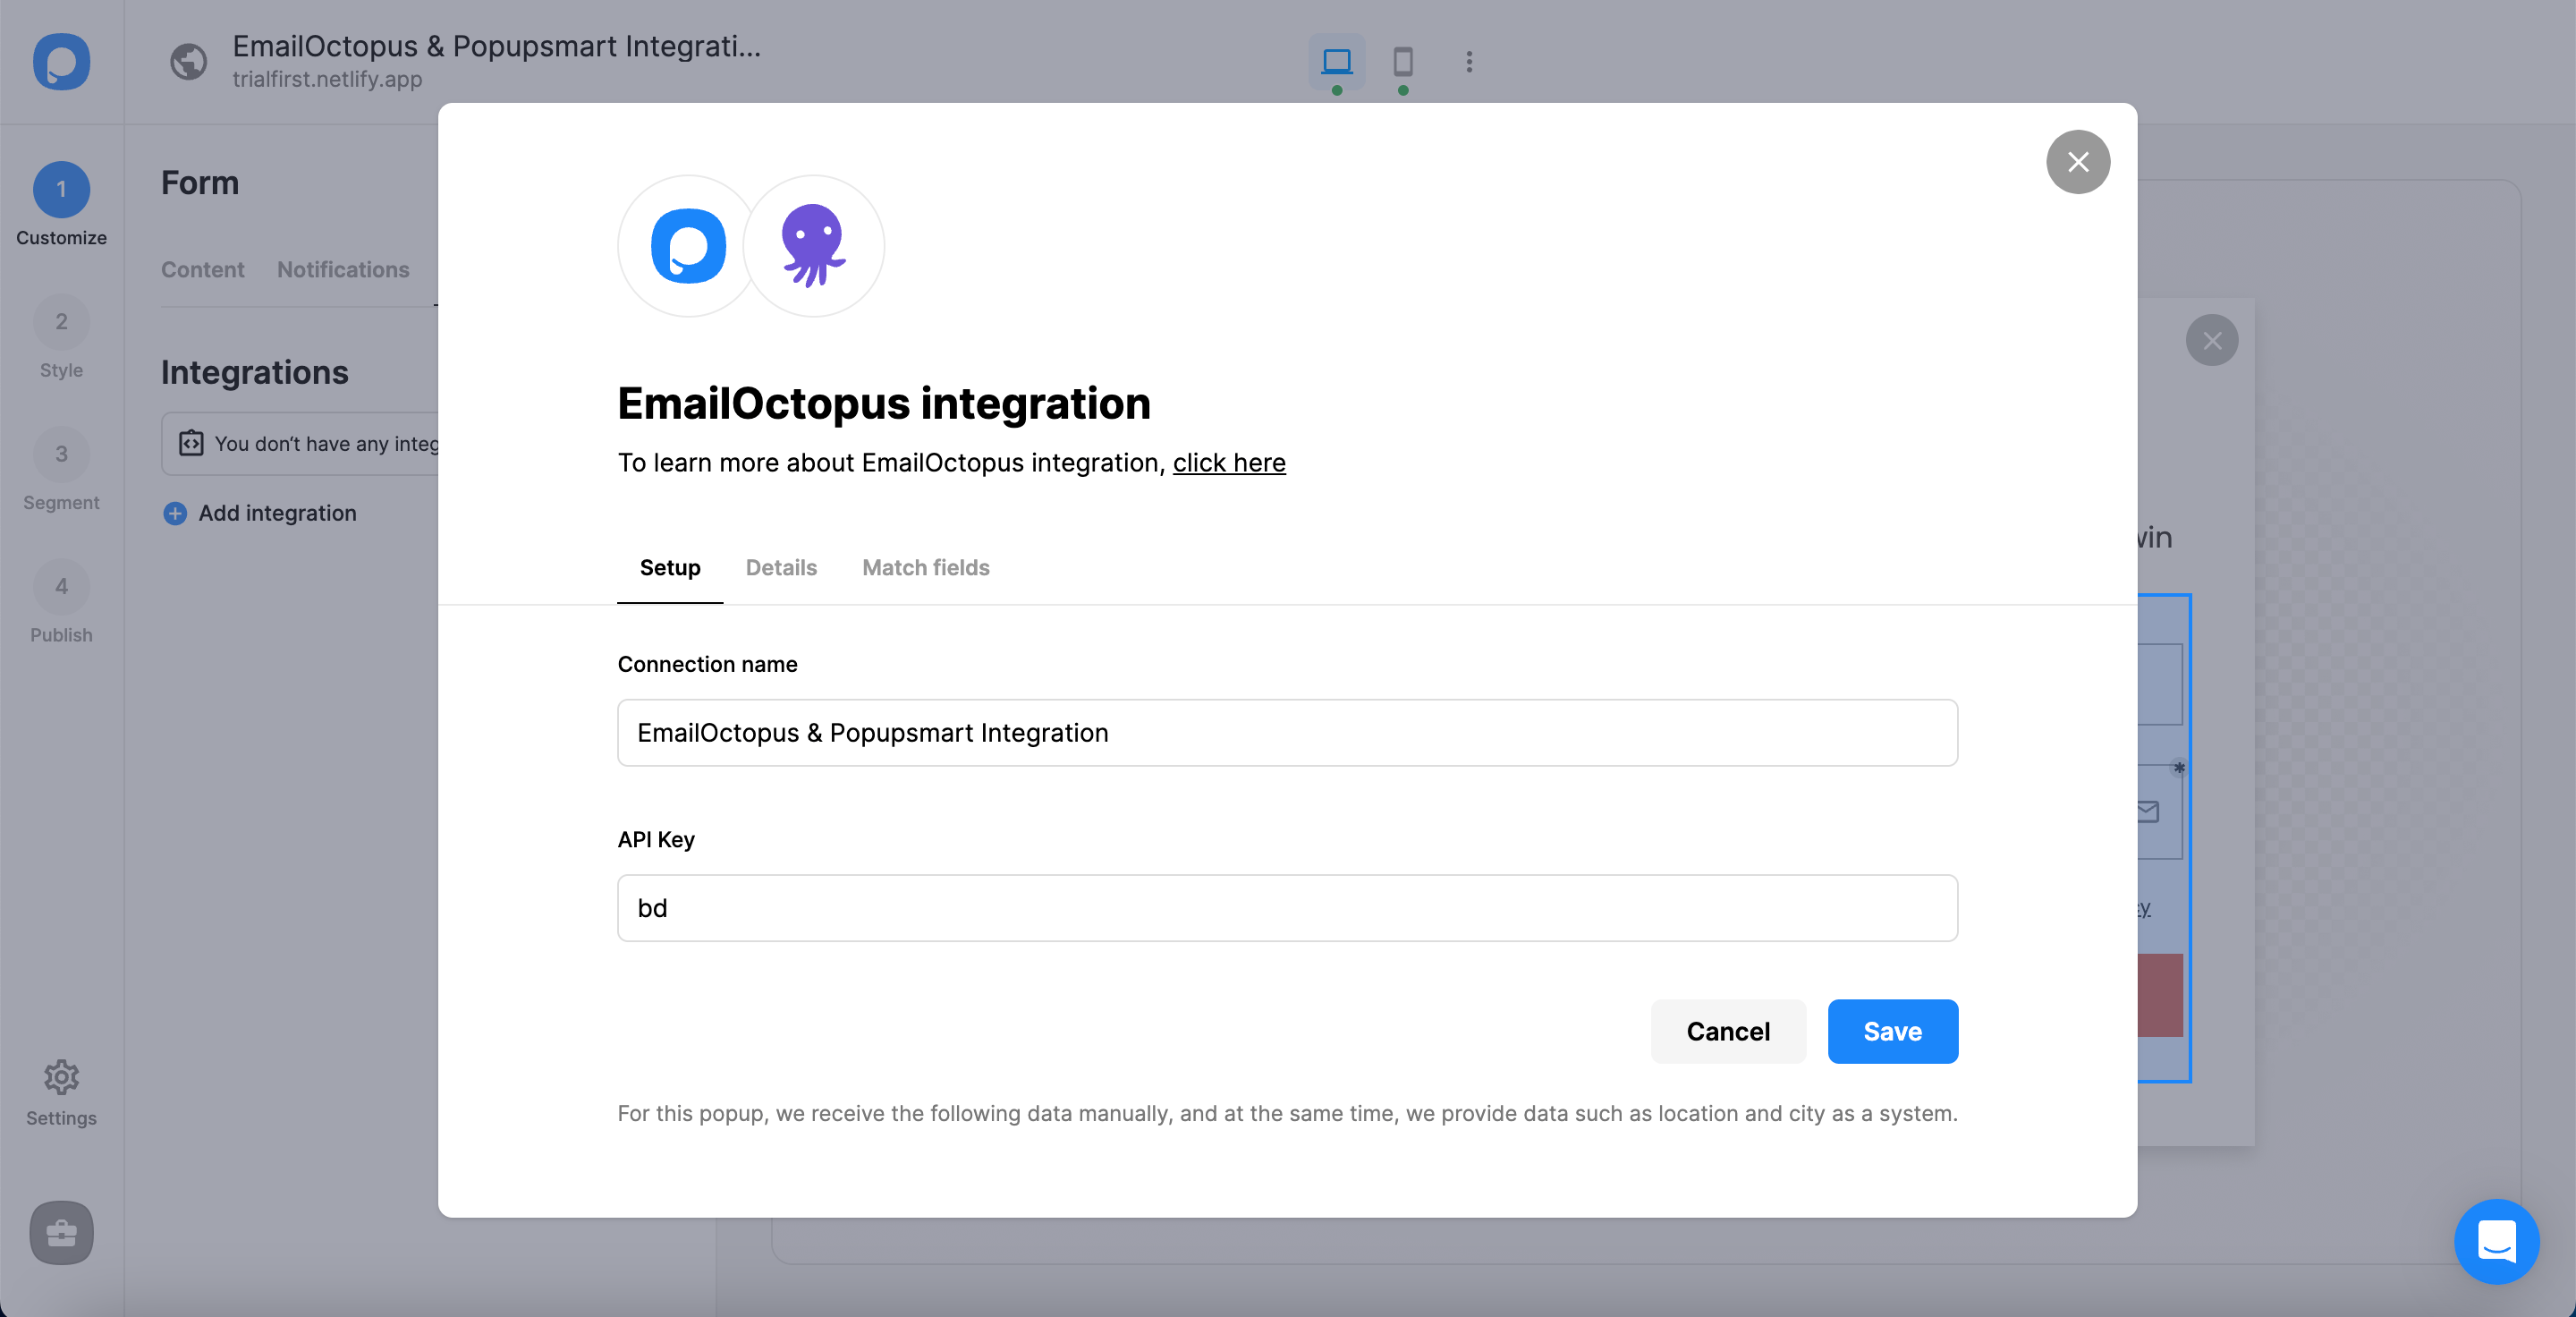
Setup API
On the Setup, click Add new EmailOctopus API on the Setup if you make the integration for the first time. For later, you can easily choose your own API.
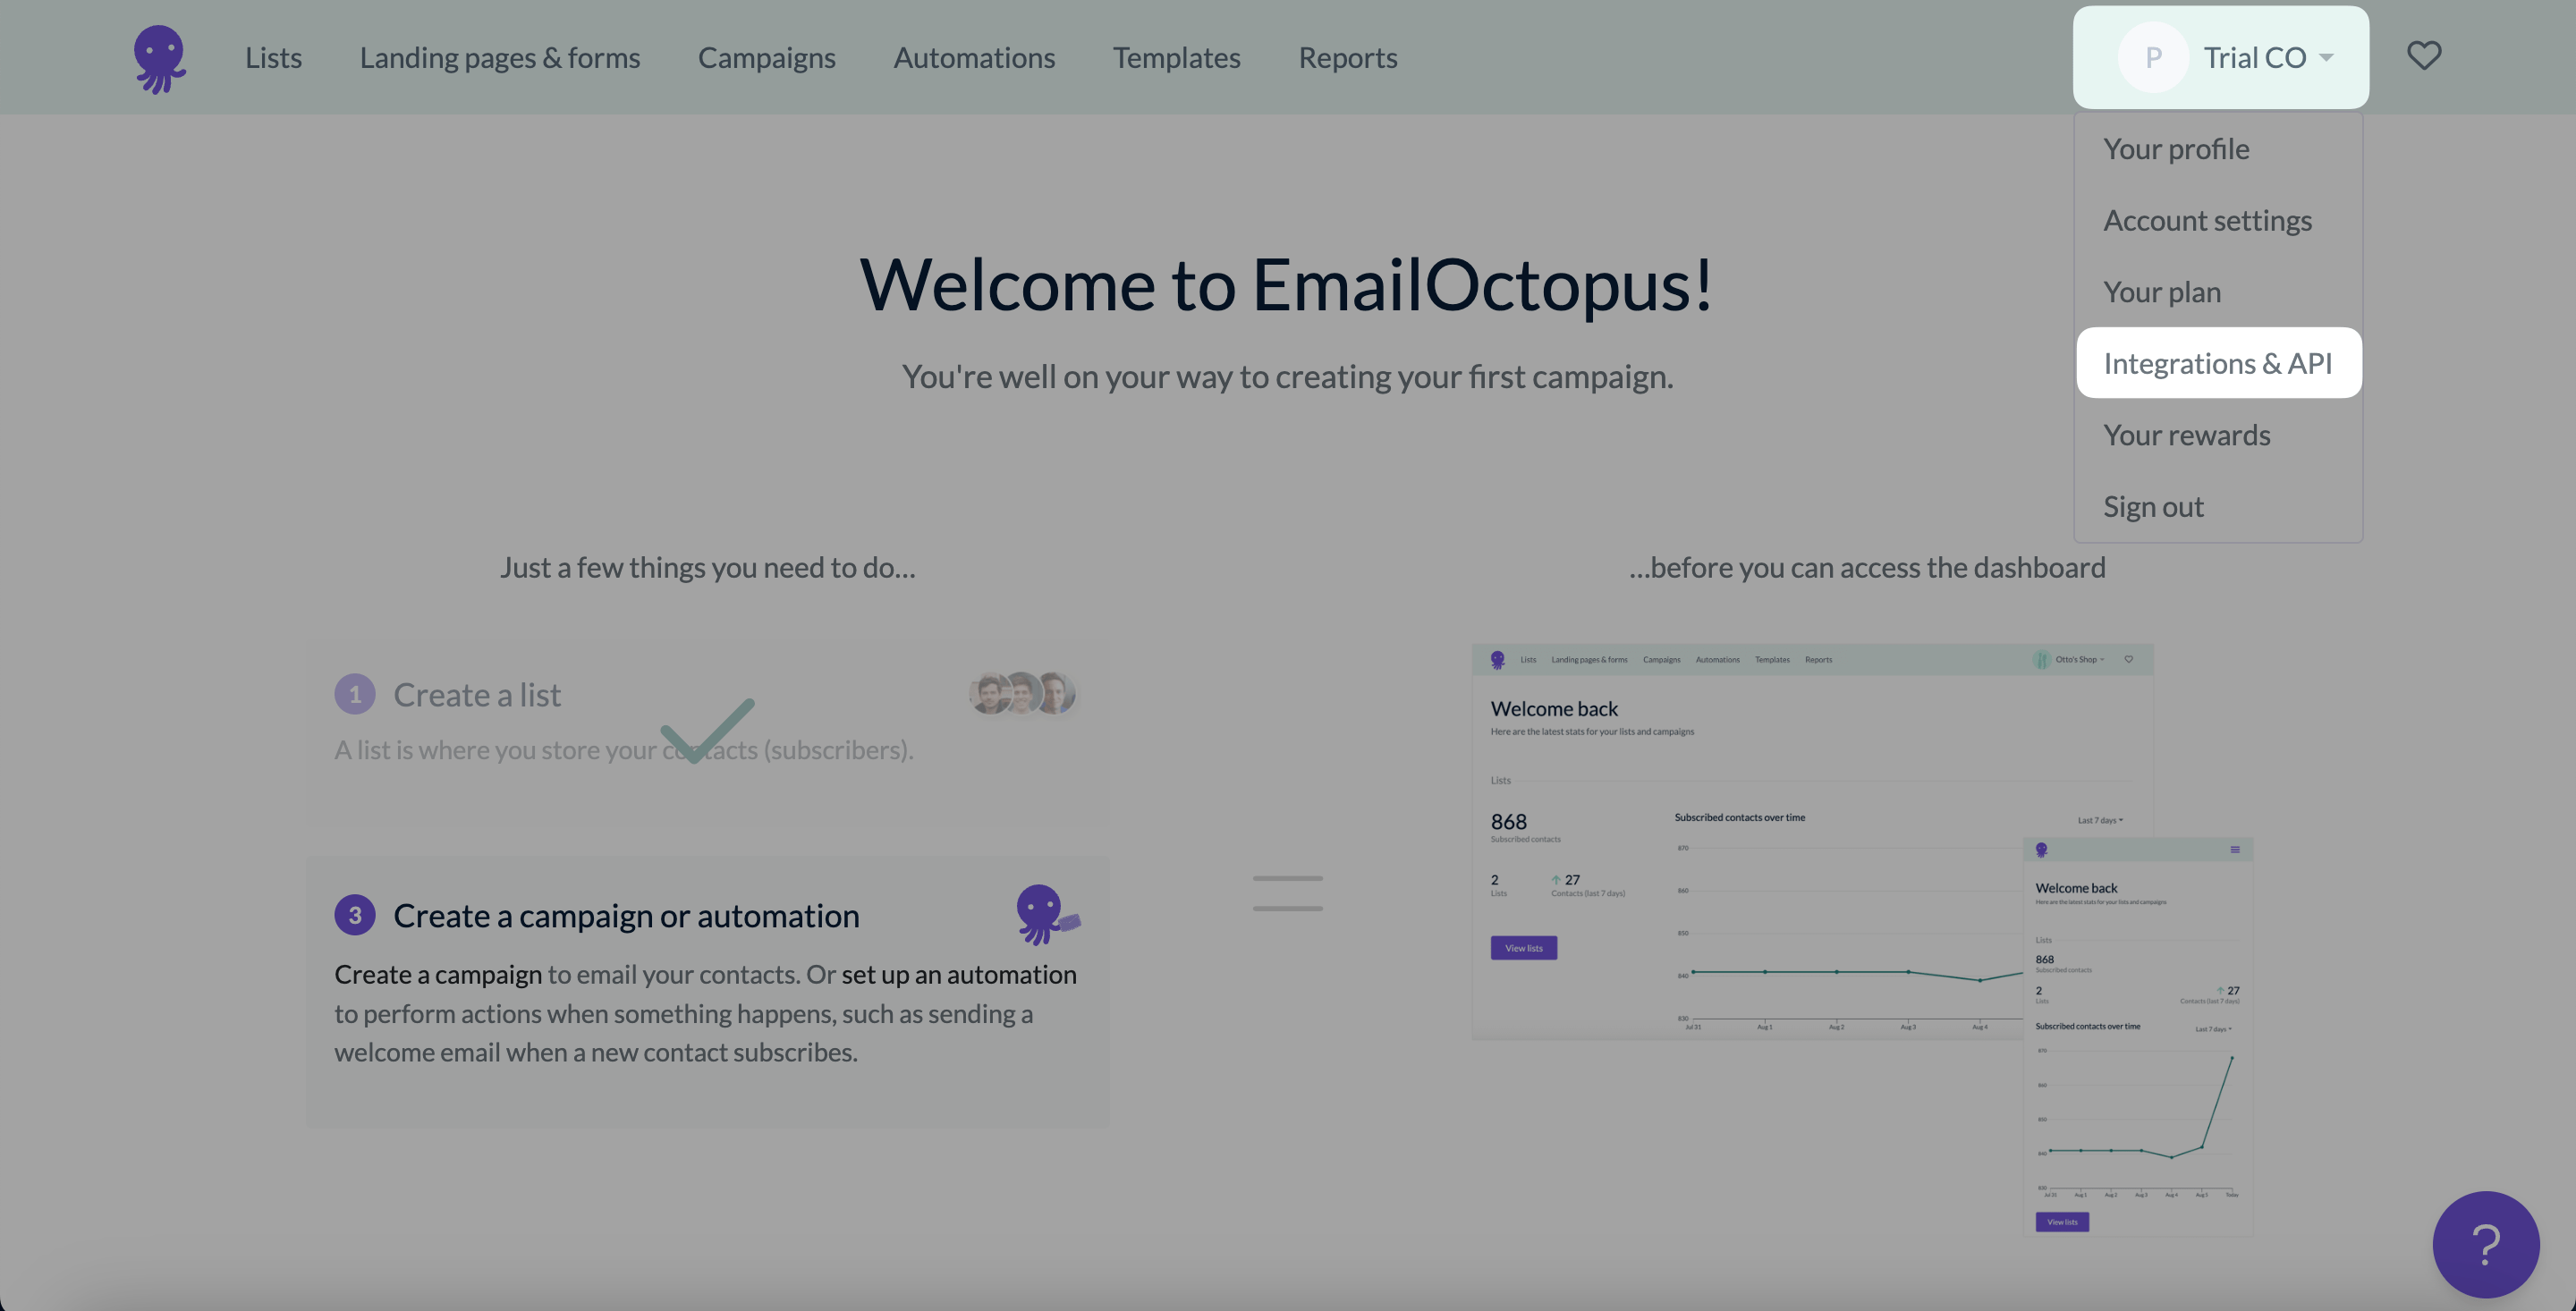
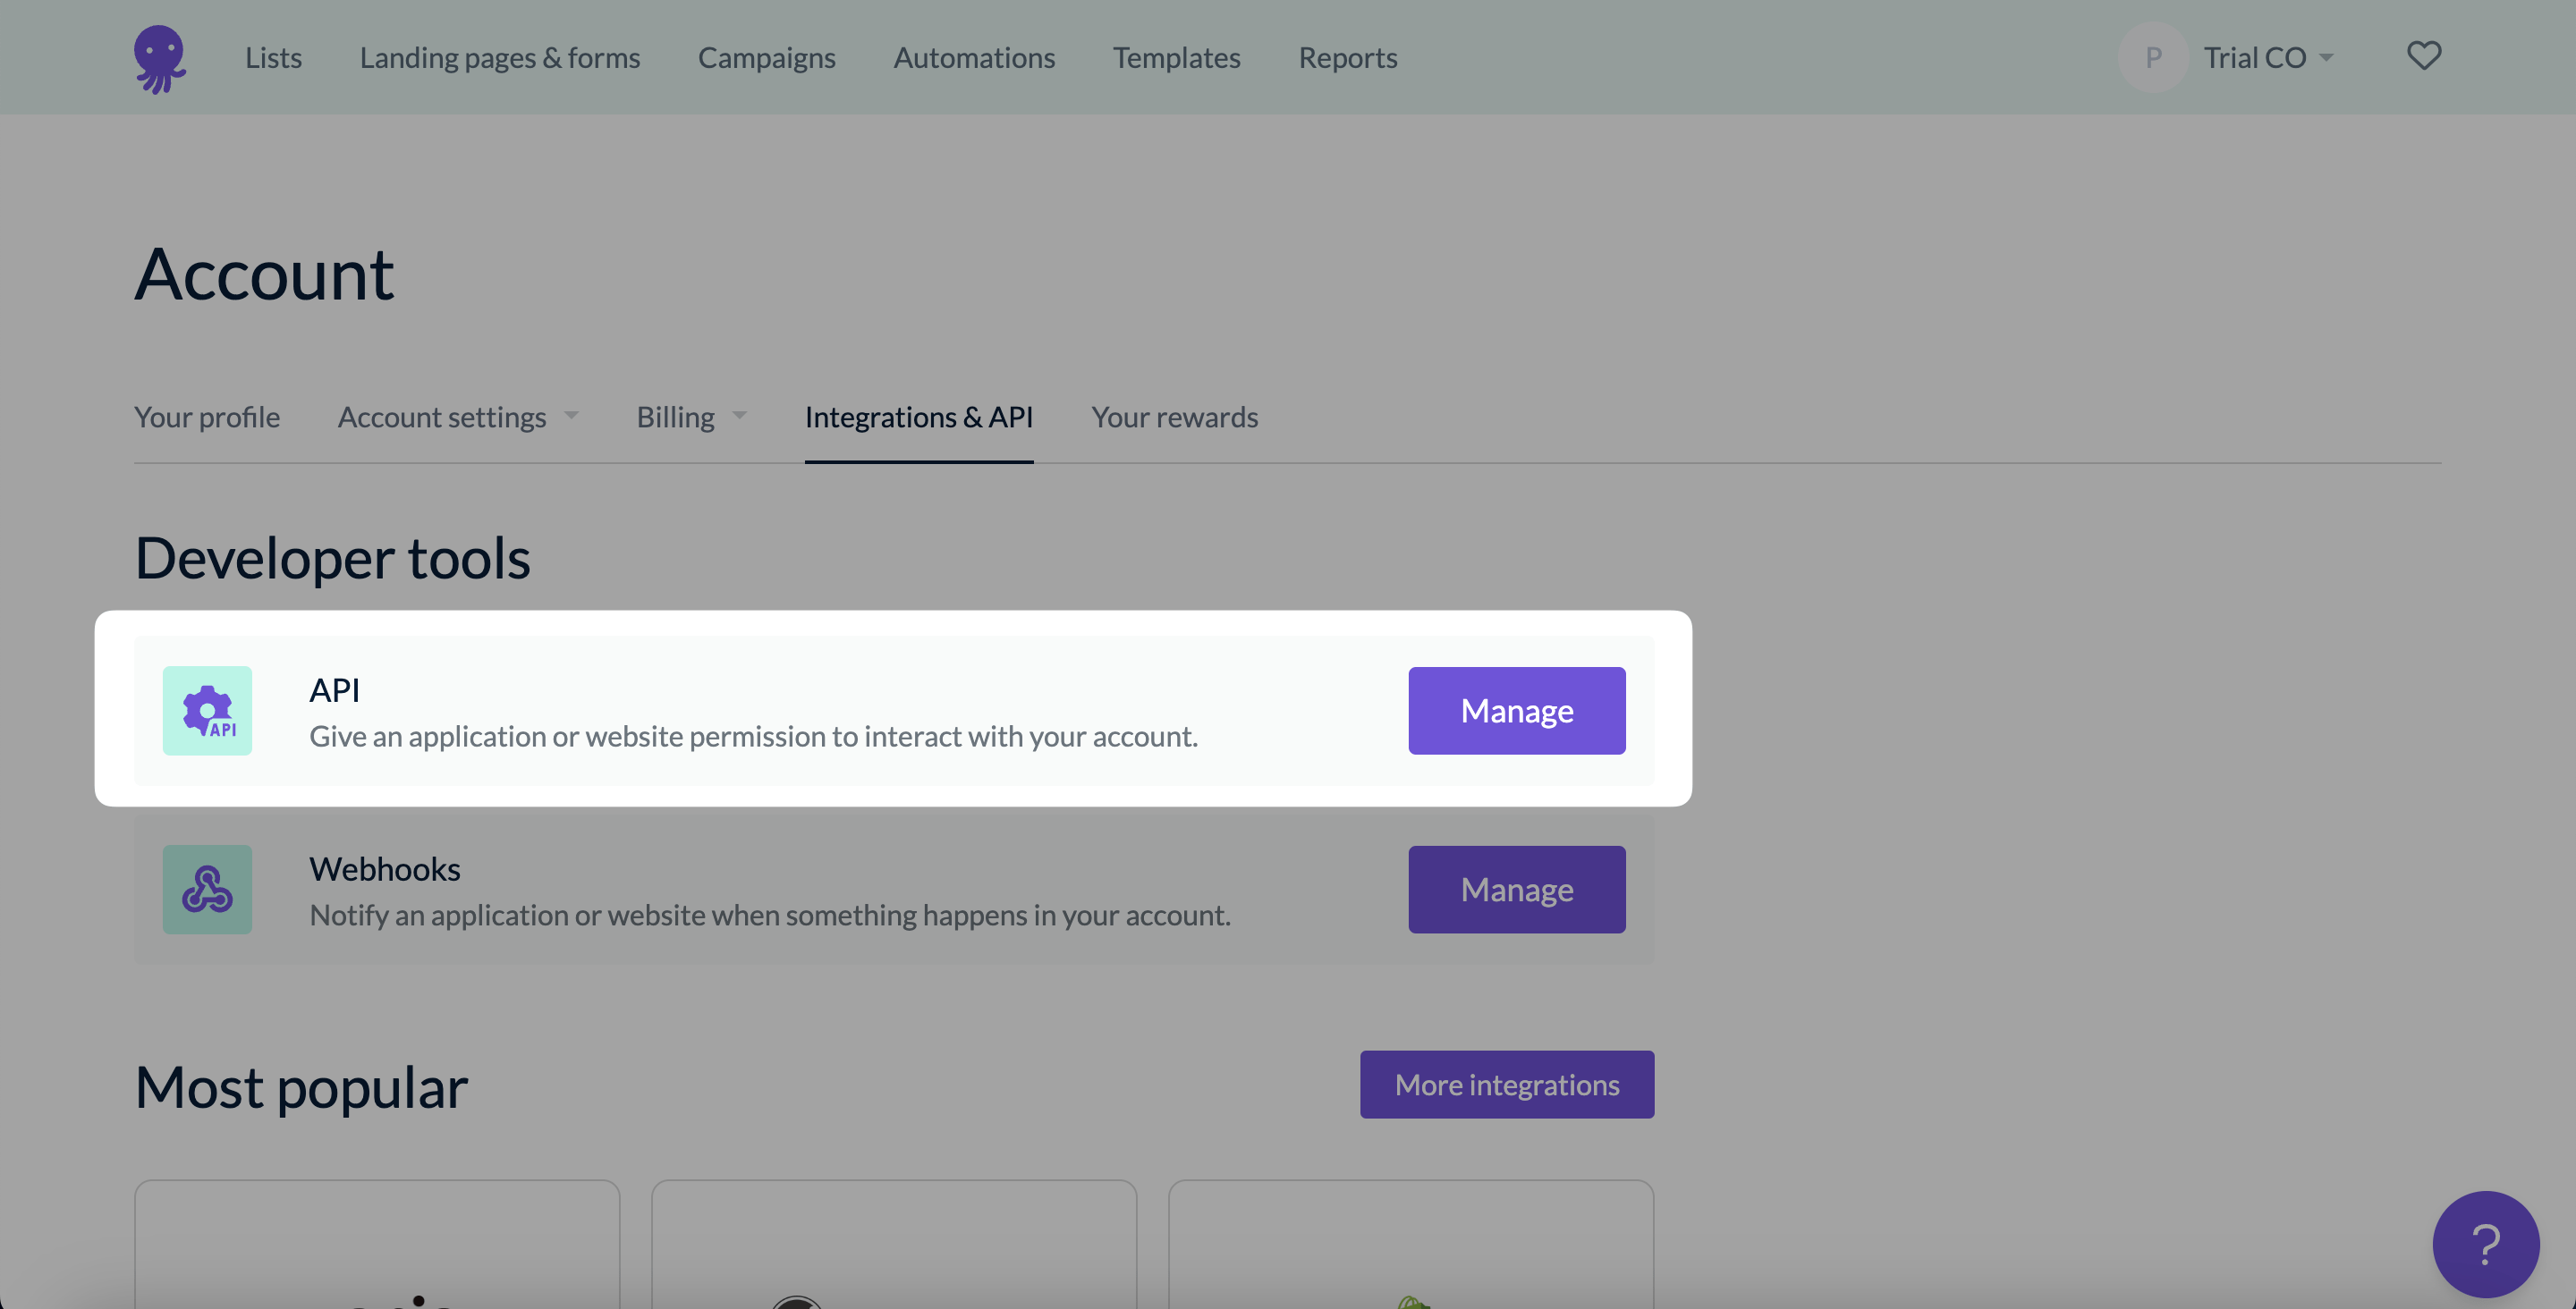
Access EmailOctopus API
To fill in the blanks, you need to log in to your EmailOctopus account, and on the account dropdown with your company's name, click Integrations & API. We use 'Trial CO' -an imaginary sample company- in this guide as our company.
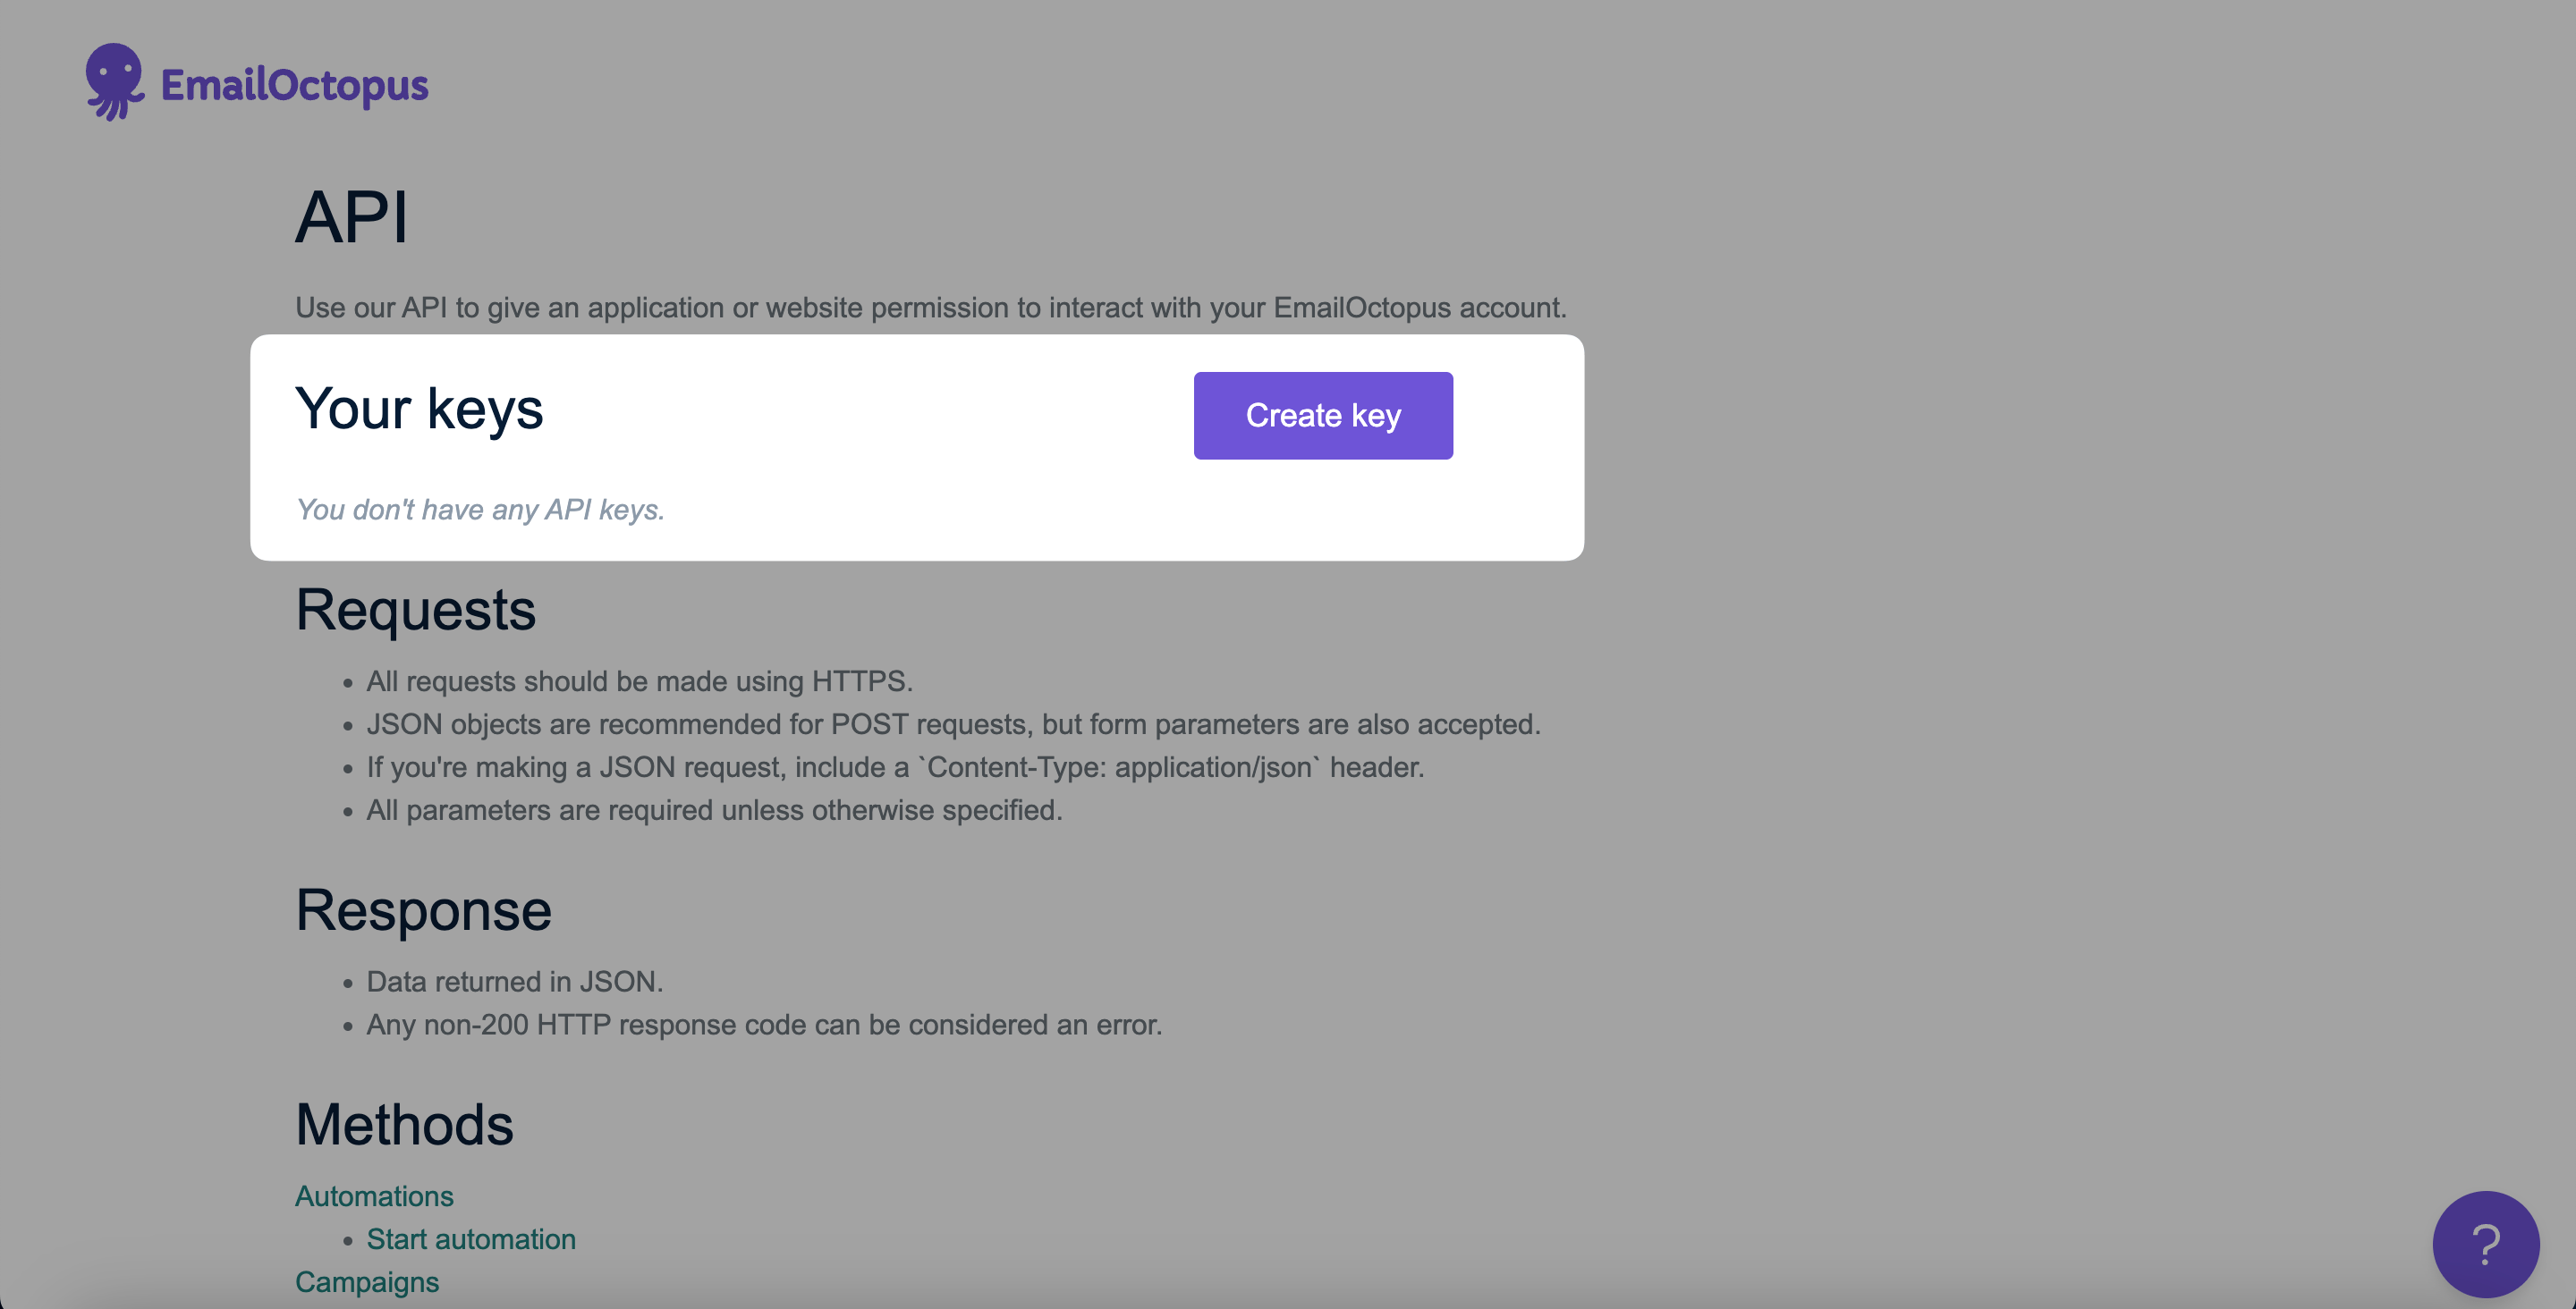
Copy API Key
Name your API key by clicking Create and clicking Copy to copy the key for the integration.

Save Connection
Click "Save" after you name the connection and paste your API key. You need to verify your EmailOctopus account and be sure of your API Key.
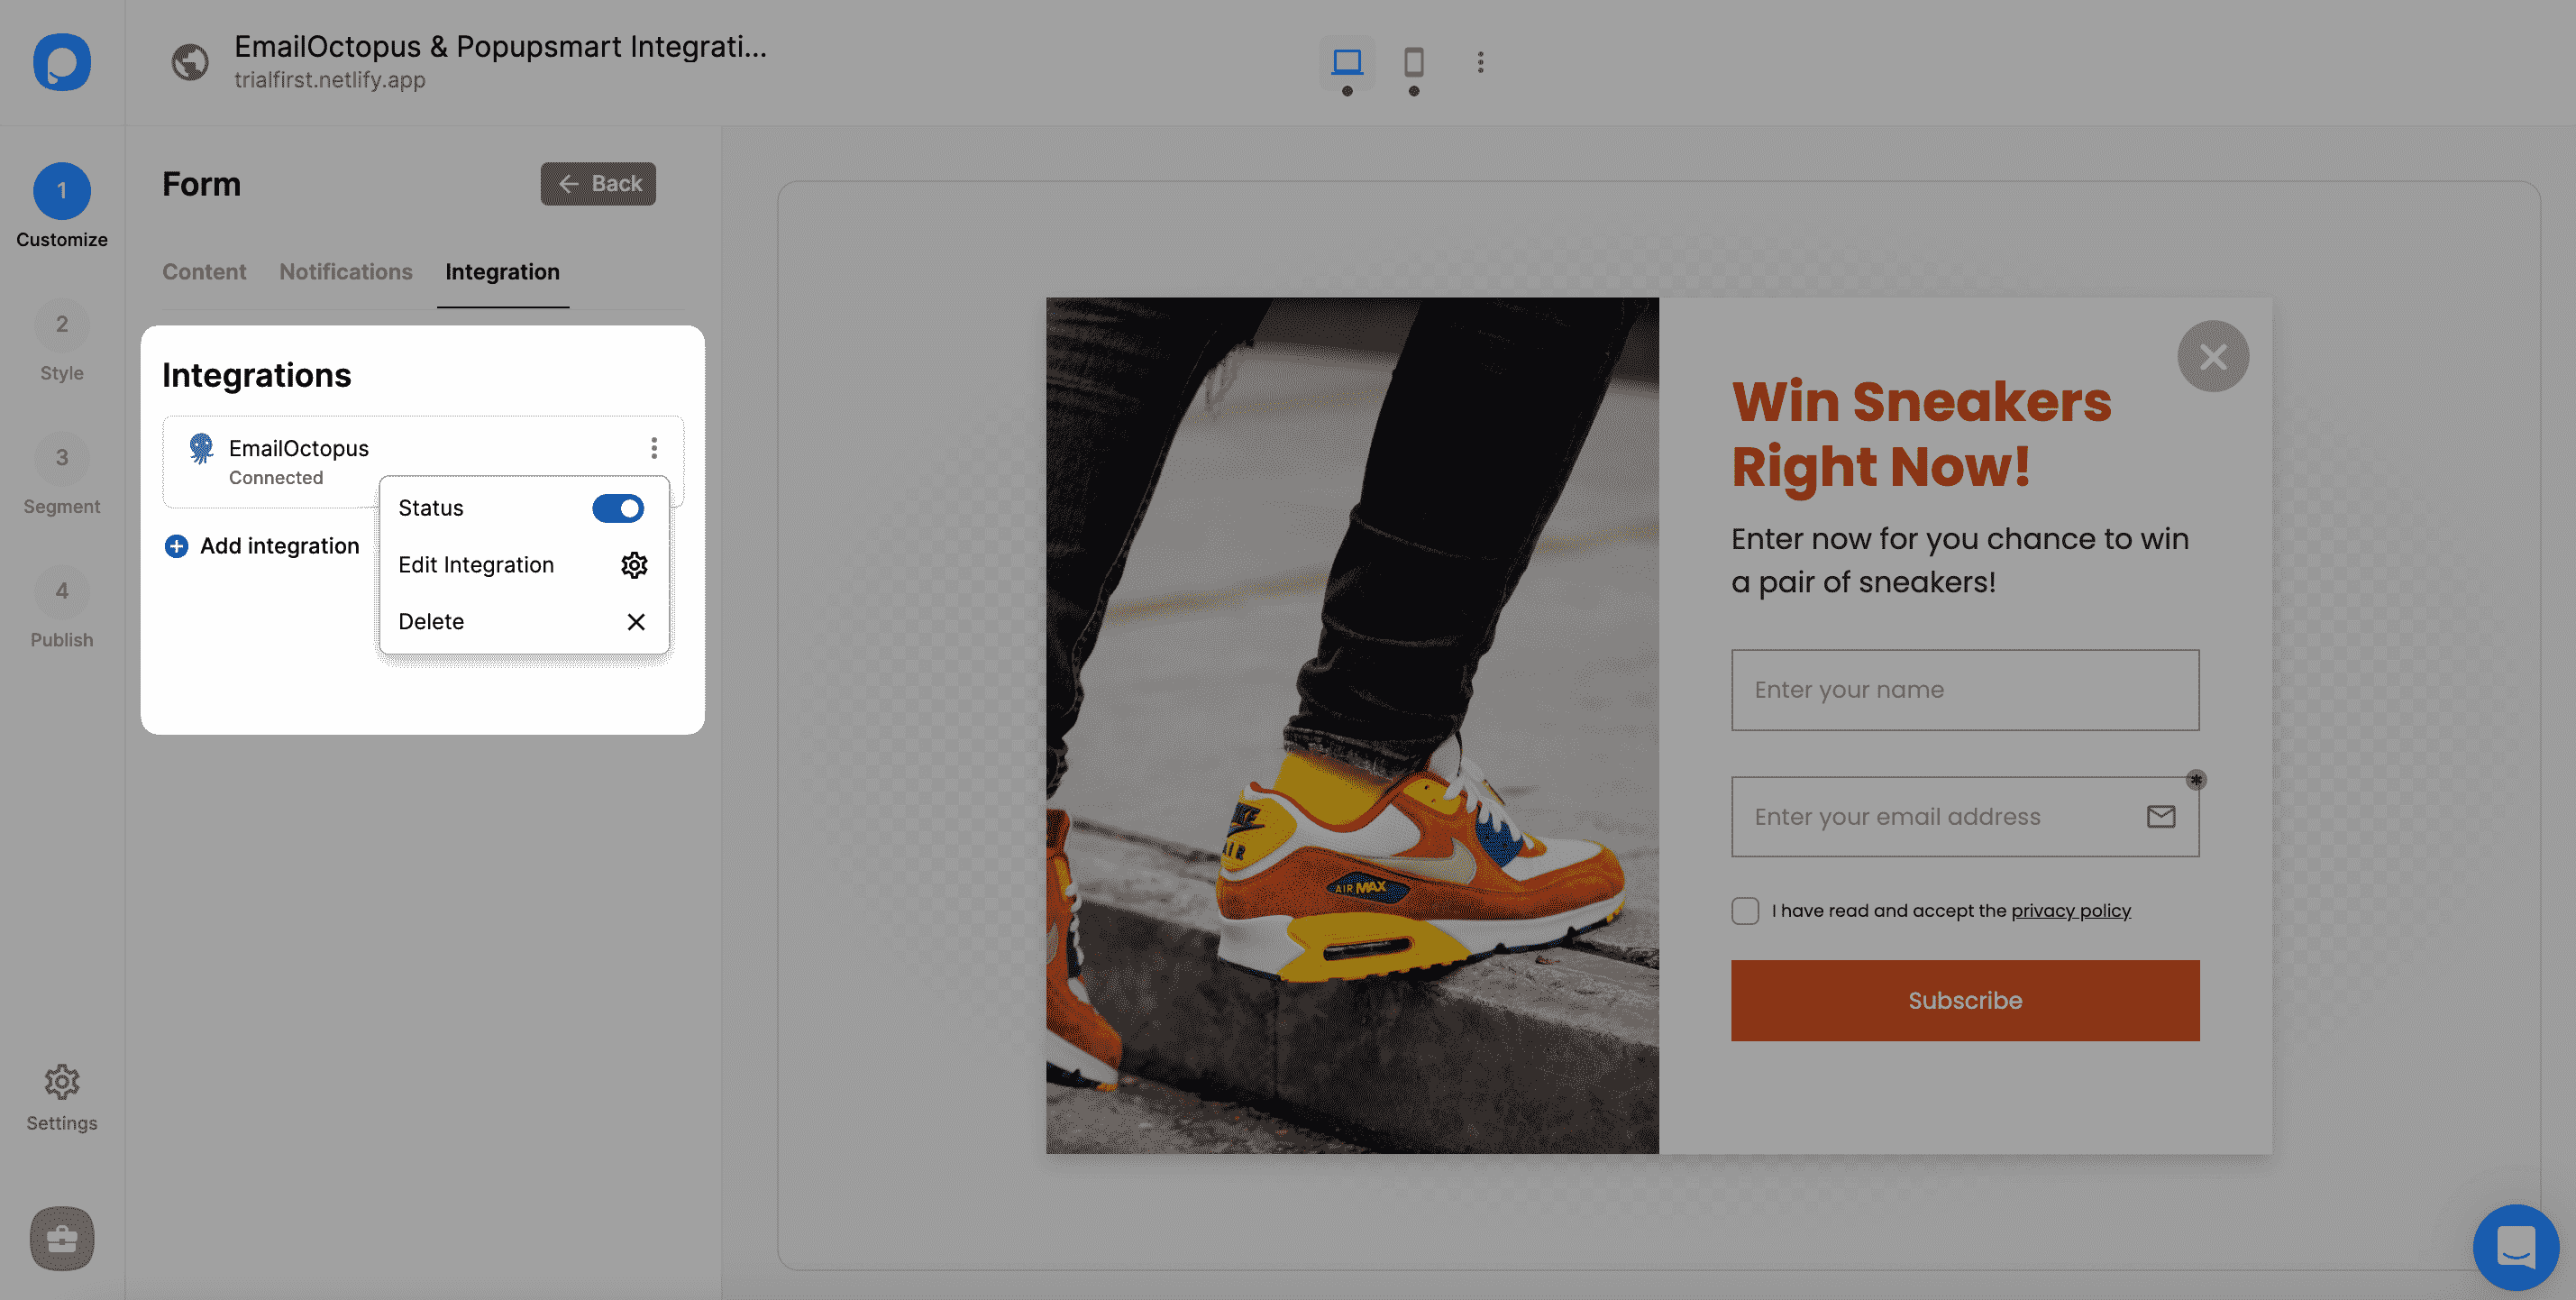
And well done! Your integration is completed.
When you complete your EmailOctopus integration, the status will be automatically on. You can change the status whenever you want from the three-dot.
Note
It is also possible to integrate Popupsmart and EmailOctopus in the Settings section. So, you can configure all the settings on that option as well.
If you have any other questions about EmailOctopus integration, feel free to mail us!
How is this guide?