How to Integrate Popupsmart with Sendy via Zapier
Enhance Sendy integration via Popupsmart with Zapier. Learn how to connect effortlessly for efficient email campaigns and streamlined data.
The integration of Sendy and Popupsmart can be done through Zapier with easy steps, which we'll guide you through.
Make sure you have a Sendy account for your email campaigns and a Popupsmart account to color these campaigns.
Free Data Options
We tell the process for you through Zapier, and you can collect up to 100 free data. On the other hand, you can integrate Popupsmart with Sendy on Make too, and you can have 1000 free data.
How to Set Up the Integration
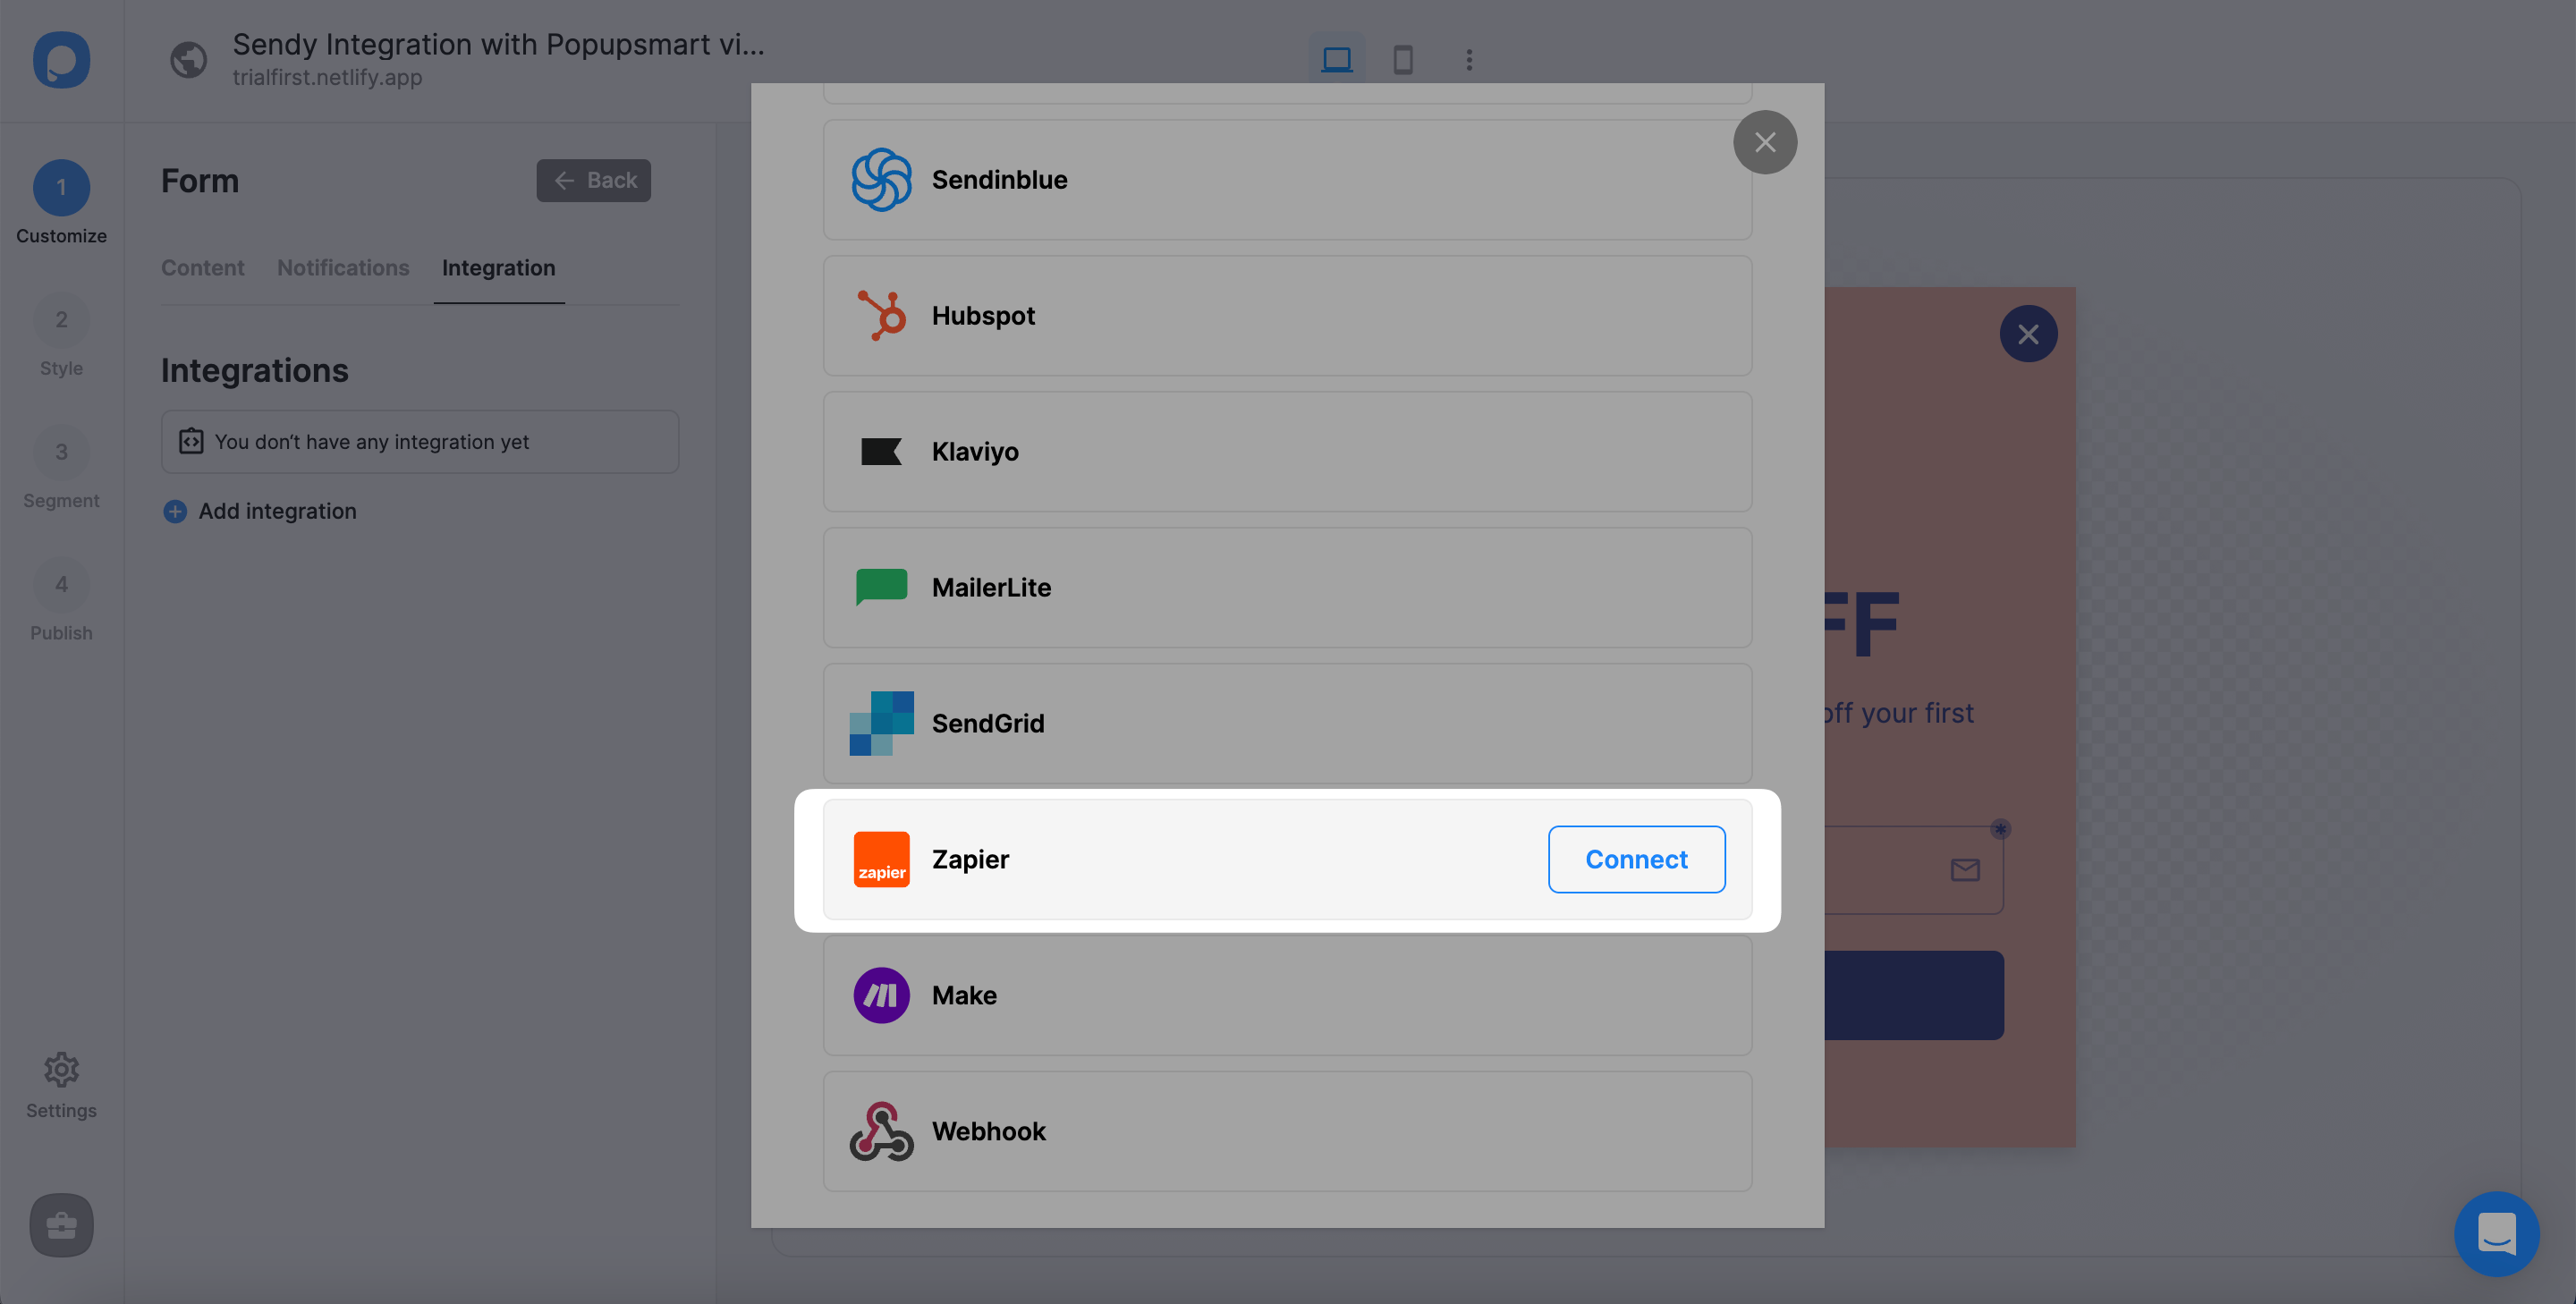
Connect Apps on Zapier
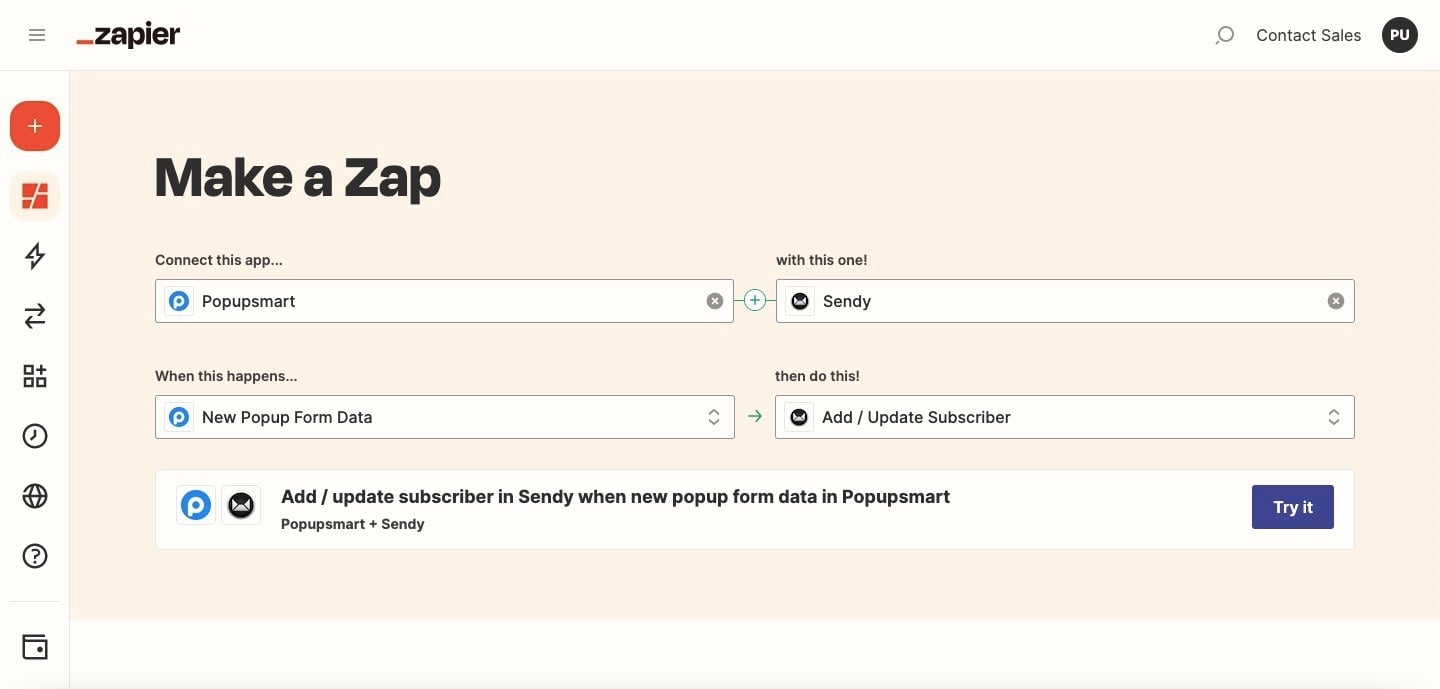
Sign into your Zapier account and arrange the actions on your Zapier dashboard. Choose your apps as Popupsmart and Sendy. Popupsmart focuses on collecting new form data, and you can choose distinct actions for Sendy. Click Try it when you arrange them.

Connect Popupsmart
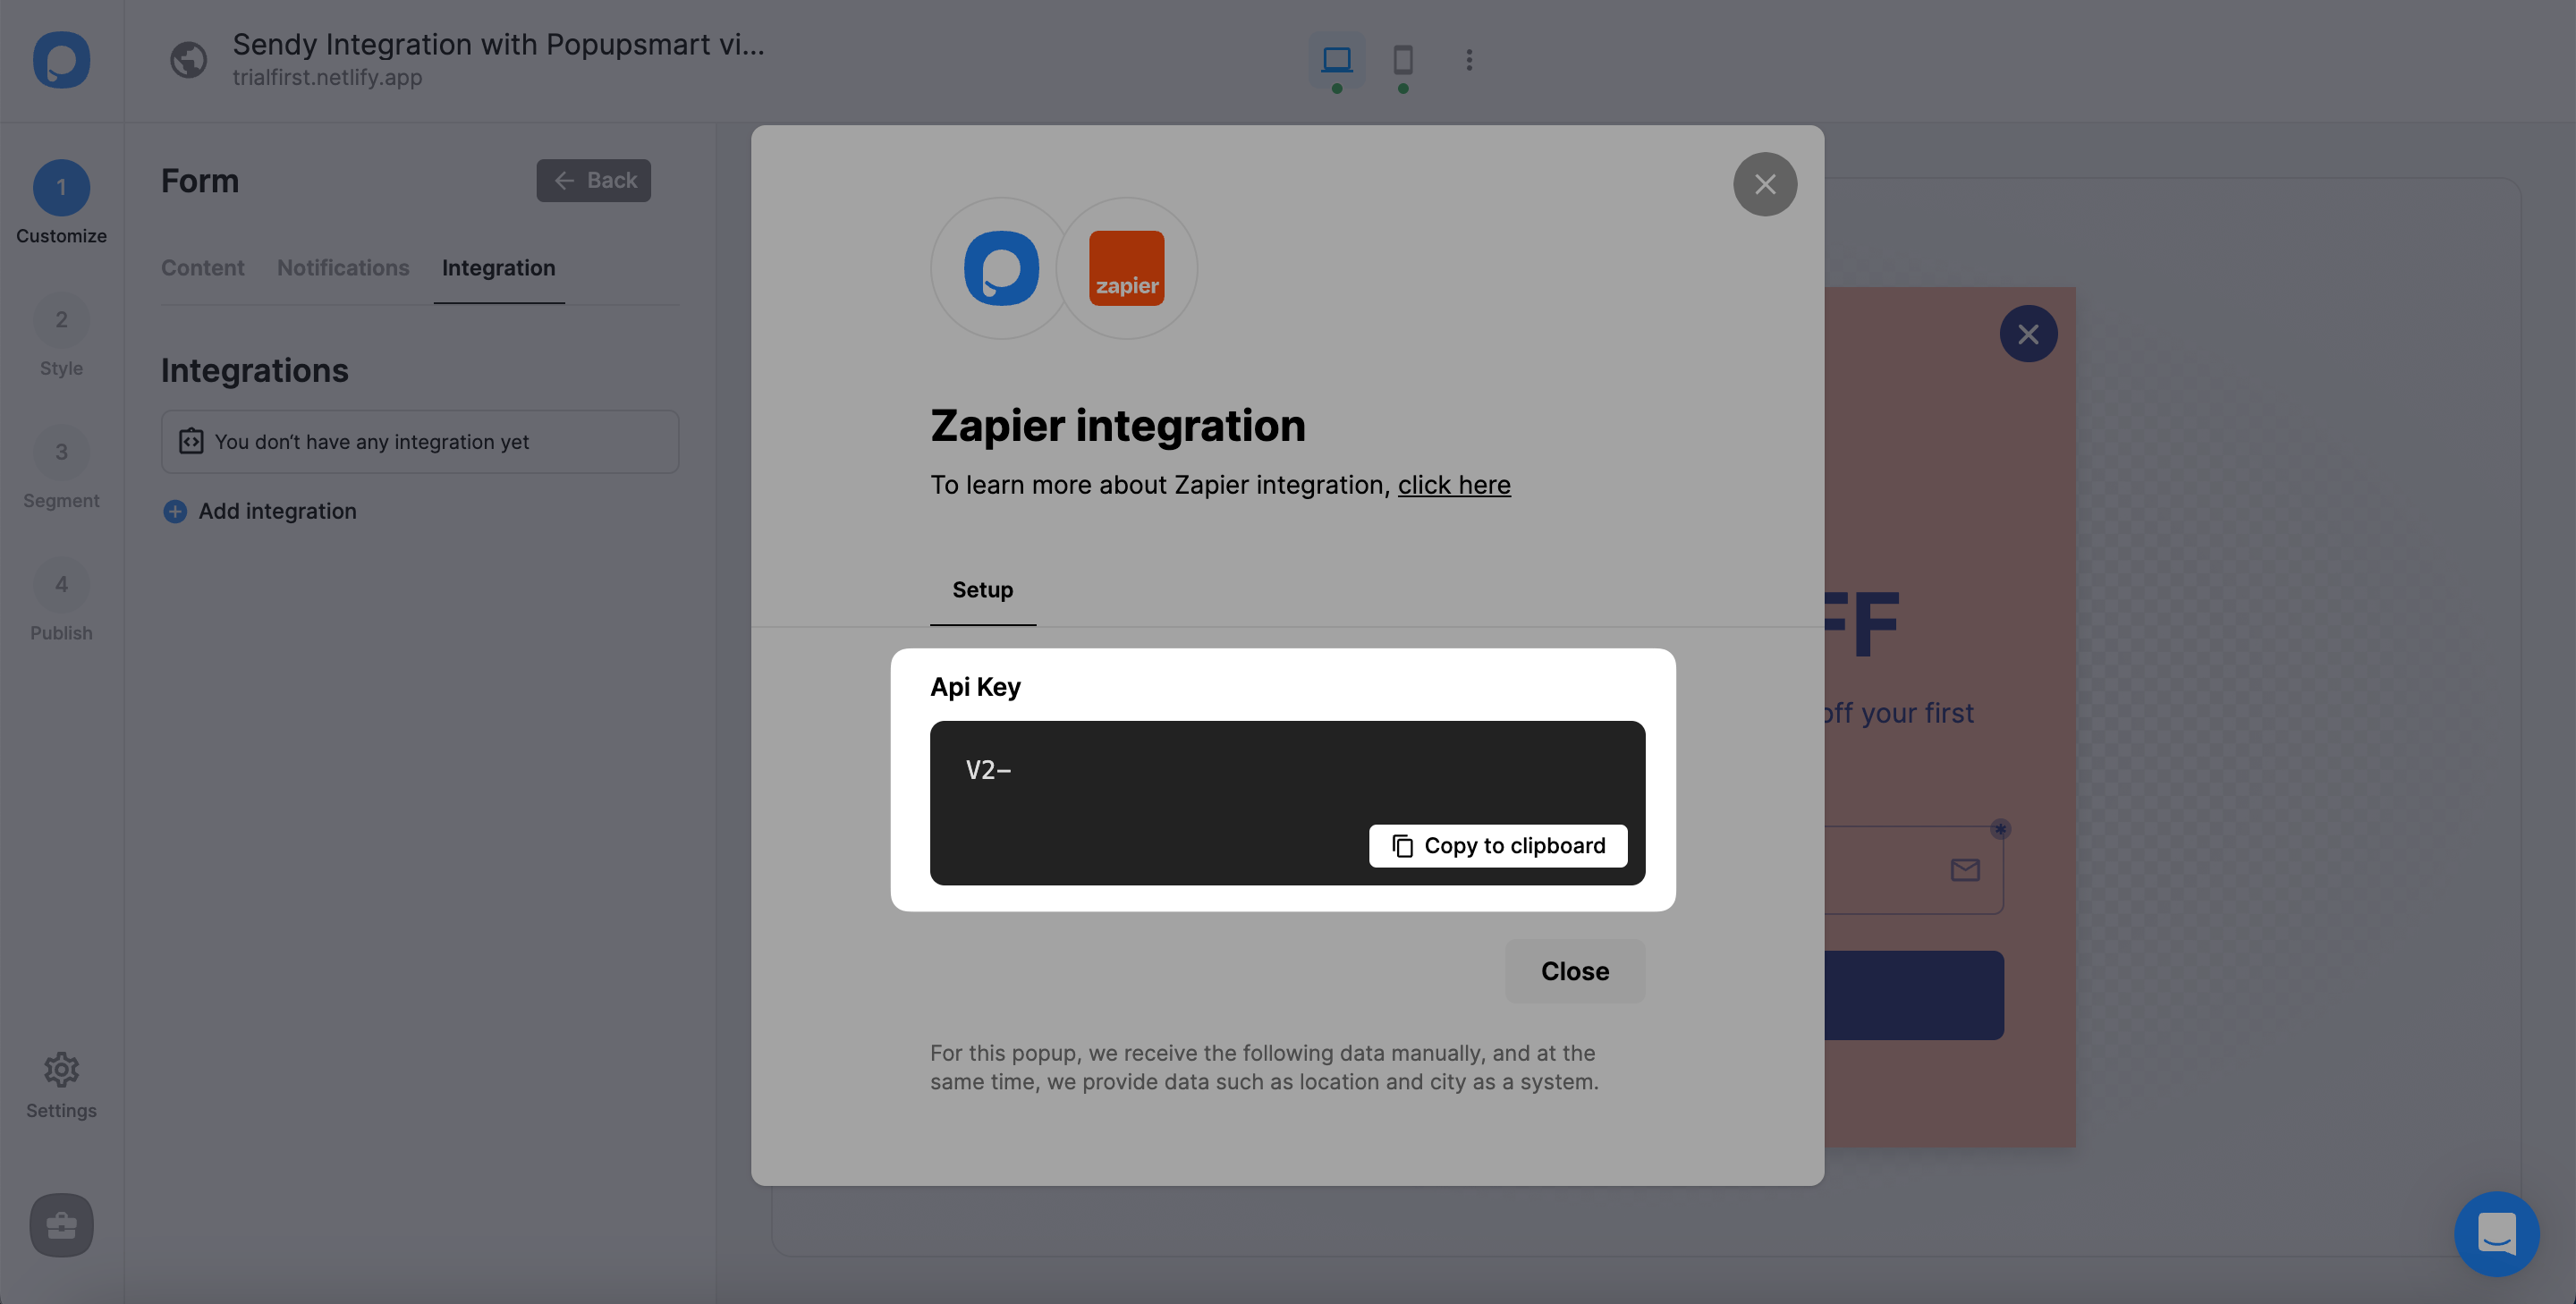
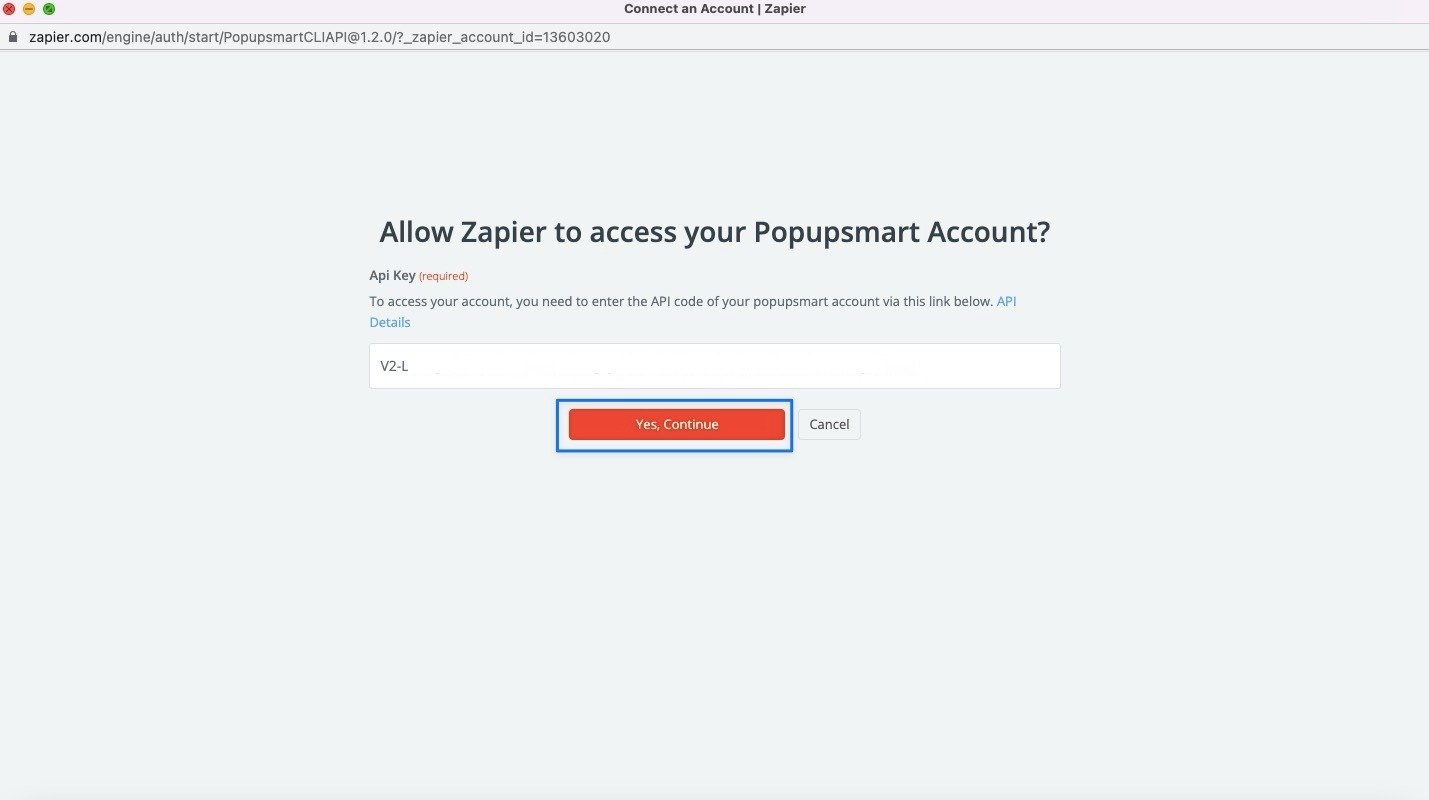
If you manage the Zap for the first time, you need to connect your Popupsmart account by creating a campaign and pasting the API to the related field.
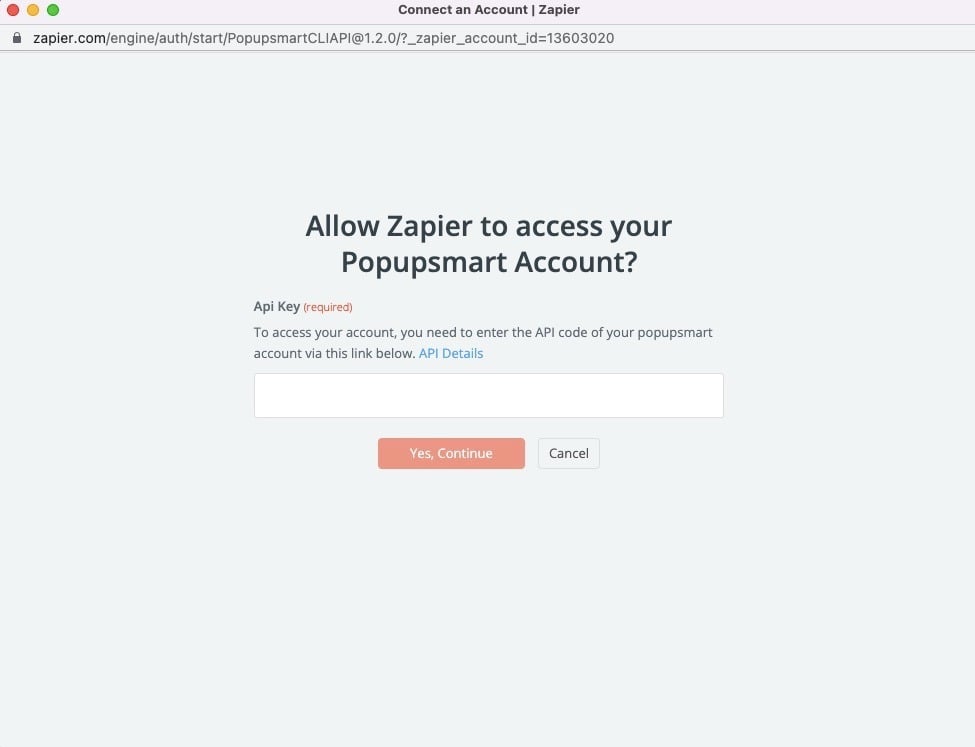
Get API Key from Popupsmart
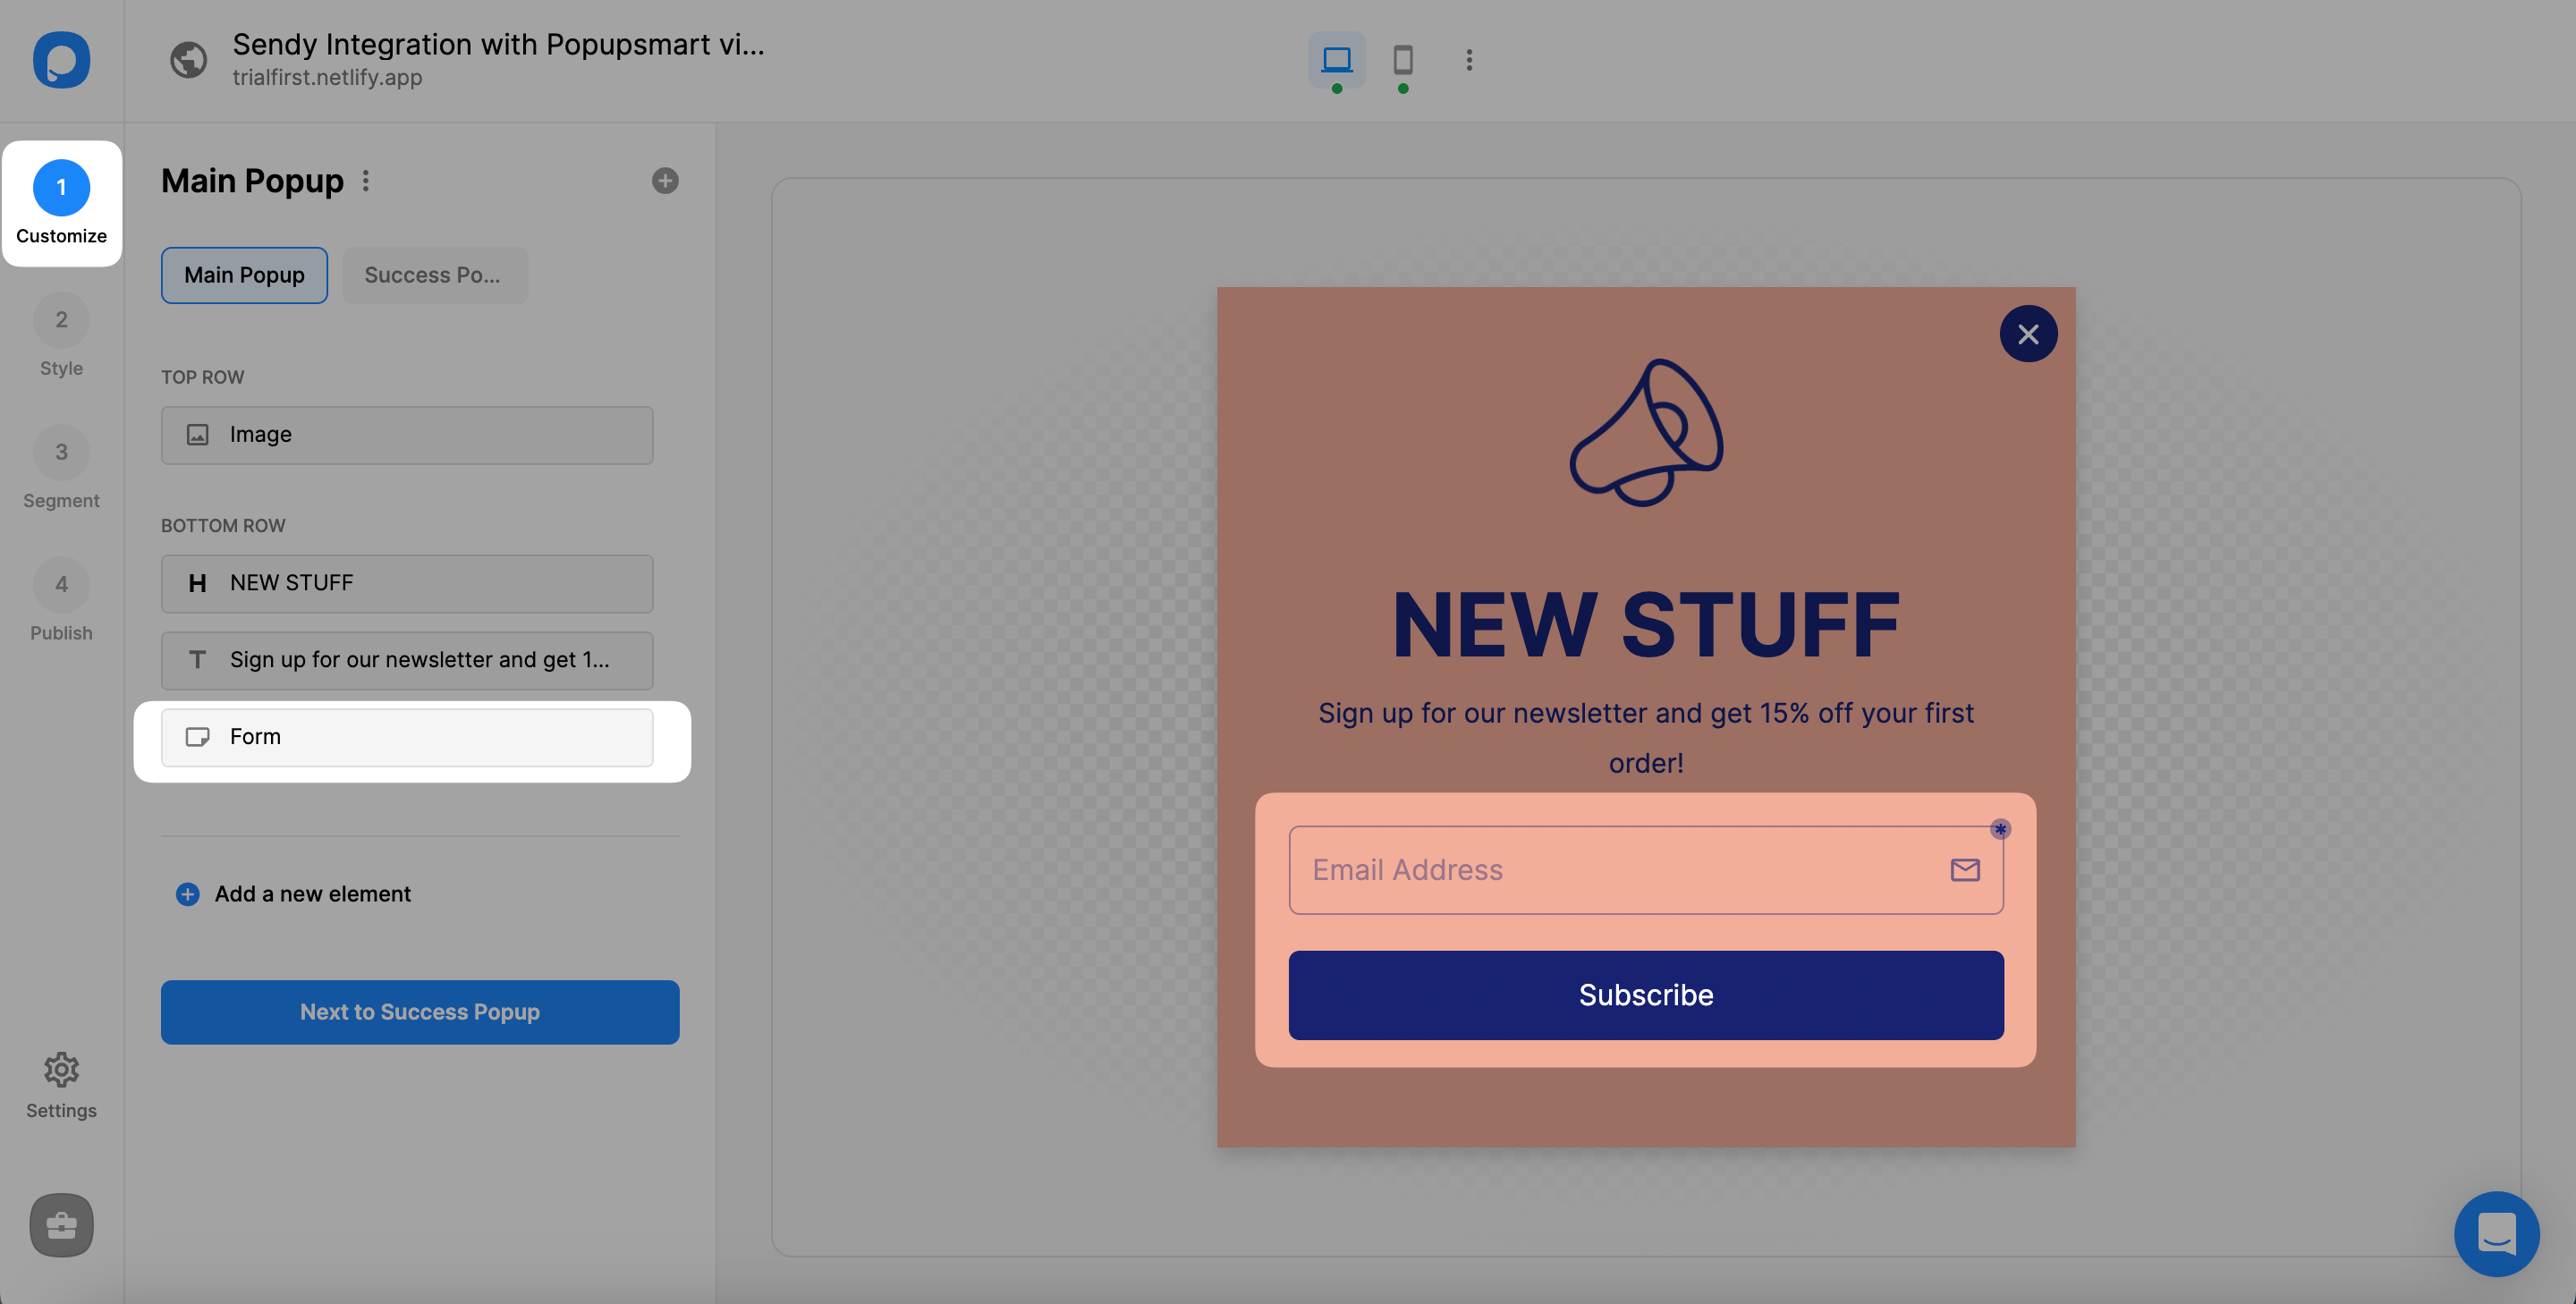
Sign in to your Popupsmart account and create a new campaign. Then, you need to include a form input element on your popup.
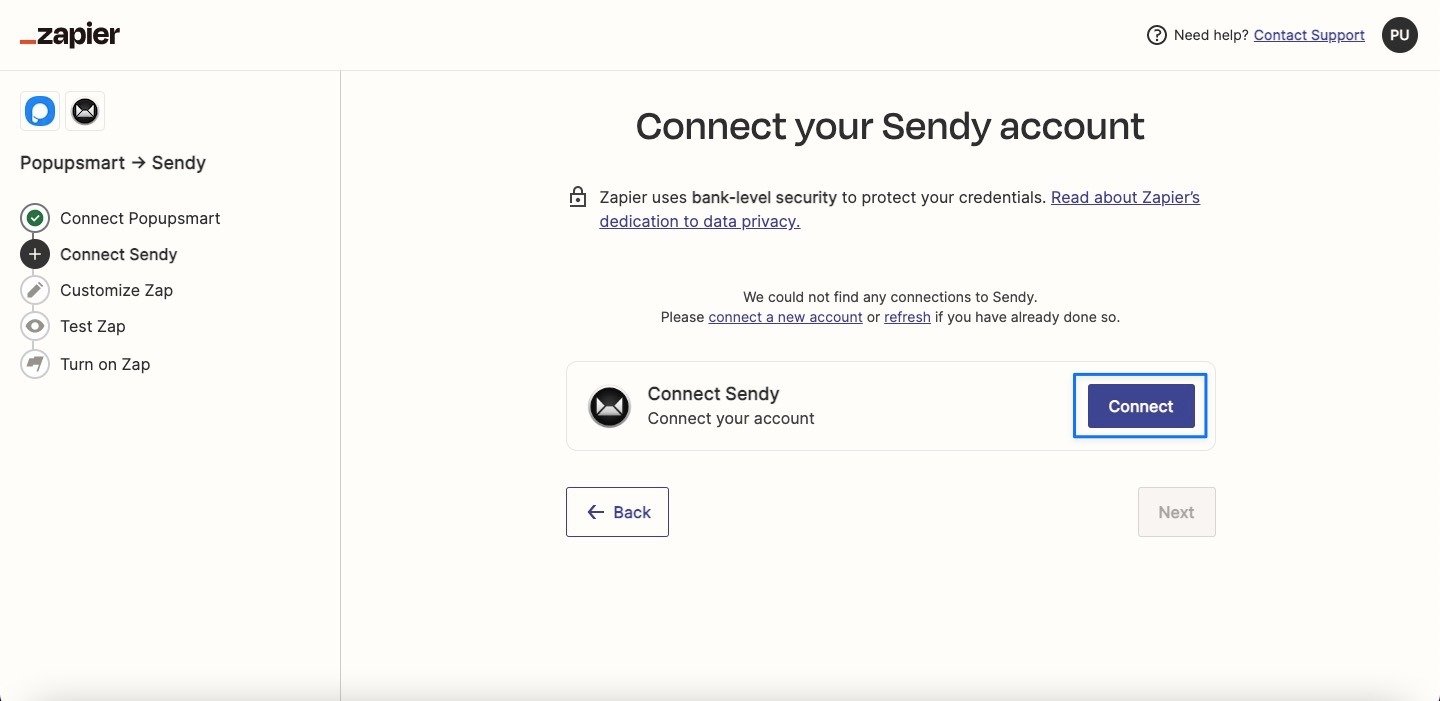
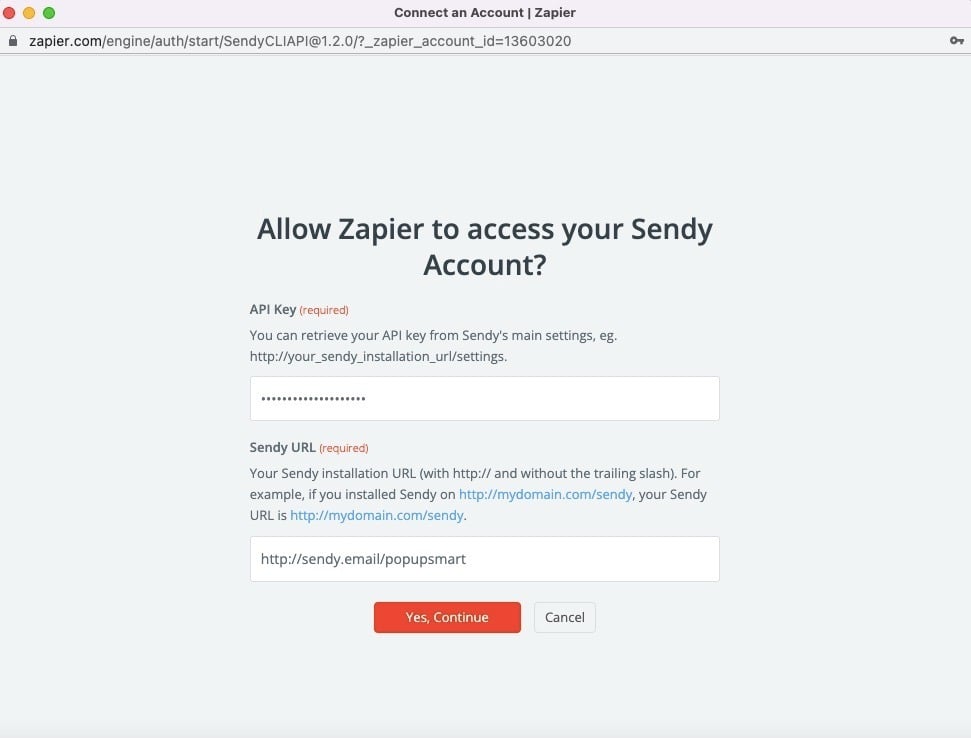
Get Sendy API
Go to your Sendy account, click the account dropdown and click Settings. Copy Your API key and copy the URL without the trailing slash.

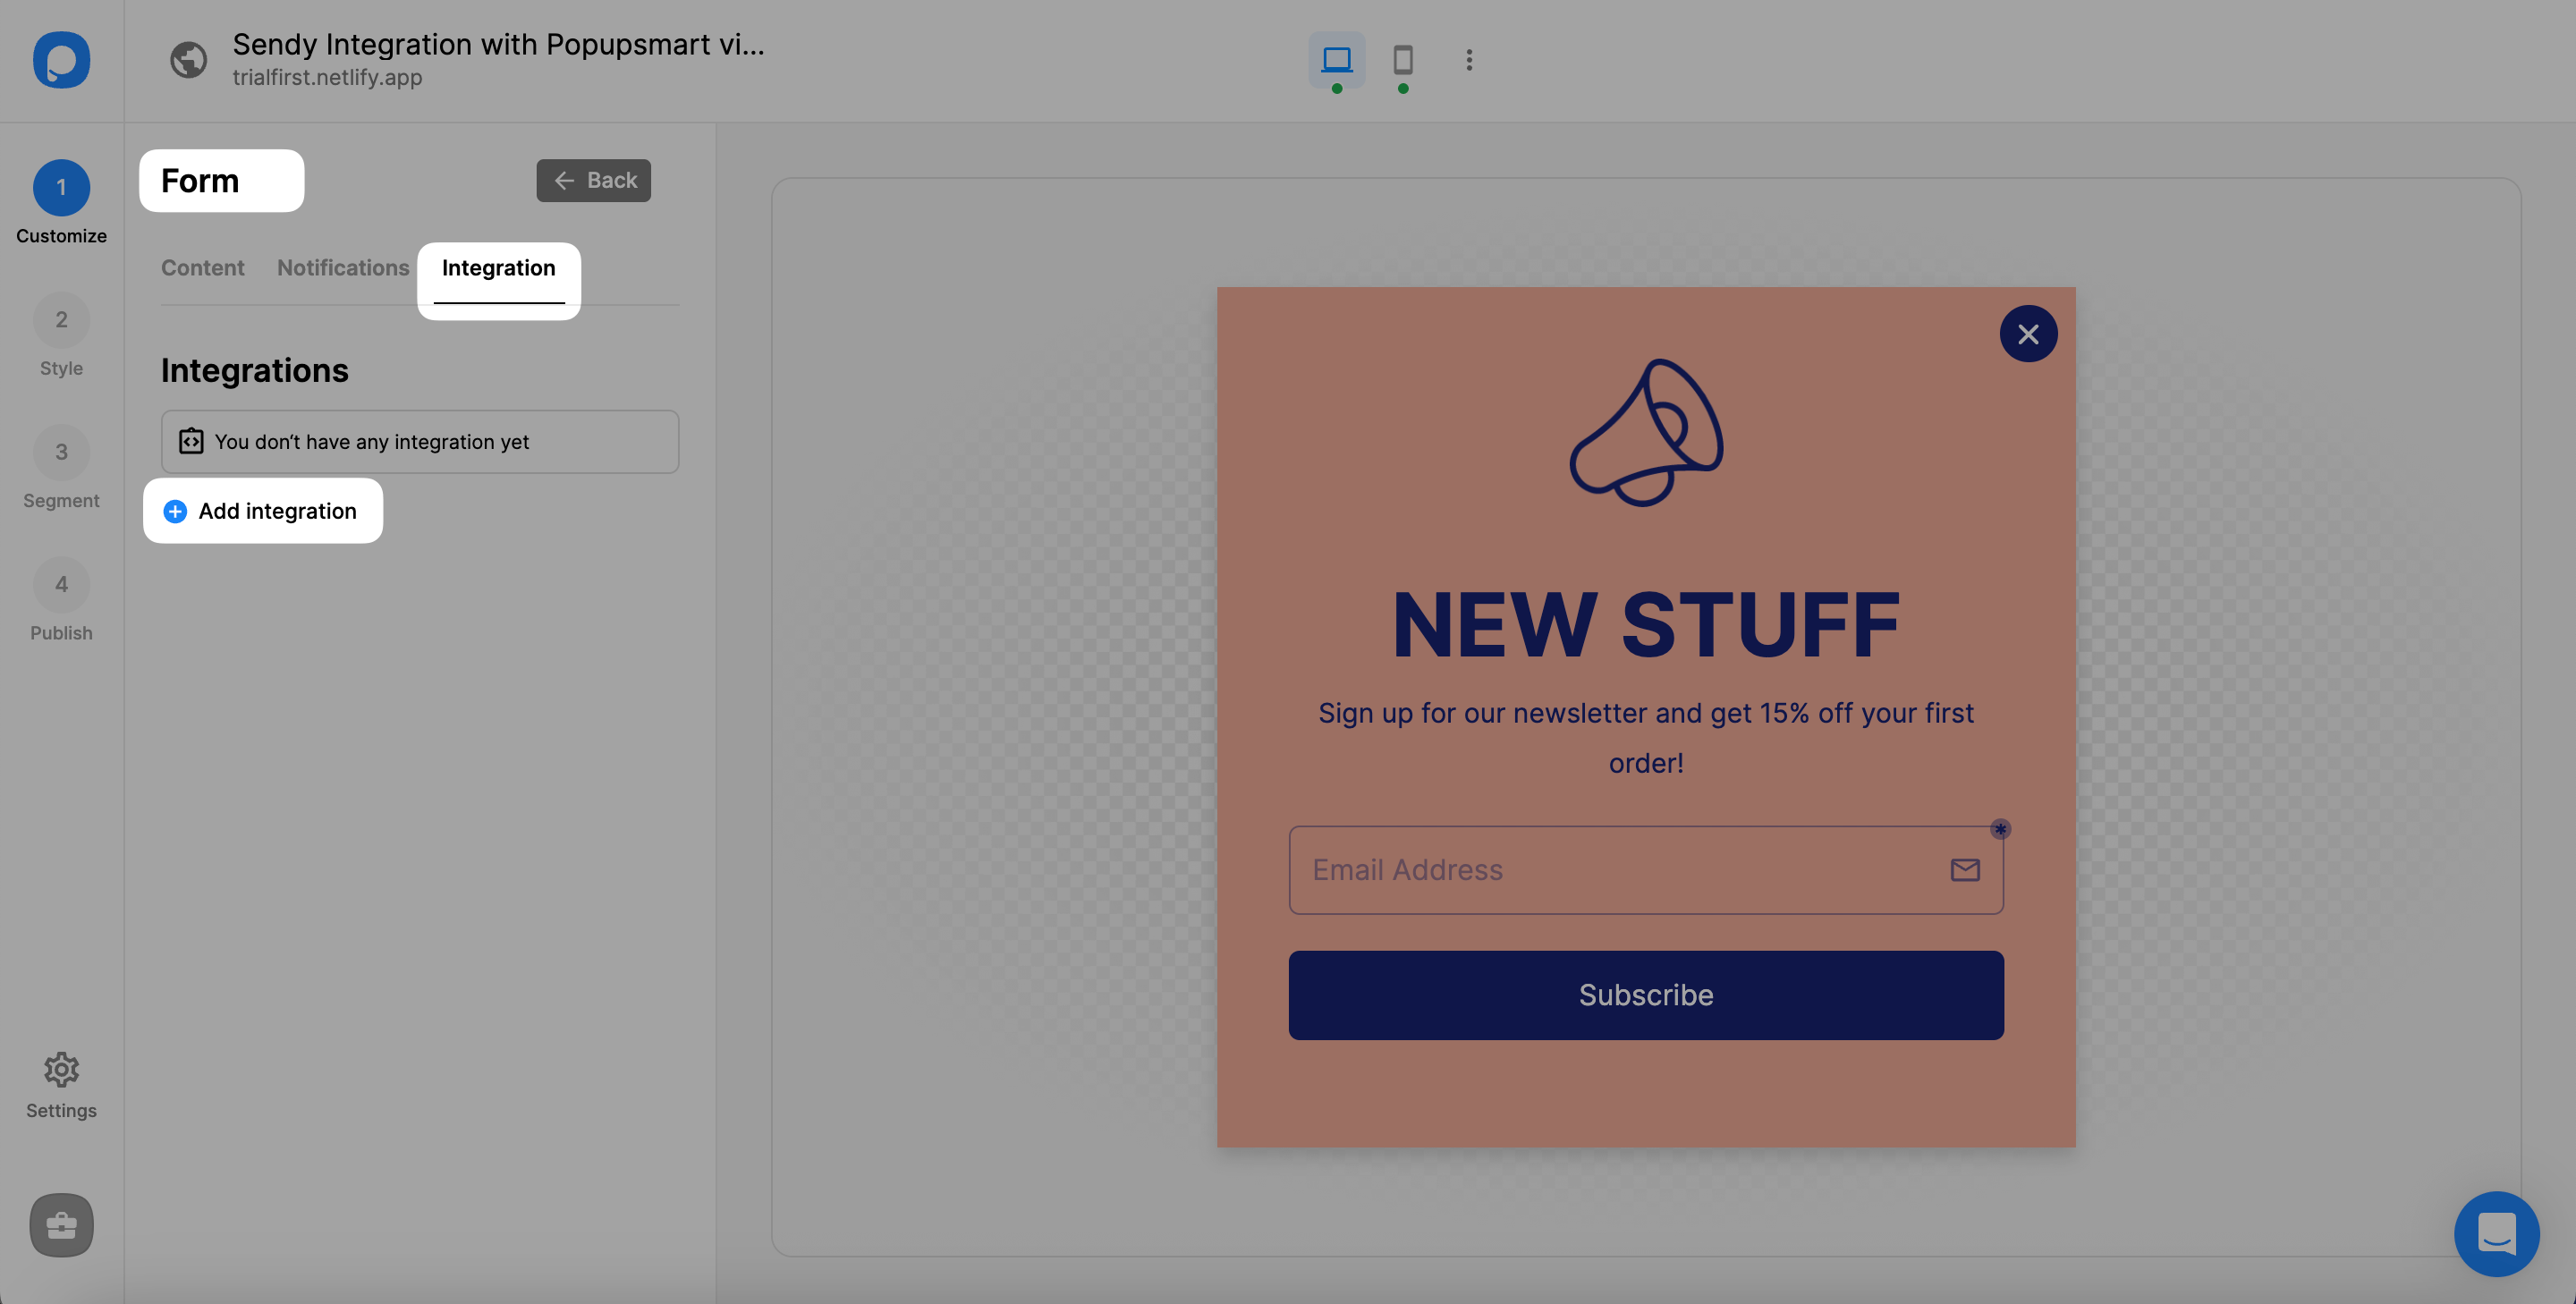
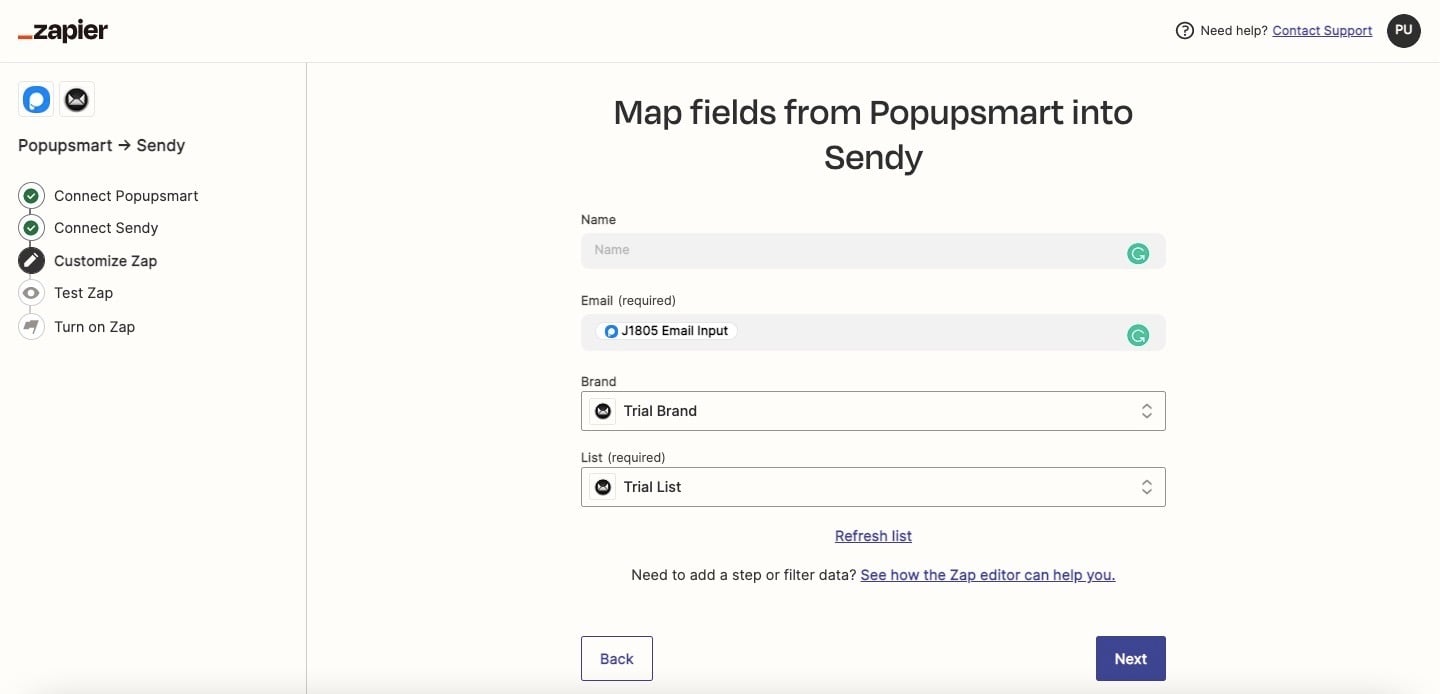
Configure Map Fields
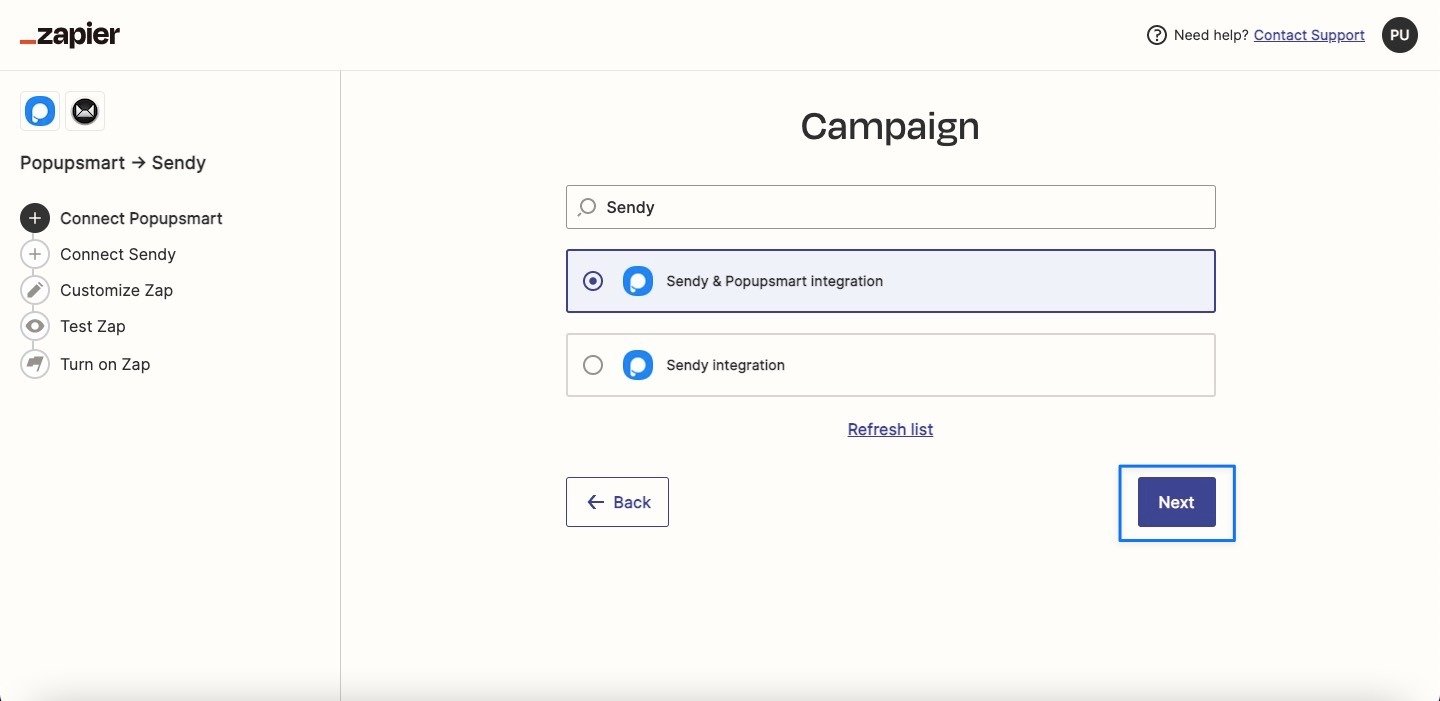
Fill in the map fields based on the elements on your popup. Choose your brand and your list on your Sendy account and click Send Test.
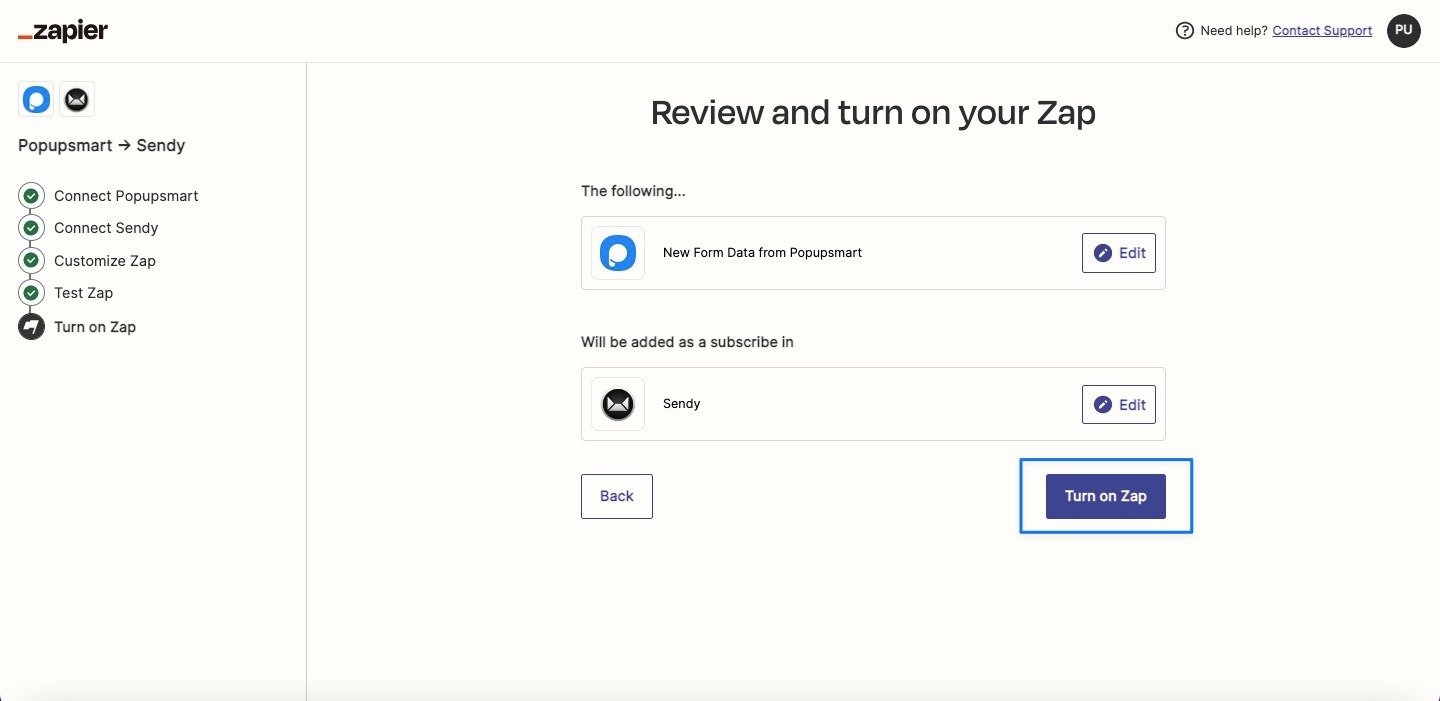
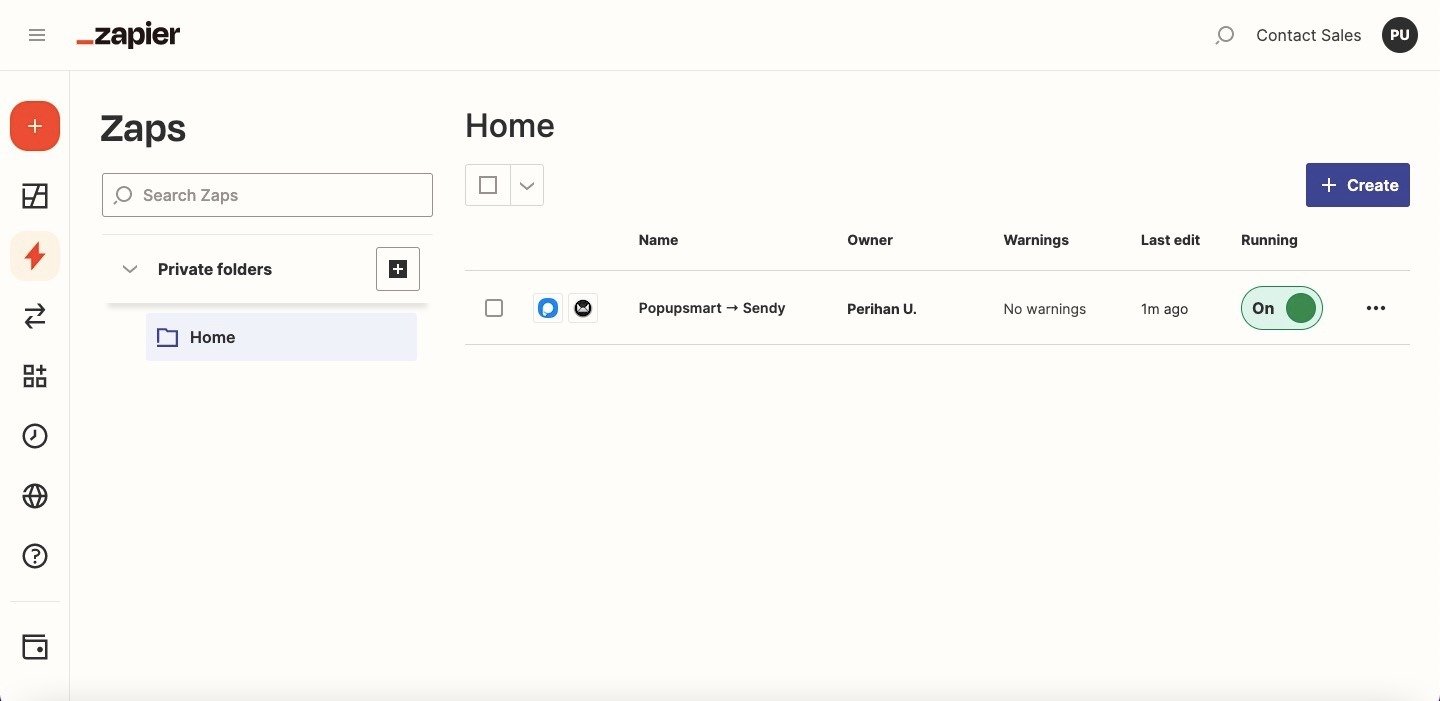
You can view your Zap of Popupsmart and Sendy from the Zaps tab in the left sidebar.
Now, you can manage your email marketing with this integration straightforwardly.
How is this guide?