How to Integrate Popupsmart with Drip
Effortlessly integrate Popupsmart and Drip for seamless campaigns. Learn how to connect for enhanced audience engagement and streamlined data.
Drip is one of the most useful marketing tools you can integrate easily with Popupsmart.
We share this guide to tell you step-by-step integration of Drip with Popupsmart.
Prerequisites
- You need to have a Drip account.
- You need to verify your website on your Popupsmart account.
How to Set Up Drip Integration
Create Campaign
Sign in to your Popupsmart account and create a new campaign to choose a proper popup template for your campaign. You need to have a form input element to add integration. By adding a form input element, you'll be able to take the related data to your Drip account.
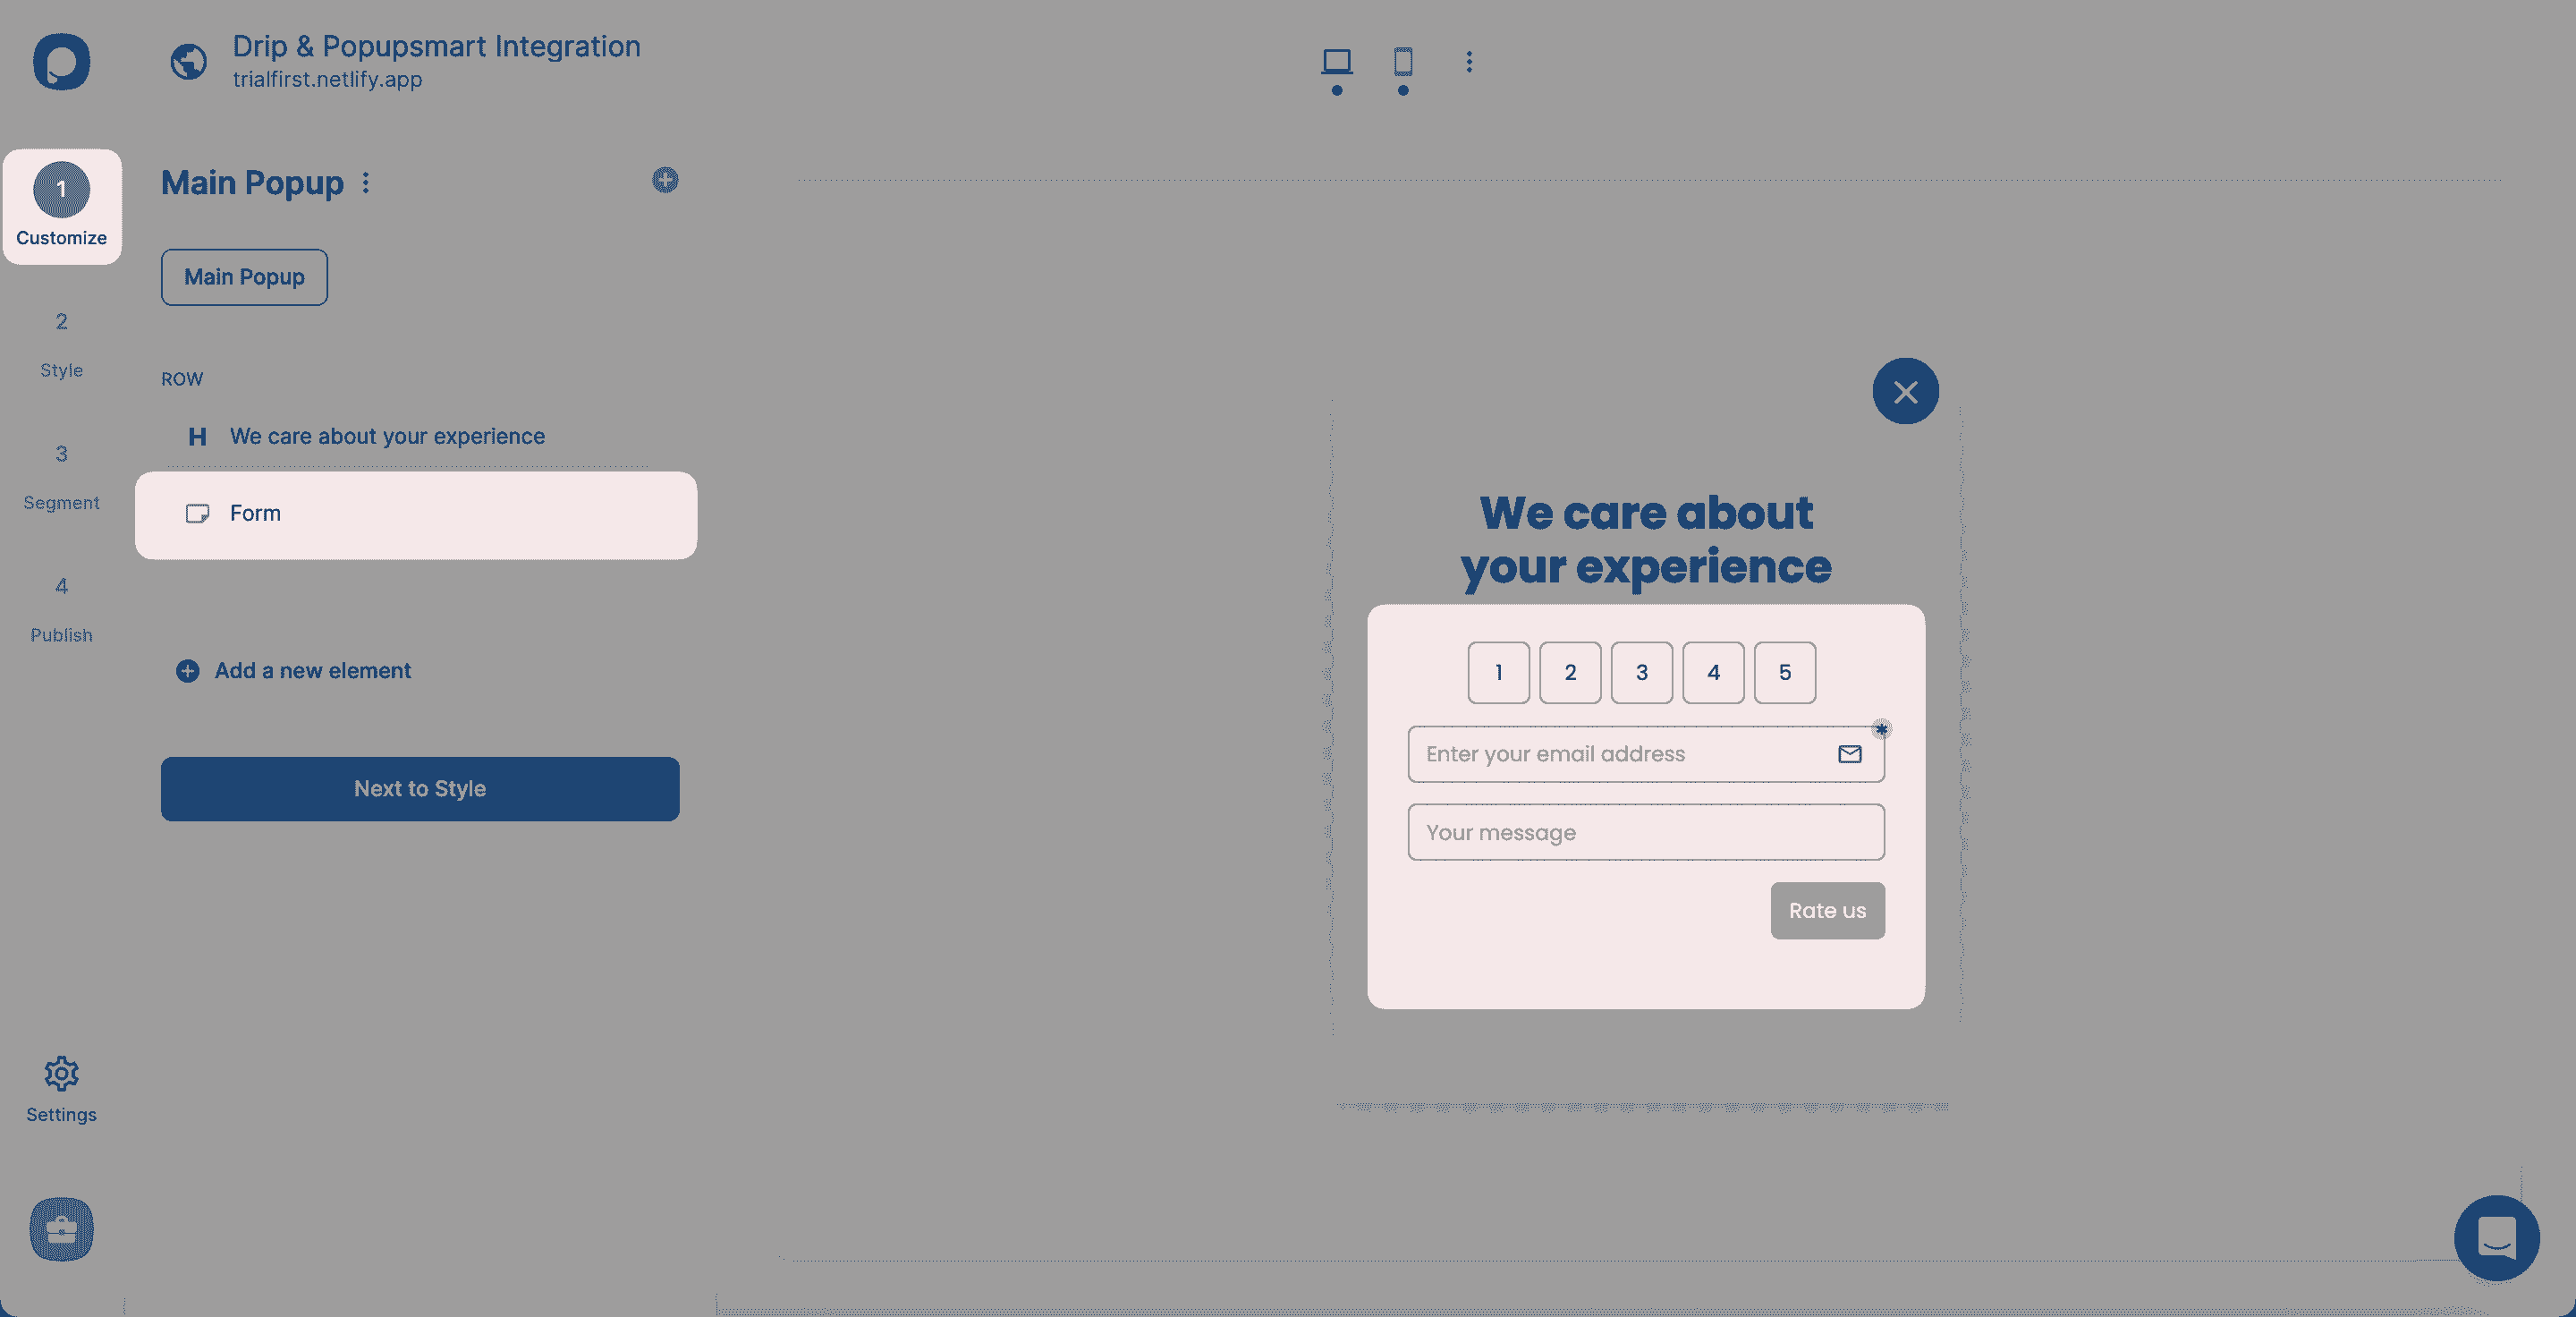
You can decide which form input you want to use after choosing the form element.
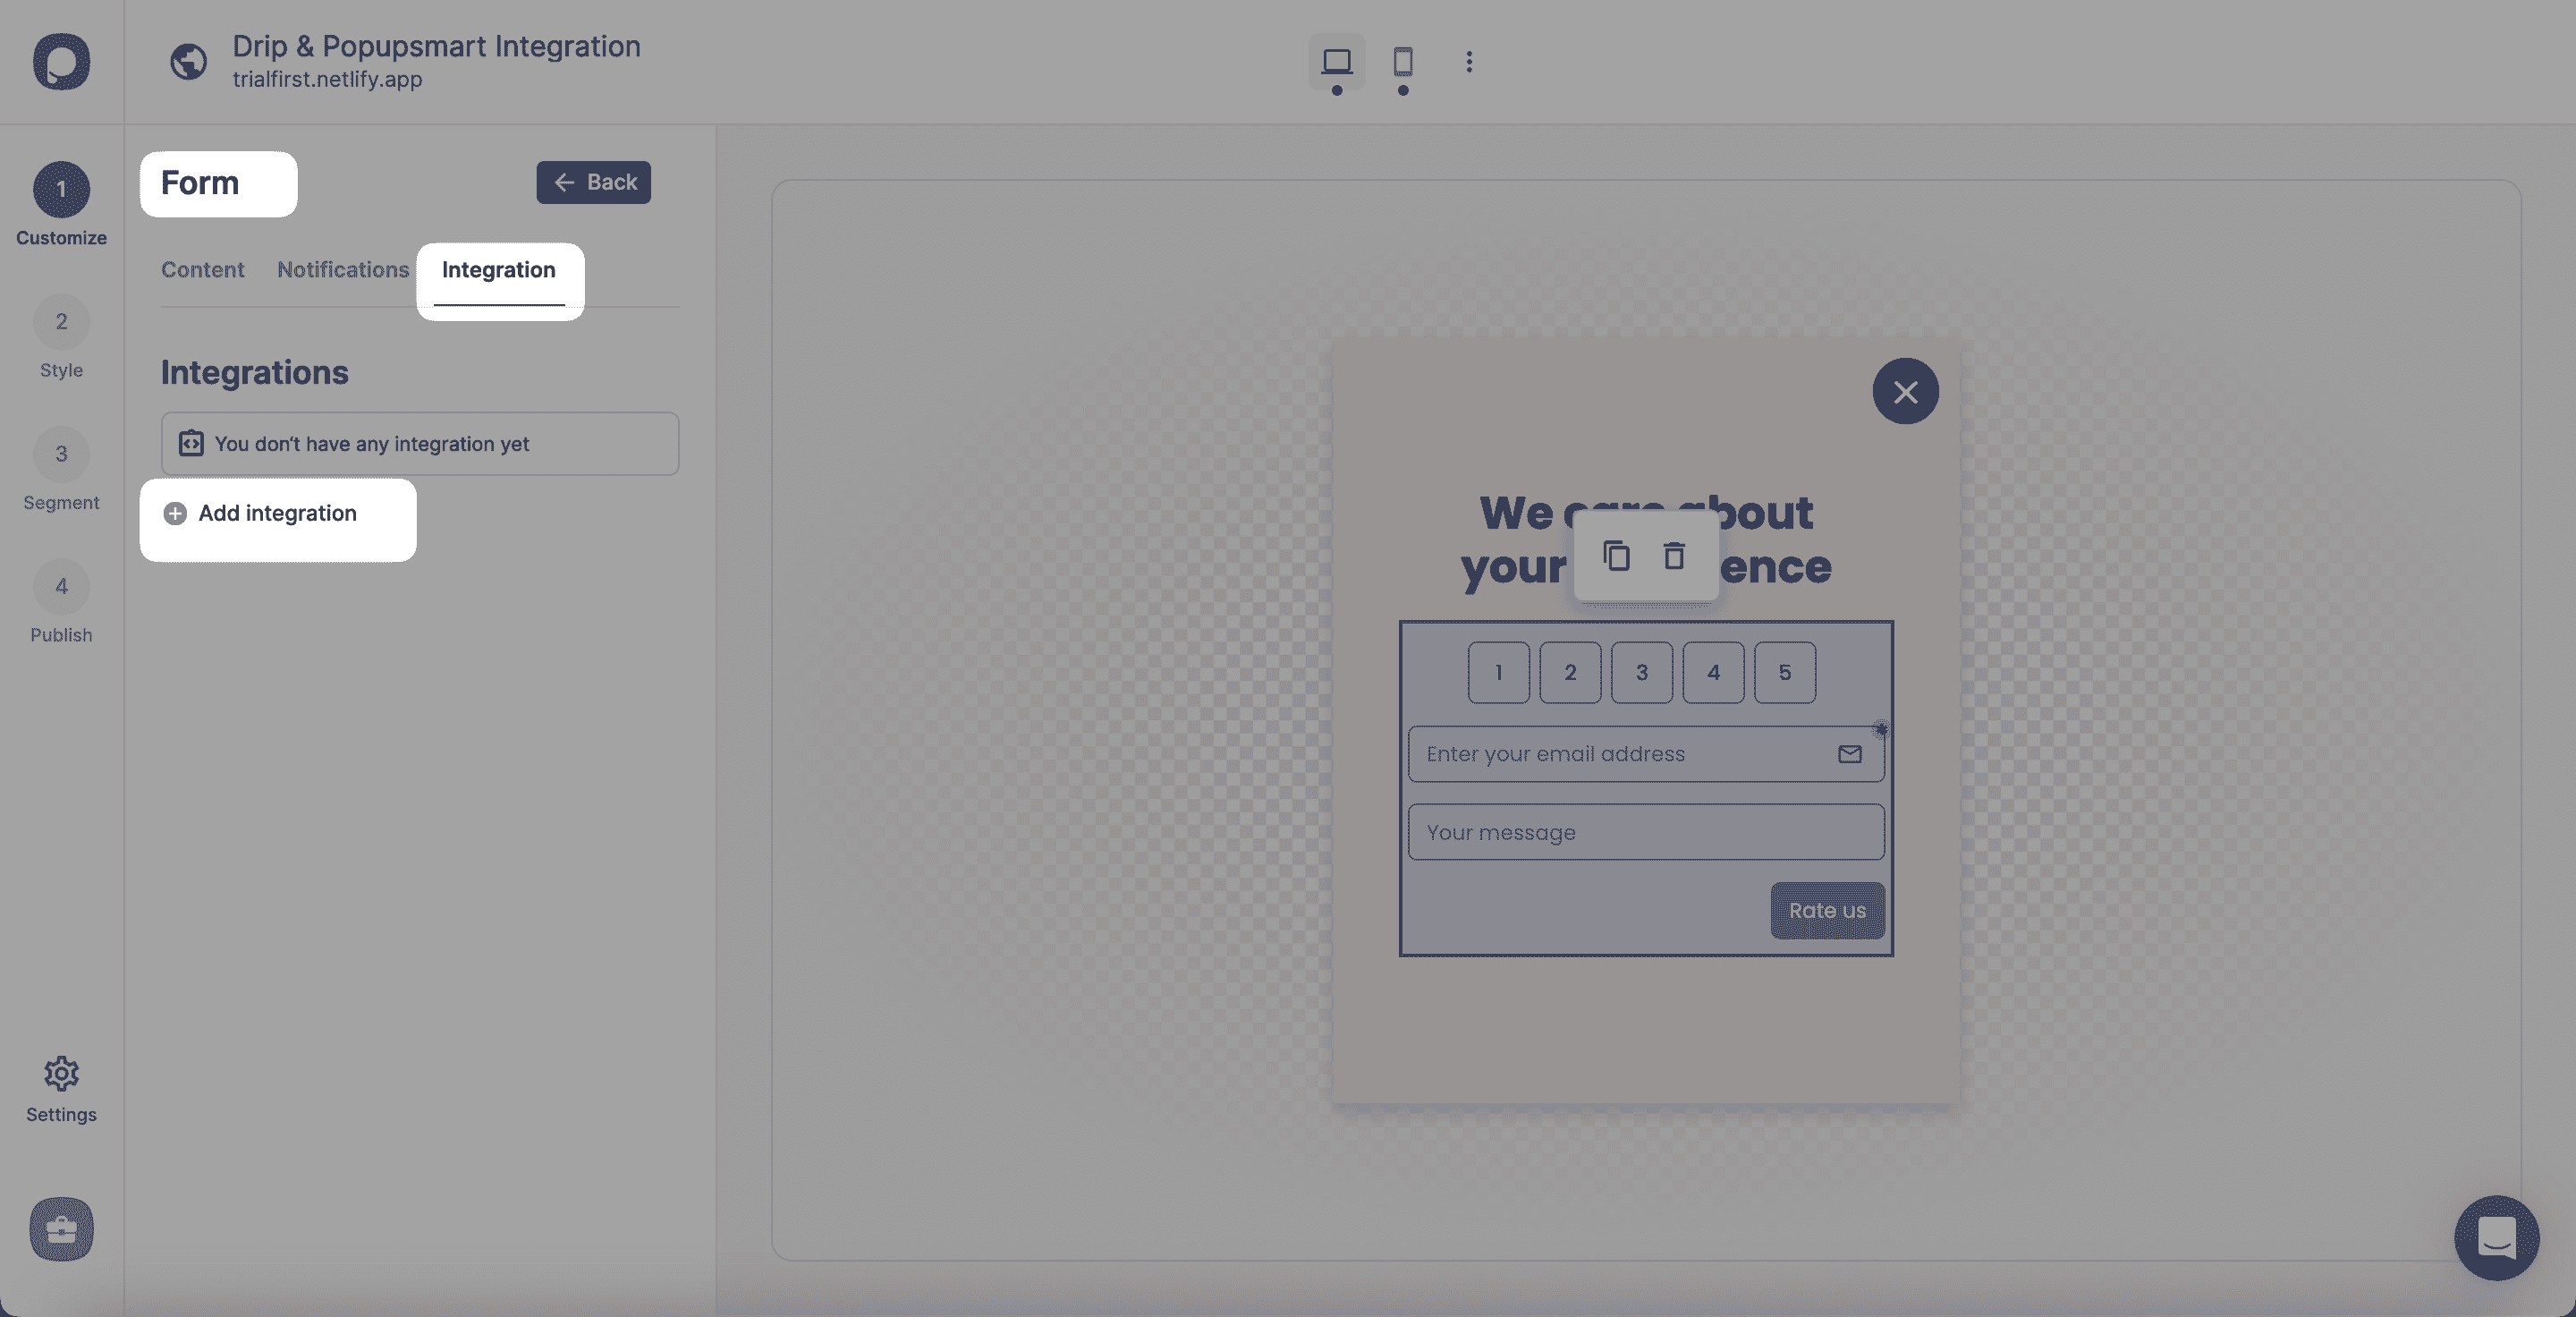
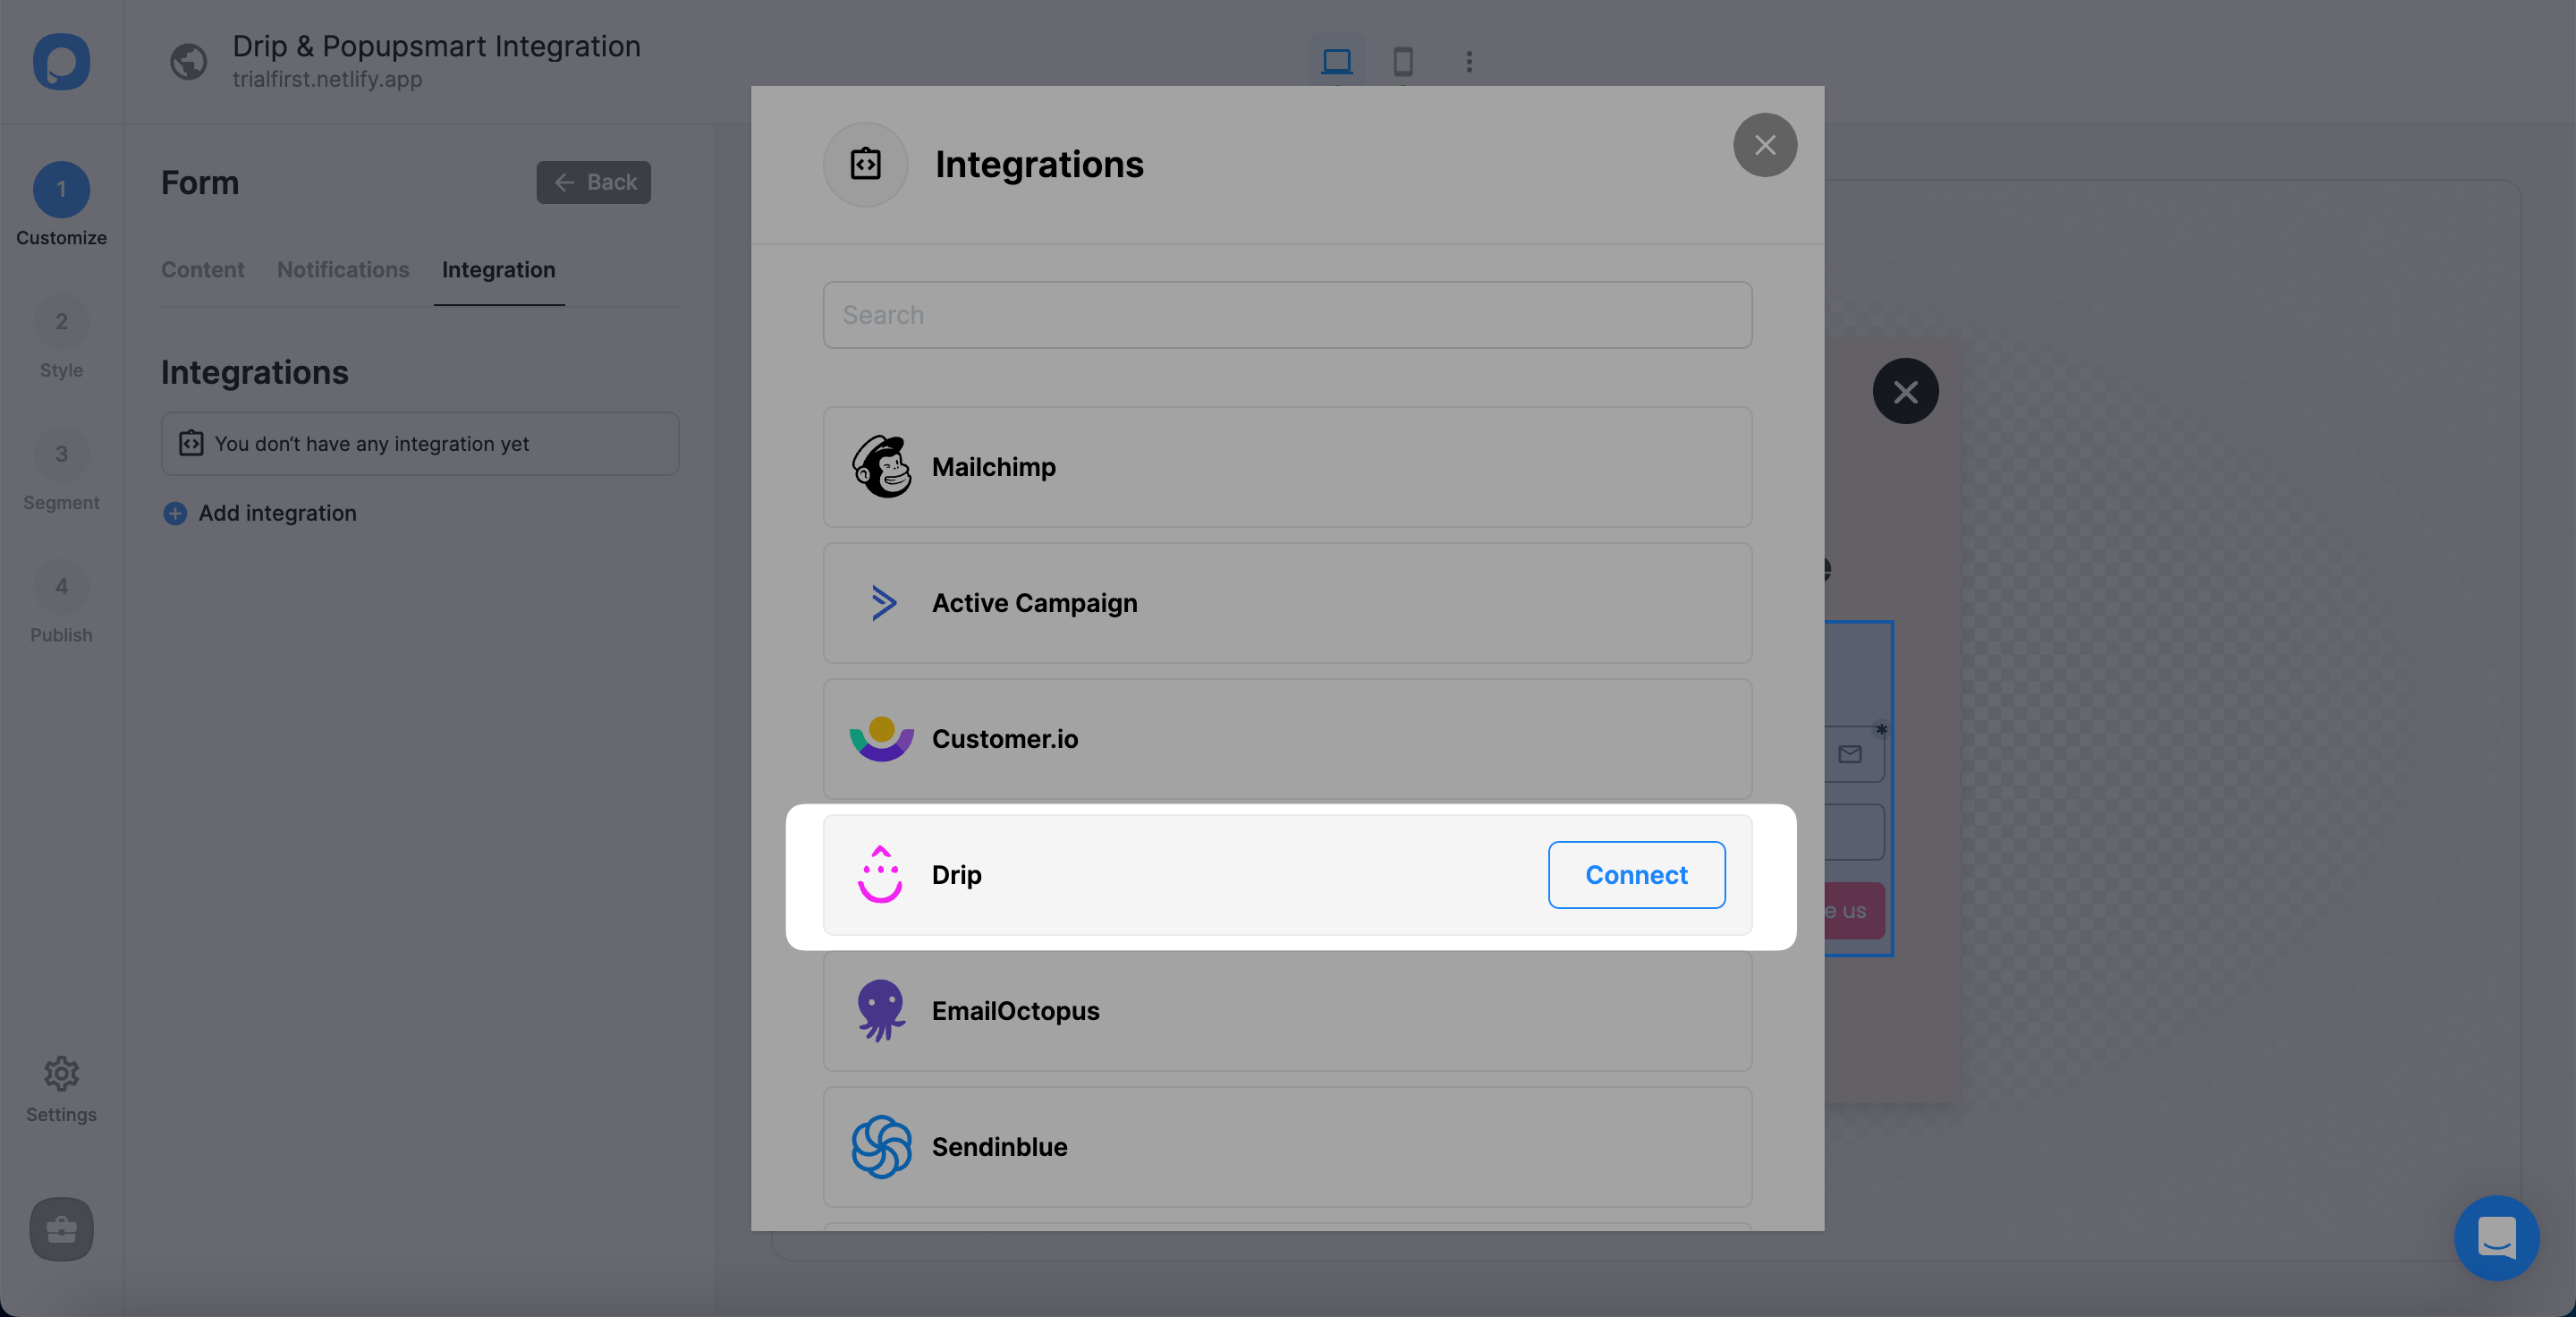
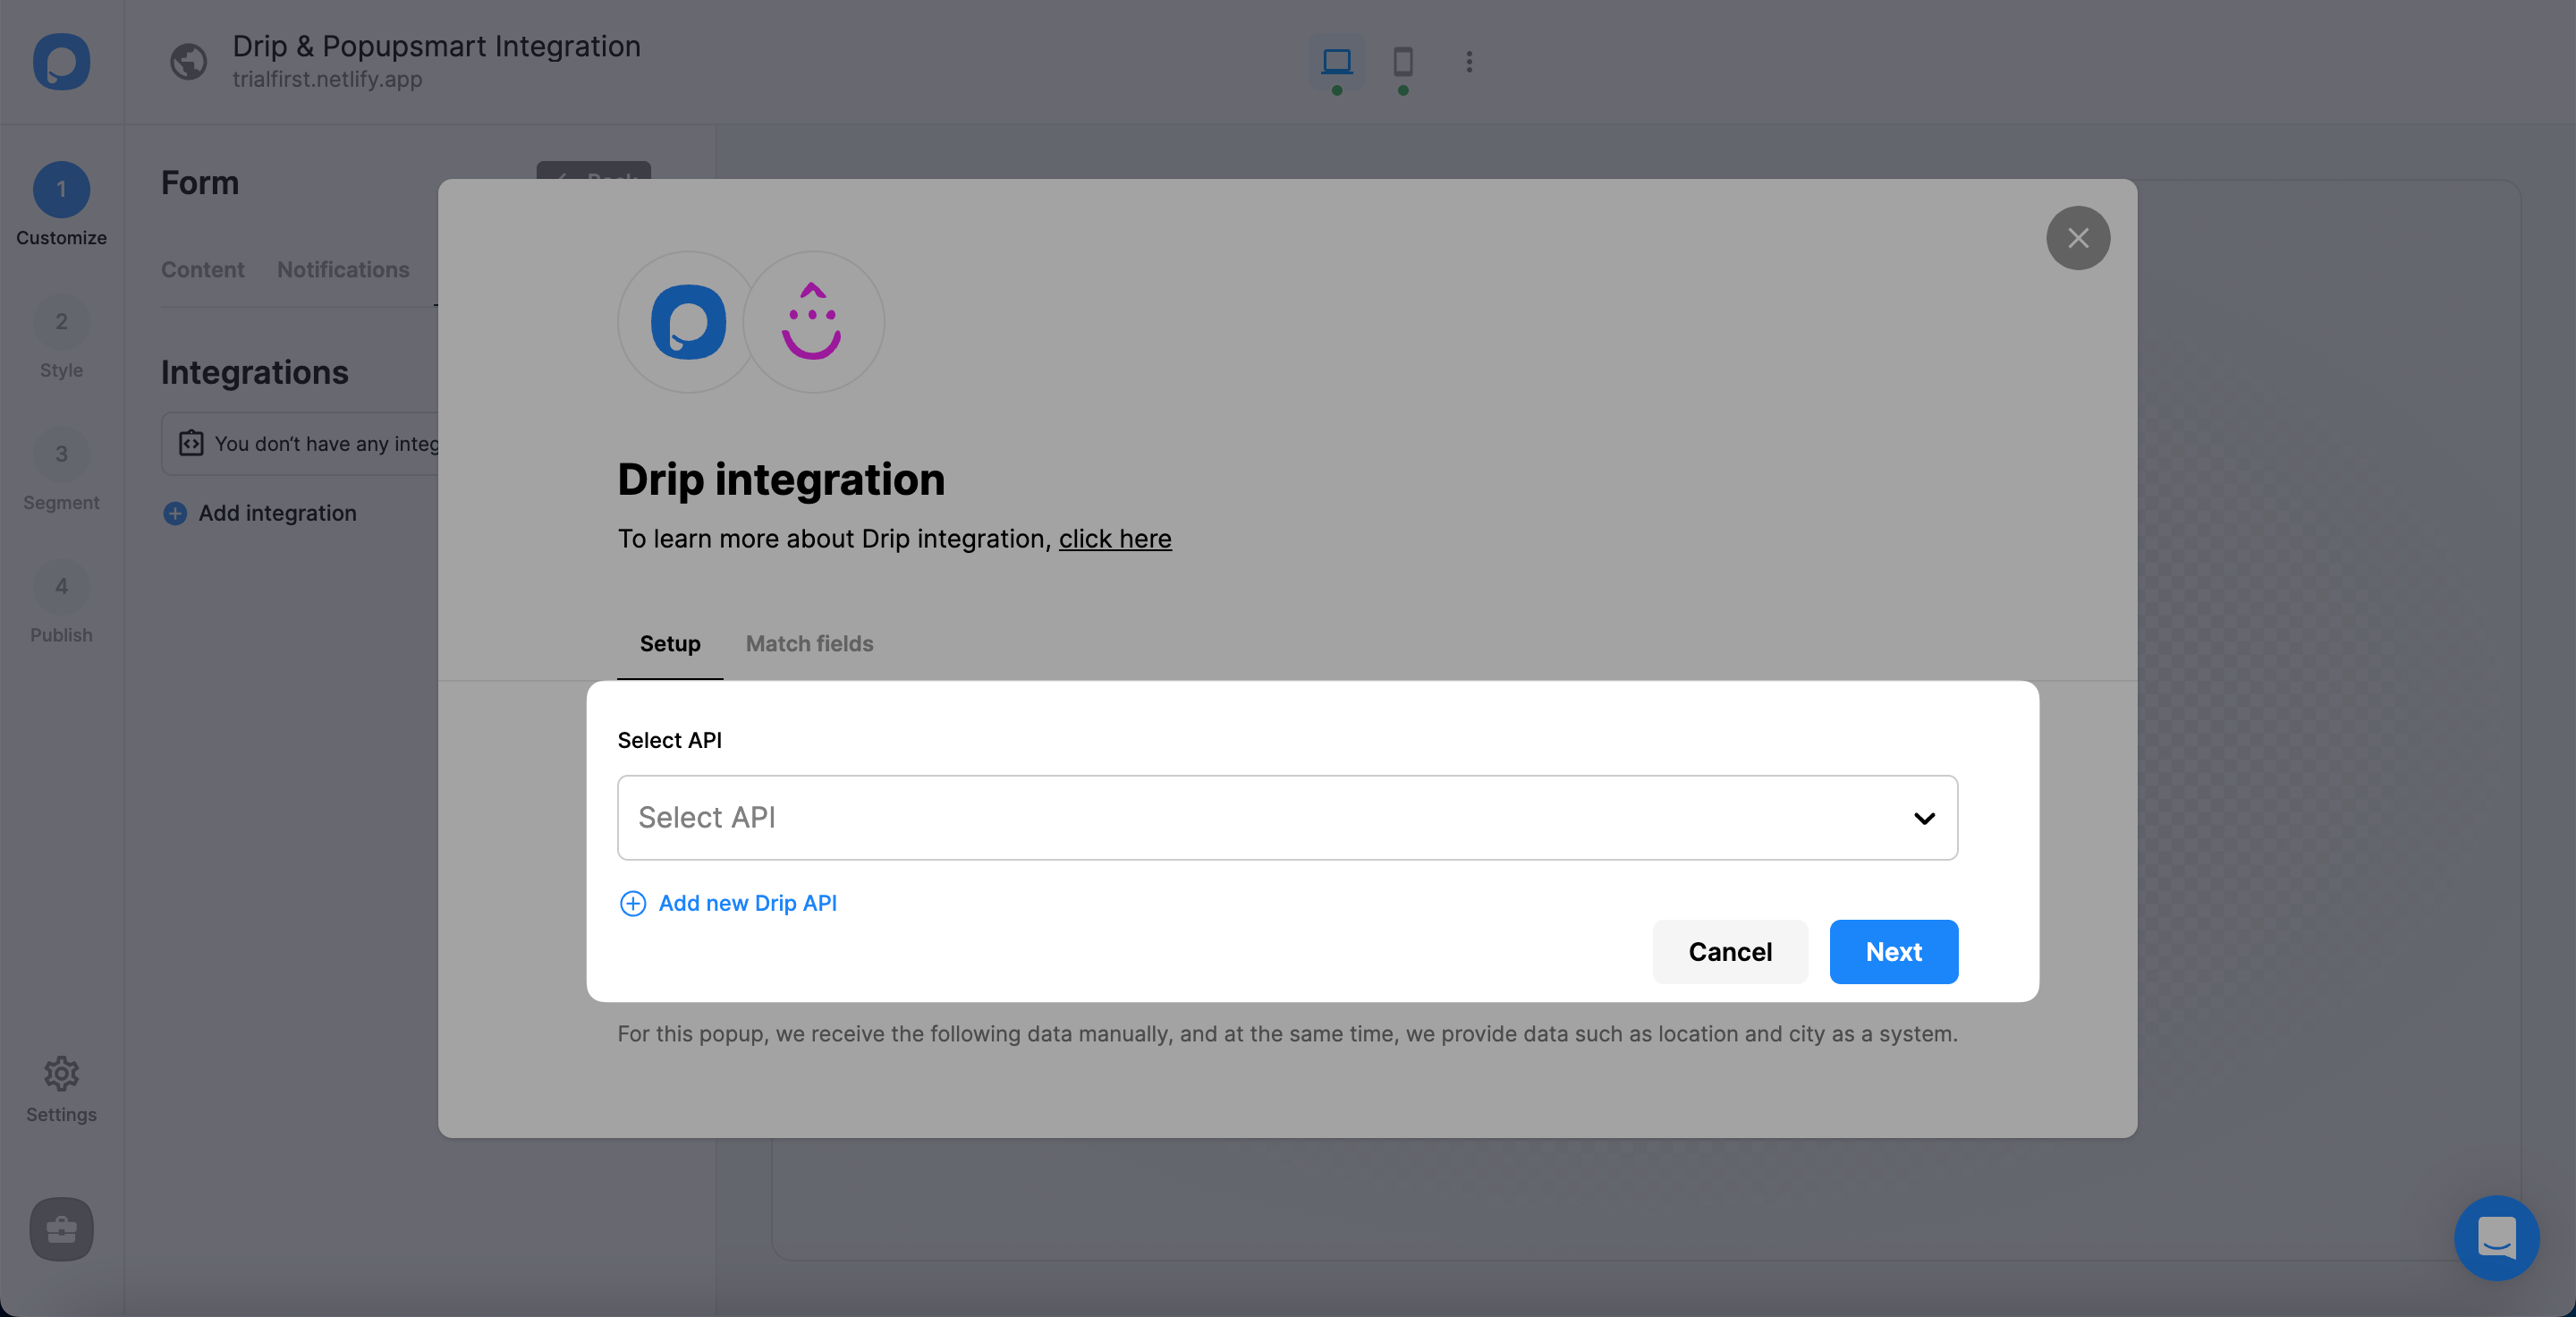
Setup API
For the Setup, you need to either choose API from the dropdown or add a new Drip API if this is the first time you make the integration.
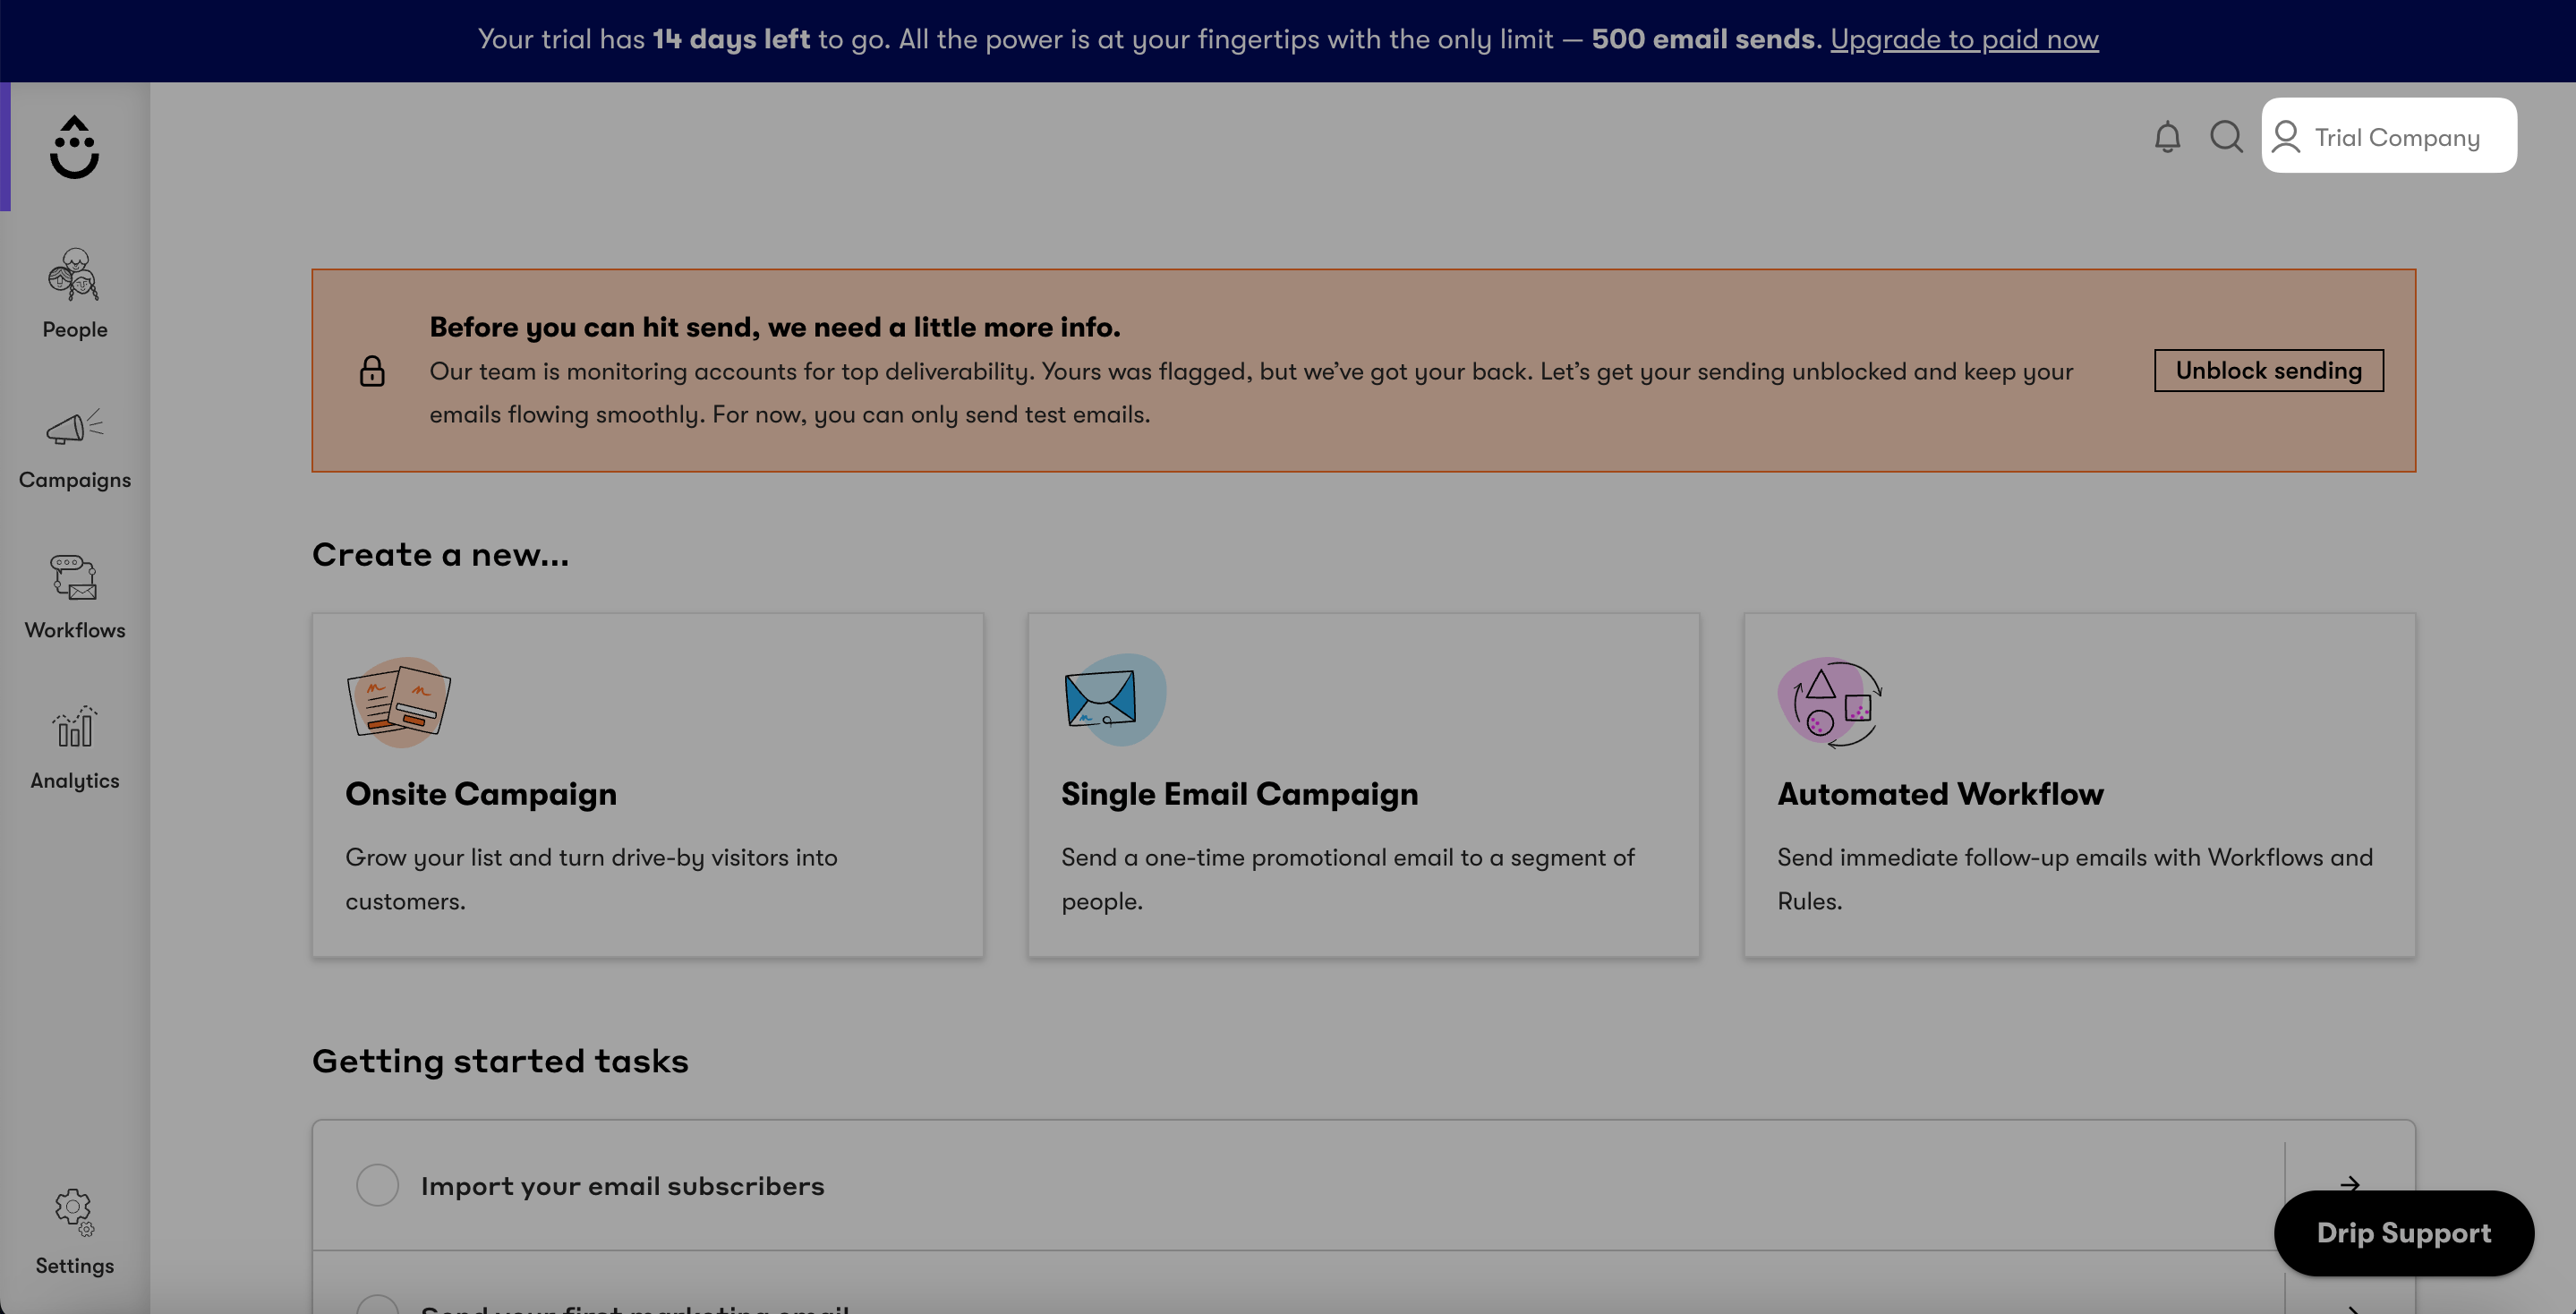
Access Drip Settings
After logging in to your Drip account, click the account icon on the top right of the page. The account's name will be your company name. In this guide, we use "Trial Company."
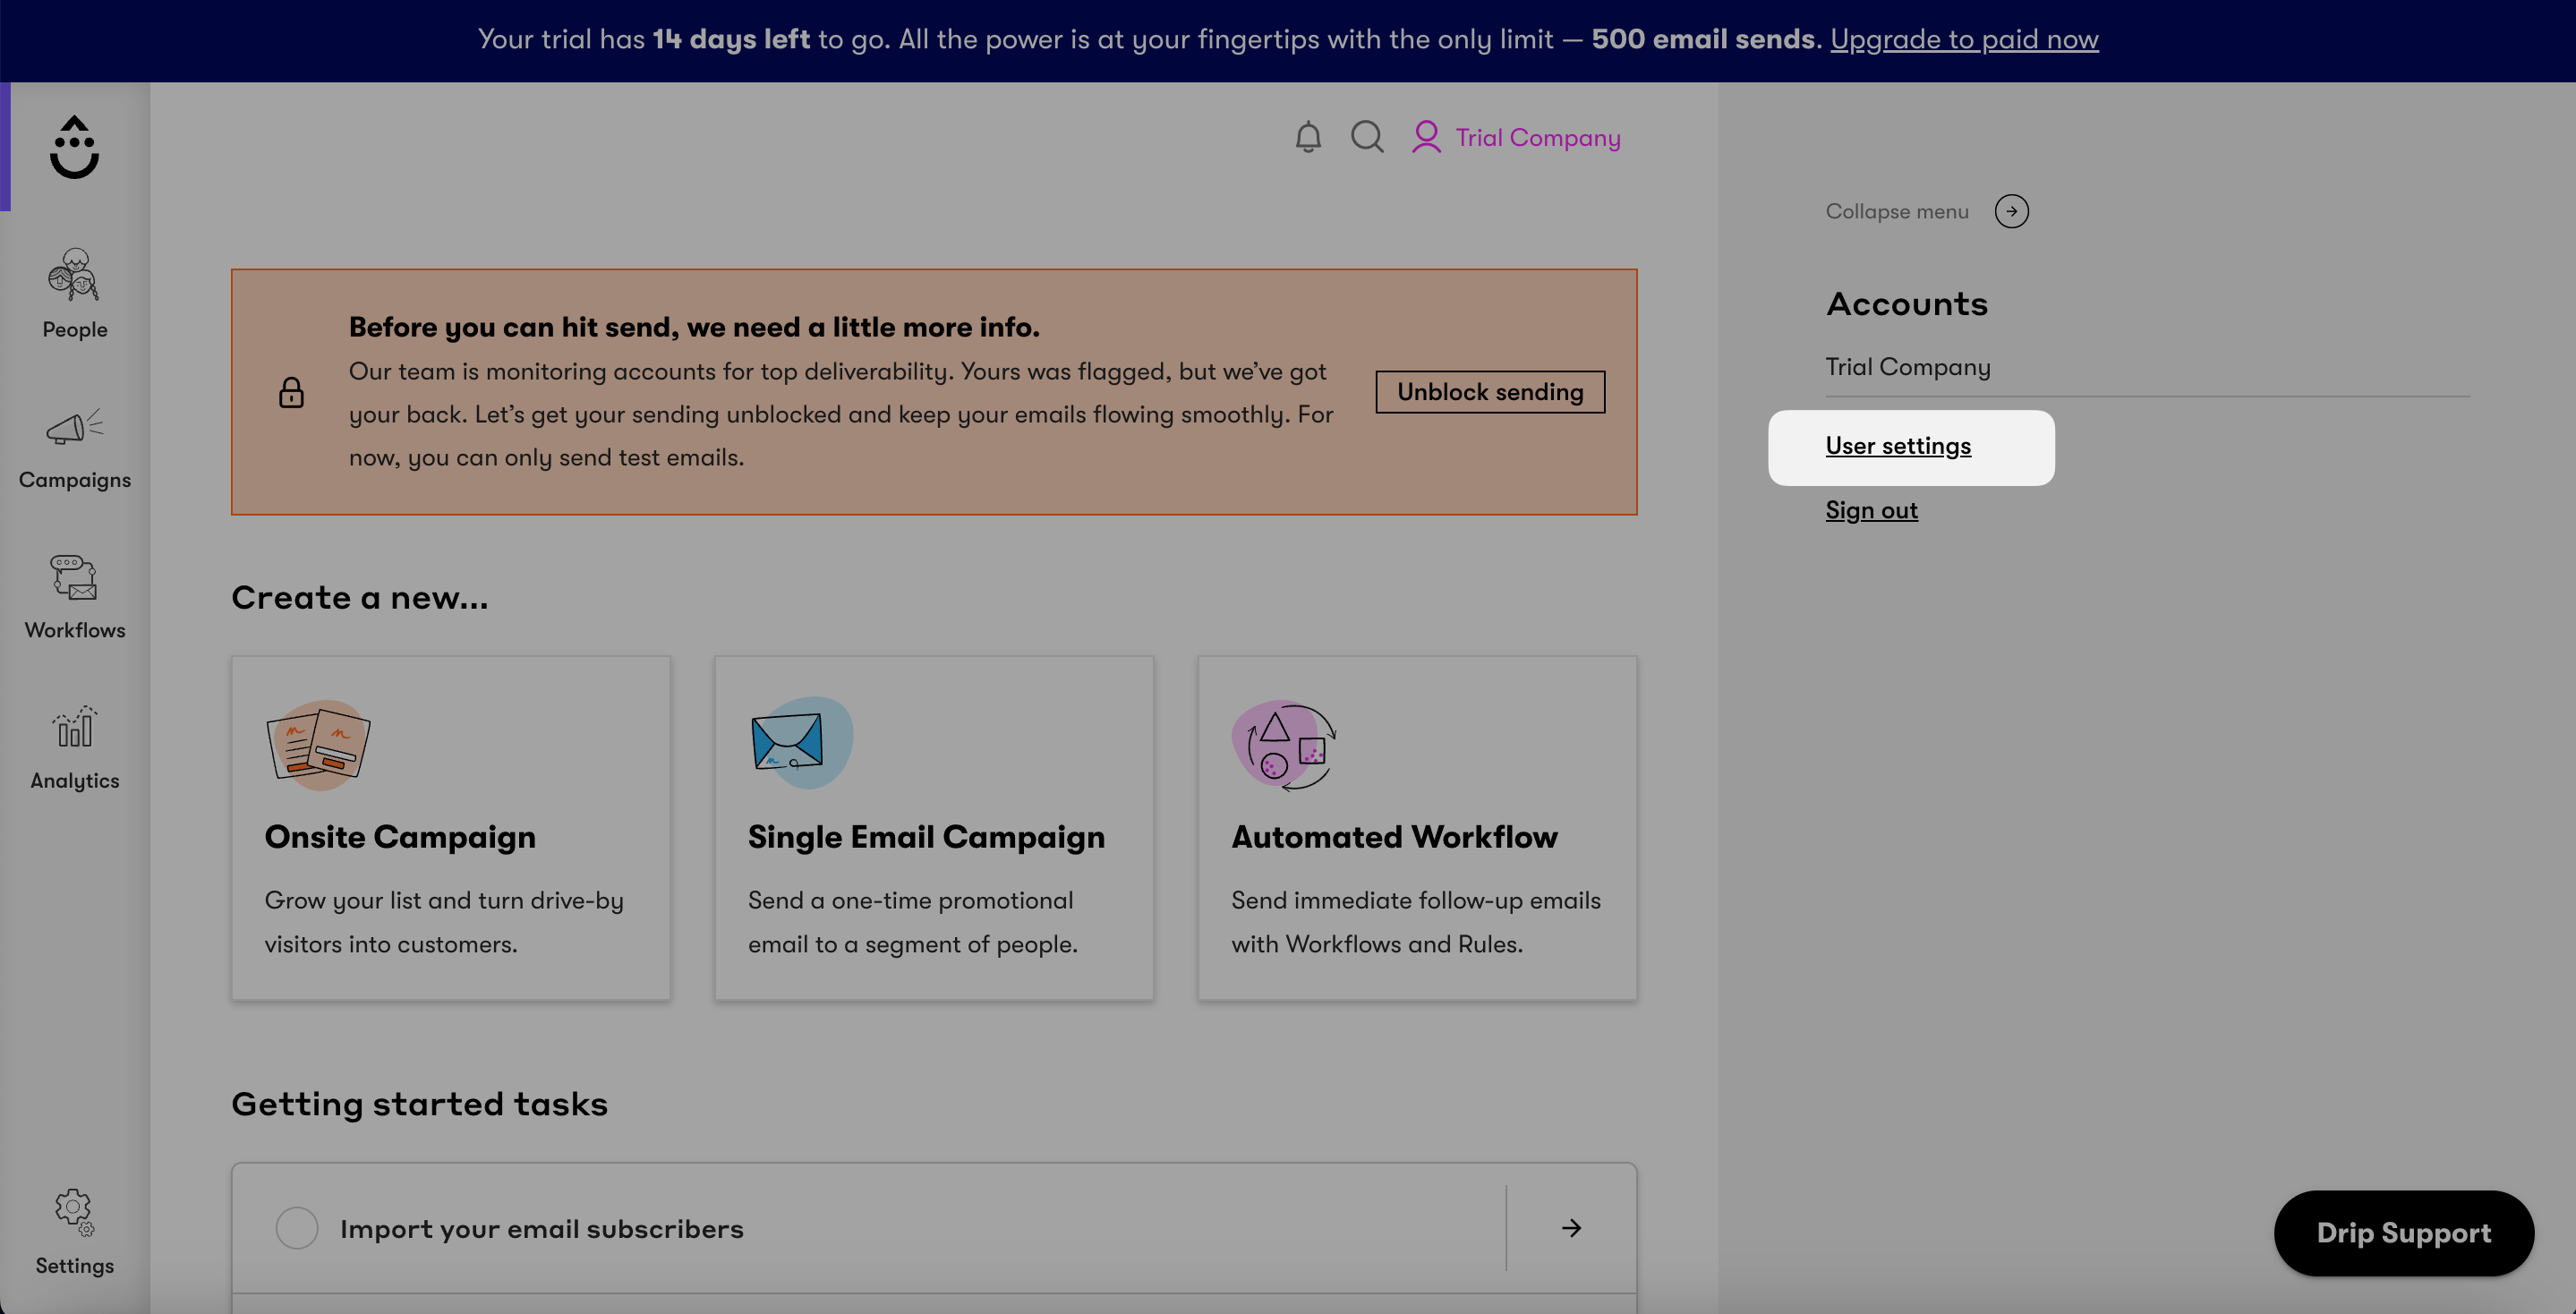
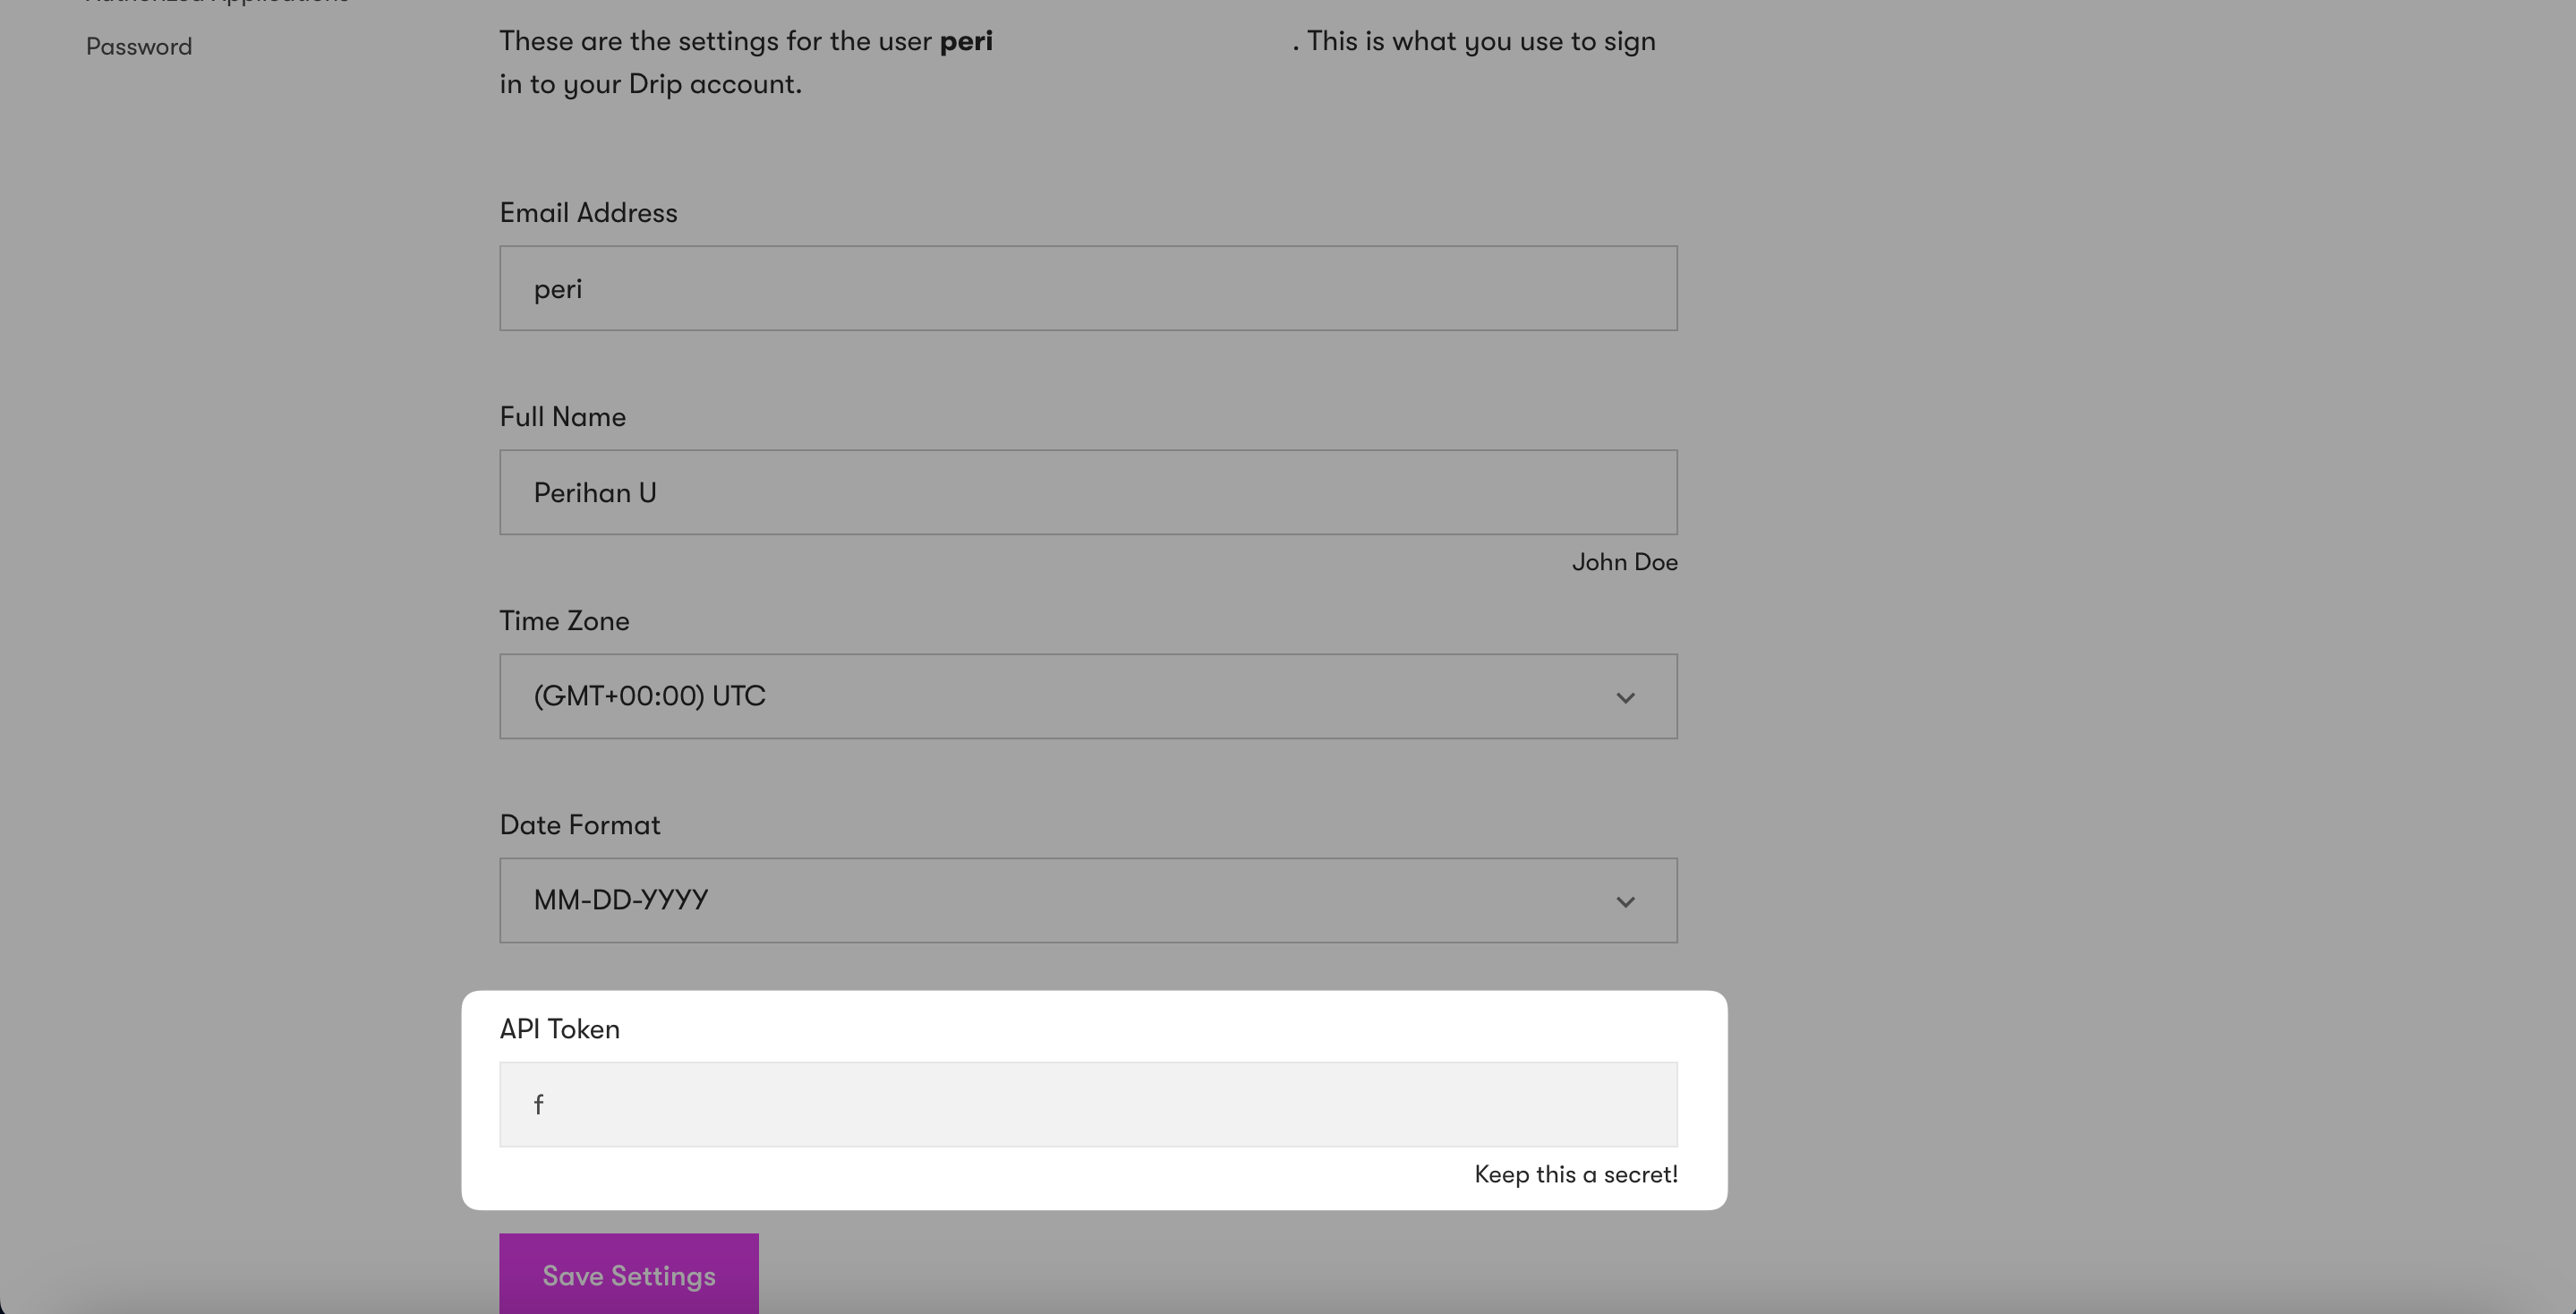
Copy API Token
User Settings will lead you to the 'User Info' page, where you will find your API token. You can copy this API Token.
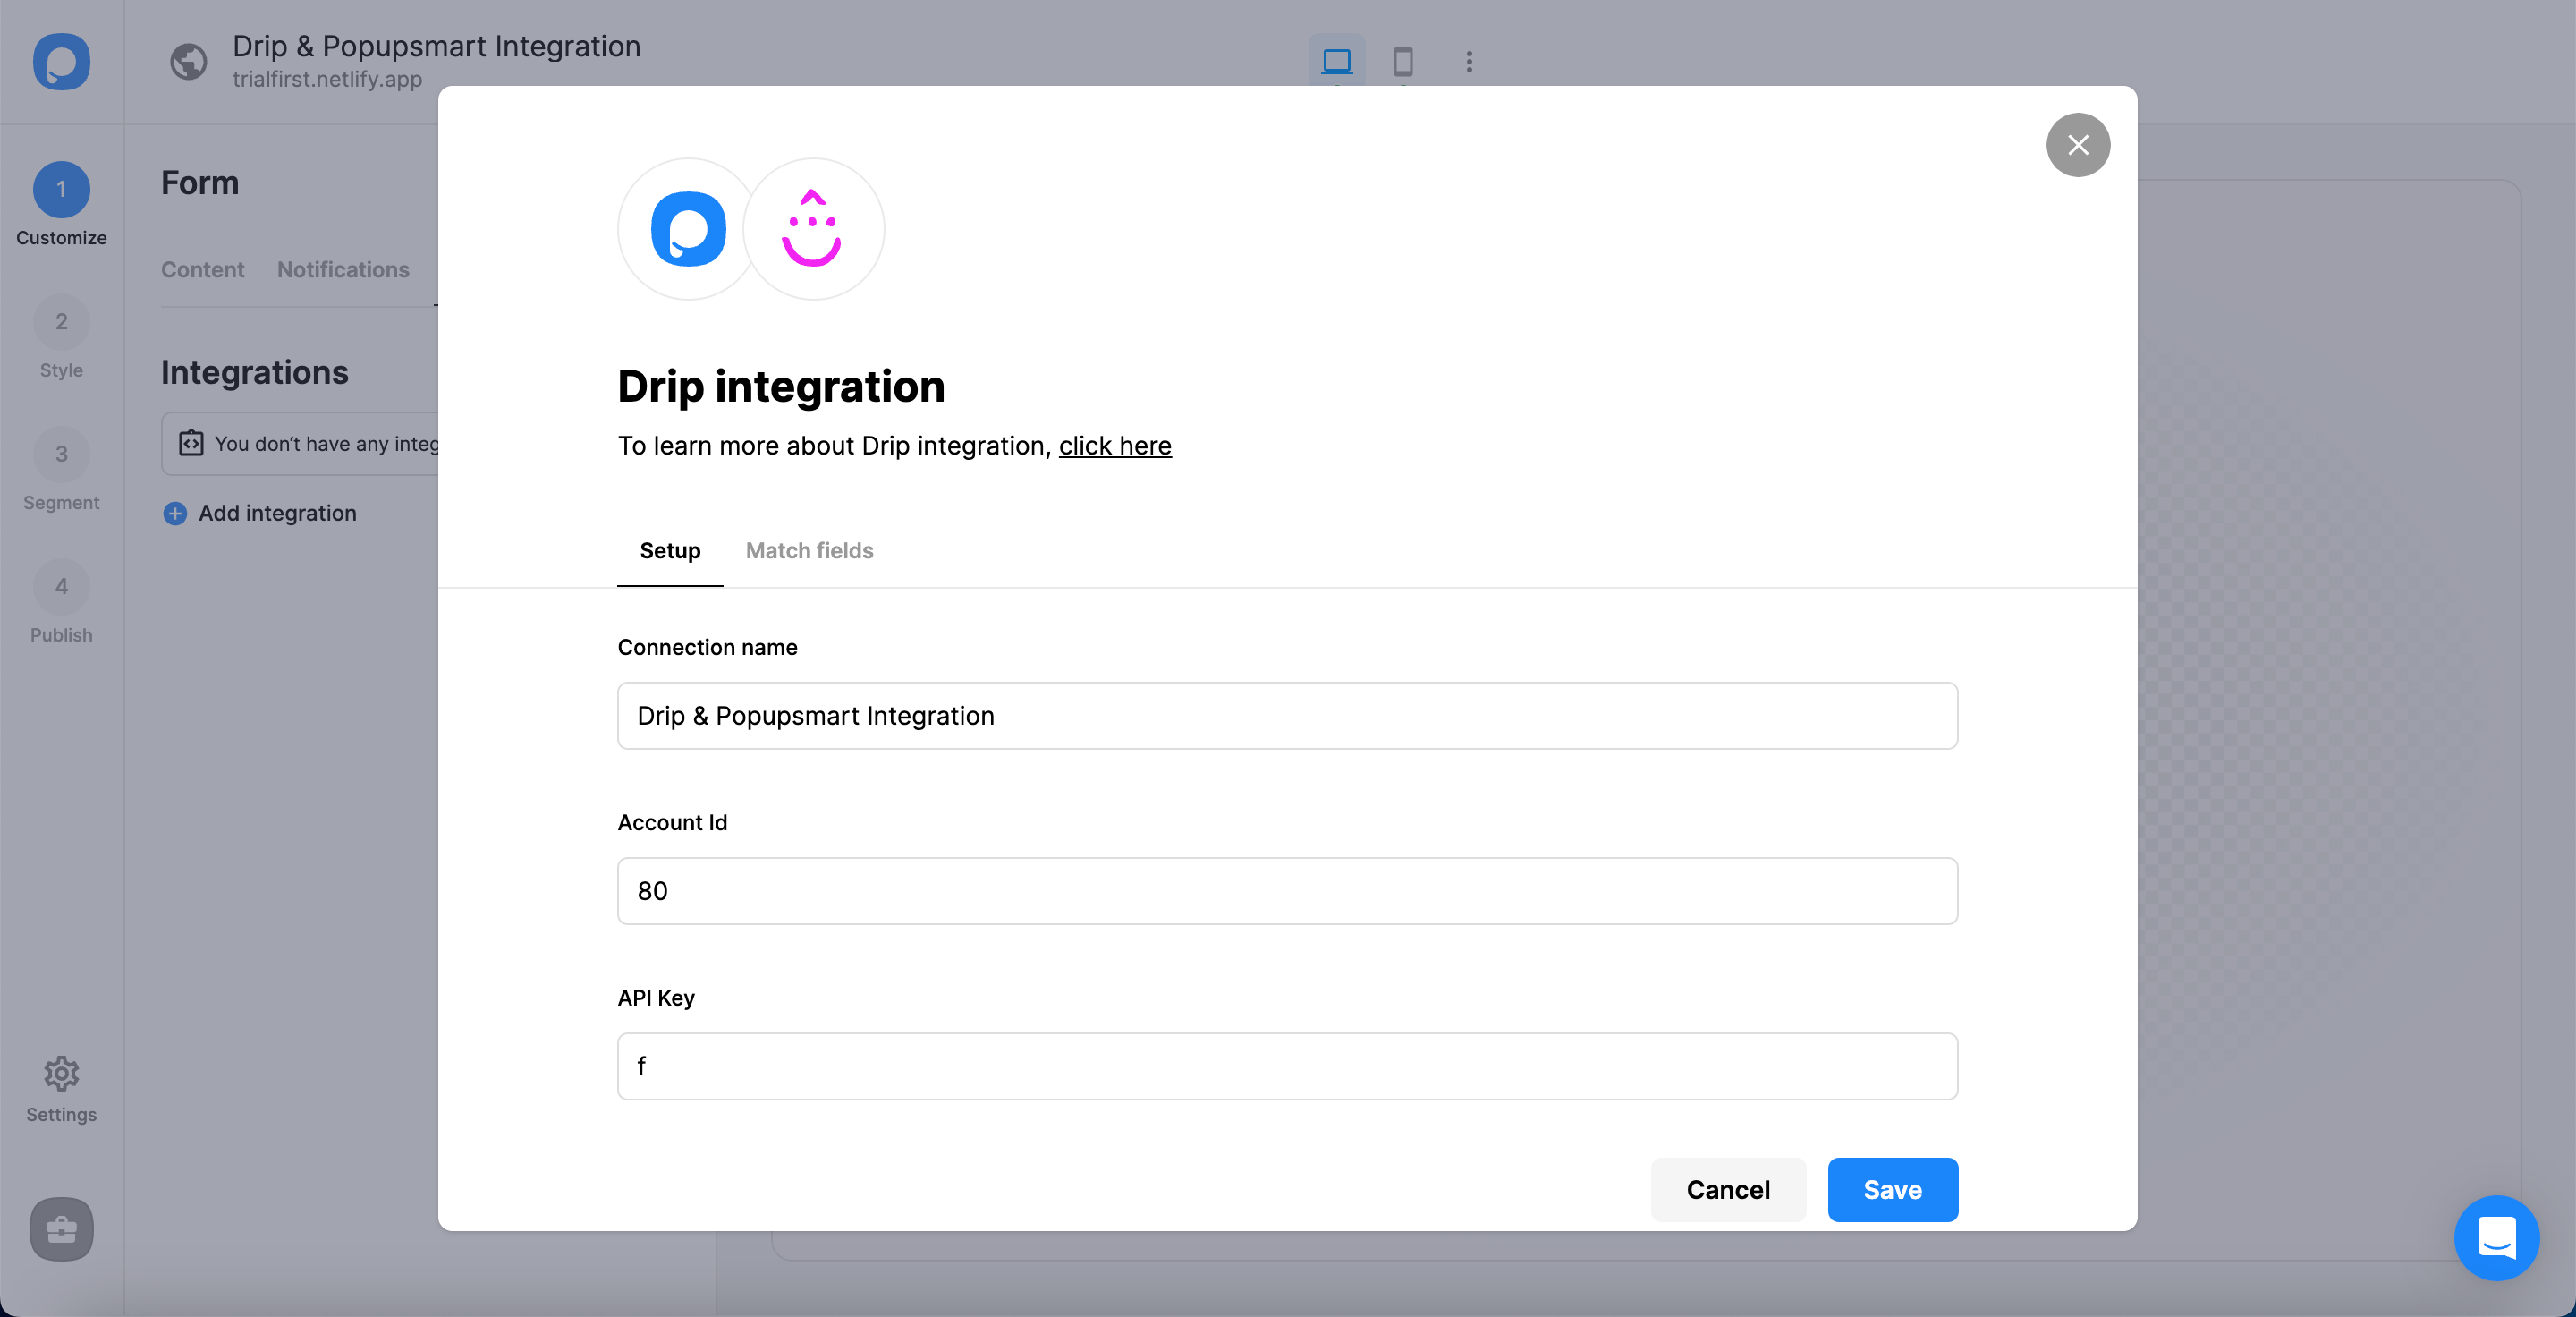
Complete Setup
There are three steps to fill in:
- Name your connection.
- Write your Drip's 7-digit Account ID number. You can click the profile icon, then the company name on Drip, to find your account ID at the end.
- Paste the API token that you have copied.
Now, you can "Save".
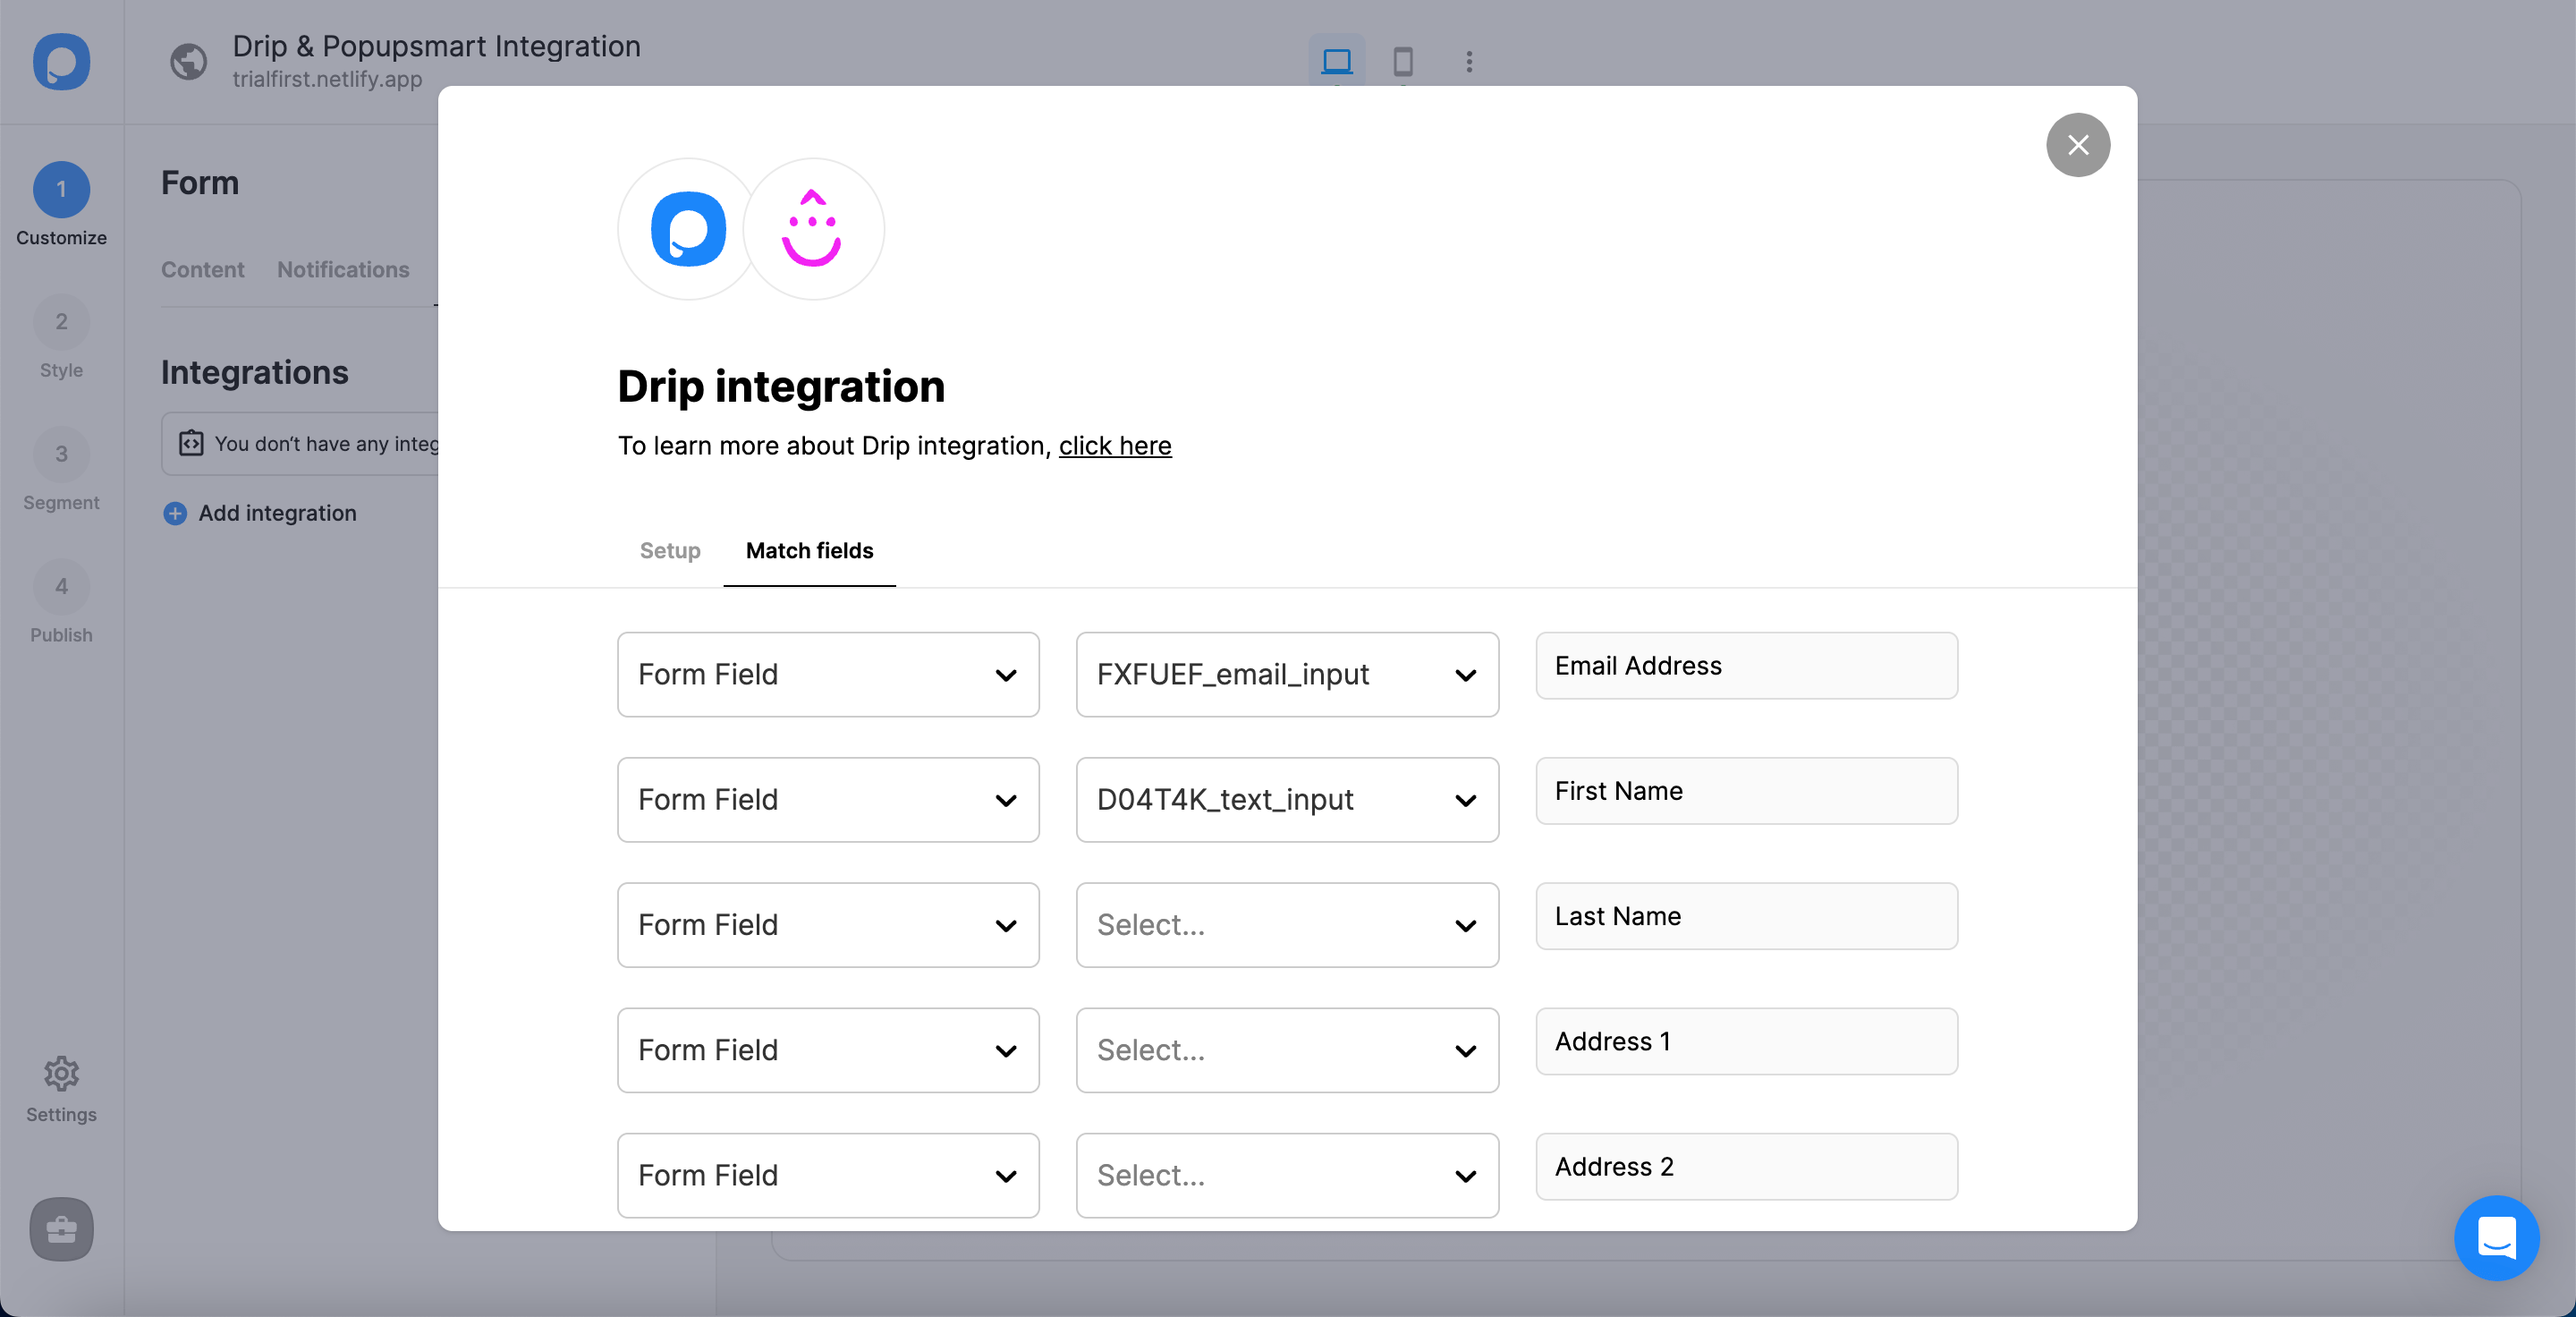
Match Fields
In the 'Match fields', you should fill them according to the data you want to have. After you have completed it all, you can click "Save".
That's all!
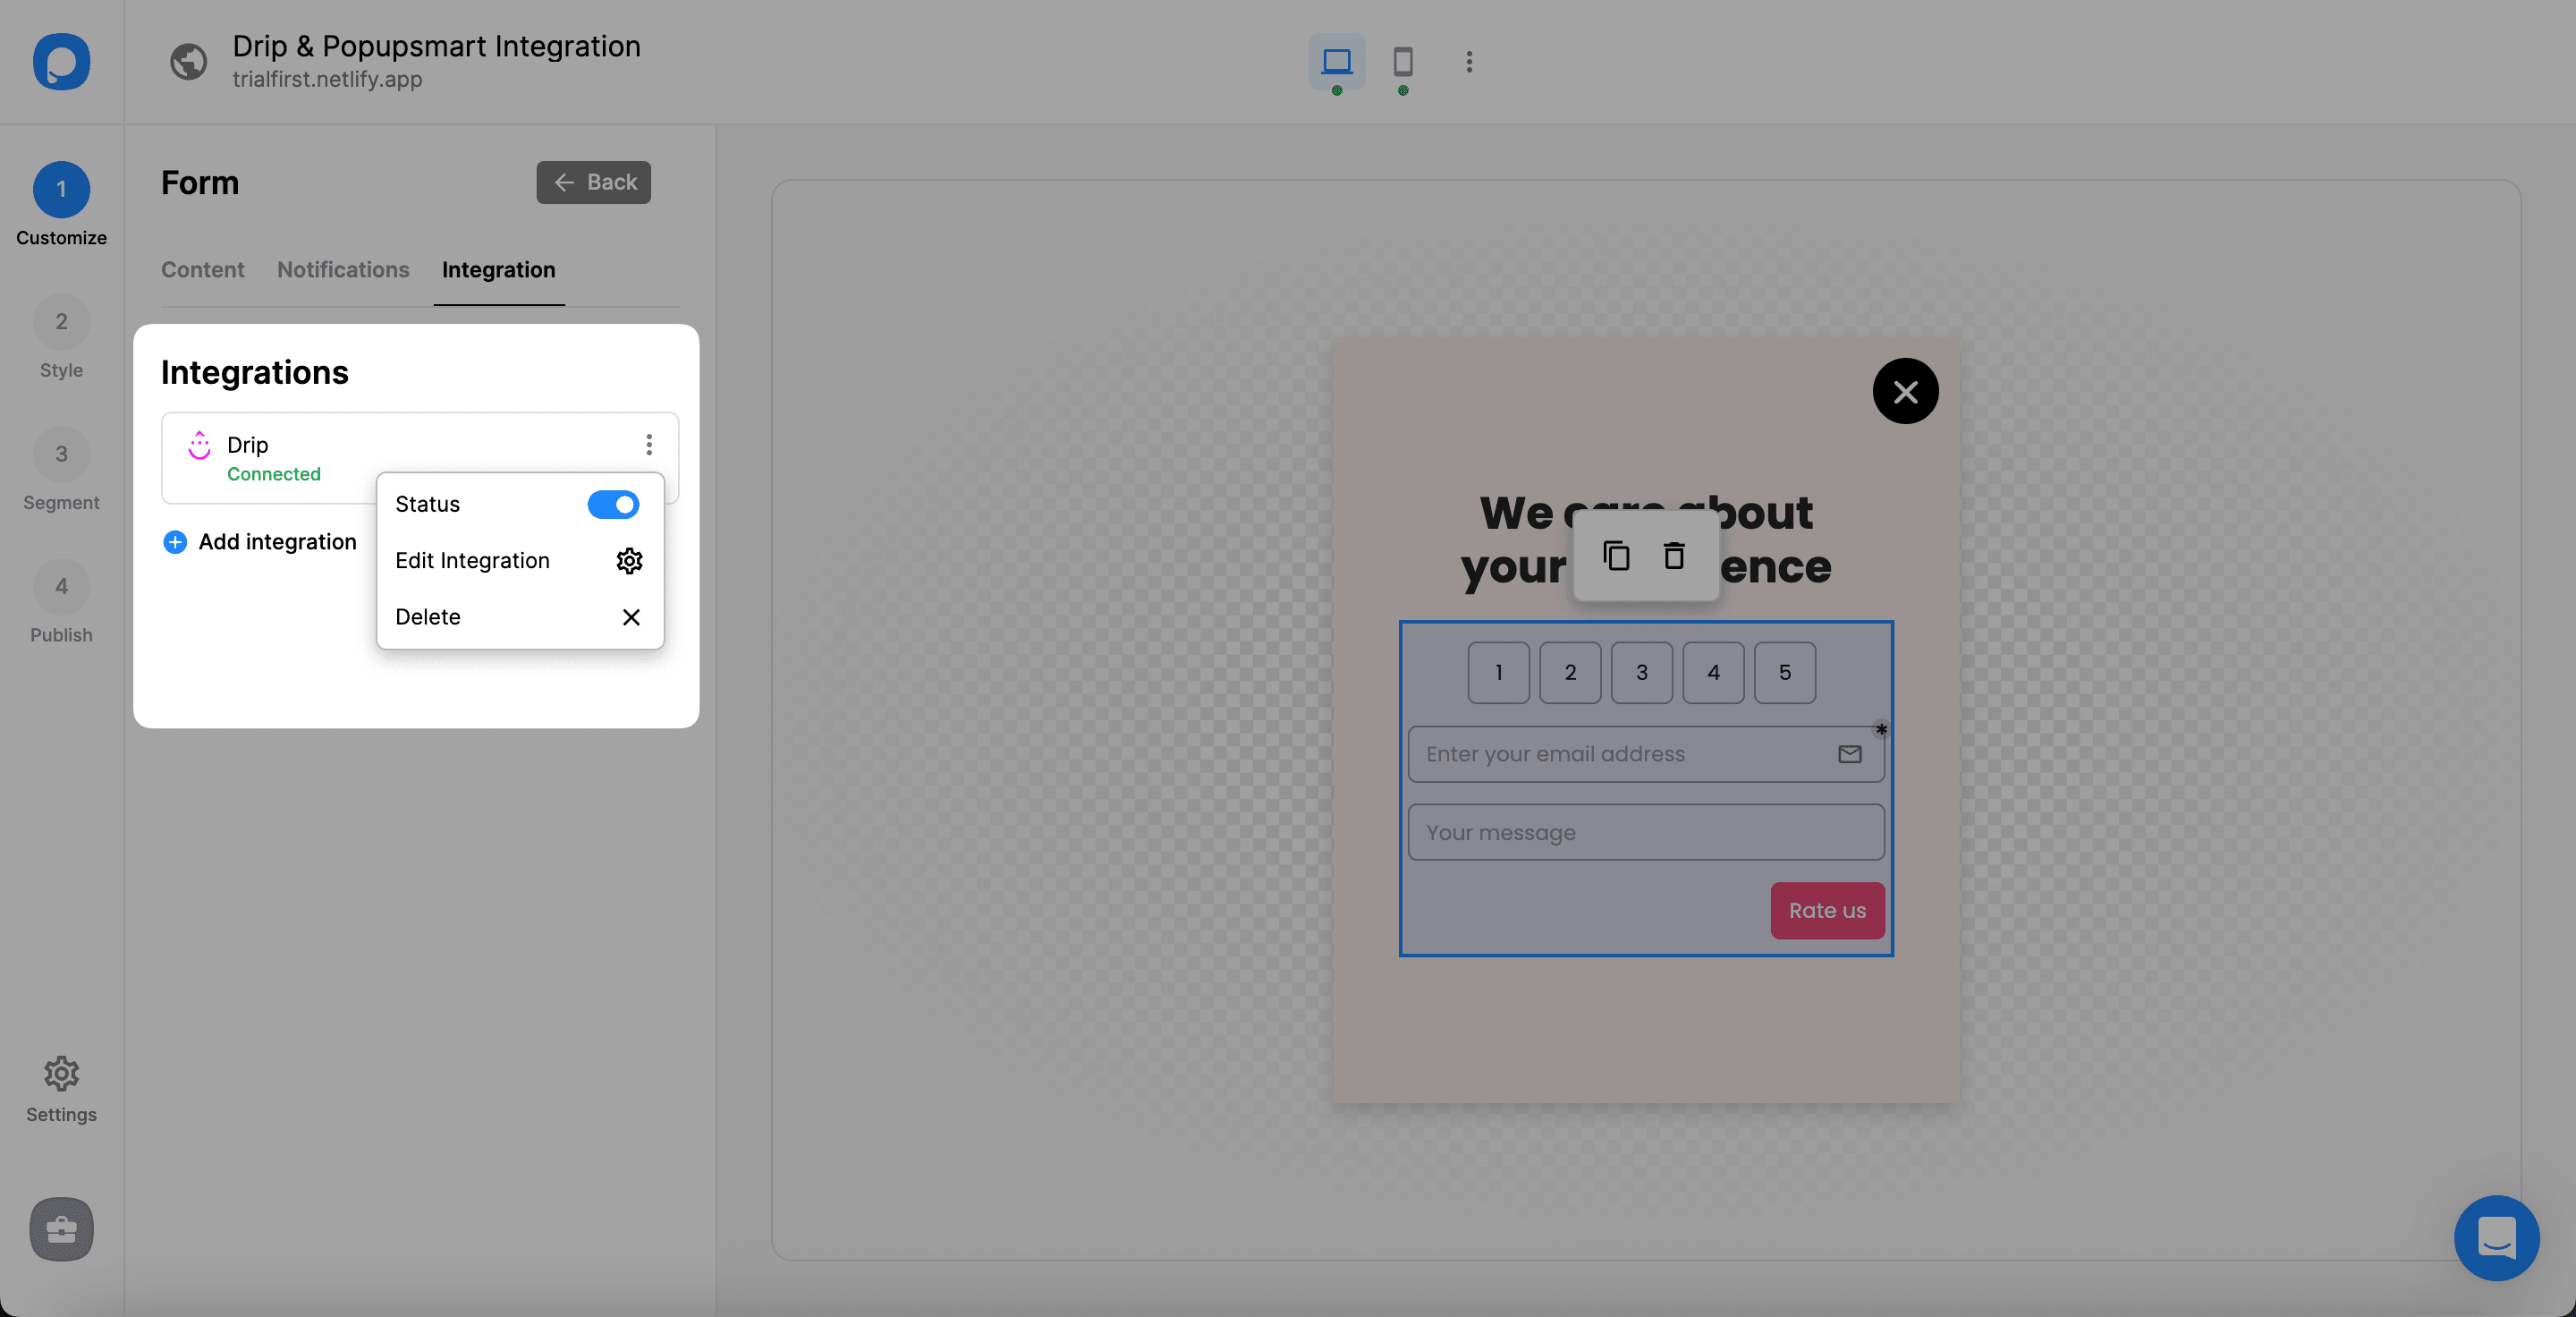
You have completed your Drip integration successfully!
When you complete your Drip integration, the status will be on by default. You can change the status with the three-dot only by toggling it on and off.
Note
You can also make the Popupsmart & Drip integration on Settings, where you can configure all your settings.
If you have any other questions about Drip integration, feel free to mail us!
How is this guide?