How to Create a Python Popup in 2026
Explains the difference between desktop vs web popups, defines Python popups, and shows how to create desktop message boxes with Tkinter or Windows ctypes. Also promotes Popupsmart as a no-code web popup tool and shares popup best practices.
Python excels at creating desktop popup messages, but web popups require additional tools. Meanwhile, no-code platforms like Popupsmart offer faster alternatives for web popups.
To create a Python popup, import the tkinter.messagebox module and call functions like showinfo(), showwarning(), or askquestion() to display desktop dialog boxes. For web popups, pair Python with Flask or Django and use JavaScript overlays. Both approaches take under 10 minutes with the code examples below.
In this guide, I’ll walk you through creating popups with Python using libraries like Tkinter and ctypes, clarify the difference between desktop and web popups, and share a no-code solution.
What you'll need for this guide:
• Python 3.10 or later installed on your system (download from python.org)
• A code editor (VS Code, PyCharm, or IDLE)
• Basic familiarity with Python syntax (variables, functions, imports)
• Time estimate: 20-45 minutes for all examples
• Skill level: Beginner-friendly (no GUI experience required)
Quick overview of the process:
1. Understand the difference between desktop popups and web popups so you pick the right approach
2. Install and import Tkinter (included with Python) for desktop message boxes
3. Create basic info, warning, and question popups with tkinter.messagebox
4. Build custom popup windows with buttons, input fields, and styling
5. Explore Tkinter alternatives like ctypes, PyQt6, and wxPython
6. Connect Python popups to web apps using Flask
7. Try a no-code route with Popupsmart if coding isn't your focus
8. Apply best practices for performance, accessibility, and cross-platform support
Understanding Popups: Desktop vs. Web
The first question you need to answer before writing a single line of code: are you building a desktop popup or a web popup? These are fundamentally different things, and picking the wrong approach wastes hours.
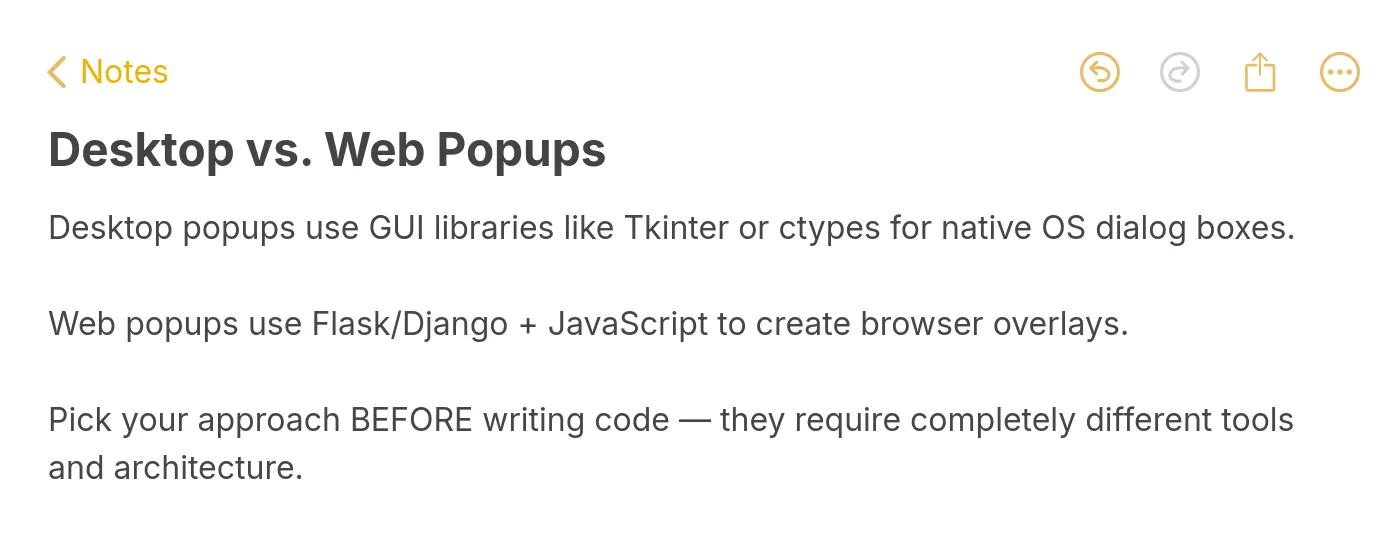
Desktop popups are native operating system dialogs. They appear outside the browser as standalone windows, controlled entirely by Python libraries like Tkinter, PyQt6, or ctypes. You'd use these in Python desktop applications, internal admin tools, or automation scripts that need user confirmation before proceeding.
Web popups are HTML/CSS overlays rendered inside a browser tab. Python plays a backend role here through frameworks like Flask's quickstart guide or Django's first tutorial, serving the page and handling form submissions. The popup itself is built with JavaScript and CSS on the frontend.
| Factor | Desktop Popup | Web Popup |
|---|---|---|
| Library | Tkinter, PyQt6, wxPython | Flask/Django + JavaScript |
| Runs in | OS window manager | Browser tab |
| User base | App users, developers | Website visitors |
| Styling control | Limited to OS theme | Full CSS customization |
| Deployment | Installed locally | Hosted on a server |
I've seen this confusion firsthand. Older threads on Stack Overflow's Python message box discussion (577K+ views) mix Python 2 code with vague web references, leaving readers stuck. This guide covers both paths with current Python 3.14 syntax.
Pro tip: After 5+ years of working with conversion tools, I always ask one question before touching code: "Will the end user see this in a browser or on their desktop?" That single answer eliminates half the tutorials you'd otherwise waste time reading.
What Is a Python Popup?
A Python popup is a dialog window generated through Python code that displays a message, collects user input, or asks for confirmation. It can range from a simple "OK" alert to a multi-field form with custom buttons and validation logic.
Python first appeared in 1991, and as Cuong Do, Software Architect at YouTube, put it: "Python is fast enough for our site and allows us to produce maintainable features in record times, with a minimum of developers." That same speed applies to building popup interfaces.
The most common Python popup library is Tkinter's messagebox module, which ships with every standard Python installation. No extra downloads. No package manager. You import it and start creating dialogs immediately.
Python popup windows come in several flavors:
• Information dialogs: Display a message with an "OK" button
• Warning and error dialogs: Alert users about problems or risky actions
• Question dialogs: Ask yes/no, OK/cancel, or retry/cancel questions
• Custom windows: Full Tkinter windows with text fields, dropdowns, and buttons
• Web modal overlays: Server-side Python paired with frontend JavaScript
Each type returns different values. askquestion() returns the string "yes" or "no". askyesnocancel() returns True, False, or None. Knowing these return types matters because your code logic branches based on them.
Benefits of Using Python for Popups
Why pick Python over raw JavaScript or a browser-native approach? Three practical reasons stand out for developers building desktop tools or backend-driven web apps.
Zero setup for desktop dialogs. Tkinter is part of Python's standard library. Run import tkinter.messagebox and you have a working popup in two lines of code. No npm installs, no build tools, no dependency chains. According to JetBrains' State of Python 2025 survey, 30,000 developers confirmed Python's dominance in rapid prototyping, and popup creation is a perfect example of that speed.
Cross-platform out of the box. A Tkinter popup script written on macOS runs identically on Windows and Linux without code changes. The library maps to each OS's native dialog system. That's valuable if you're shipping internal tools to a team with mixed operating systems.
Backend integration for web popups. Python's web frameworks handle the server side while JavaScript handles the popup rendering. Flask can process a form submission from a popup form, validate inputs, save data to a database, and return a response, all in under 20 lines of Python. If your team already runs Python backends, adding popup-driven features doesn't require learning a new language.
Readable, maintainable code. Python's syntax makes popup logic easy to read months later. A messagebox.askyesno("Confirm", "Delete this file?") call is self-documenting. Compare that to the equivalent Win32 API call in C++, which requires 8 parameters including memory flags and icon constants.
How to Create a Basic Python Popup? (Step-by-Step Guide)
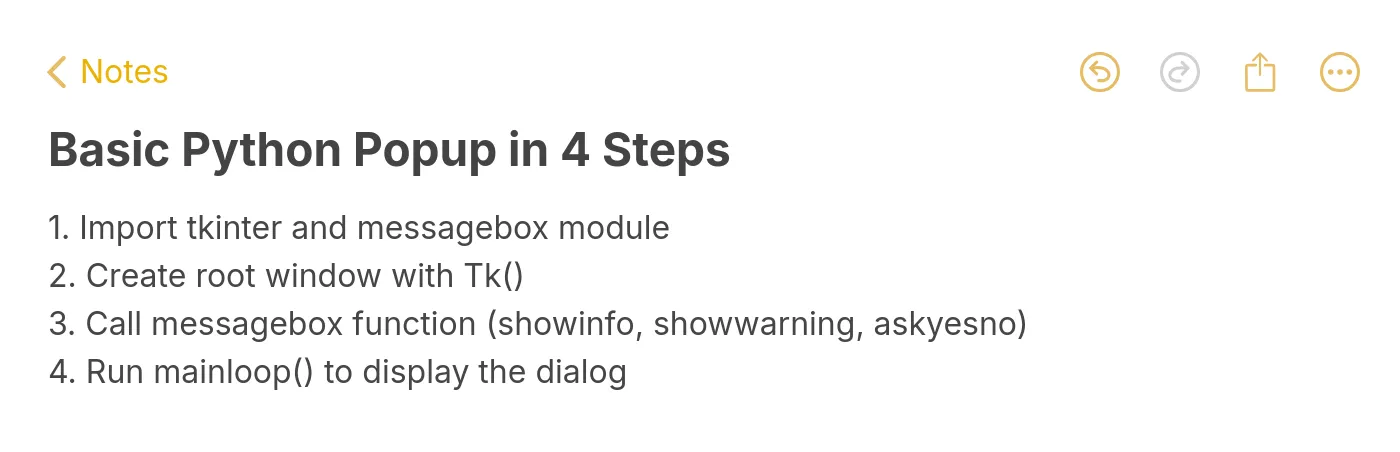
Basic Python popup in four steps
Step 1: Import Tkinter and Initialize the Root Window
Every Tkinter popup needs a root window, even if you don't display it. This step sets up the event loop that makes the dialog interactive.
1. Open your code editor and create a new file called popup_demo.py
2. Add the import statement at the top: import tkinter as tk
3. On the next line, add: from tkinter import messagebox
4. Create the root window: root = tk.Tk()
5. Hide it immediately so only the popup shows: root.withdraw()
You'll know it's working when: Running this script produces no visible window. That's correct. The root window exists in memory but is hidden. If you see a blank Tkinter window, you missed the root.withdraw() line.
Watch out for:
• Importing Tkinter with a capital T: That's Python 2 syntax. In Python 3, the module is lowercase tkinter. You'll get ModuleNotFoundError: No module named 'Tkinter' if you capitalize it.
• Forgetting root.withdraw(): Without this call, an empty gray window appears behind your popup. Users see two windows and get confused. Always hide the root unless you need it as a parent for multiple dialogs.
Pro tip: The empty background window is the single most common Tkinter complaint on forums. Adding root.withdraw() as your third line of boilerplate saves a guaranteed support ticket.
Step 2: Create an Information Popup
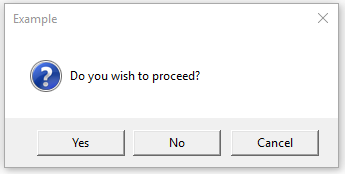
The simplest Python popup message displays text and an OK button. This is the foundation for all other dialog types.
1. After root.withdraw(), add: messagebox.showinfo("Welcome", "Your Python popup is working!")
2. At the end of the file, add: root.destroy() to clean up the hidden root window
3. Save and run: python3 popup_demo.py
import tkinter as tk from tkinter import messagebox root = tk.Tk()
root.withdraw()
messagebox.showinfo("Welcome", "Your Python popup is working!")
root.destroy()
You'll know it's working when: A native OS dialog appears with your title "Welcome", the message text, an information icon, and a single OK button. Clicking OK closes the dialog and ends the script.
Watch out for:
• Passing arguments in the wrong order: The first argument is the title bar text, the second is the body message. Swapping them puts your long message in the tiny title bar and your short title in the body area.
• Not calling root.destroy(): Without this, the Python process hangs after you close the popup because the Tkinter event loop is still running. Your terminal won't return to the prompt.
Pro tip: Keep popup messages under 200 characters. I've tested longer messages on Windows and macOS, and anything beyond two short sentences gets cut off or requires scrolling on some OS dialog implementations. If you need more space, build a custom window instead.
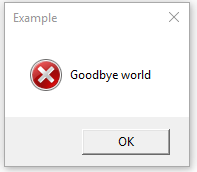
Step 3: Add Warning and Error Dialogs
Warning and error popups use different icons and signal different severity levels to users. They're identical in code structure but communicate different urgency.
1. Replace or add after your showinfo line:
2. Run the script. Each dialog appears sequentially; closing one shows the next.
(Source: Python's Tkinter messagebox documentation)
You'll know it's working when: The warning popup shows a yellow triangle icon. The error popup shows a red circle icon. Both have only an OK button. The icon difference is the OS's way of conveying severity.
Watch out for:
• Using showerror for non-critical messages: Users develop "alert fatigue" if every popup is a red error. Reserve showerror for genuine failures. Use showwarning for cautions and showinfo for neutral messages.
• Chaining too many sequential dialogs: If your script calls five messagebox functions in a row, the user has to click OK five times. Group related information into a single popup or use a custom window with multiple sections.
Pro tip: In production scripts, you may log warning and error messages alongside showing the popup. A user might click OK without reading the text, but the log file preserves the exact error for debugging later. Add logging.warning("message") right before each showwarning call.
Step 4: Build Question Dialogs That Return User Choices
Question popups are where Python popup windows get genuinely useful. They return values you can use to branch your code logic, turning a simple dialog into a decision gate.
1. Add a yes/no question:
2. Try the three-button variant:
(Source: Python's Tkinter messagebox documentation)
You'll know it's working when: The dialog shows two or three buttons. askyesno() returns True for Yes, False for No. askyesnocancel() returns True, False, or None. Print statements confirm the return value in your terminal.
Watch out for:
• Comparing None with == instead of is: In askyesnocancel(), the Cancel button returns None. Use if result is None for the cancel check. Using == None works but triggers linting warnings and is considered non-Pythonic.
• Confusing askquestion with askyesno: They look identical to the user, but askquestion() returns the strings "yes" or "no" while askyesno() returns booleans True or False. Mixing them up causes logic bugs that are annoying to trace.
Pro tip: For destructive actions like file deletion or database drops, you can chain two confirmation dialogs. The first asks "Are you sure?" and the second asks "This will permanently delete 2,340 records. Type DELETE to confirm."
Advanced Python Popup Examples with Tkinter
The built-in messagebox functions cover simple cases. For anything beyond basic alerts, like input fields, dropdowns, or custom layouts, you need to build a full Tkinter window.
Custom Popup with Text Input
This example creates a Python popup window that collects user input and returns it to your main script:
The grab_set() method makes this popup modal, meaning the user can't interact with any other window until they close it. The wait_window() call blocks execution until the popup is destroyed, so name gets assigned only after the user submits.
Multi-Button Dialog with Return Values
For scenarios where yes/no isn't enough, build a popup with custom button labels and mapped return values:
This pattern works well for file export dialogs, settings selection, or any situation where you need three or more options that don't fit the standard yes/no/cancel model.
Python Popups Without Tkinter: Alternatives
Tkinter isn't your only option. Several alternatives exist depending on your platform requirements and how much control you need over the popup appearance.
Windows-Only: ctypes MessageBox
If you're targeting Windows exclusively, ctypes calls the native Win32 MessageBoxW function directly. No Tkinter dependency at all:
The fourth argument controls the button style:
| Value | Buttons Displayed |
|---|---|
| 0 | OK |
| 1 | OK, Cancel |
| 2 | Abort, Retry, Ignore |
| 3 | Yes, No, Cancel |
| 4 | Yes, No |
| 5 | Retry, Cancel |
(Reference: Stack Overflow's Python message box thread)
Cross-Platform: PyQt6 and wxPython
PyQt6 gives you full control over popup styling, fonts, and layouts. It's heavier than Tkinter (requires pip install PyQt6) but produces professional-looking dialogs:
wxPython's MessageDialog is another solid cross-platform choice. It wraps each OS's native dialog API, so popups look exactly like system alerts. Good for tools where visual consistency with the OS matters.
If you're building popups for web applications instead, you'll want to explore the approach in the next section rather than these desktop-focused libraries. The same goes for creating Bootstrap popups or React popup, which handle the frontend rendering that Python backends serve.
Integrating Python Popups in Web Applications
Web popups work differently from desktop dialogs. Python handles the server side (routing, data processing, validation), while HTML, CSS, and JavaScript handle the popup rendering in the browser. Here's how to connect the two with Flask.
Flask + JavaScript Modal Example
This minimal Flask app serves a page with a button that triggers a popup and sends data back to Python:
Run this with python3 -m flask run. Clicking "Open Popup" shows a modal overlay. The form submits to your Python backend via fetch().
For production web popups, you'll typically want more control over targeting, timing, and design. That's where tools like button-triggered popups or full popup builders save significant development time compared to hand-coding every modal from scratch.
If you're working with Selenium for popup testing, note that browser-level alerts (window.alert()) and DOM-based modals require different handling approaches. Selenium's switch_to.alert method works for native browser alerts but can't interact with CSS/JavaScript modal overlays, which need standard element selectors instead.
Create Web Popups Using Popupsmart Without Coding Easily
If your goal is a web popup for lead generation, announcements, or product promotions, coding one from scratch (whether in Python, PHP, or Angular) often isn't the fastest path. No-code popup builders handle the design, targeting, and analytics that would otherwise take days to implement.
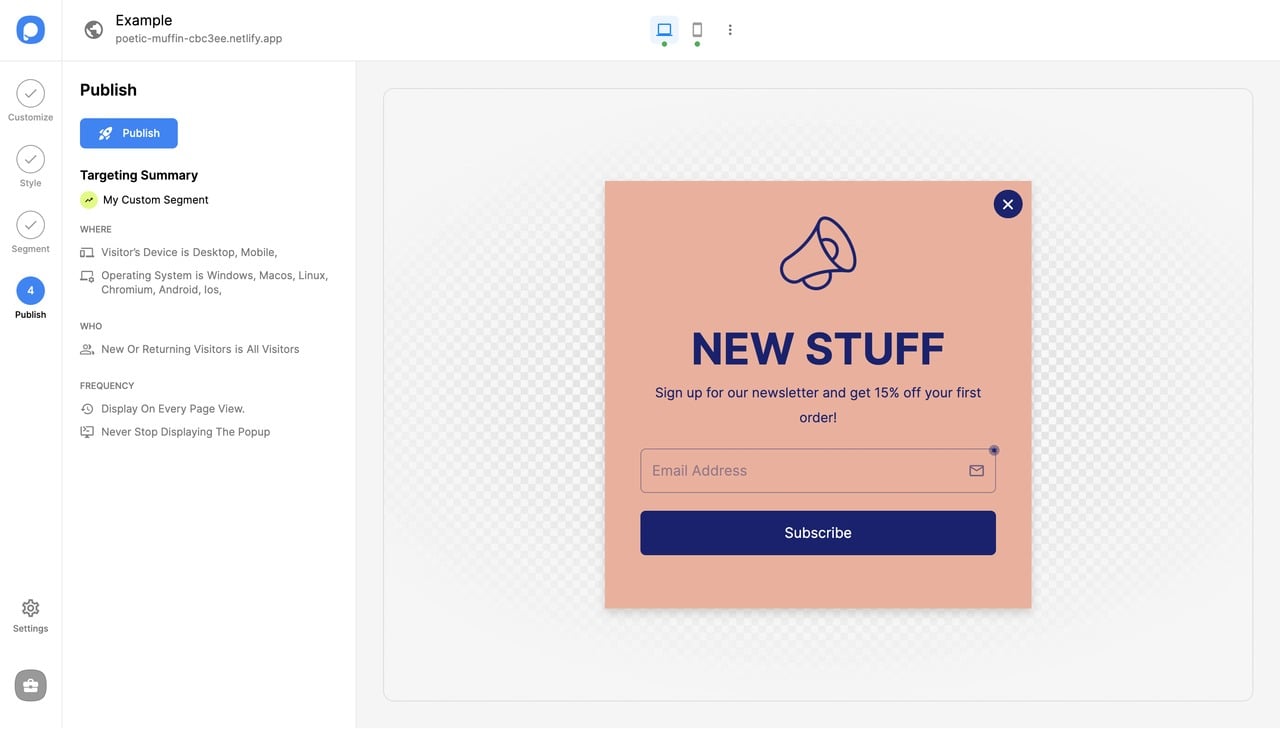
Popupsmart is the no-code popup builder for teams that want results without managing frontend code. Here's how to create a popup in under 5 minutes:
1. Create your Popupsmart account and go to the dashboard. Click "New campaign" to start.
2. Select your business objective. Options include growing your email list, showing announcements, cookie compliance, increasing phone calls, promoting products, and collecting form submissions.
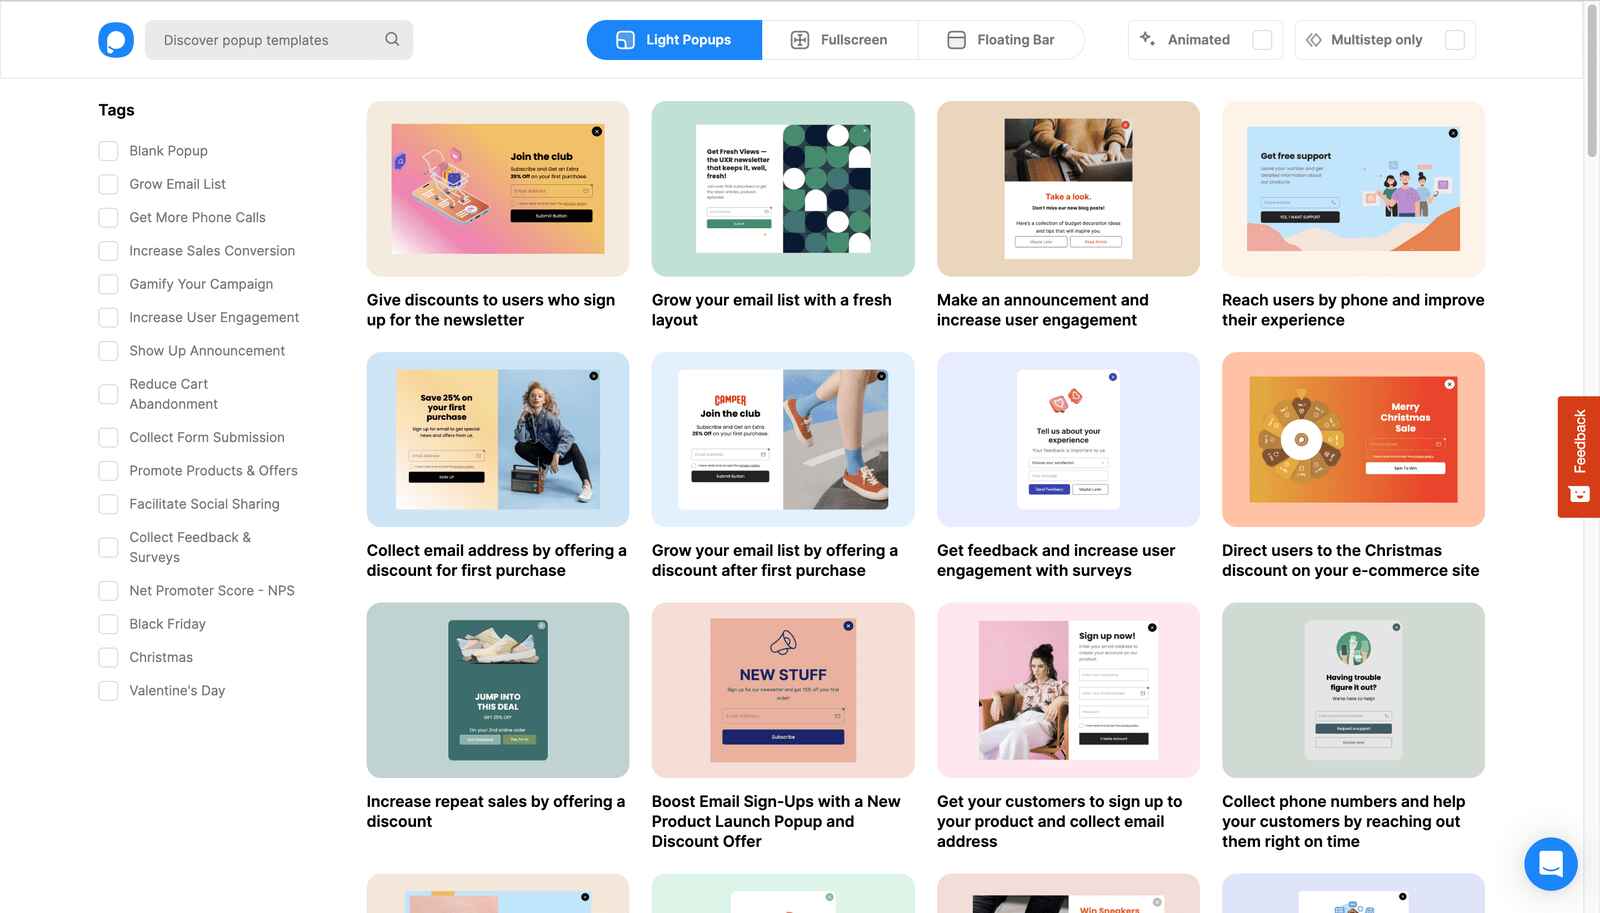
Pick a template from the templates page. Browse more designs on the Playbook page.
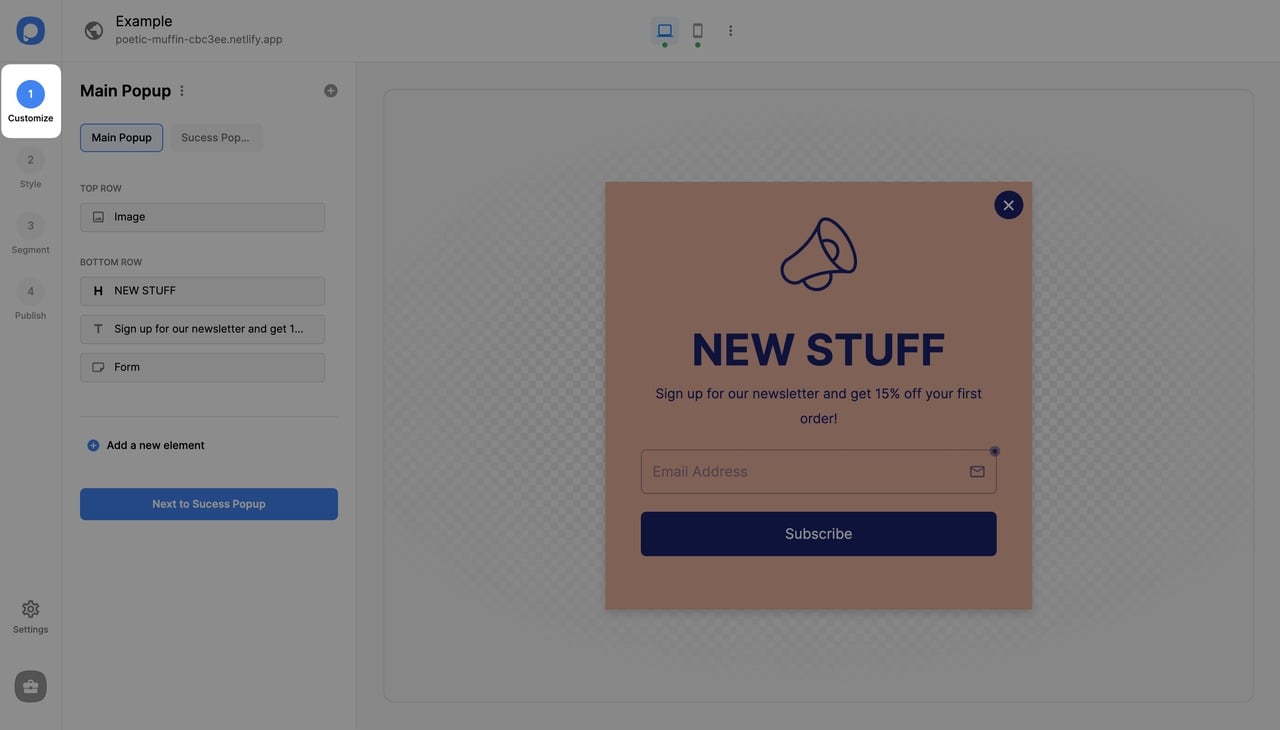
3. Customize the headline, description, button text, and images on the "Customize" page. Match your brand colors and add a clear call-to-action.
4. Set targeting rules on the "Segment" page. Choose which pages show the popup and when it appears.

Configure audience targeting: operating system, new vs. returning visitors, browser language, traffic source, and geolocation.
5. Click "Save & Publish". Your popup is live.
The entire process takes under 5 minutes. No Python code, no JavaScript debugging, no deployment pipeline. You get built-in analytics, A/B testing, and integration with email marketing platforms out of the box.
For teams that want welcome popups without touching code, this route saves weeks of development compared to building popup infrastructure from scratch.
Best Practices and Troubleshooting for Python Popups
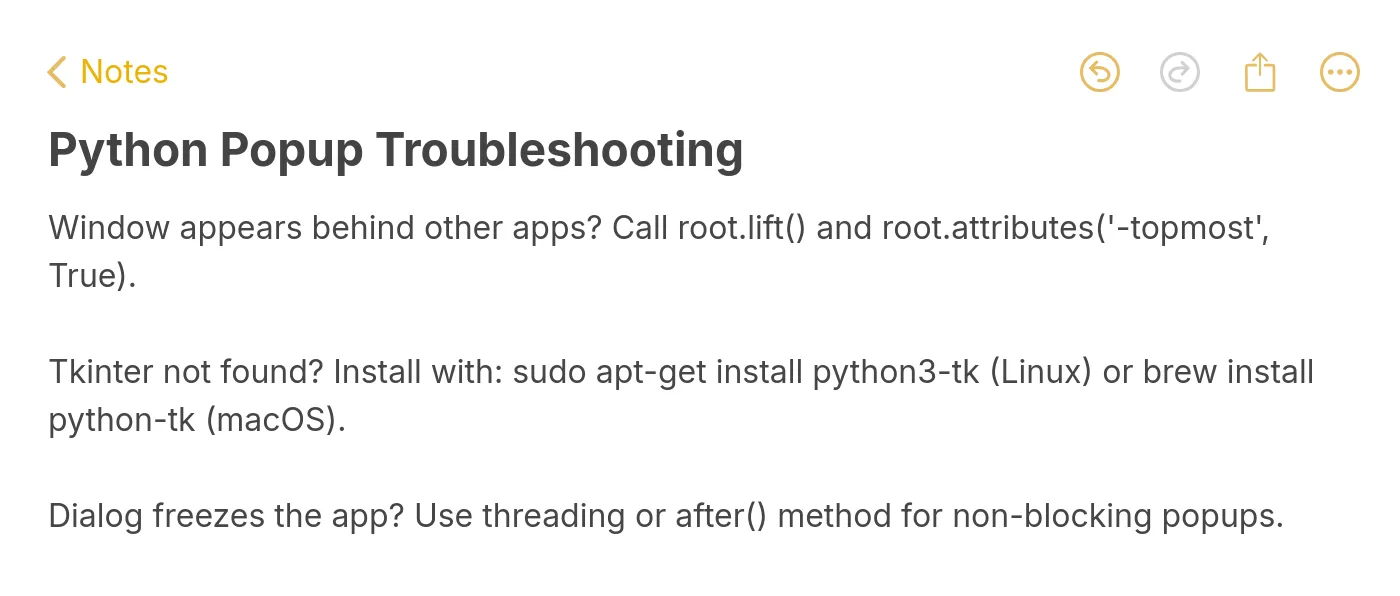
Common Python popup fixes at a glance
Whether you're building desktop dialogs with Tkinter or web modals with Flask, these practices prevent the most common headaches.
Keep Messages Short and Actionable
Popup text should answer two questions: what happened and what should the user do next. "File saved successfully" is good. "The file you requested to be saved has been saved to the location you specified" is filler that slows users down. Aim for under 120 characters in the message body.
Handle Window Focus and Threading
Tkinter runs on a single thread. If you call a messagebox from a background thread (like after a file download completes), the popup may appear behind other windows or crash silently.
Fix this by scheduling popup calls on the main thread:
The root.after(0, callback) method queues the popup to display on Tkinter's main event loop, avoiding cross-thread GUI crashes.
Cross-Platform Icon and Size Differences
A Tkinter popup that looks fine on Windows may render with different padding on macOS or display a different icon on Linux. Test on every target OS. On macOS specifically, the showwarning icon is a generic alert triangle rather than the yellow exclamation mark Windows users expect.
For web popups, test across Chrome, Firefox, and Safari. CSS position: fixed modal overlays can behave inconsistently on mobile Safari, where the address bar height changes during scroll.
Don't Block User Workflows
Modal popups that require interaction before the user can do anything else are disruptive when overused. Reserve modal dialogs for destructive actions (deleting data, overwriting files) and confirmations that genuinely need attention. For status messages ("Upload complete", "Settings saved"), use non-blocking notifications like status bar text or toast messages instead.
Accessibility Considerations
Tkinter's built-in messagebox dialogs are screen reader accessible by default because they use native OS dialog APIs. Custom Tkinter windows need manual accessibility work: set the window title descriptively, ensure tab order makes sense, and bind the Escape key to close the popup. For web popups, add role="dialog" and aria-modal="true" attributes, and trap keyboard focus inside the modal so tab cycling doesn't reach hidden page elements behind the overlay.
Common Error Solutions
| Error | Cause | Fix |
|---|---|---|
| ModuleNotFoundError: No module named 'tkinter' | Tkinter not installed (common on minimal Linux) | Run sudo apt-get install python3-tk |
| Popup appears behind other windows | Missing grab_set() or lift() call | Add popup.grab_set() and popup.attributes('-topmost', True) |
| Script hangs after popup closes | Root window not destroyed | Call root.destroy() after last dialog |
| RuntimeError: main thread is not in main loop | Tkinter called from background thread | Use root.after(0, callback) to schedule on main thread |
| Popup text truncated on macOS | OS dialog has max width | Use a custom Toplevel window for long messages |
Wrapping Up
You now have working code for every common Python popup scenario: basic message boxes, warning dialogs, question prompts, custom input windows, non-Tkinter alternatives, and web application integration. The code examples in this guide all run on Python 3.10+ without modifications.
If you're building desktop tools, start with Step 1 (the Tkinter import boilerplate) and add complexity as needed. If you're building web popups for marketing or lead generation, the Popupsmart route saves development time that's better spent on your core product.
Frequently Asked Questions
How do I create a Python popup message?
Import tkinter.messagebox and call messagebox.showinfo("Title", "Your message") for a basic information dialog. For warnings, use showwarning(). For yes/no questions, use askyesno() which returns True or False. You need to create and hide a root Tkinter window first with root = tk.Tk() followed by root.withdraw(). The full setup takes four lines of code.
How do I make a Python popup window for user input?
Use tkinter.simpledialog.askstring("Title", "Prompt:") for a single text input, or build a custom Toplevel window with Entry widgets for more complex forms. The askstring approach is faster but limited to one text field. For multi-field input (name, email, phone), create a Toplevel window, add multiple Entry widgets with labels, and collect values on button click. See the custom popup example earlier in this guide.
How do I create a Python message box without Tkinter?
On Windows, use ctypes.windll.user32.MessageBoxW(0, "text", "title", style) for native Win32 dialogs without importing Tkinter. On macOS, call osascript through subprocess.run() to trigger AppleScript dialogs. For cross-platform alternatives that aren't Tkinter, install PyQt6 via pip and use QMessageBox. Each approach has trade-offs: ctypes is zero-dependency but Windows-only; PyQt6 is cross-platform but adds a 50MB+ dependency.
Can I use Python popups on websites?
Not directly. Python runs on the server, not in the browser. To show popups on a website with a Python backend, use Flask or Django to serve an HTML page that contains JavaScript popup code. The JavaScript handles the visual popup in the browser; Python handles form processing, database writes, and business logic on the server. For a faster approach, no-code tools like Popupsmart let you add web popups with a single embed code, no backend required.
What Python popup example works on macOS and Linux?
Tkinter's messagebox module works on macOS, Linux, and Windows without code changes. It maps to each OS's native dialog system. The main gotcha on Linux is that Tkinter may not be installed by default on minimal distributions. Run sudo apt-get install python3-tk on Debian/Ubuntu or sudo dnf install python3-tkinter on Fedora to add it. On macOS, Tkinter ships with the Python installer from python.org.
How long does it take to build a Python popup?
A basic Tkinter messagebox takes under 2 minutes: four lines of code, run, done. A custom popup with input fields and styled buttons takes 15-30 minutes depending on complexity. A web popup with Flask backend, form handling, and database integration takes 1-3 hours for a production-ready implementation. If you just need a marketing popup for your website, a no-code builder gets you live in under 5 minutes.
For more popup implementation guides across different frameworks, check out these related walkthroughs:

How would you rate your experience with this article? 😊