
How to Integrate Your Popupsmart Account with SendGrid?
Popupsmart offers seamless integration with your SendGrid email marketing service provider.
Follow our guide below to connect your SendGrid account with Popupsmart easily.
To start the integration process, you need to have some default features
• You need to have a SendGrid account.
• You need to create a new list from the 'Contacts' option under the Marketing tab on the left side of the SendGrid dashboard.
• You need to verify your website on your Popupsmart account.
1. Sign in to your Popupsmart account and create a new campaign by choosing a ready-made popup template or a blank popup to customize with a form input element.

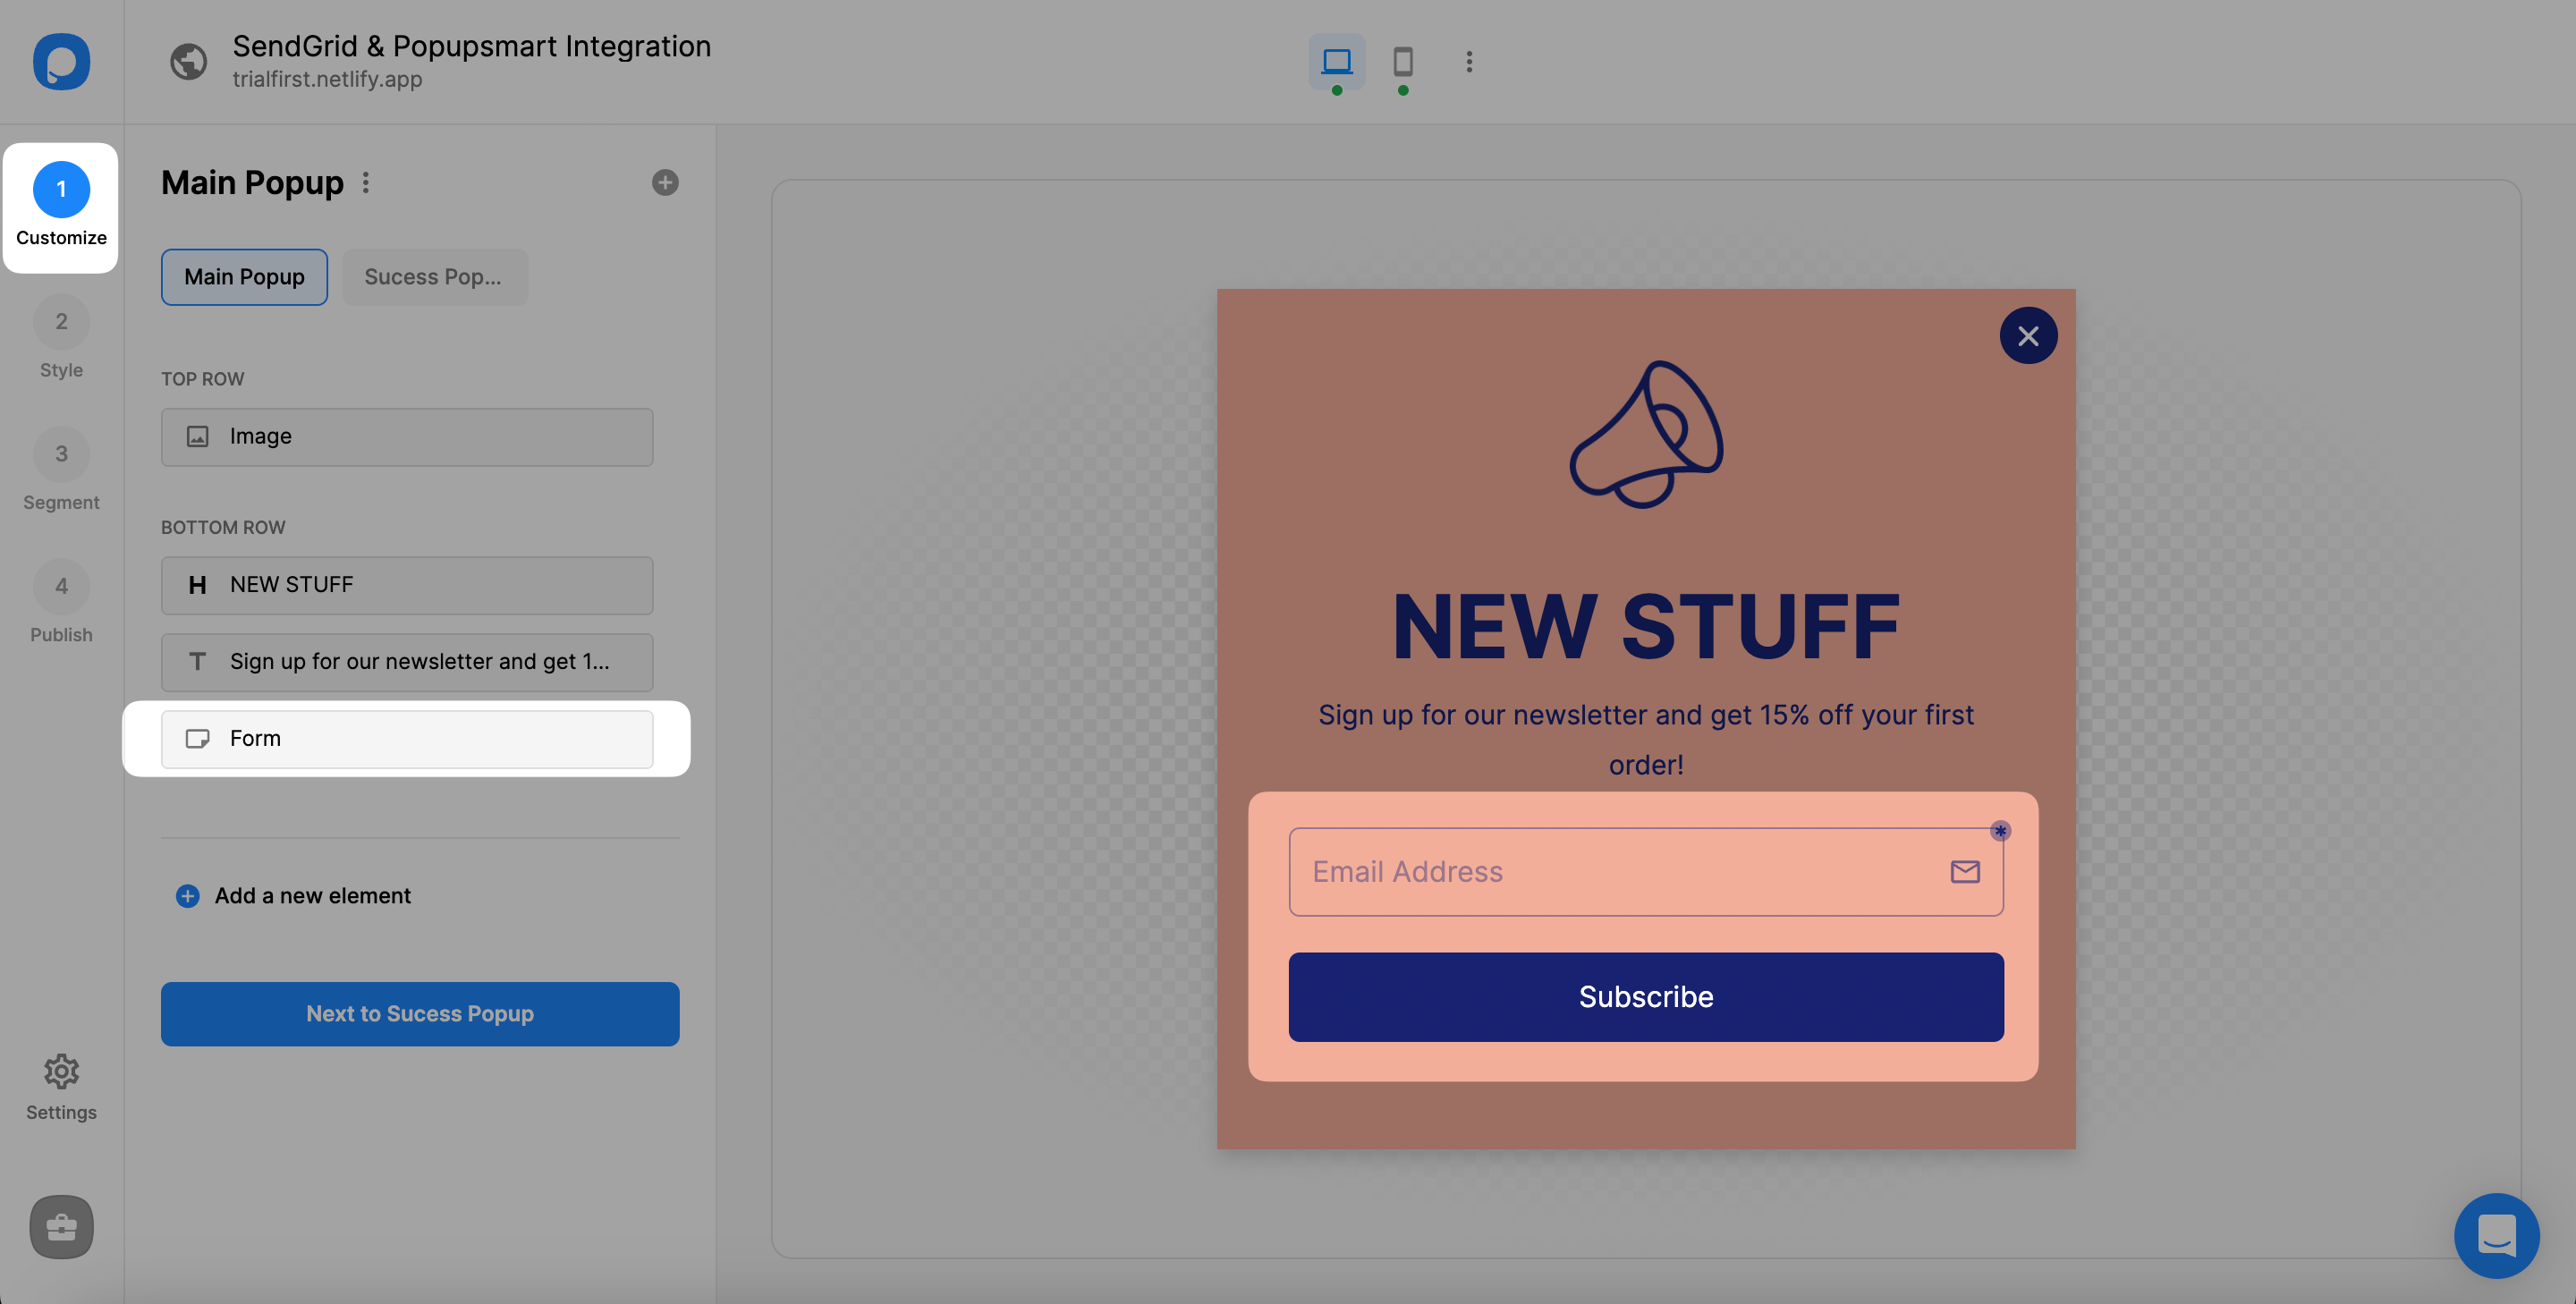
2. Click the form input element to reach the beginning of the integration process.
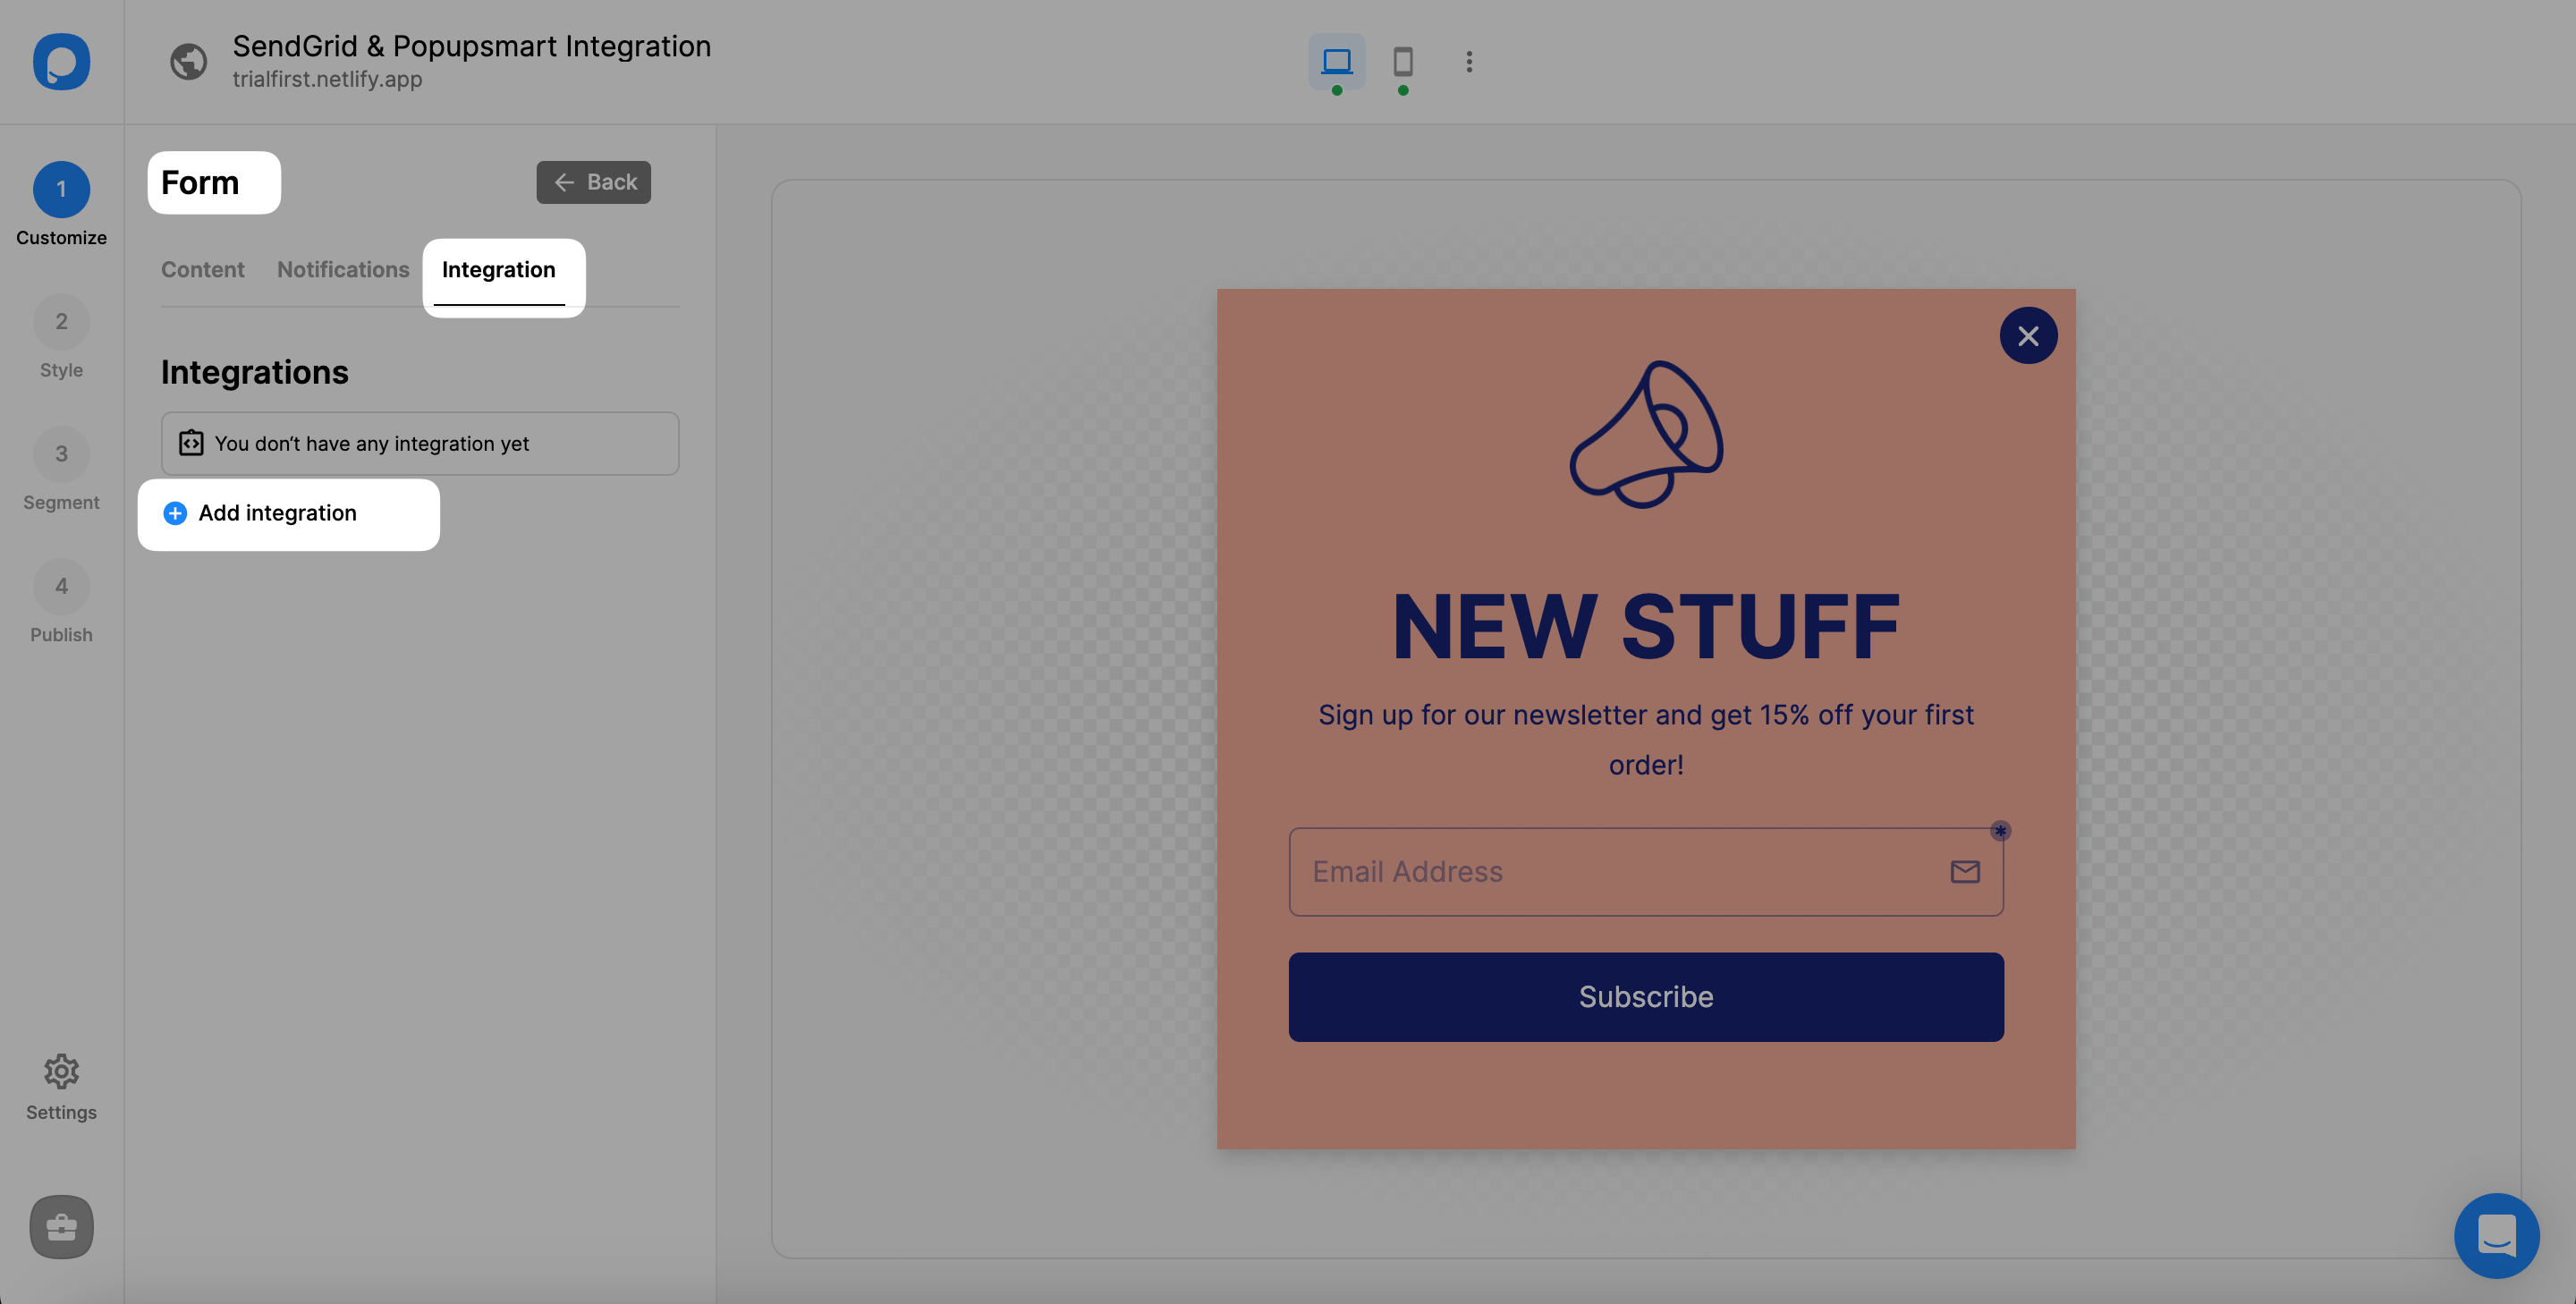
3. Then, you need to choose Integration and “add integration.”
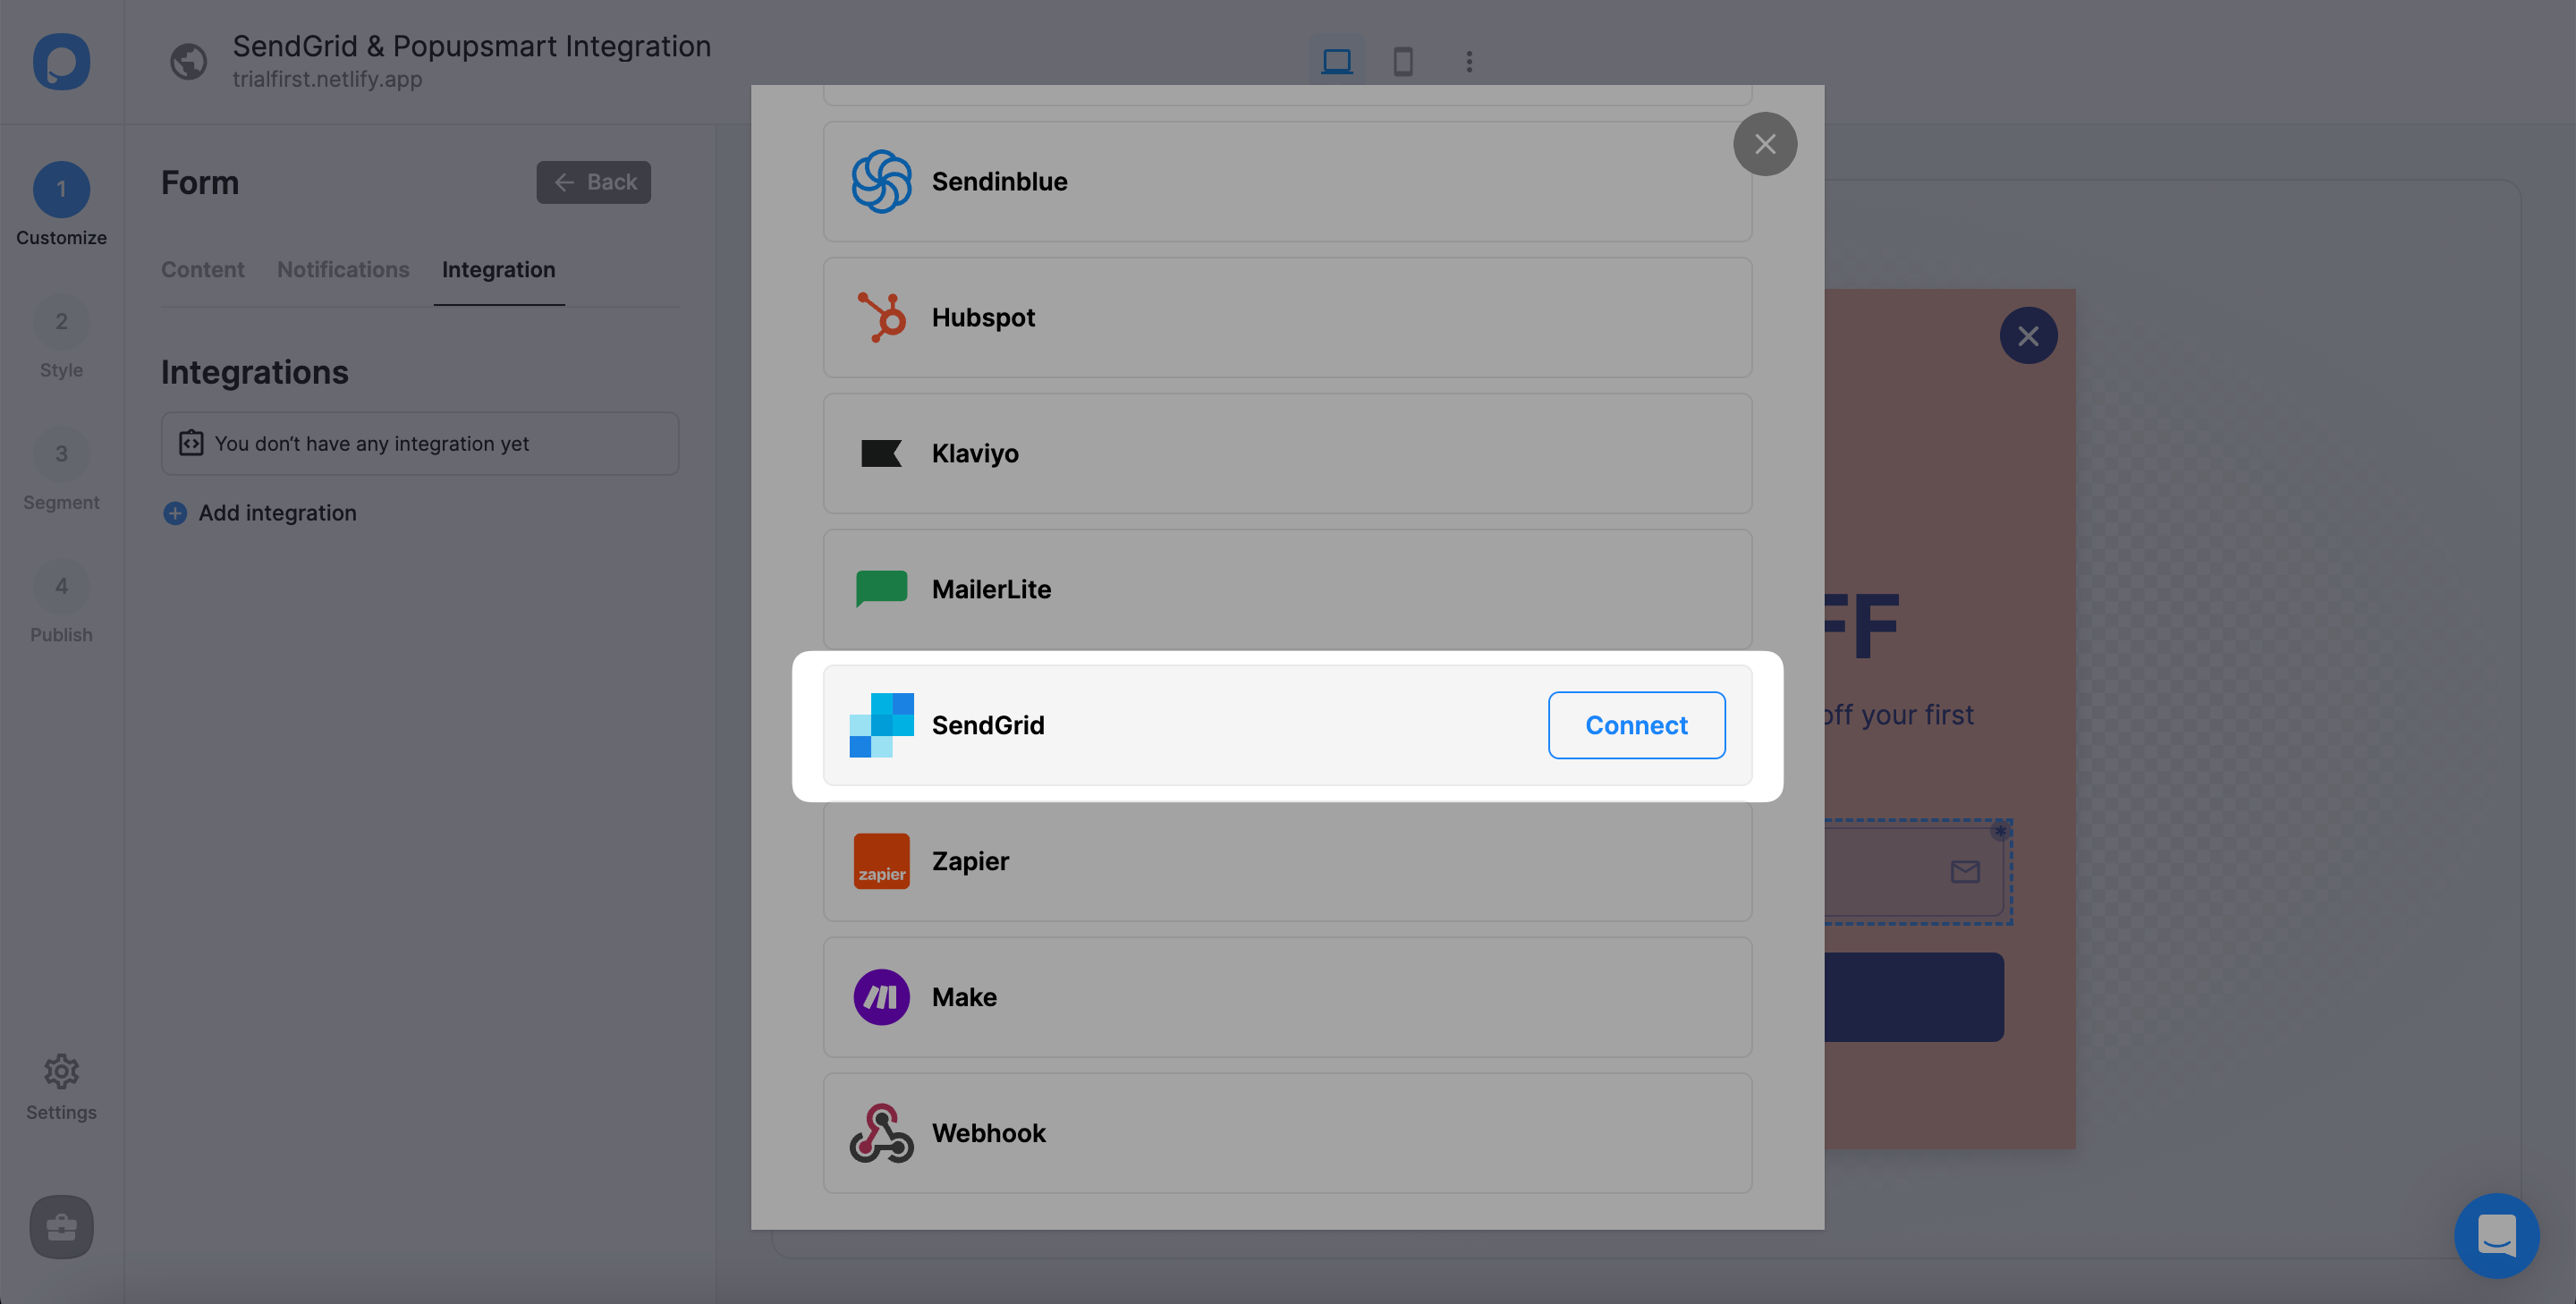
4. Choose “Connect” SendGrid among the integration options.
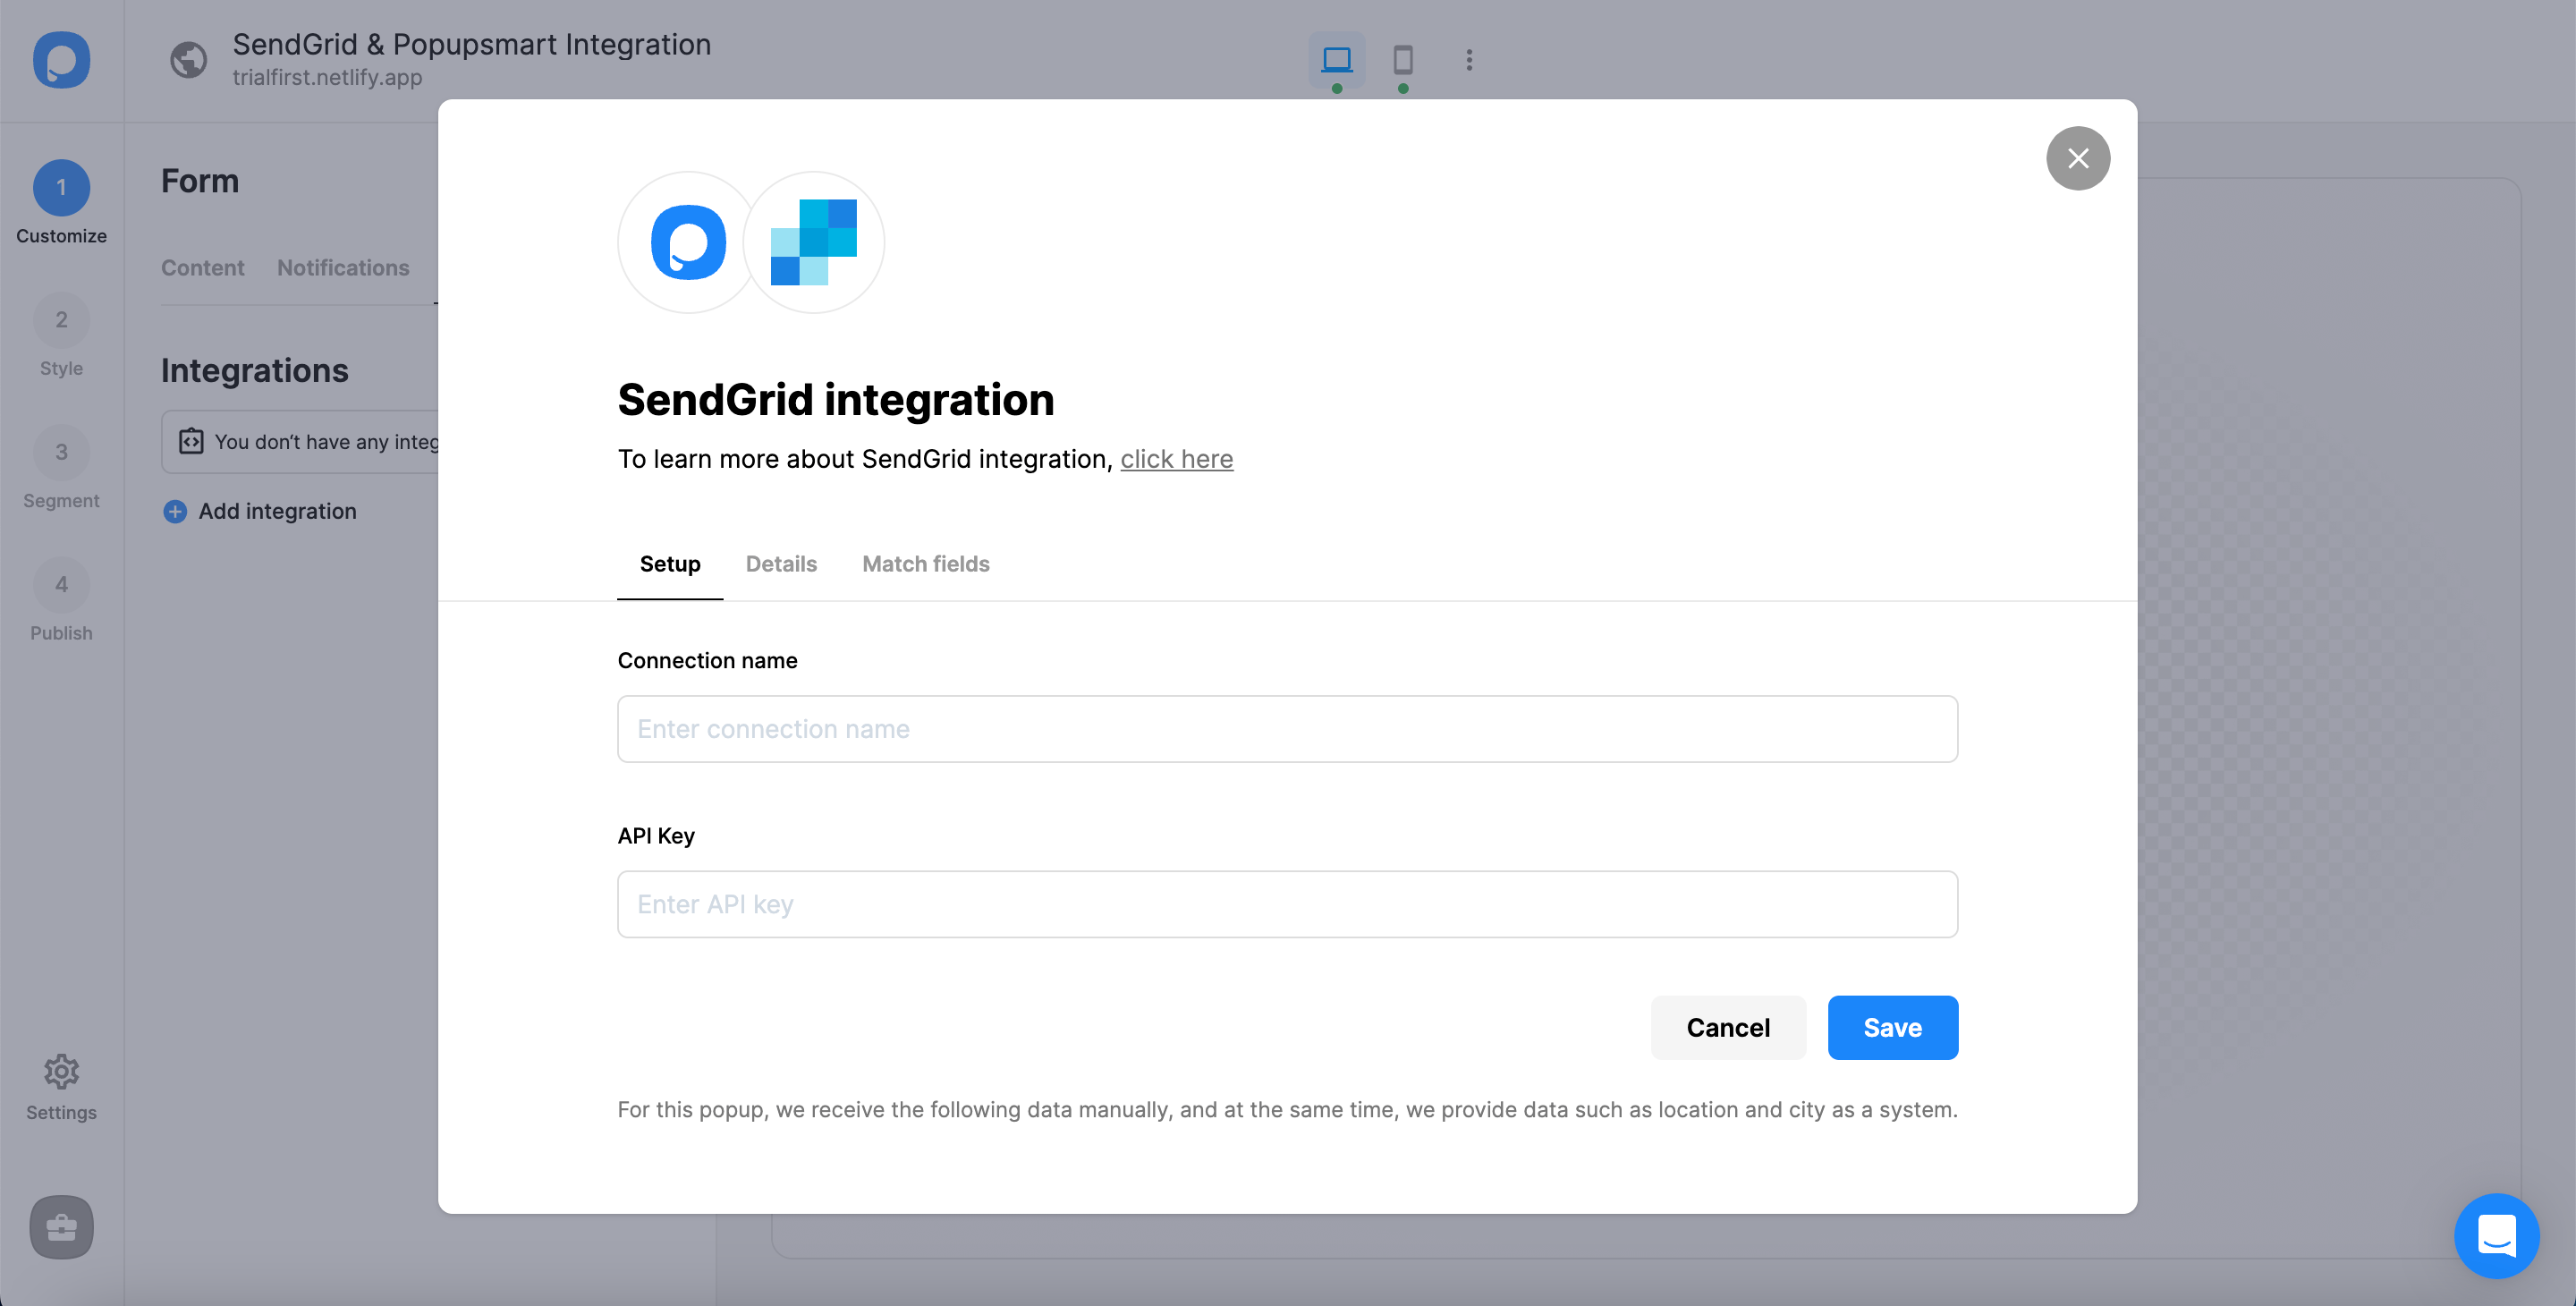
5. If you have never added an API for your SendGrid integration, you need to “add new SendGrid API.” Once you add one, you can use it for your integration.
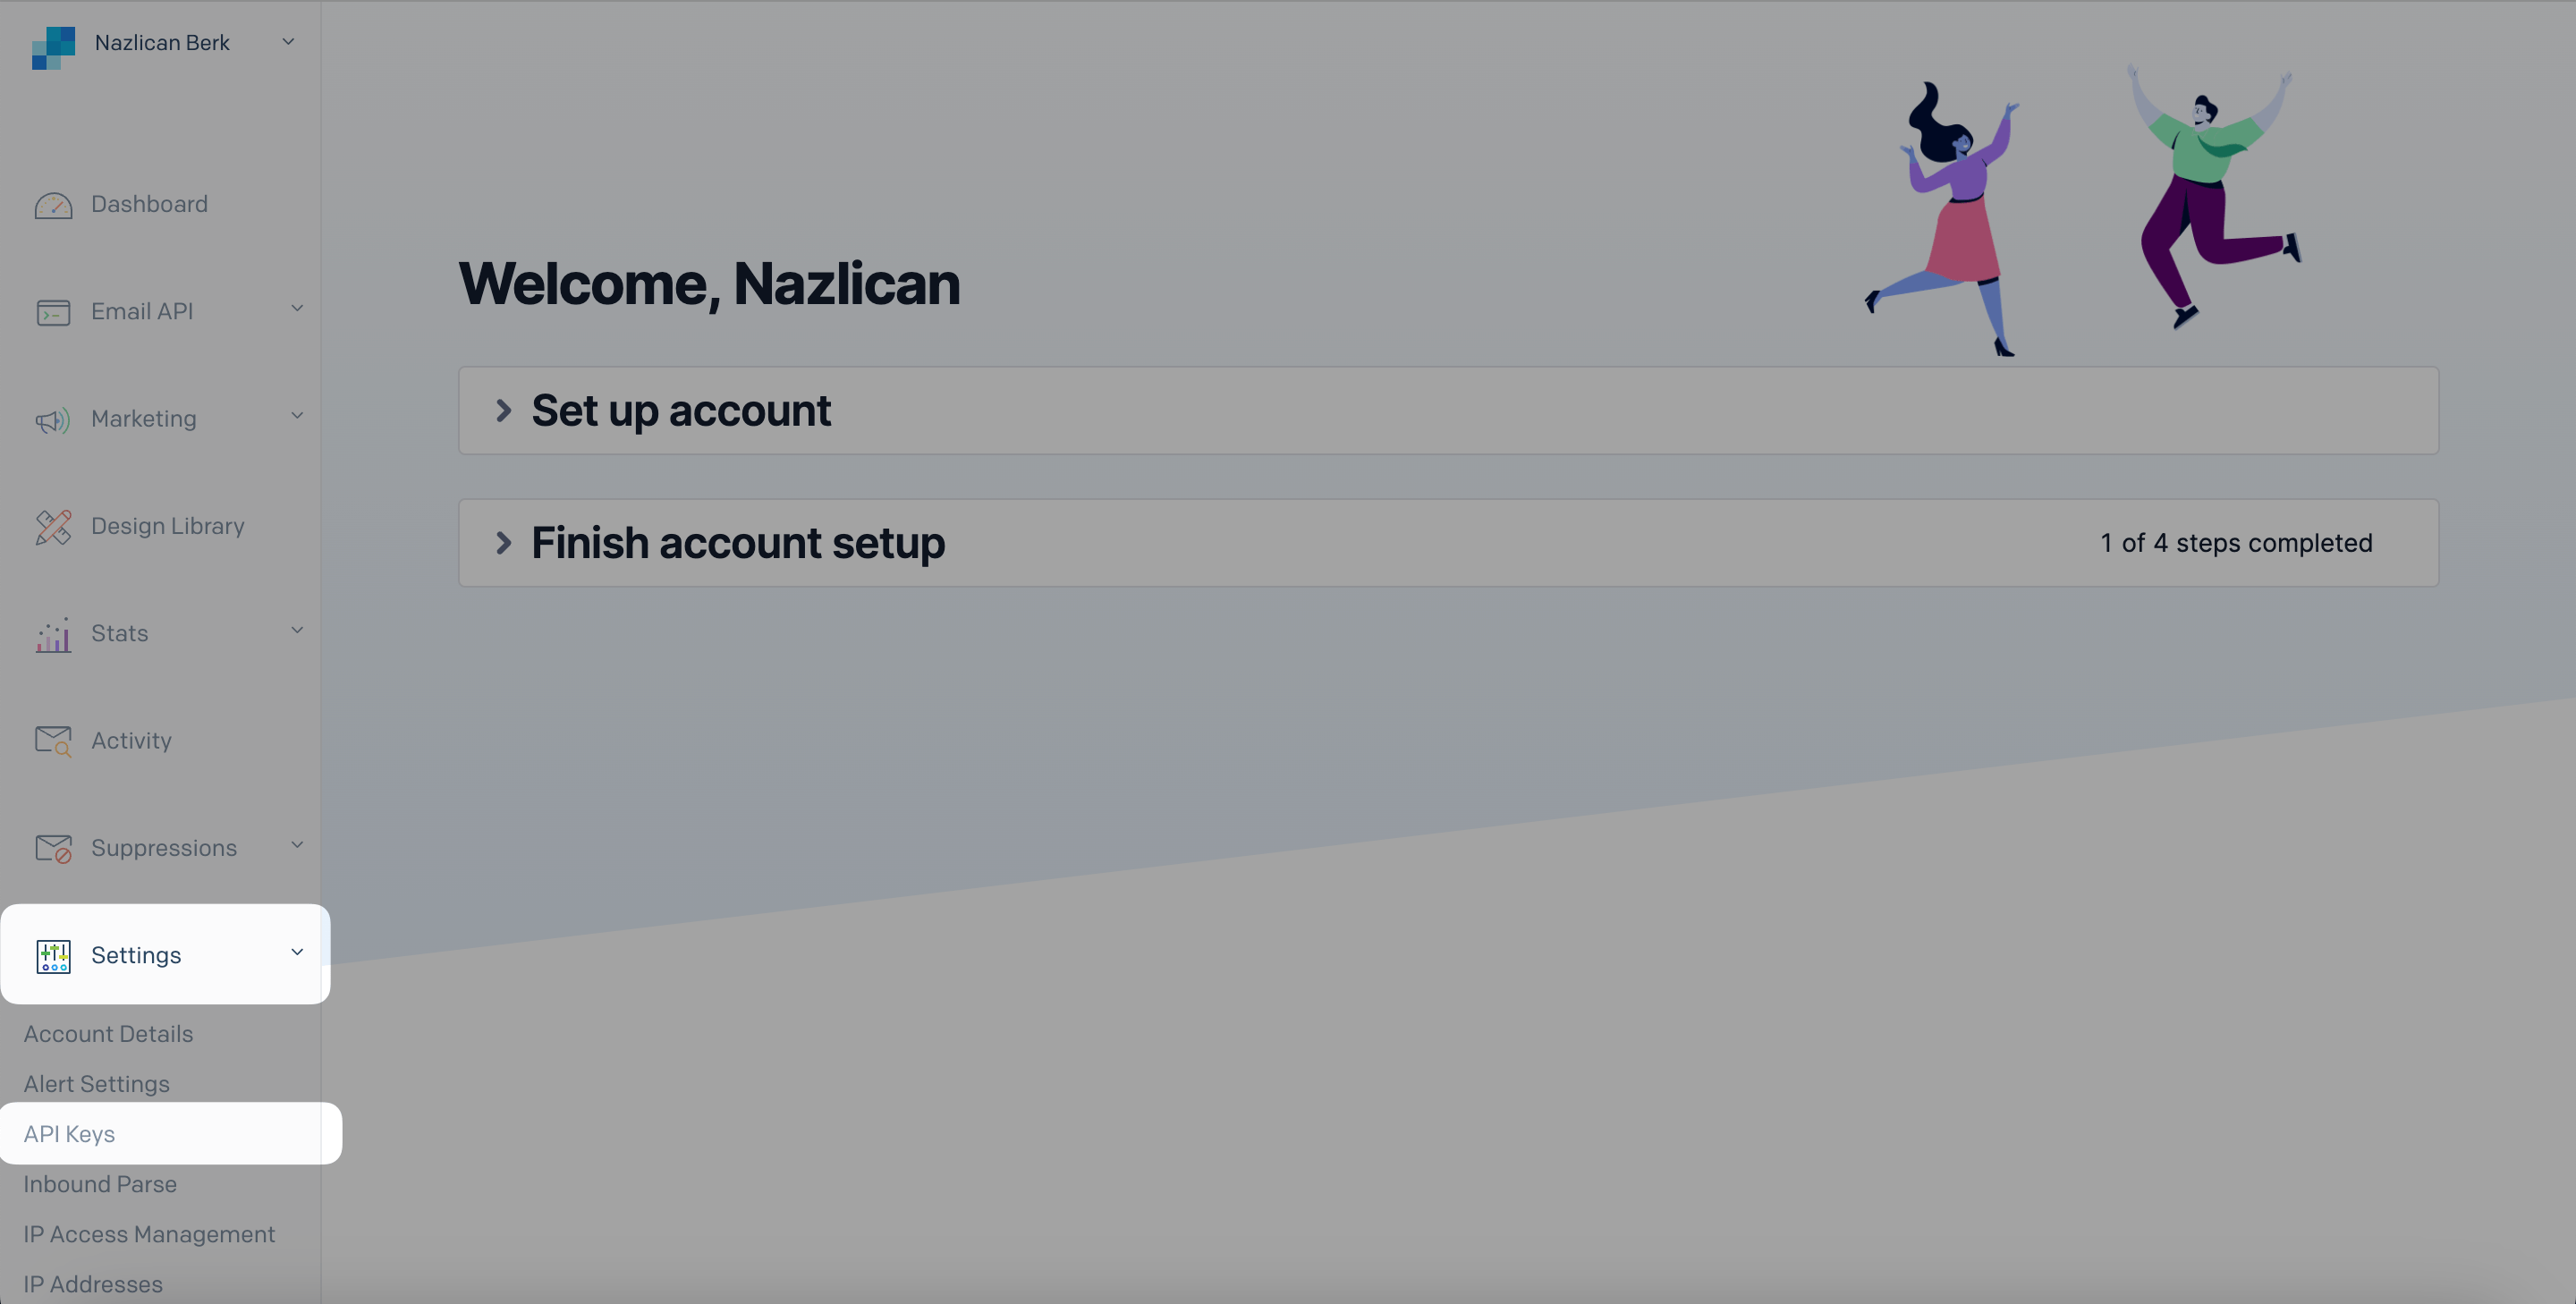
6. Now, log in to your SendGrid account and click "API Keys" under the "Settings" dropdown on the left-bottom side of the page.
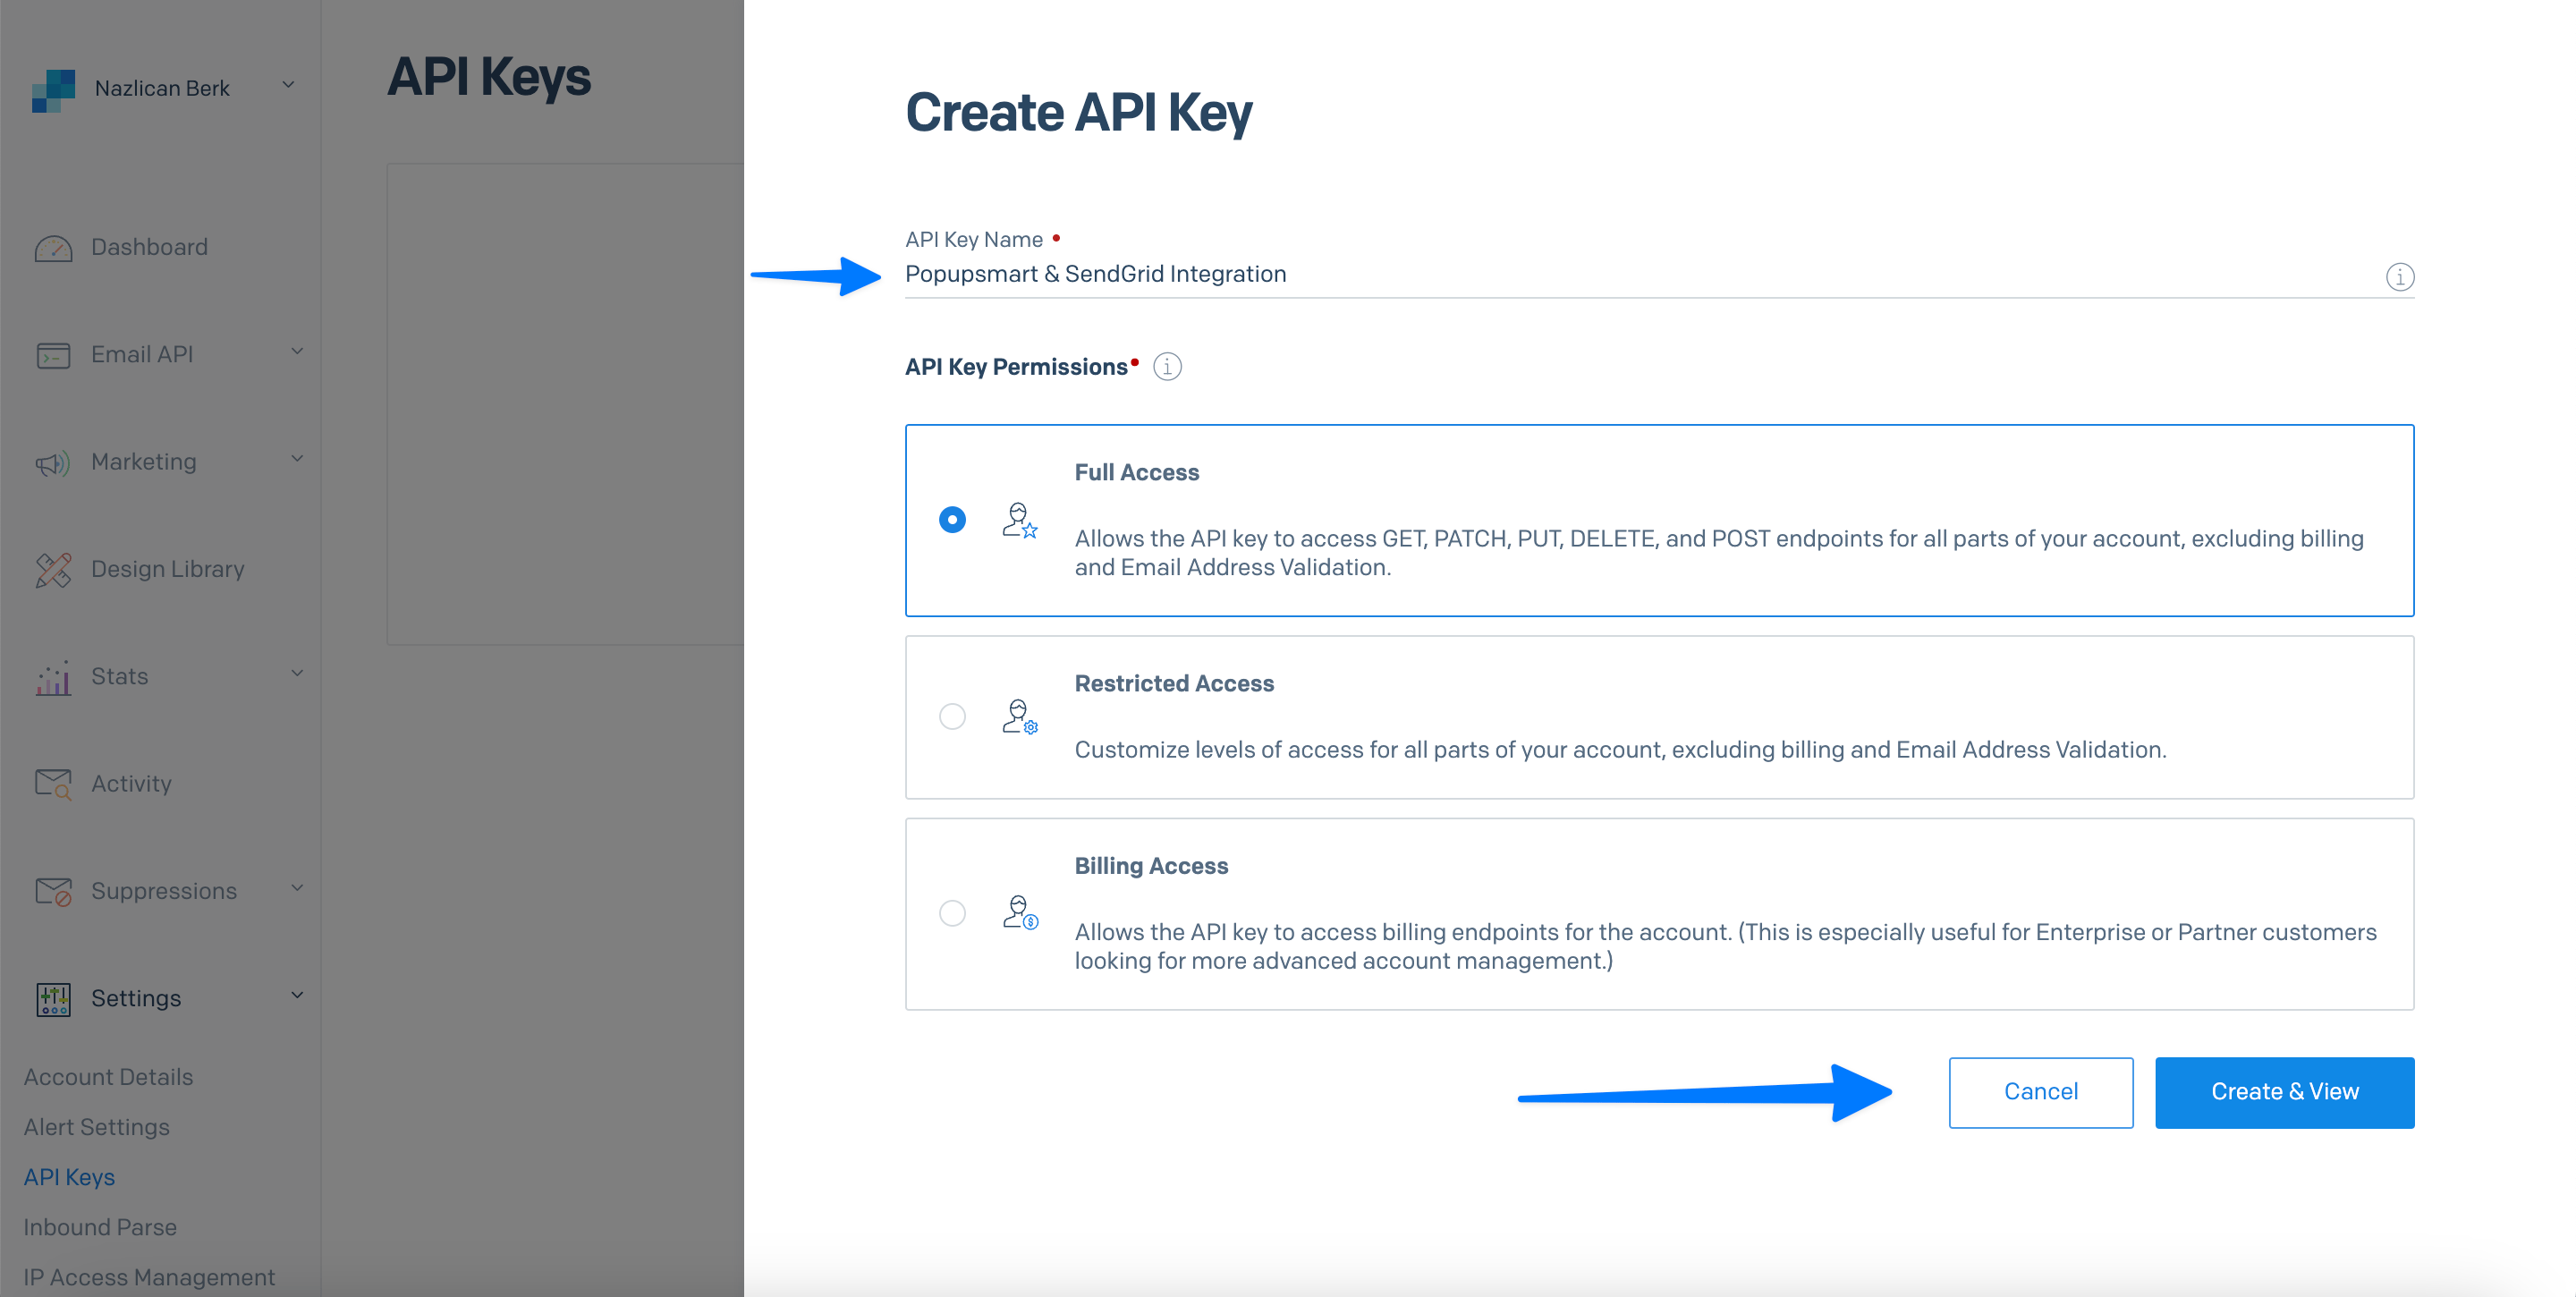
7. Click "Create API Key" on the top right of the API Keys page.

8. Generate an API Key Name for your API key and determine your API Key Permission. Then, click "Create & View."
💡Note: Do not forget to create a list under Marketing > Contacts on your SendGrid account to be able to complete your integration connection in Popupsmart.
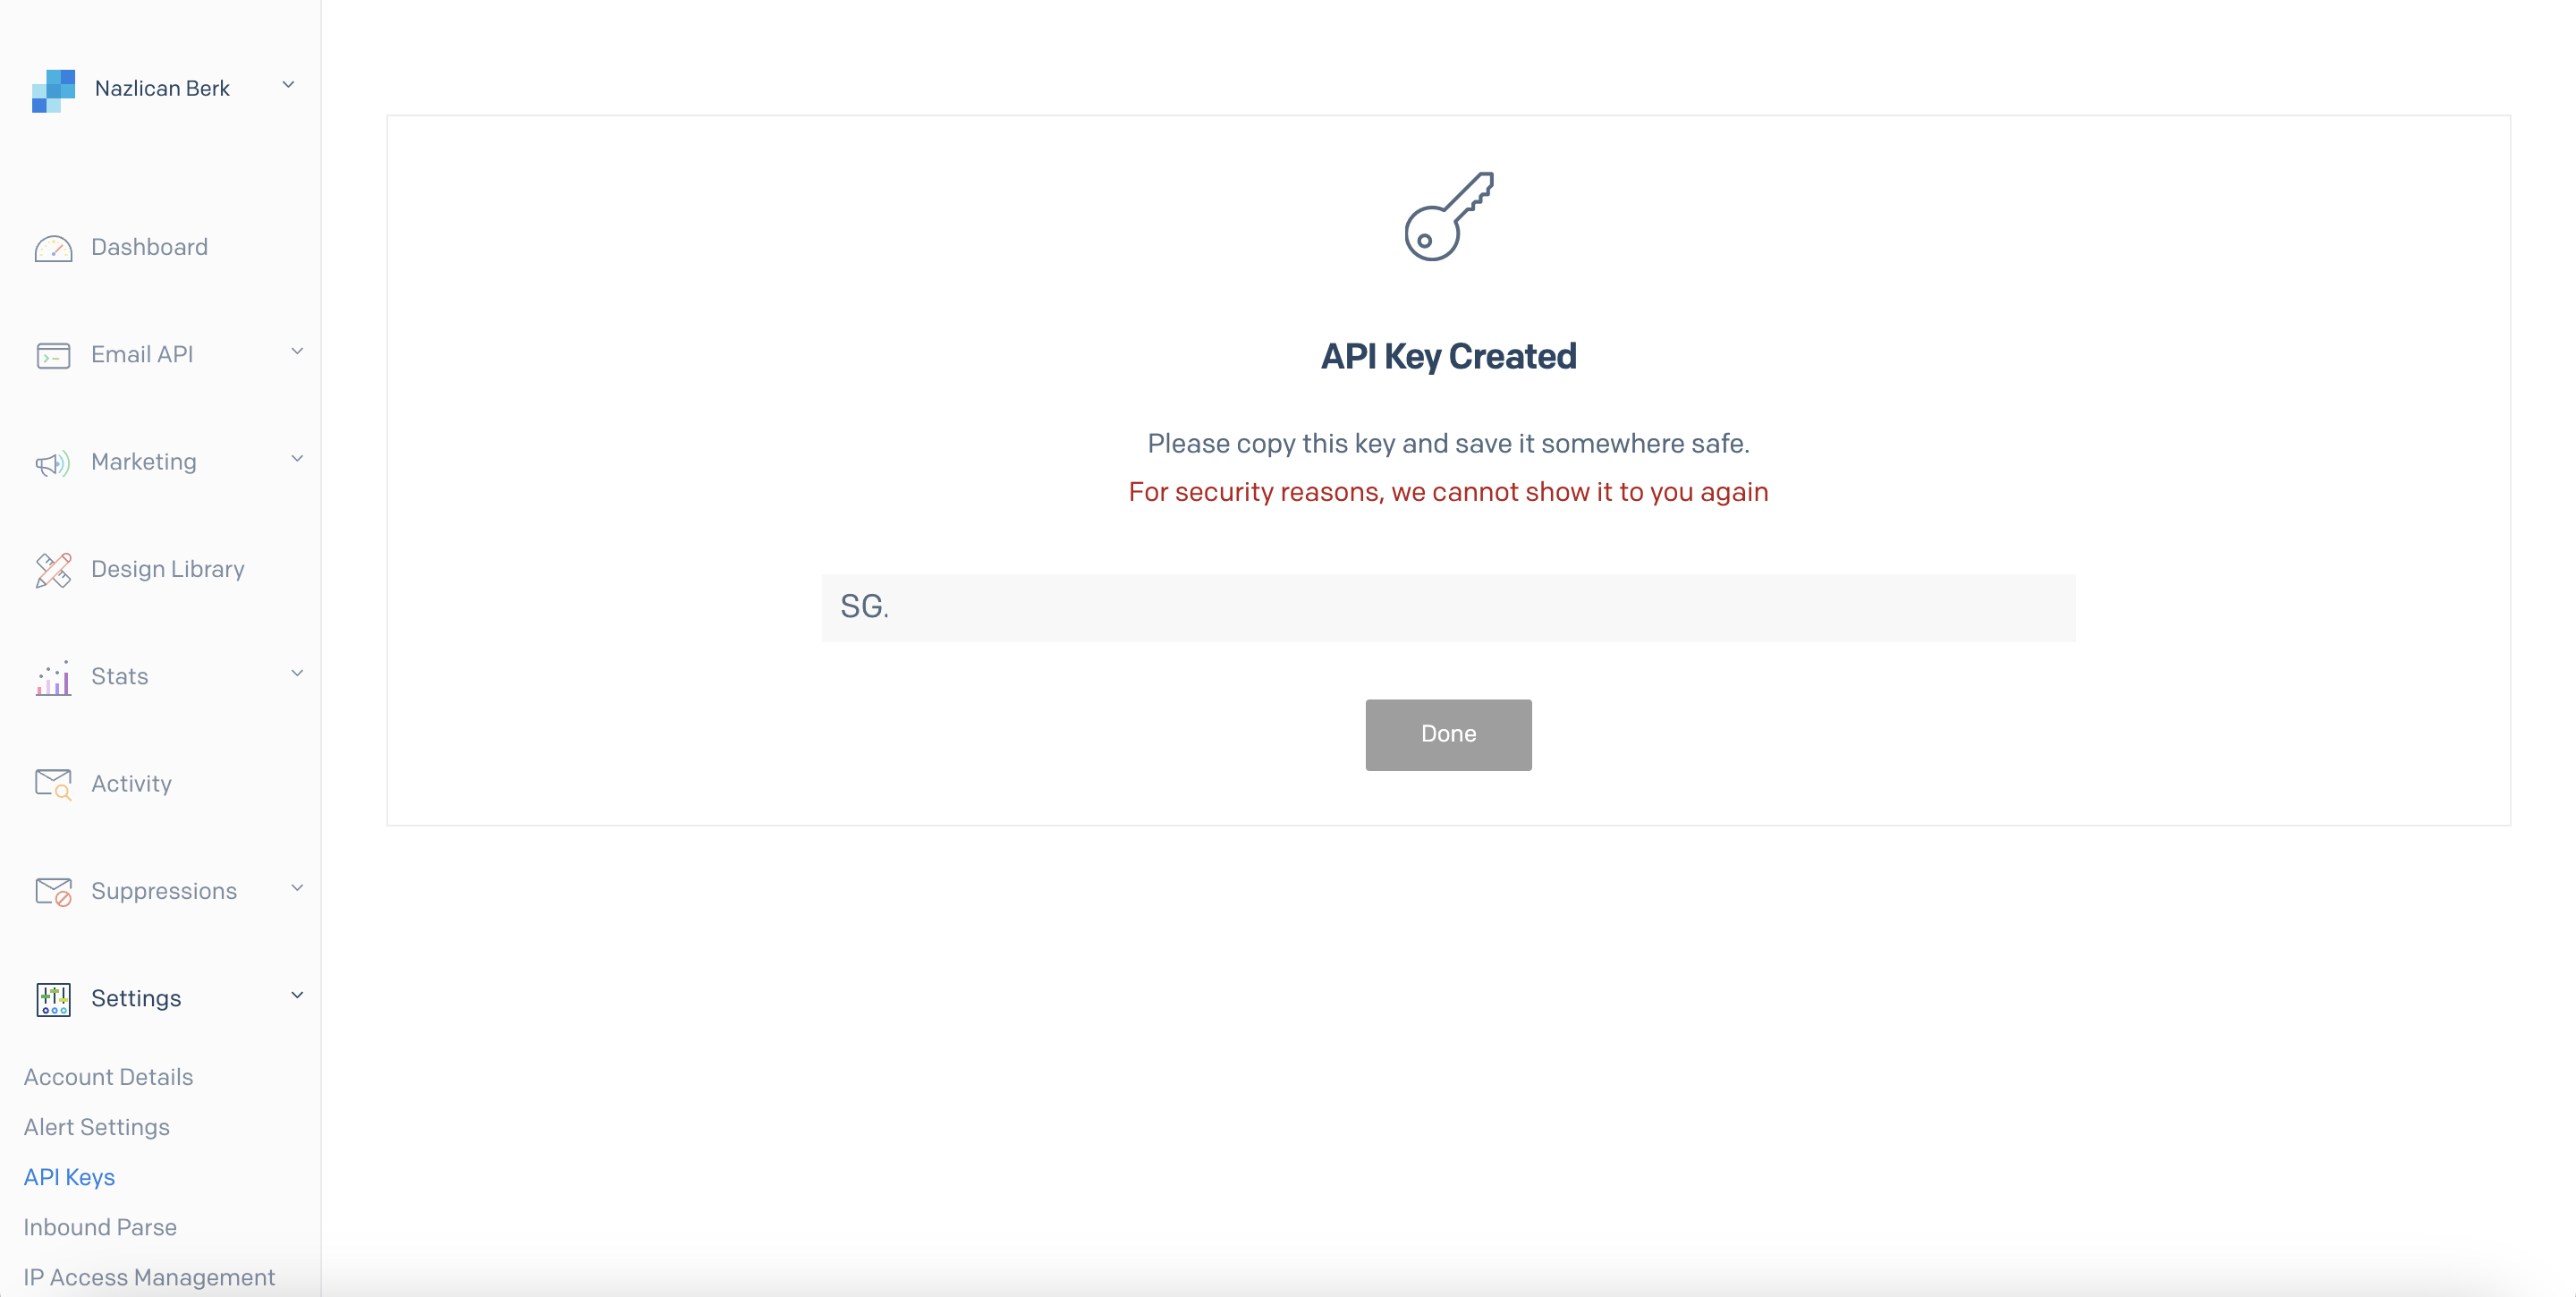
9. Copy the new API key by clicking it, and get back to your Popupsmart dashboard.
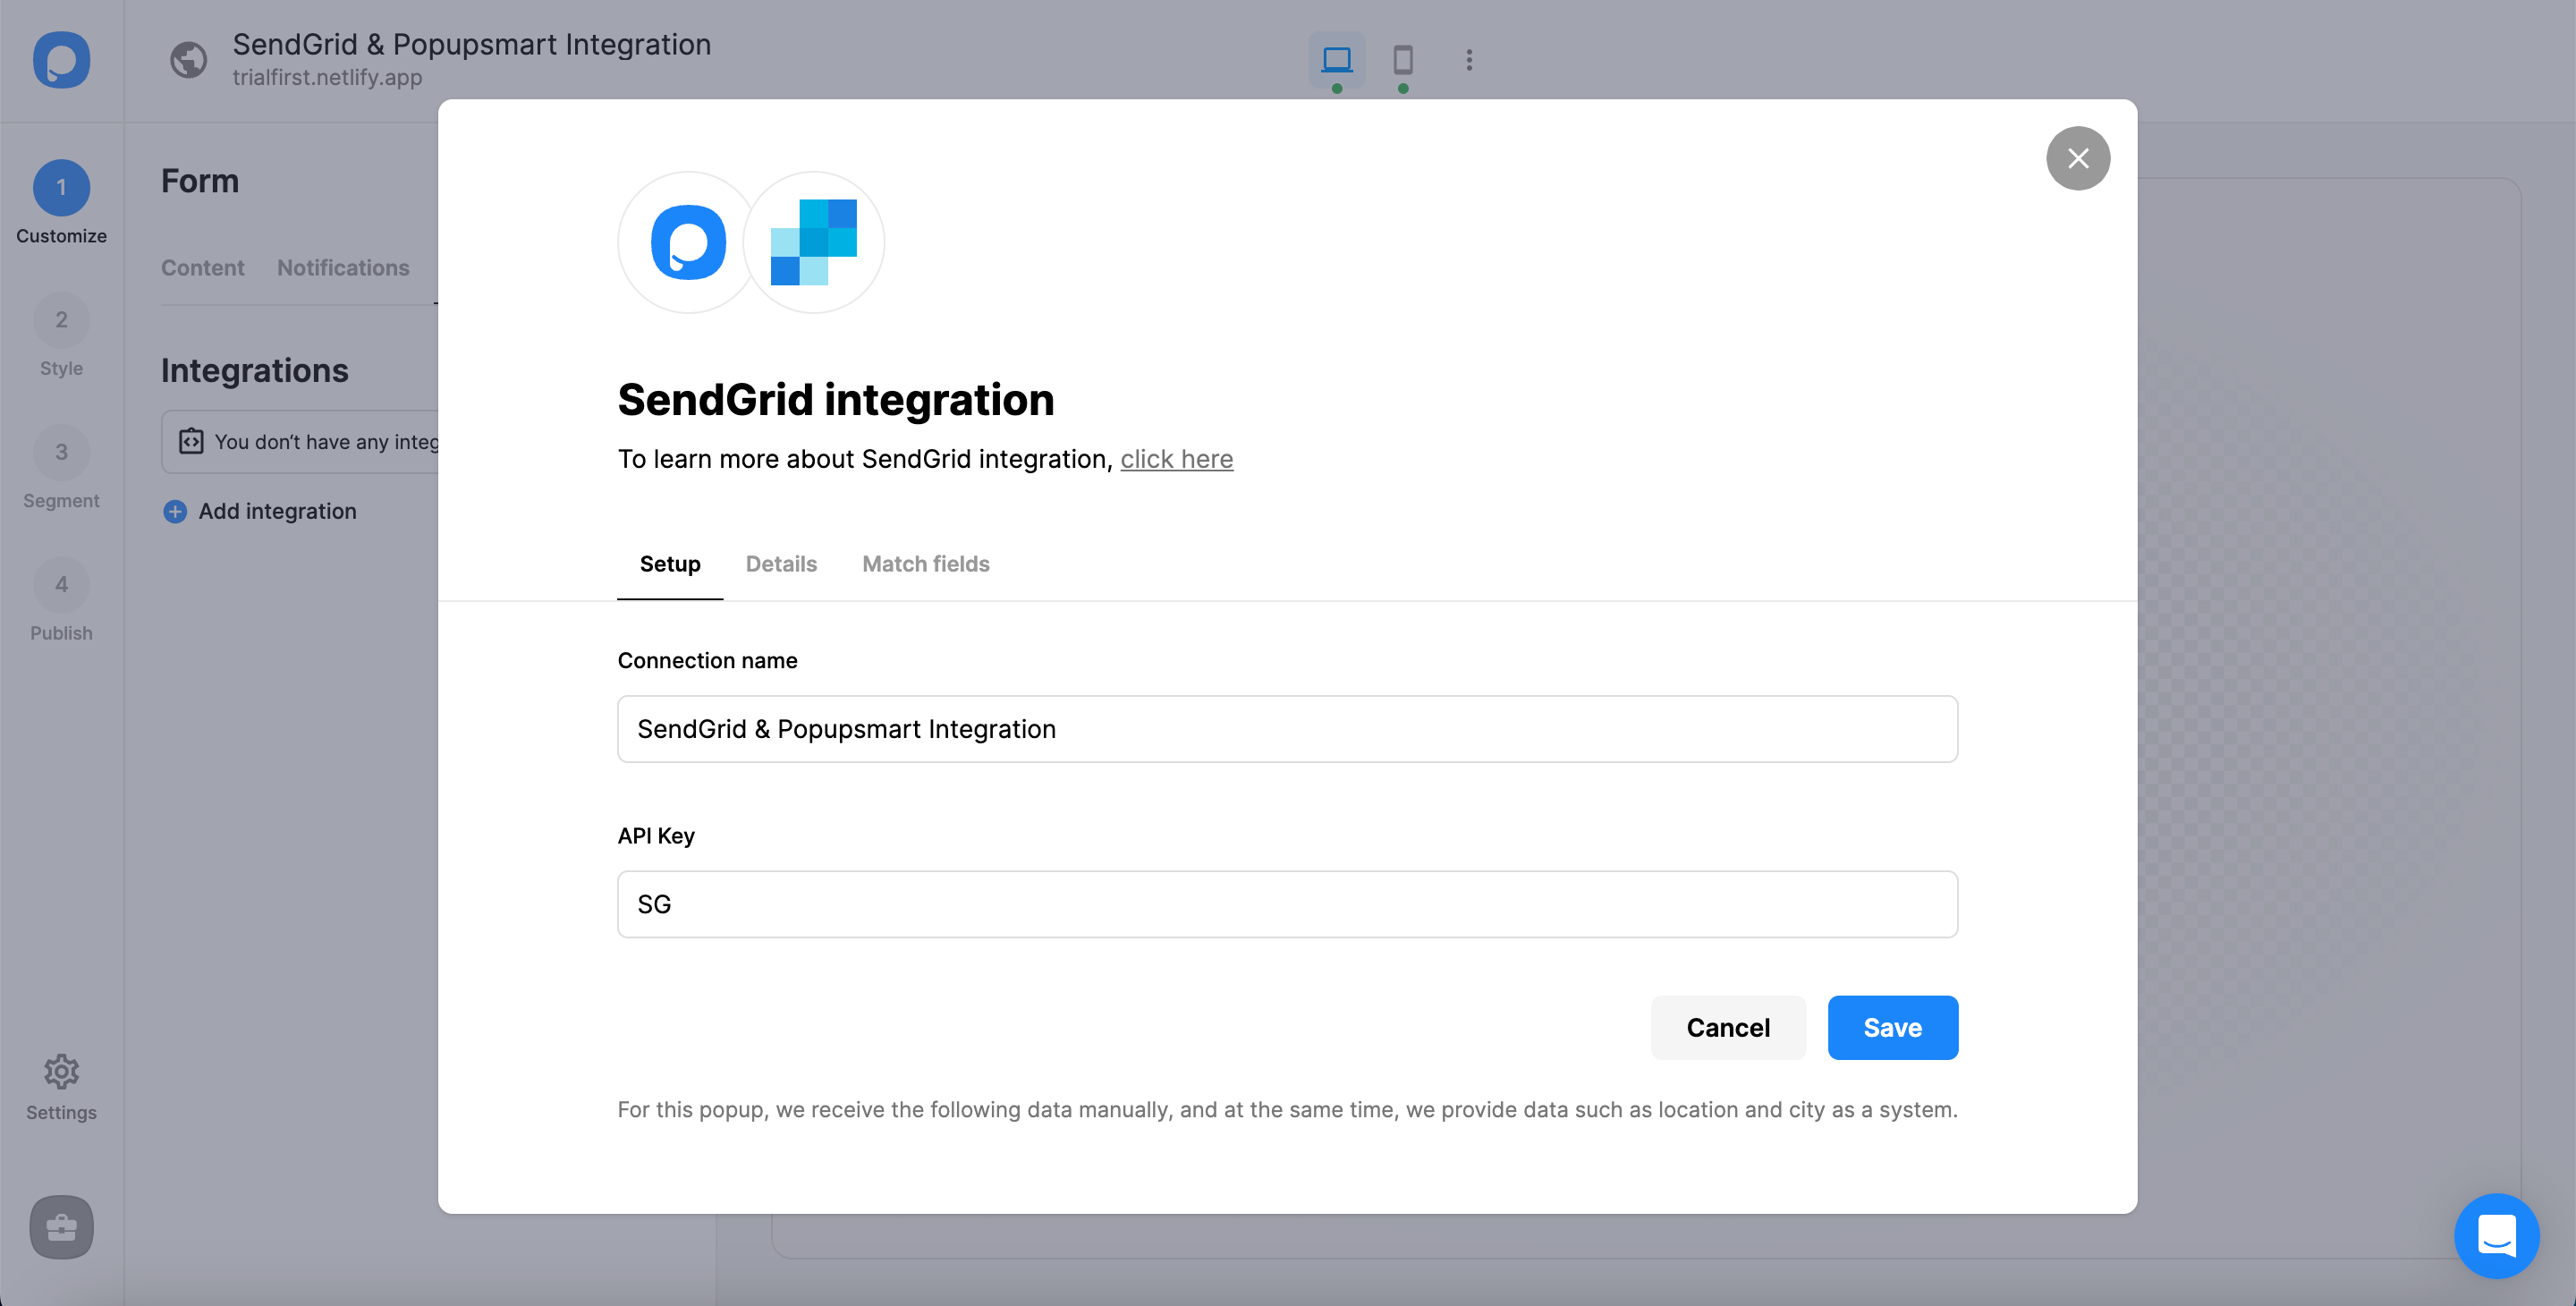
10. Click "Save" after the naming of your connection and pasting the API Key.
You need to know that you cannot go further if you don't have a list on your SendGrid account.
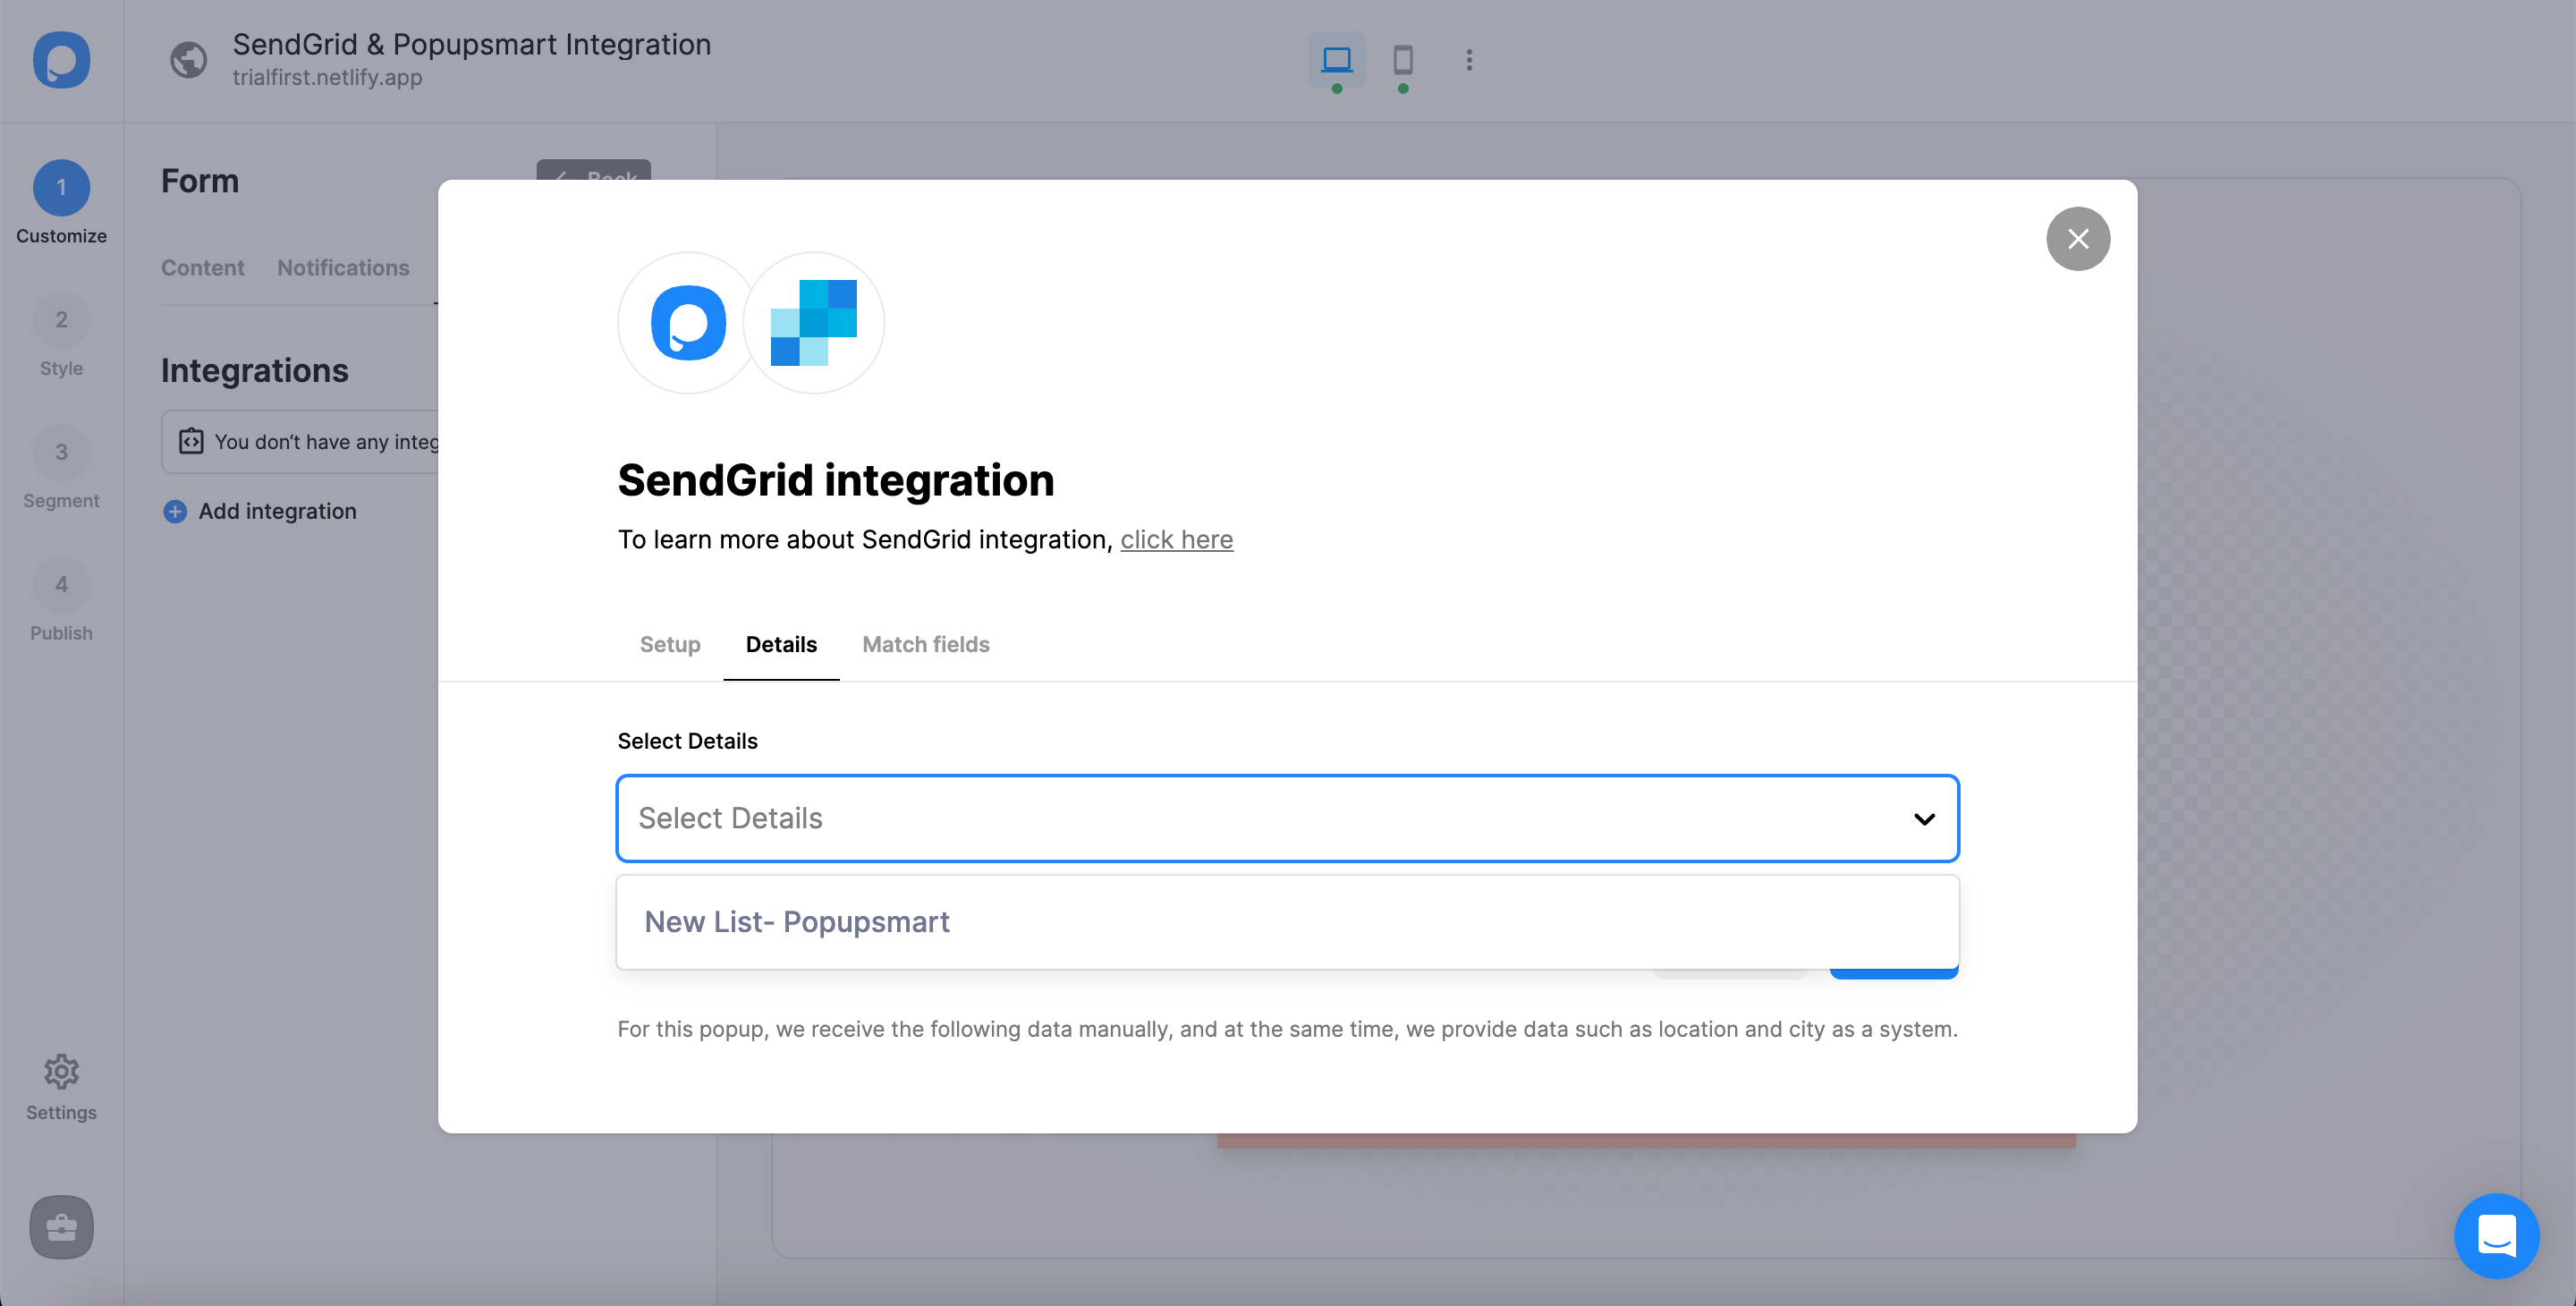
11. In the Details section, the name of your list will be automatically available. You can click "Next" after you choose the details.
12. Once you have chosen the data you want in the 'Match Fields' section. You can "Save" it.
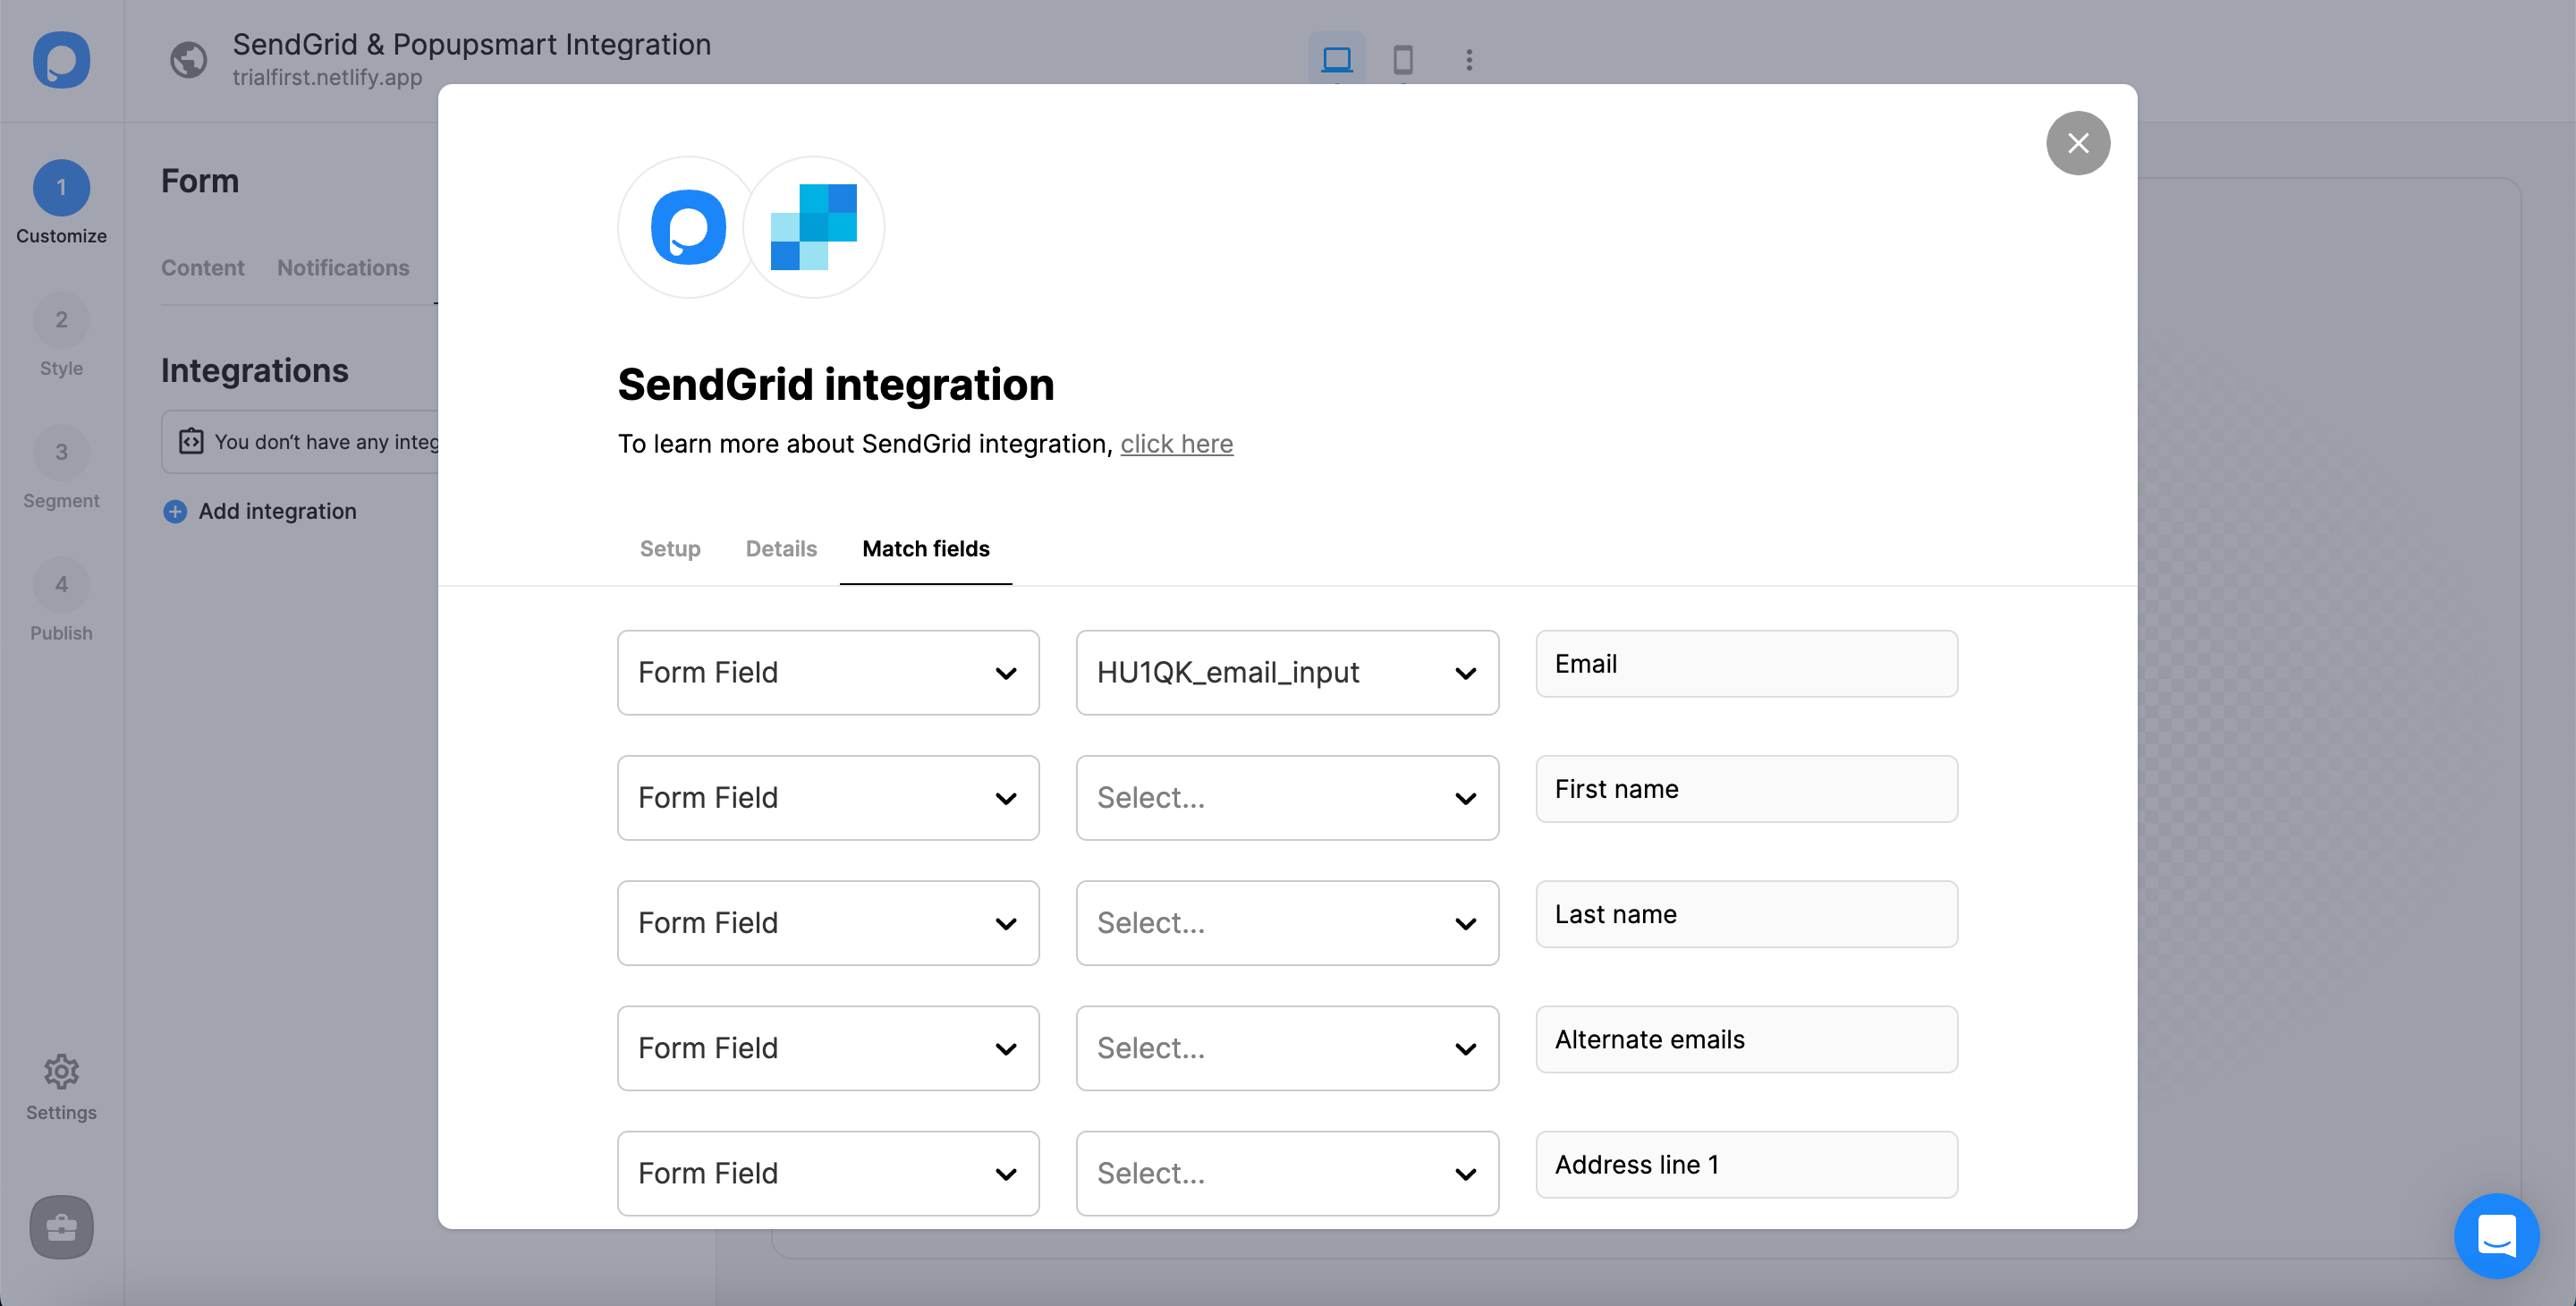
These fields may change according to the elements you include.
✅ Form Field: It is used if you put form elements in your popup. If you don't use any form element, you will see 'No options' on the dropdown.
✅ System Field: You need to choose your option based on what you demand to get as data. For example, you can get the Browsers or Devices of the people who filled the popup.
✅ API Field: You can transfer the data you sent to Popupsmart JS API with the integration again. You can get your data from your SendGrid account.
✅ Static Field: You need to determine the specific data you want. For example, you may want to have sales or downgrades so that you can put them as 'sales' or 'downgrade.'
That’s it!
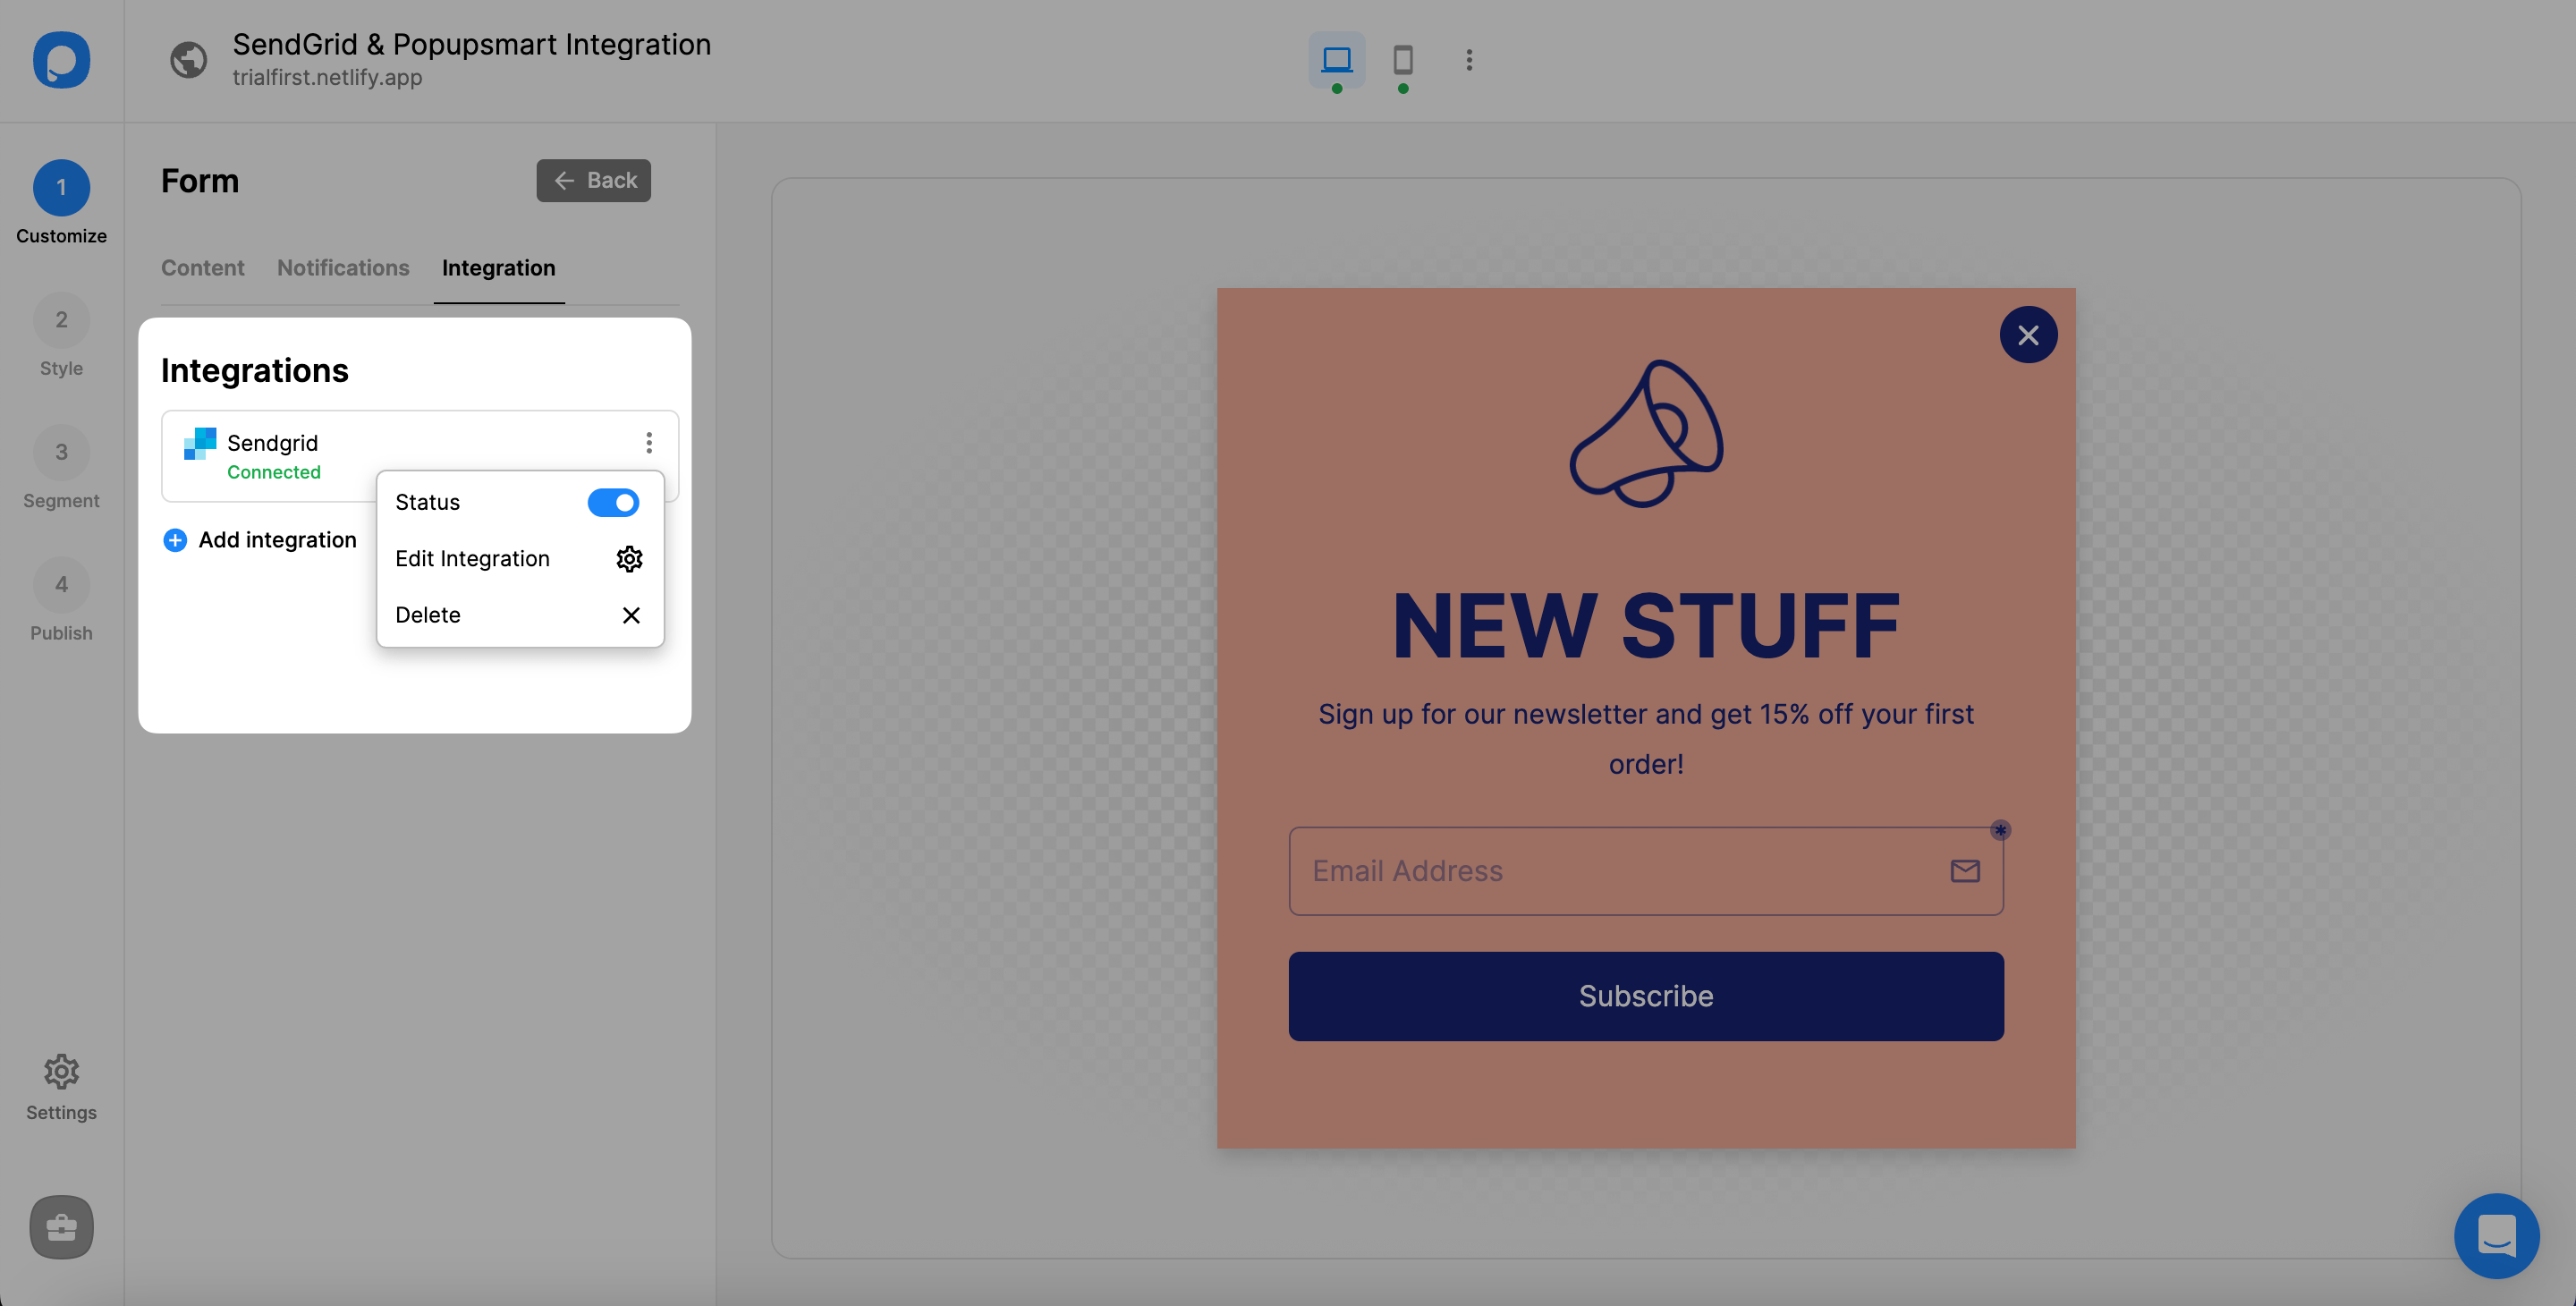
The status of your integration will be on by default. You can change it from the three-dot whenever you want.
❗️Note: You can arrange all settings and SendGrid integration in the Settings of the Popupsmart dashboard.
If you have any other questions about SendGrid integration, feel free to mail us!