
How to Verify Your Website
There are two crucial steps before displaying conversion-ready popups on your website.
One is adding Popupsmart’s code to your website, and the other is verifying your website.
After embedding the Popupsmart code on your website for your new website, follow the steps below to add a new website to your Popupsmart account and verify it in minutes.
✅ Note: You can also verify your website after creating your campaigns. On the “Publish” step, an alert that says “Your website not verified yet” will appear, click the “Verify website” that opens your website in a new tab. Turn back to Popupsmart and click “Refresh”.
Now let’s see how to verify your website when you’re just starting out.
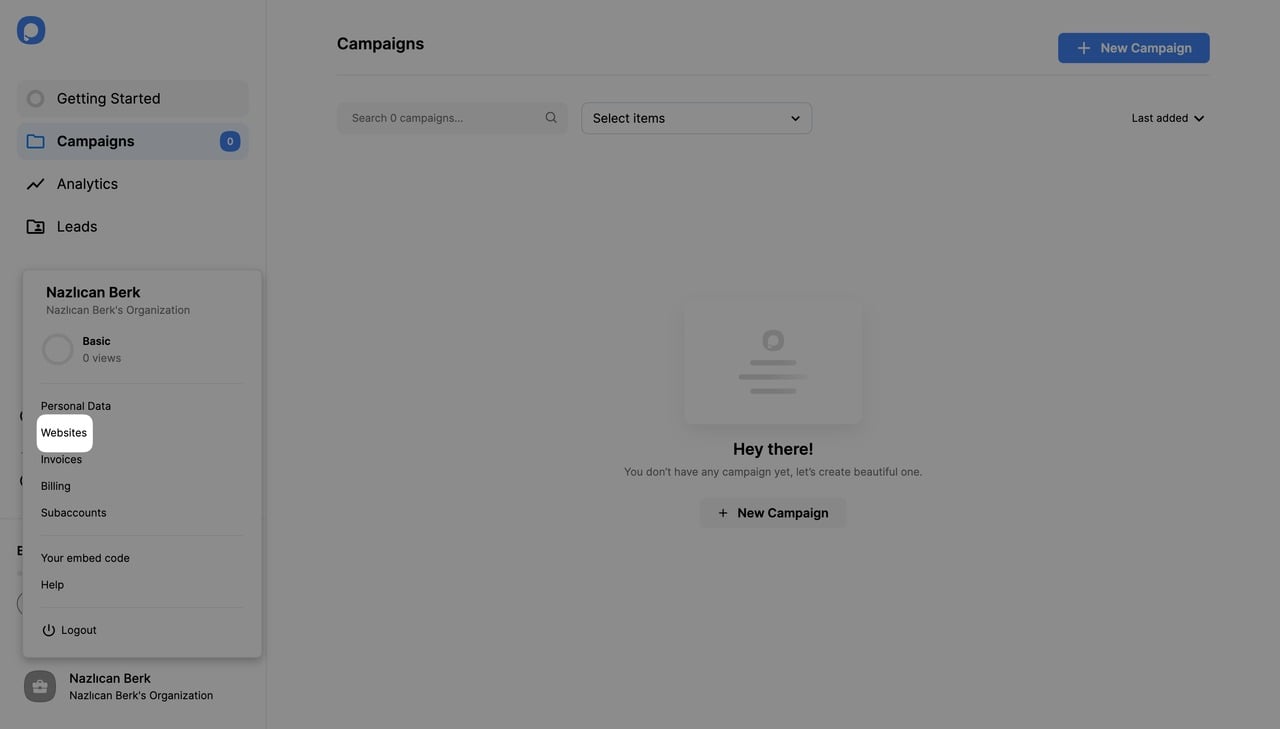
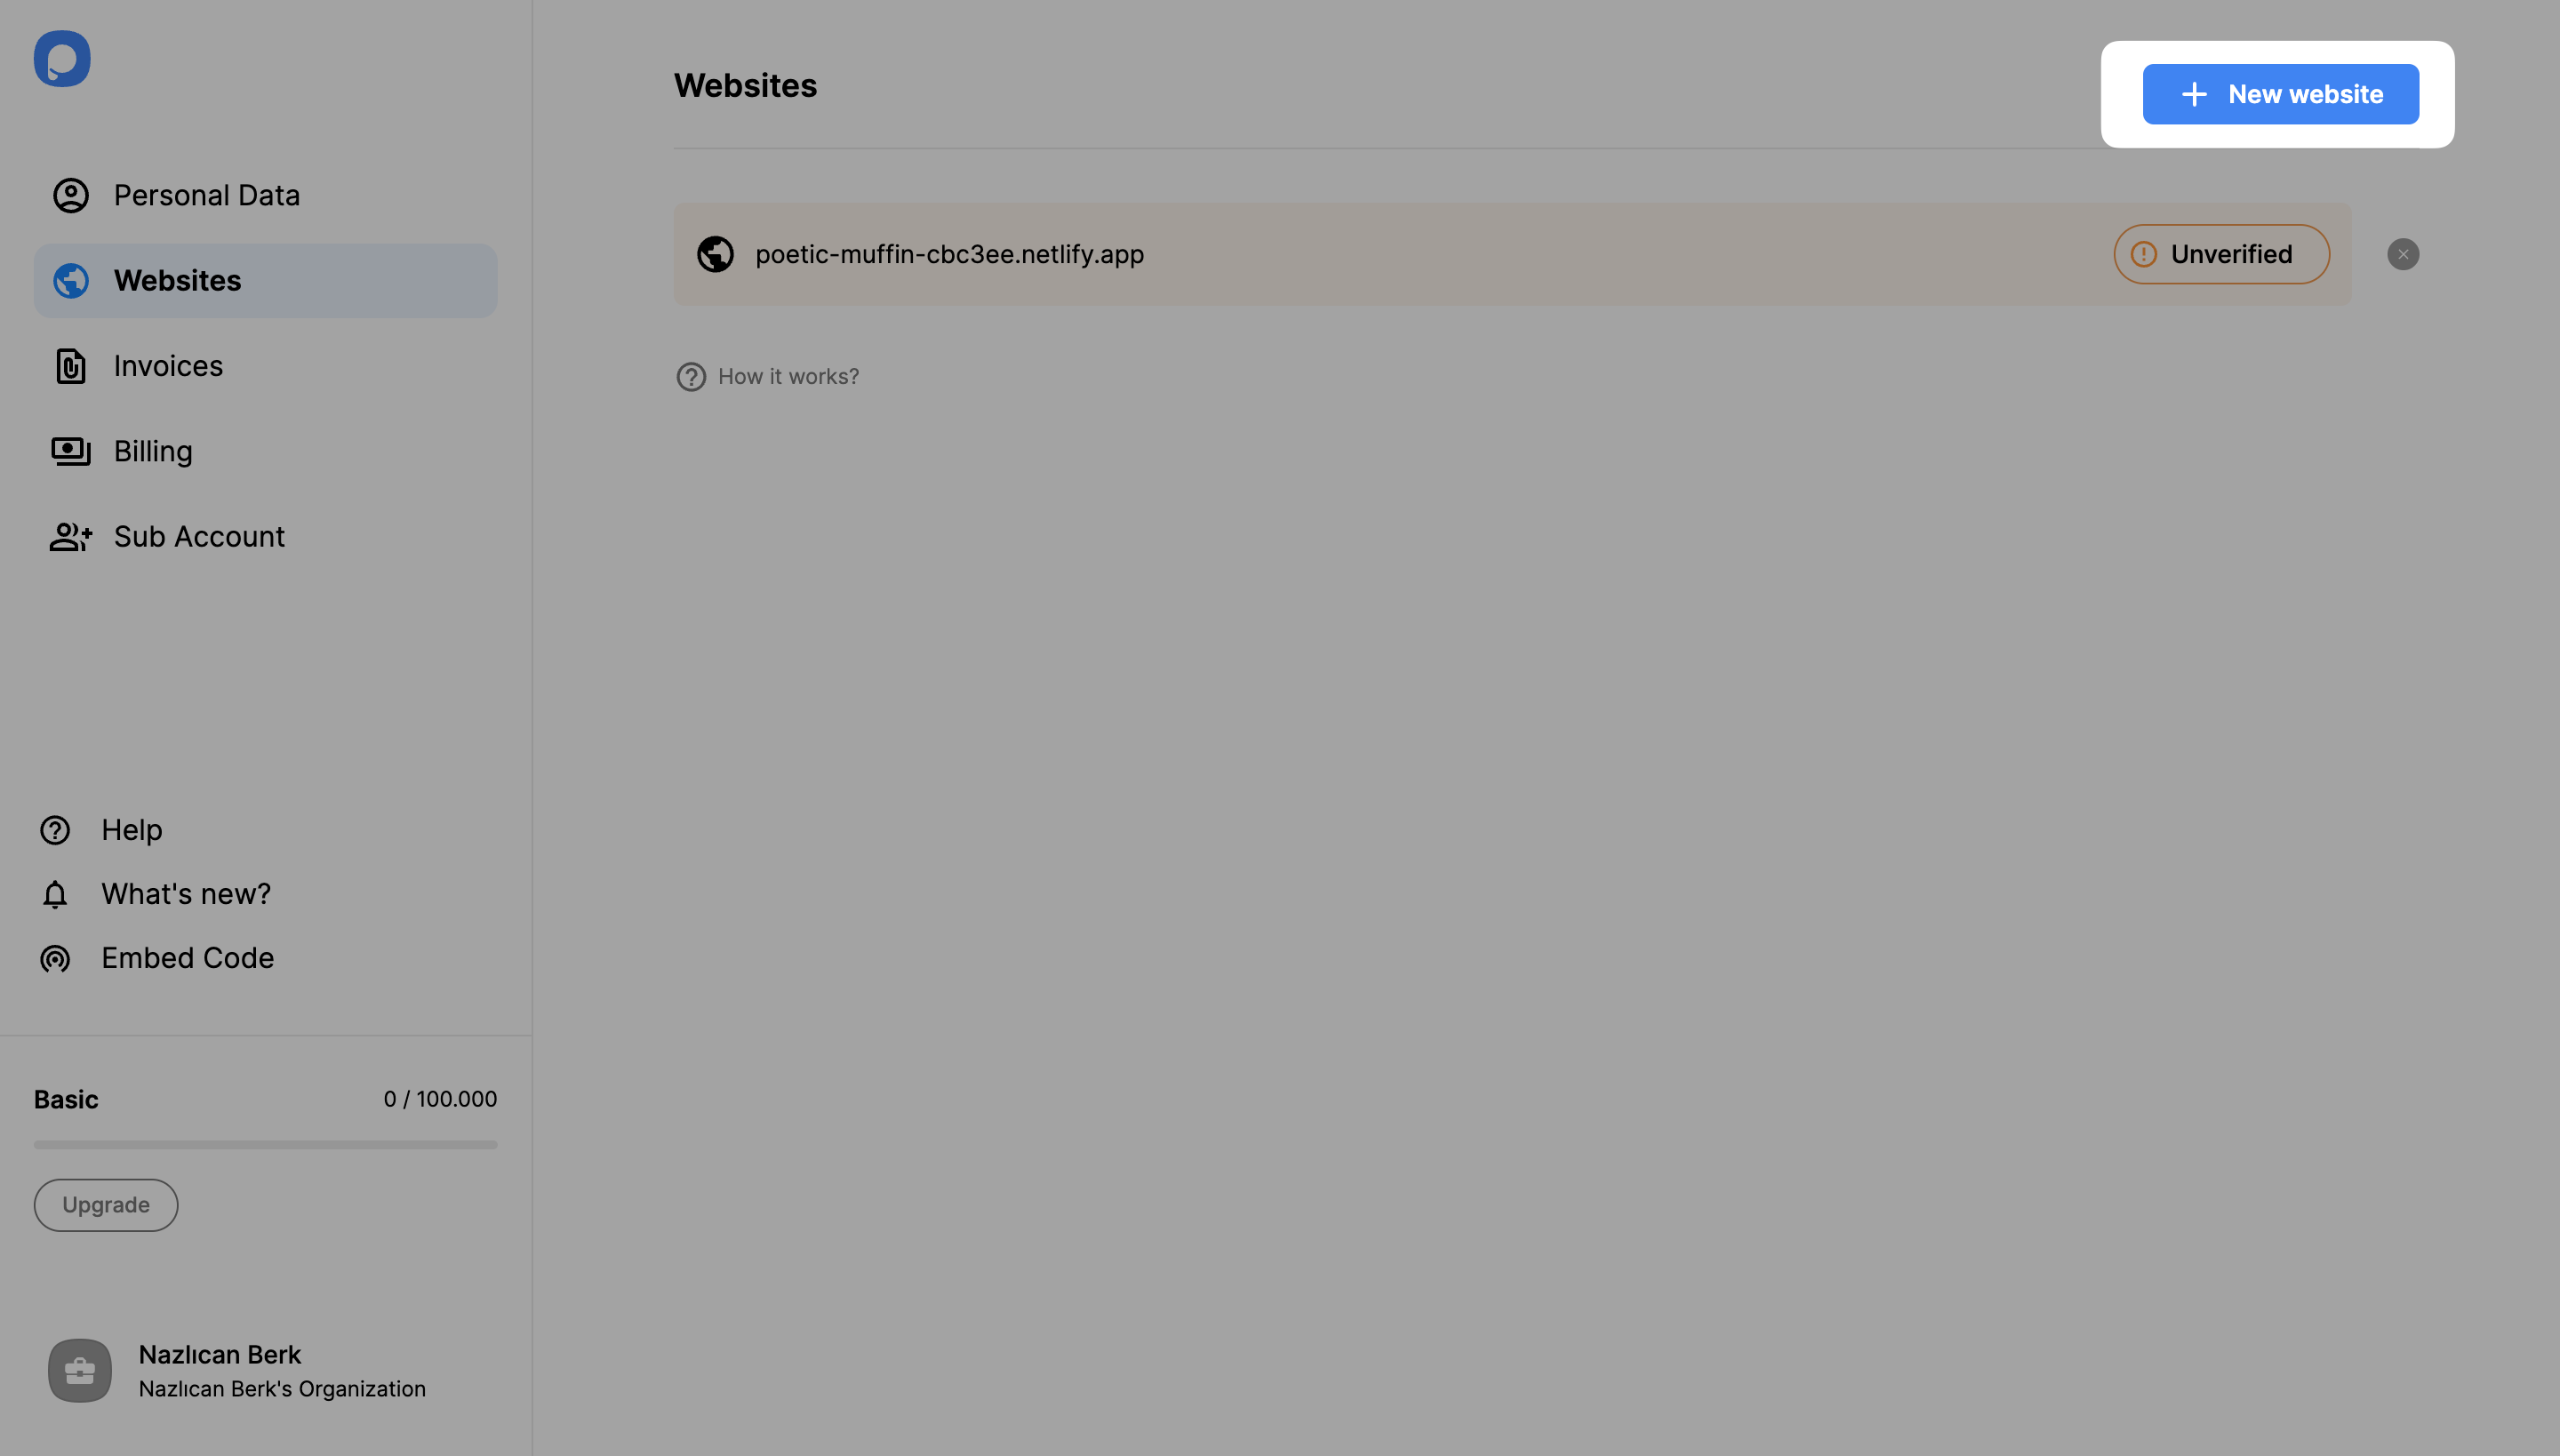
1. Firstly, to add a new domain to your Popupsmart account, click "Account" from the bottom left corner of your dashboard and select “Websites” from the menu.
2. Click on “New website” to add a new domain.
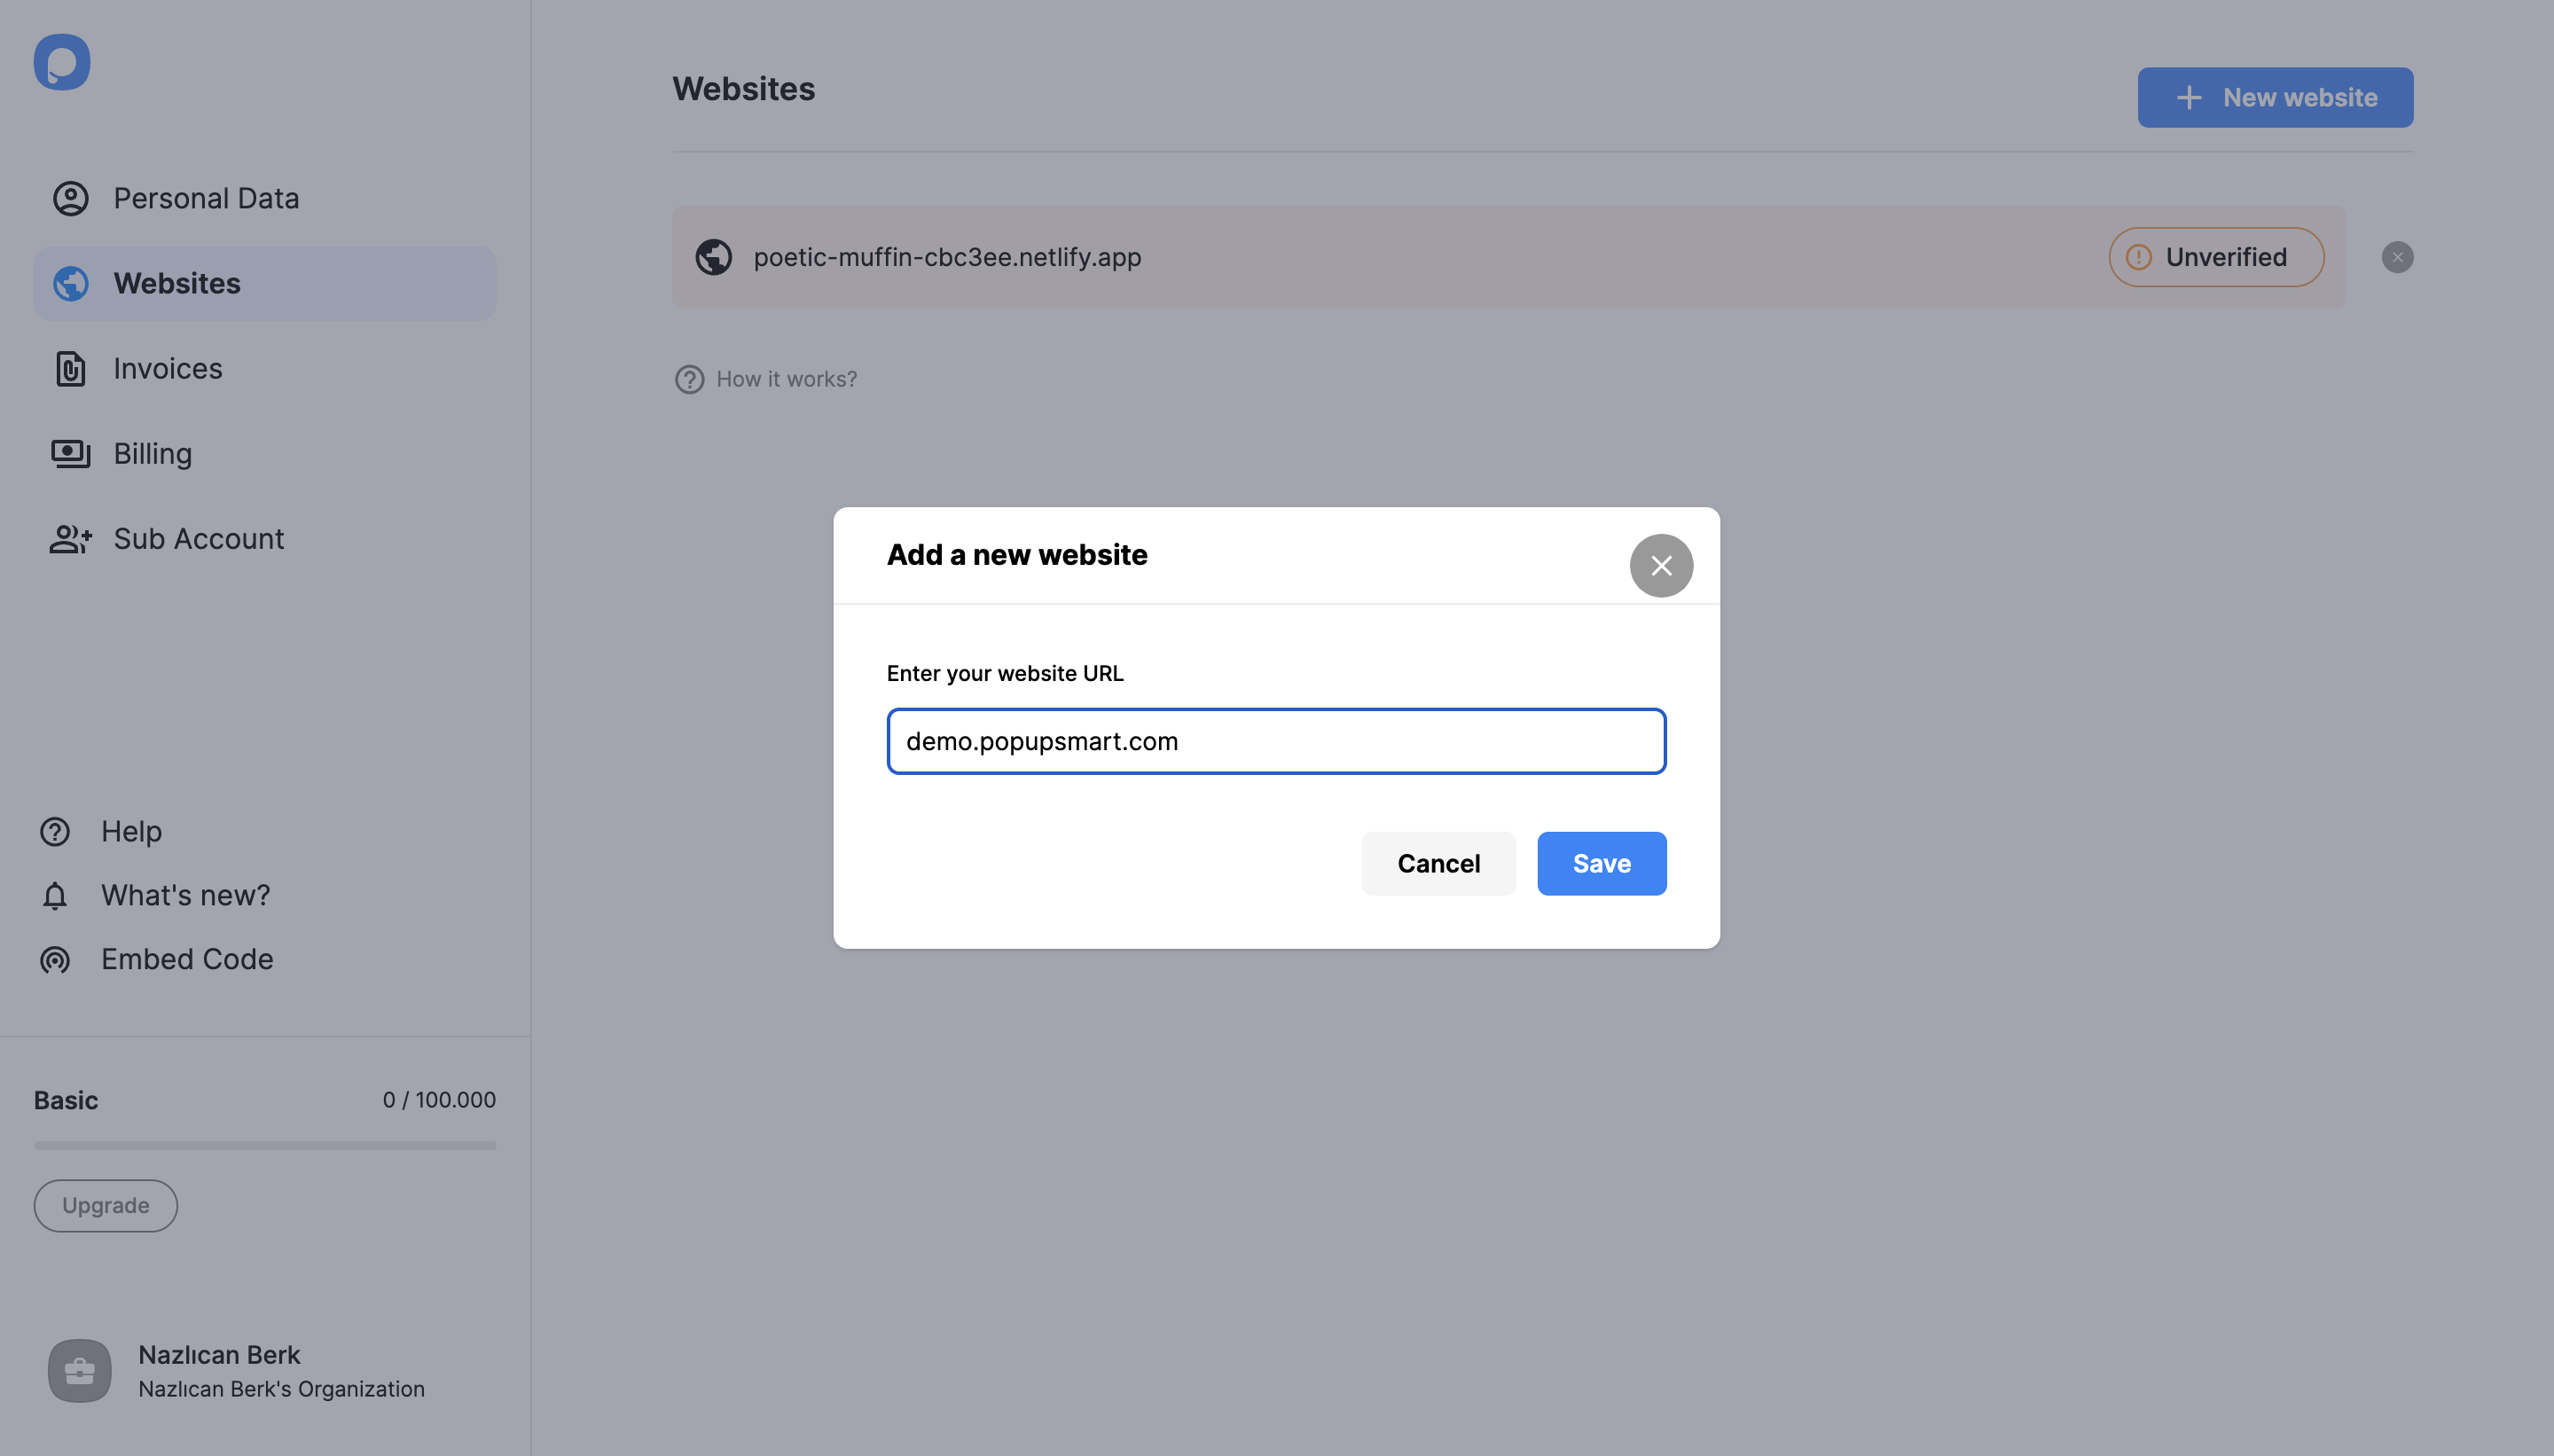
3. Enter your website’s URL to the modal and click “Save.”
4. Your website will appear as “Unverified”. In order to verify it, click the “Unverified” button.

5. Continue with the “Verify website” button which will direct you to your website. Then, return to your Popupsmart dashboard and click “Refresh”. All done, your website will appear as “Verified” now.
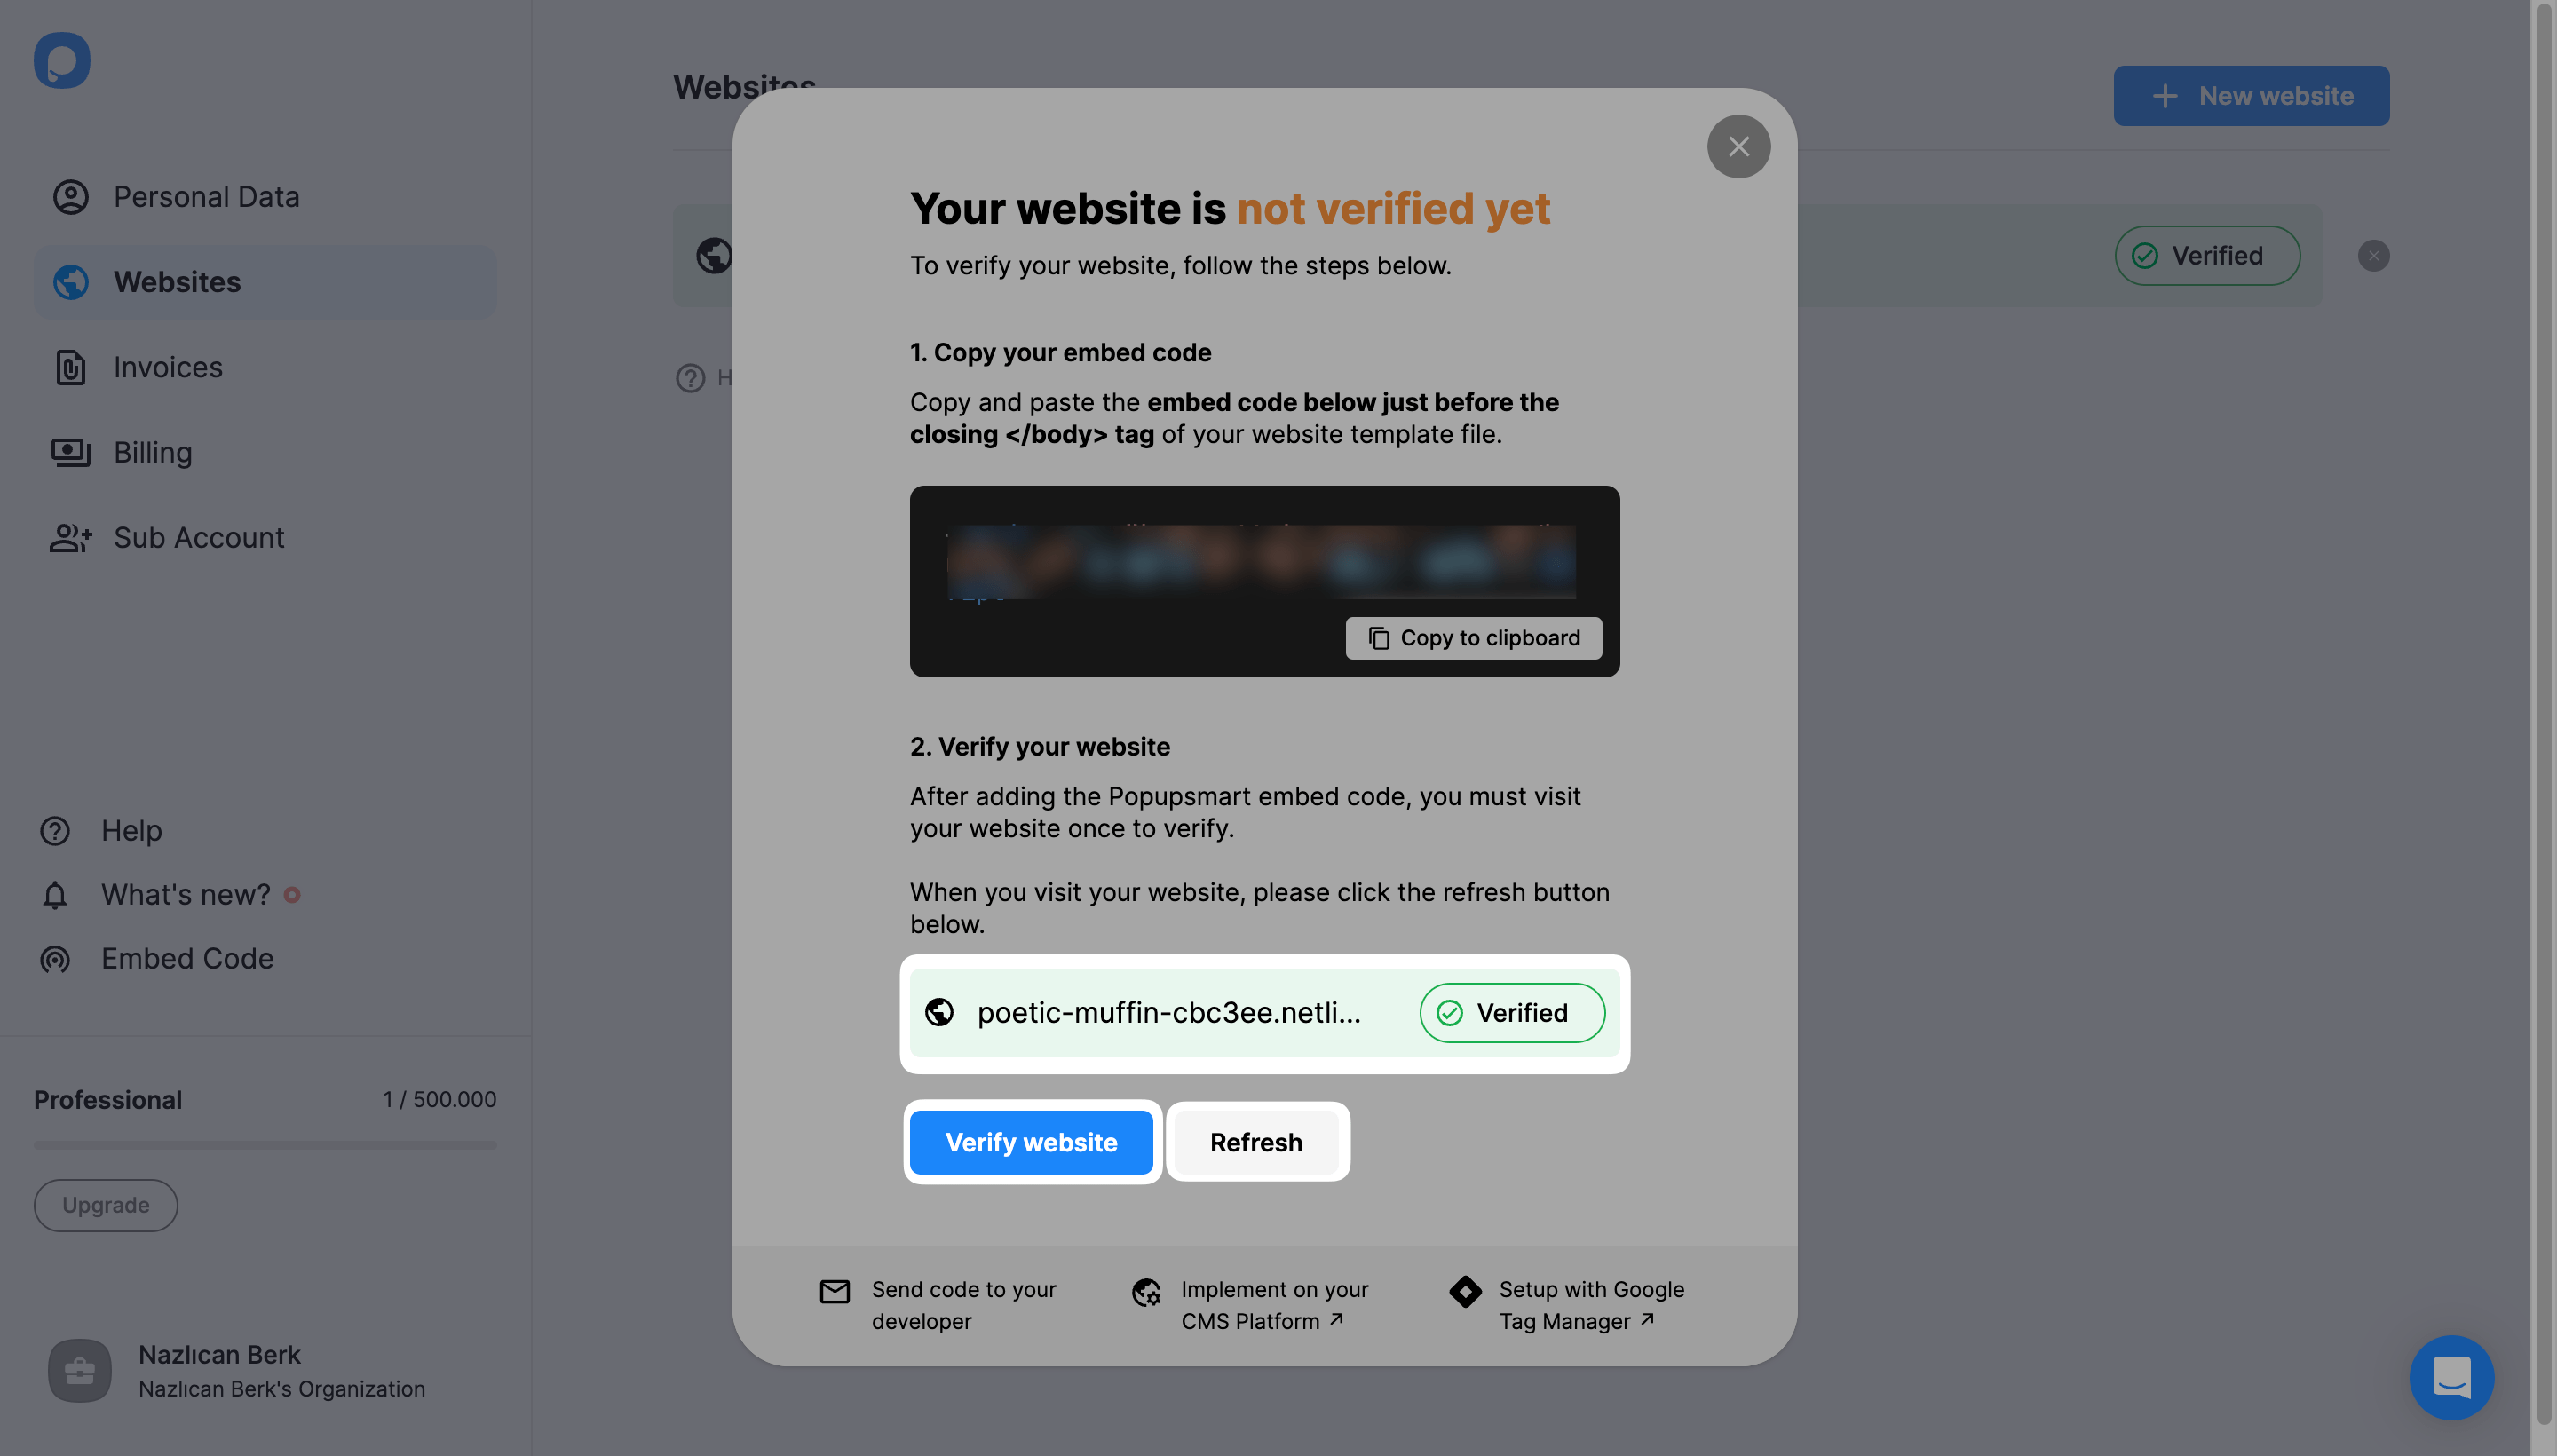
✅ Important: Ensure you embed the code correctly on your website if you get an “Unverified domain” alert.
If this is your first time, you can also follow the onboarding steps on your dashboard or click your account from the “Account” menu and click “Your embed code” to see your unique embed code.
✅ Important: Adding the Popupsmart embed code to your website is a one-time requirement. Please, do not add your unique code to the same website more than once.
Do you have more questions about verifying your website? Feel free to contact us!