How to Create Popup-Based Email Automation
Popup-based email automation is a powerful feature that allows you to effortlessly send follow-up emails to users who have submitted their email via popups. This automation process ensures that you can engage with your audience effectively and provide them with relevant information or offers. To create email automation using popups, simply follow these easy steps:
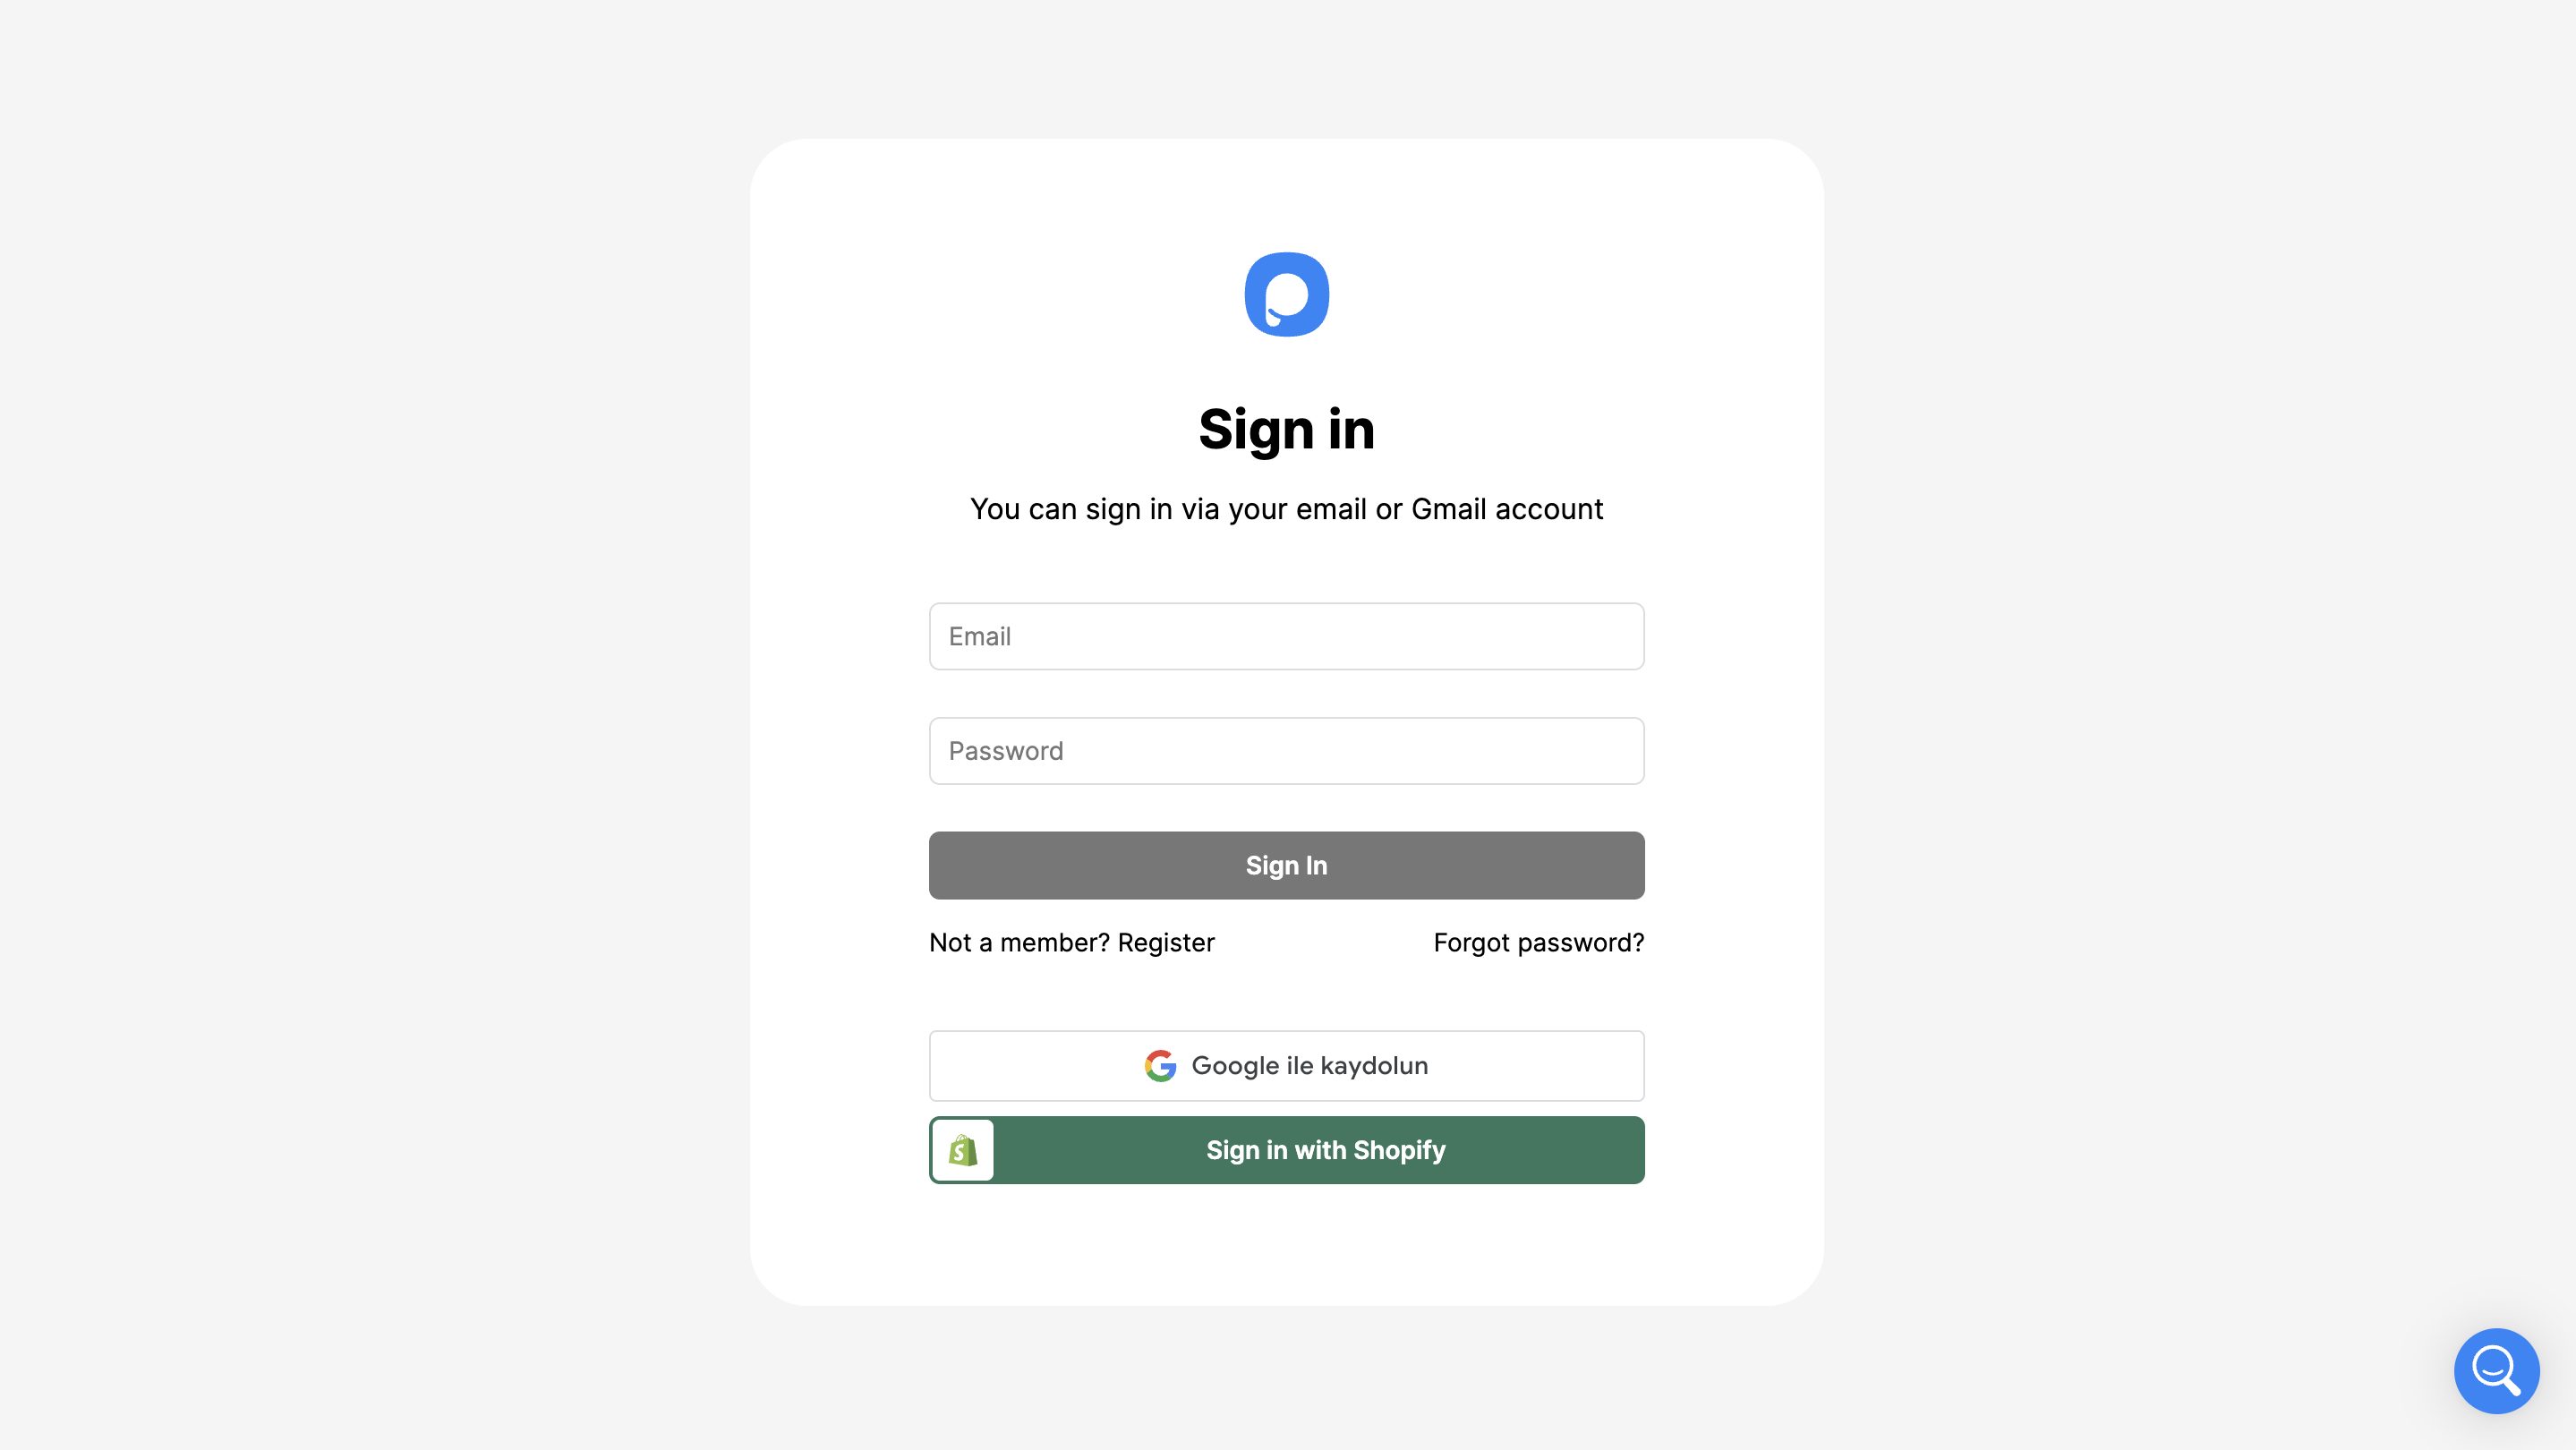
1. Sign in to your Popupsmart account.
2. Go to the Email Automations tab.
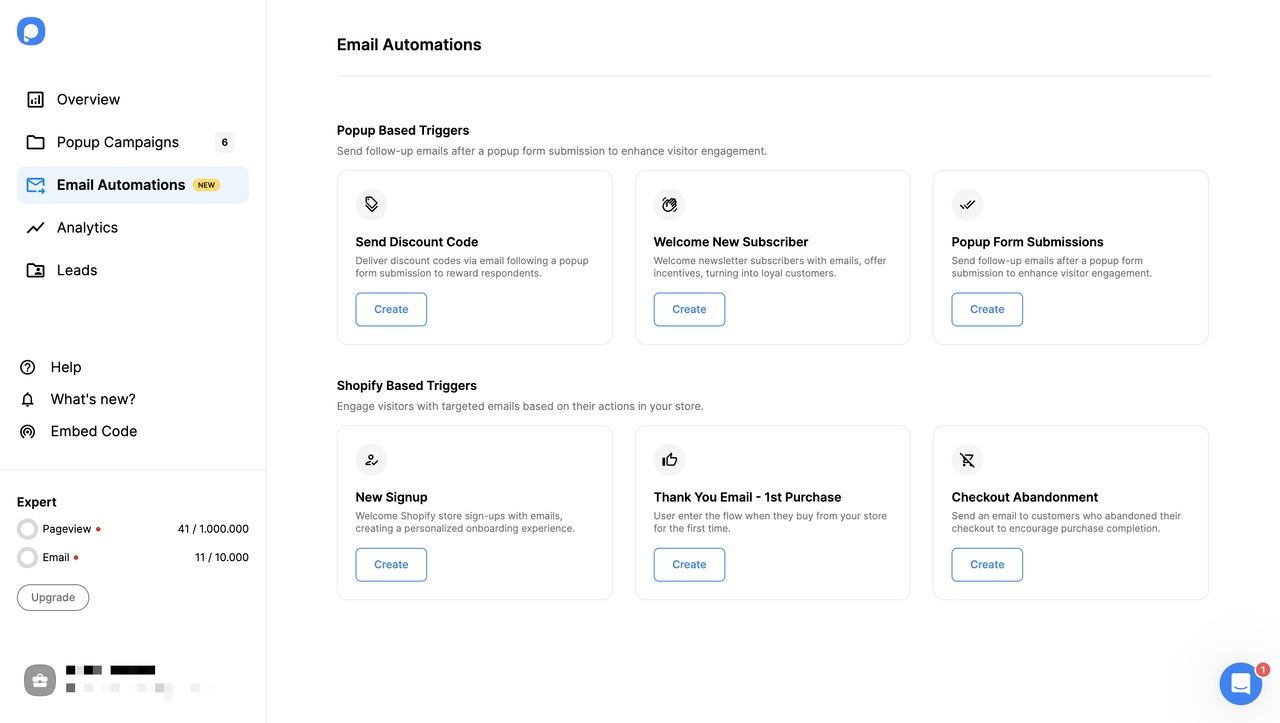
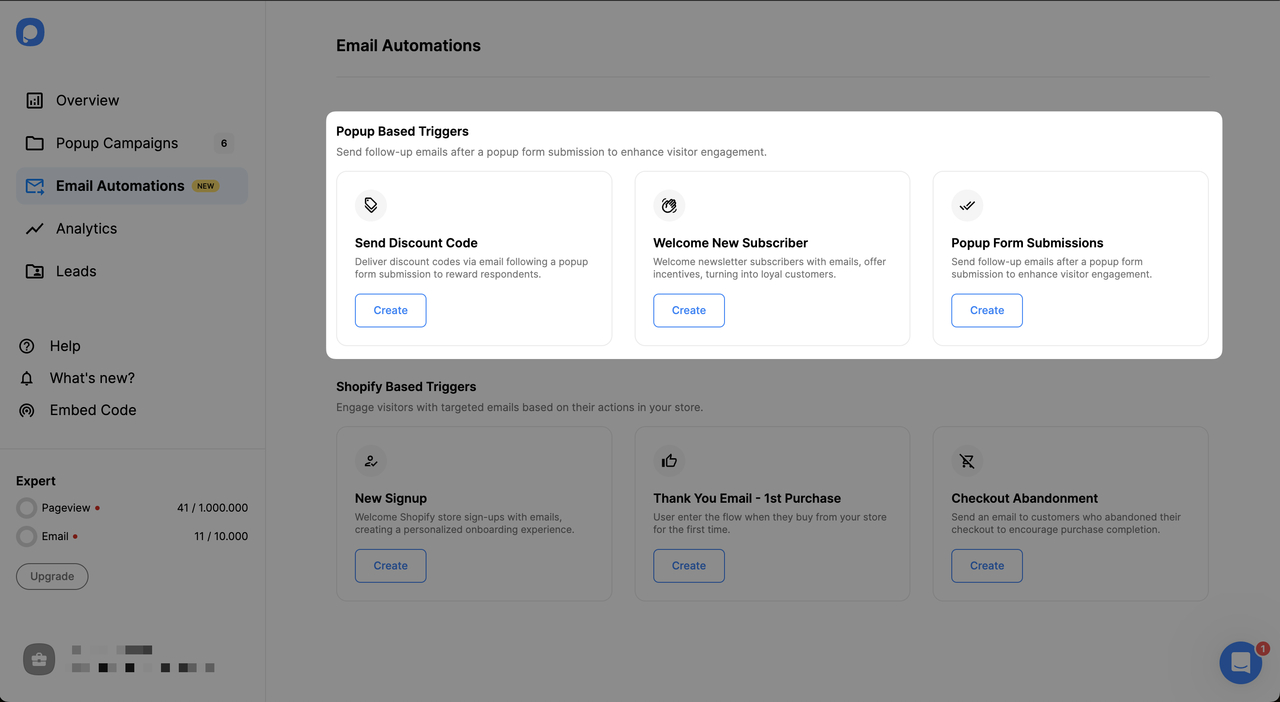
3. Select a trigger. For example, let's continue with "Welcome New Subscriber".
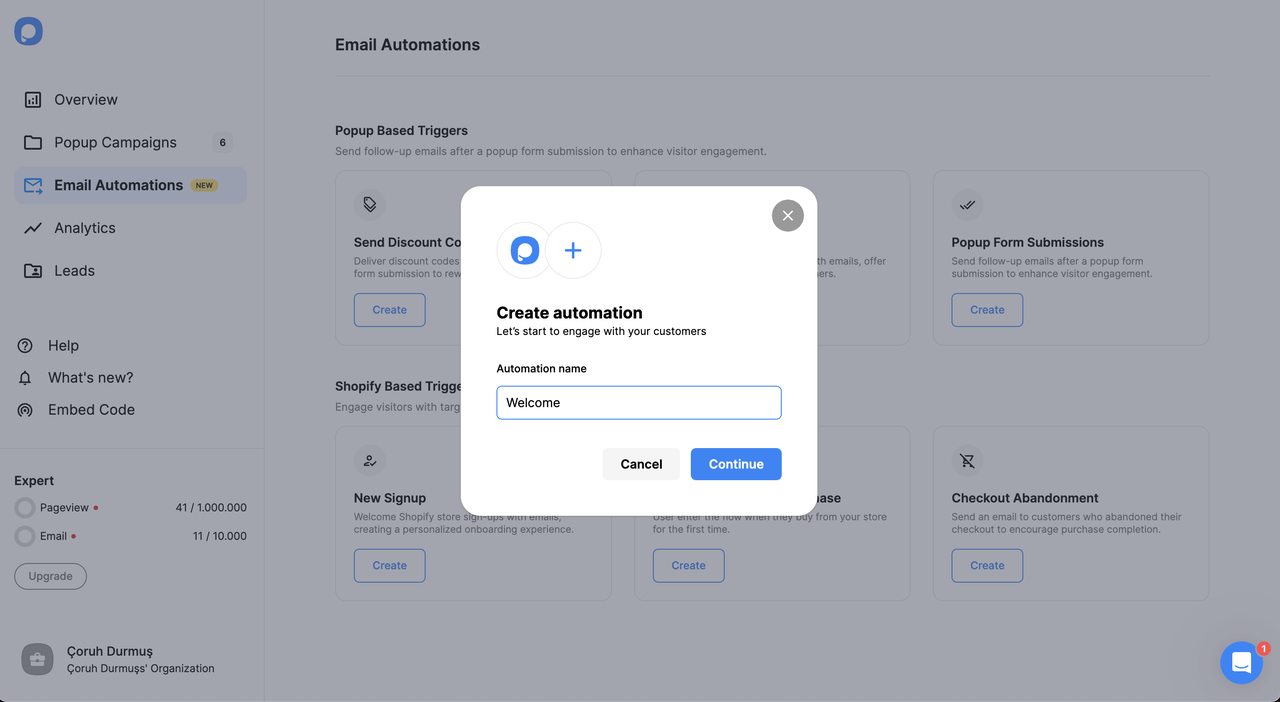
4. Give automation a name and click continue.
5. You will be directed to the automation interface. In the first step, select the popup to which you want to send an automated email to its responders.
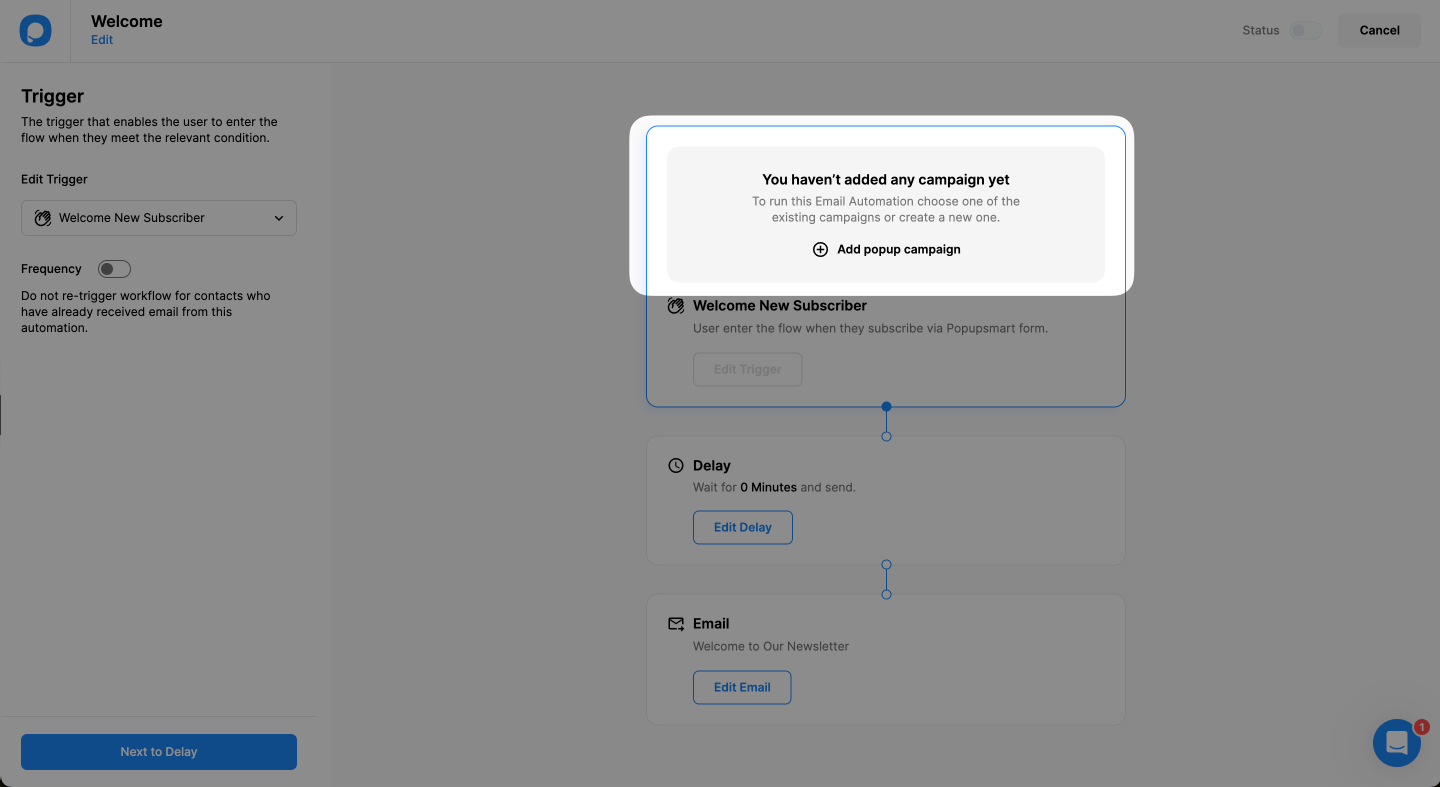
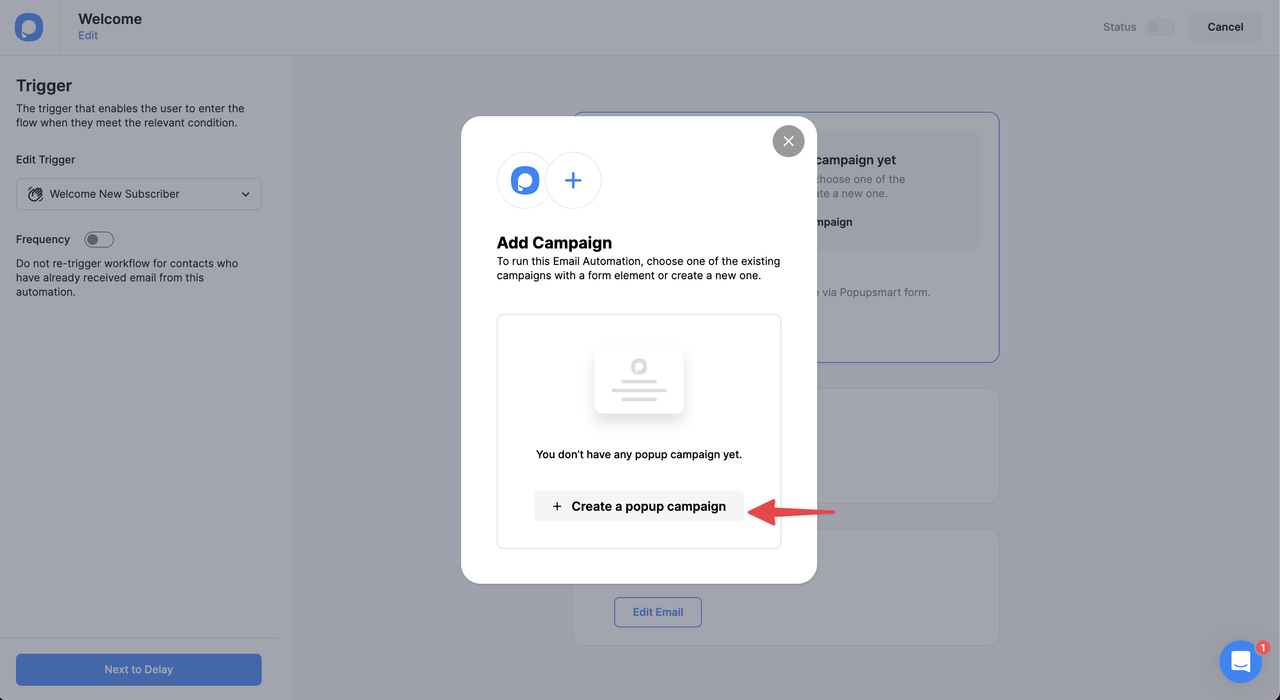
6. When you click on "Add popup campaign", a modal will open, displaying a list of your popup campaigns that you can connect with your email automation. Please note that a popup campaign must include an email form element in order to appear in this modal.

💡 If you do not have any popup campaign you will see a “Create a popup campaign” button in the modal. To connect email first you need to create a popup campaign.
7. You can also change the automation trigger or enable the Frequency option to prevent sending more than one email to the same receiver.
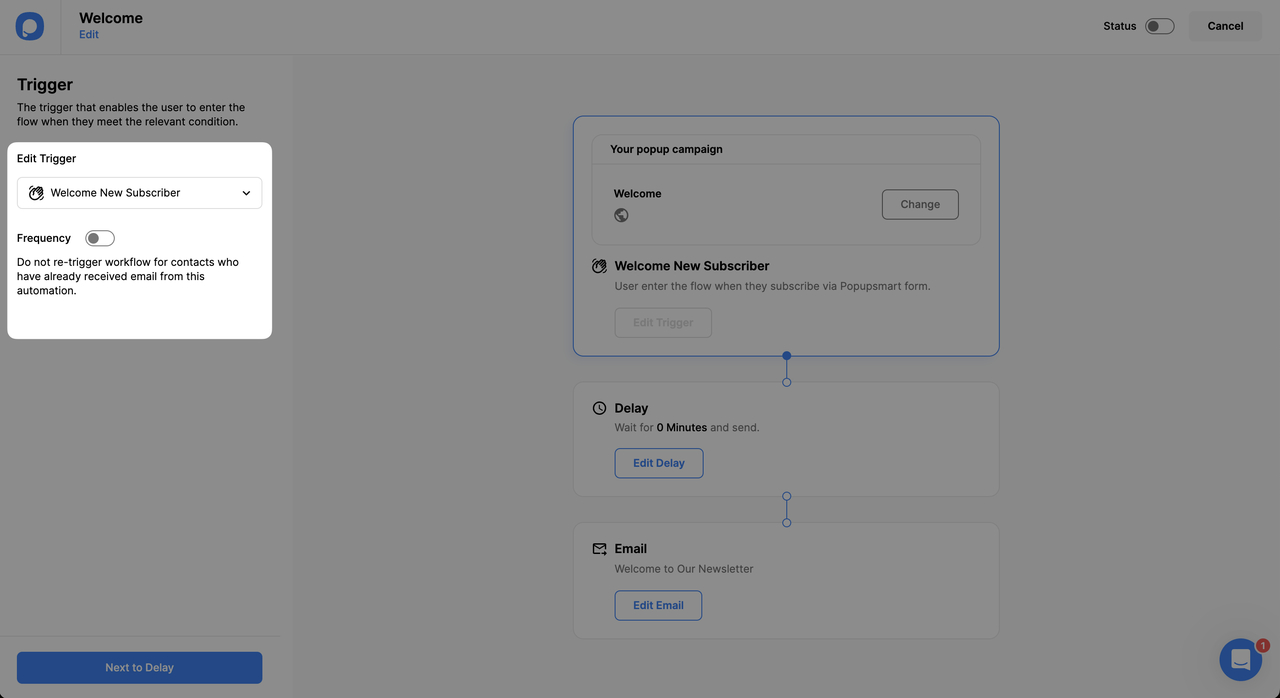
💡 If you are sending coupon codes and want to avoid sending more than one coupon code to the popup responders, we suggest keeping the Frequency setting closed.
8. Add a delay to your email. You can select 10 minutes to send the email after purchase confirmation.

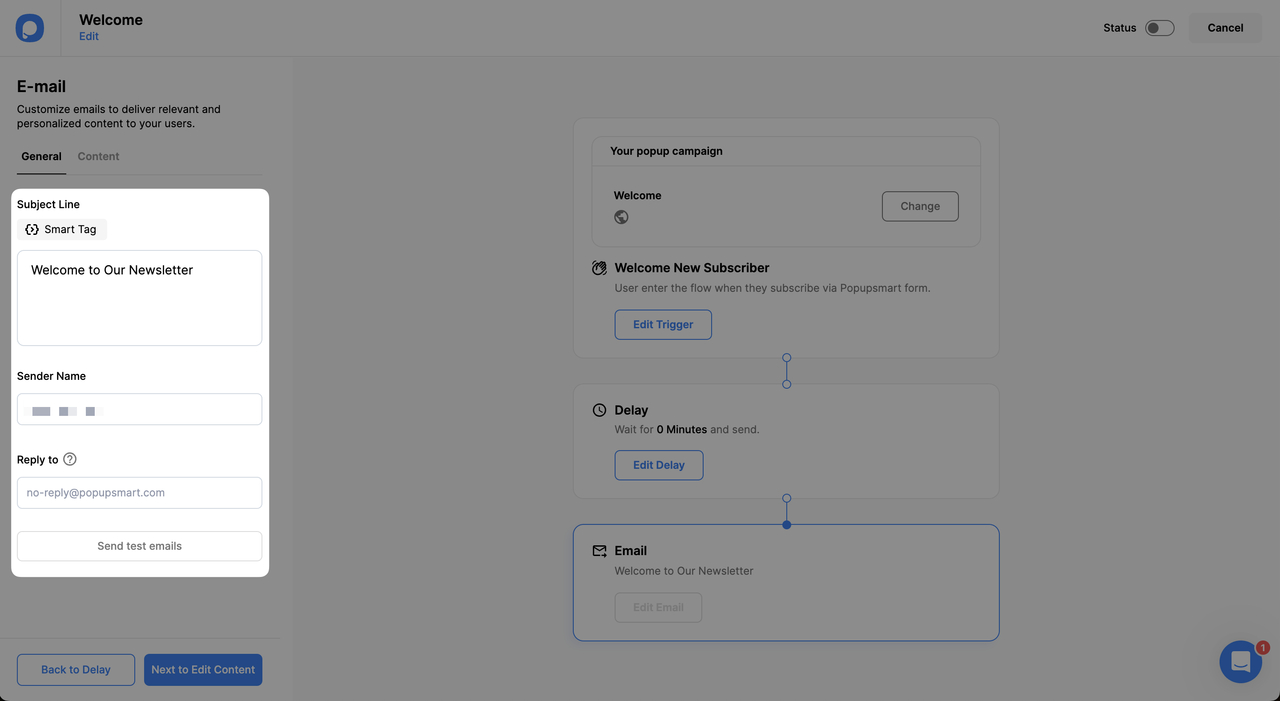
9. Enter the Sender Name, Subject Line, and Reply To Email.
- Sender Name refers to the name that will be displayed as the sender of the email. It can be a person's name or the name of your business or organization.
- Subject Line is the text that appears in the recipient's inbox as the title of the email. It should be concise and attention-grabbing to encourage recipients to open the email.
- Reply-to email is the email address where recipients can send their replies or inquiries. It is the email address that will receive any responses or replies from the recipients of the email.
10. Go to Content and customize your email by adding the coupon code you want to send and including the customer's name for personalization. Please refer to How to Customize Your Email’s Content document for detailed information.

11. Before saving and publishing the email automation, send a test email to yourself or any other interested person.

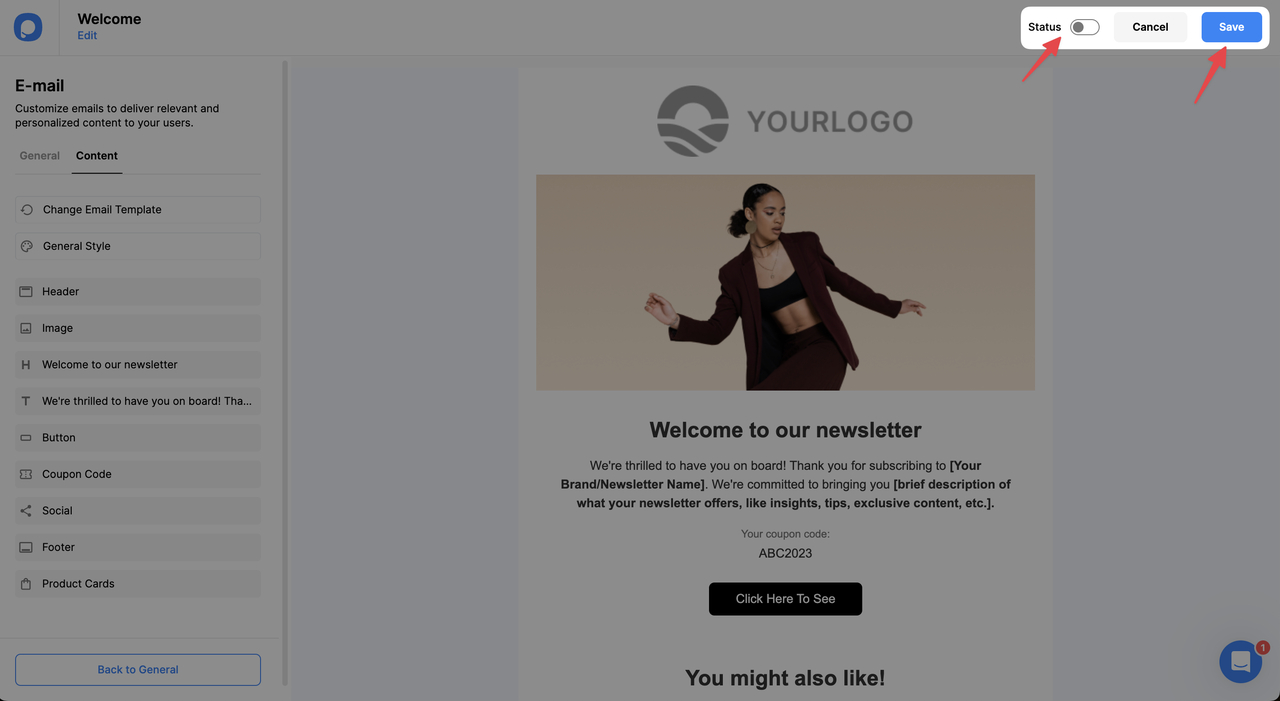
12. Click Save and open the Status toggle.
💡 If you want to test the email automation on live please refer to the Testing Email Automation on Live page.
