How to Export Images from Shopify Store in 2026
Explains ways to export Shopify product images: manual downloads, third‑party apps (Mega Media Exporter, Store Images Management, Filey) with key features/pricing, or bulk via Chrome extension; includes FAQs on formats, spreadsheets, and automation.
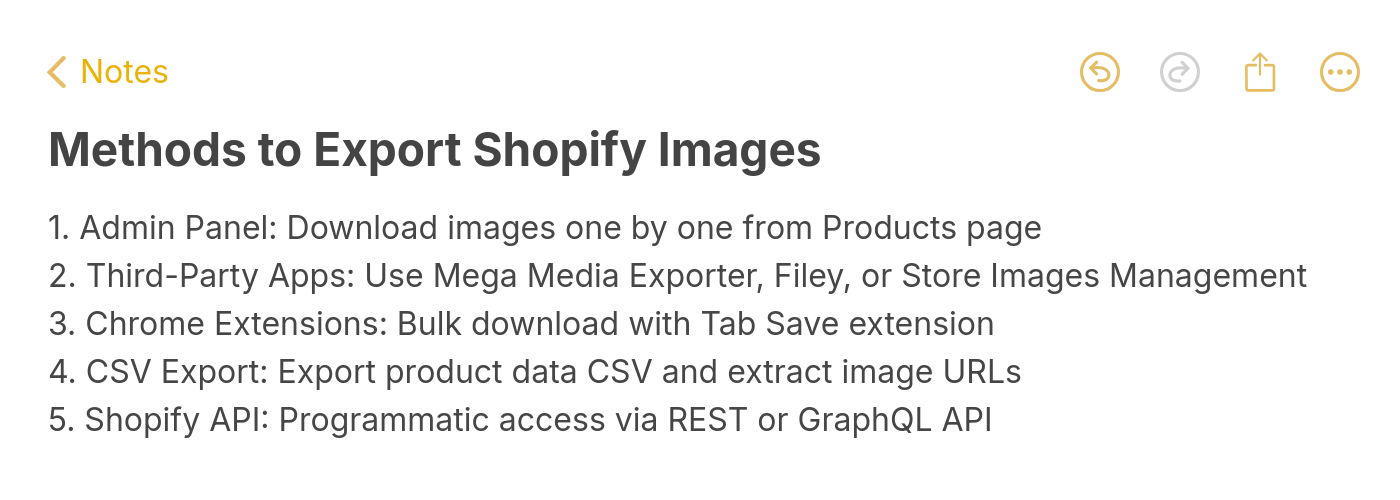
To export images from your Shopify store, you can use five methods: downloading manually from your admin panel, exporting product data as a CSV file with image URLs, installing third-party apps like Mega Media Exporter, using Chrome extensions for bulk downloads, or pulling images through the Shopify API. Each method works best for different store sizes and technical skill levels.
What'll you need for this guide:
• Access to your Shopify admin panel (store owner or staff account)
• A spreadsheet app like Google Sheets or Excel (for the CSV method)
• Chrome browser (for the extension method)
• Time estimate: 15 minutes to 2 hours depending on your catalog size
• Skill level: Beginner-friendly for all methods
Quick overview of the methods:
5 ways to export images from your Shopify store
1. Export images manually from your Shopify admin by right-clicking and saving individual product photos
2. Use Shopify's CSV export to extract all product image URLs in a spreadsheet, then batch-download them
3. Install a third-party app from the Shopify App Store to automate bulk image exports
4. Use a Chrome extension like Tab Save to grab all visible images from any page in seconds
5. Download from the Shopify Files section using tools like Matrixify for non-product assets
Why Do You Need to Export Images from Your Shopify Store?
Exporting product images from Shopify isn't something most store owners think about until they actually need it. And then it feels urgent. I've worked with e-commerce teams who lost weeks of work because they didn't have a reliable backup of their product photography.
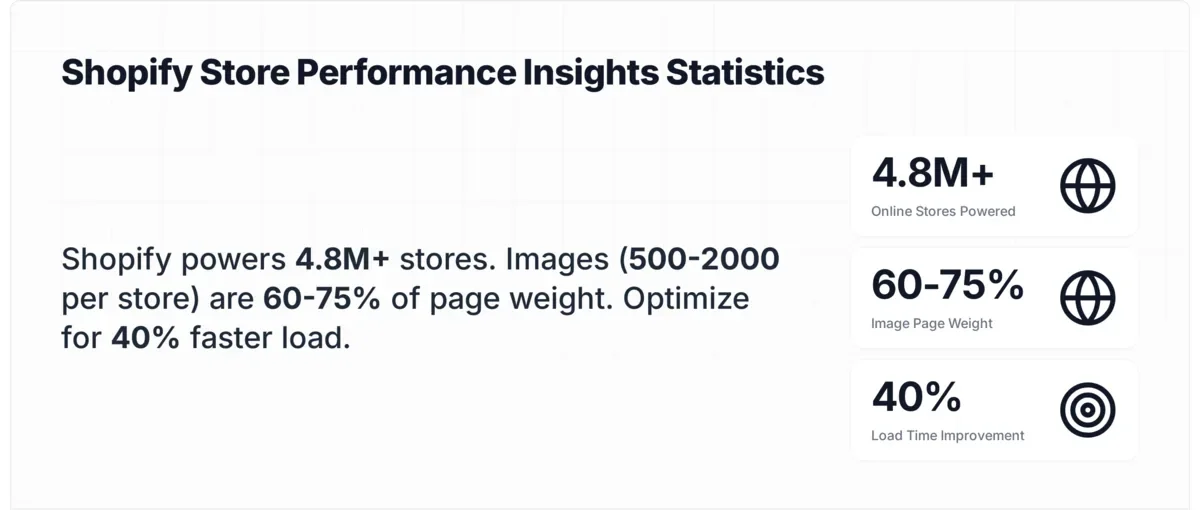
The most common reasons you'd want to export Shopify product images include migrating to a new platform, creating offline backups, repurposing product photos for social media campaigns, or sharing assets with wholesale partners. According to Red Stag Fulfillment, Shopify now powers an estimated 4.82 million websites worldwide, and many of those stores eventually need to move or duplicate their visual assets.
Key Shopify image management statistics
If you're running a store with hundreds of products, manually saving each image isn't realistic. That's exactly why these five methods exist. Let's walk through each one so you can pick the approach that fits your situation.
Step 1: Export Images Manually from Your Shopify Admin Panel
The manual method is the simplest way to export images from your Shopify store. It requires zero apps, zero code, and works for any Shopify plan. You'll download individual product images directly from your admin dashboard by right-clicking and saving them. This is best when you only need a handful of specific images.
![]()
1. Log in to your Shopify admin at admin.shopify.com
2. Navigate to Products in the left sidebar
3. Click on the product whose images you want to export
4. Scroll down to the Media section where all product images are displayed
5. Click on the image to open it in the lightbox viewer
6. Right-click the full-size image and select Save image as...
7. Choose your download folder and click Save
8. Repeat for each image and each product variant
For variant images, click the Variants section below, then click into each variant to access its specific media files. Shopify stores variant images separately from the main product gallery.
You'll know it's working when: The saved file opens in your image viewer at full resolution. Check the file dimensions match what you originally uploaded. Shopify serves images through its CDN, so the downloaded file should be the same quality as your upload (typically JPEG, PNG, or WebP format).
Watch out for:
• Downloading thumbnails instead of originals: If you right-click directly from the product list page (not the individual product page), you'll grab a 100x100 thumbnail. Always open the product detail page first, then click the image to get the full-size version.
• Missing variant images: Shopify doesn't display variant-specific images in the main product gallery unless you scroll to the Variants section. I've seen store owners export what they think is everything, only to realize 30% of their variant photos were left behind.
• Browser caching compressed versions: If your browser has cached a smaller version, try opening the image in an incognito window or clearing your cache first.
Step 2: Export Shopify Product Images Using the CSV Method
Shopify's built-in CSV export gives you a spreadsheet containing every product's image URL. You don't get the actual image files directly, but you get a clean list of CDN links that you can batch-download using free tools. This is the most reliable method for medium-sized stores because it pulls data straight from Shopify's database.
As stated in Shopify's official documentation, you can export your products to a CSV file to create backups, move products to a new store, or edit them in bulk using a spreadsheet. The CSV includes an Image Src column containing direct URLs to each product image.
1. Go to Products in your Shopify admin
2. Click the Export button in the top-right corner
3. Choose your export scope:All products, Current page, or Selected products
4. Select CSV for Excel, Numbers, or other spreadsheet programs as the format
5. Click Export products and wait for the email confirmation (large catalogs can take 5-10 minutes)
6. Open the CSV in Google Sheets or Excel
7. Find the Image Src column (usually column AC) containing all image URLs
8. Copy all URLs from that column into a batch downloader tool or use a simple curl command in your terminal
For the terminal approach, save your URLs to a text file (one per line) and run: xargs -n 1 curl -O < urls.txt
As ReportPundit notes, you should filter before export whenever possible and use the CSV as a source file rather than your final spreadsheet. This keeps things manageable, especially for stores with 1,000+ products.
You'll know it's working when: Your CSV file contains populated Image Src entries that start with https://cdn.shopify.com/. Paste one URL into your browser. It should load the full product image immediately. If the column is empty for some rows, those products don't have images assigned.
Pay attention to:
• Multiple images per product appearing on separate rows: Shopify creates one CSV row per image. A product with 5 photos generates 5 rows where the product title is blank on rows 2-5 but the Image Src column is filled. Don't delete those "blank" rows.
• Export timeouts on large catalogs: Stores with 10,000+ products sometimes hit export limits. Filter by collection or product type first, then export in batches. If the export still fails, check Shopify's export troubleshooting guide for workarounds.
Step 3: Install Third-Party Apps for Bulk Image Export
If you want a one-click solution to export images from Shopify, third-party apps from the Shopify App Store handle the heavy lifting. These apps scan your catalog, collect all product images, and package them into downloadable ZIP files. They're the best option for non-technical users who need reliable bulk exports.
Before installing any app, spend a few minutes reading reviews, checking the last update date, and confirming the app actually exports image files (not just URLs). Some apps haven't been updated since 2024, and Shopify's API changes can break older integrations.
Mega Media Exporter
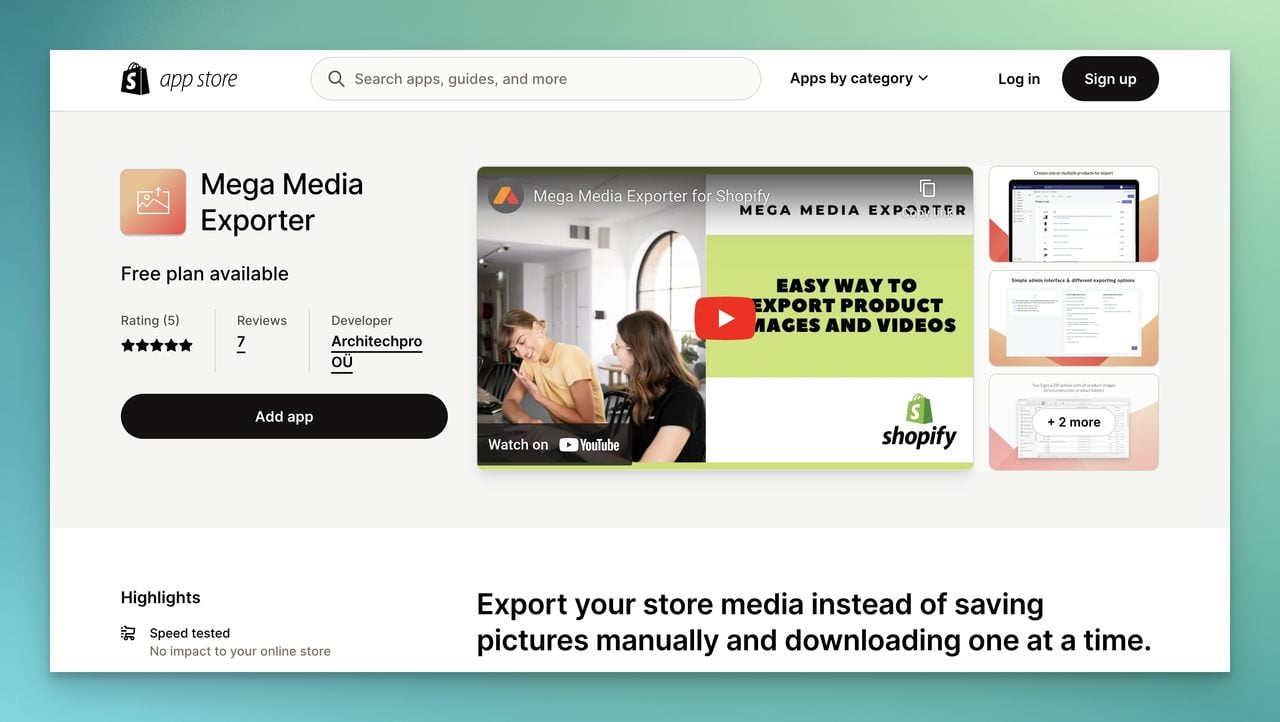
Mega Media Exporter scans your entire store and collects all images (JPG, PNG, WEBP, JPEG) from every product or a selection you define. It organizes them in a single catalog for easy download. The app also handles video exports for stores with product videos.
Pricing:
• Demo: Free for up to 10 products (images) and 2 products (videos)
• Basic: $29.99/month for up to 100 products
• Professional: $49.99/month for up to 1,000 products
• Enterprise: $199.99/month for unlimited products
Store Images Management
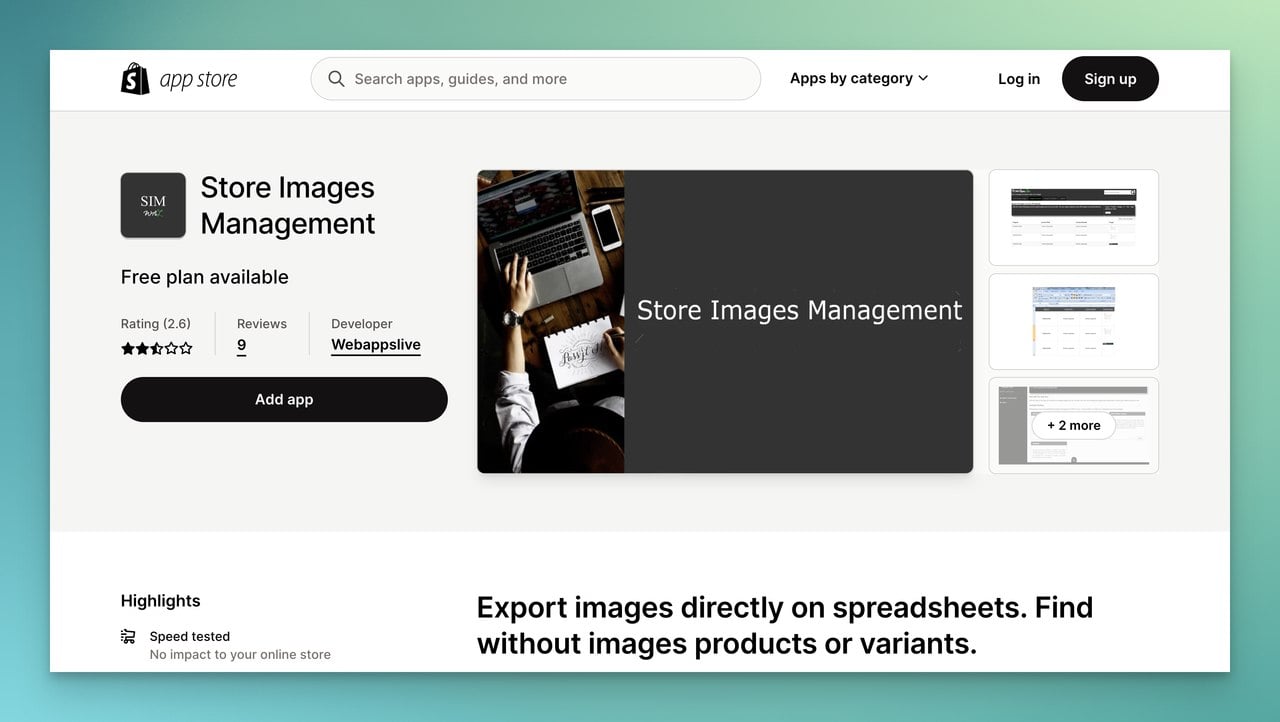
Store Images Management lets you find and export product images to Excel files, delete images in bulk using tick boxes, and identify products or variants with missing images. It's particularly useful if you need a spreadsheet-based workflow for your team.
Pricing:
• Free tier: View image, product, and variant records on the app screen
• Basic: $2.09/month for Excel exports, image finding, and bulk deletion
Filey - Files Backup and Export
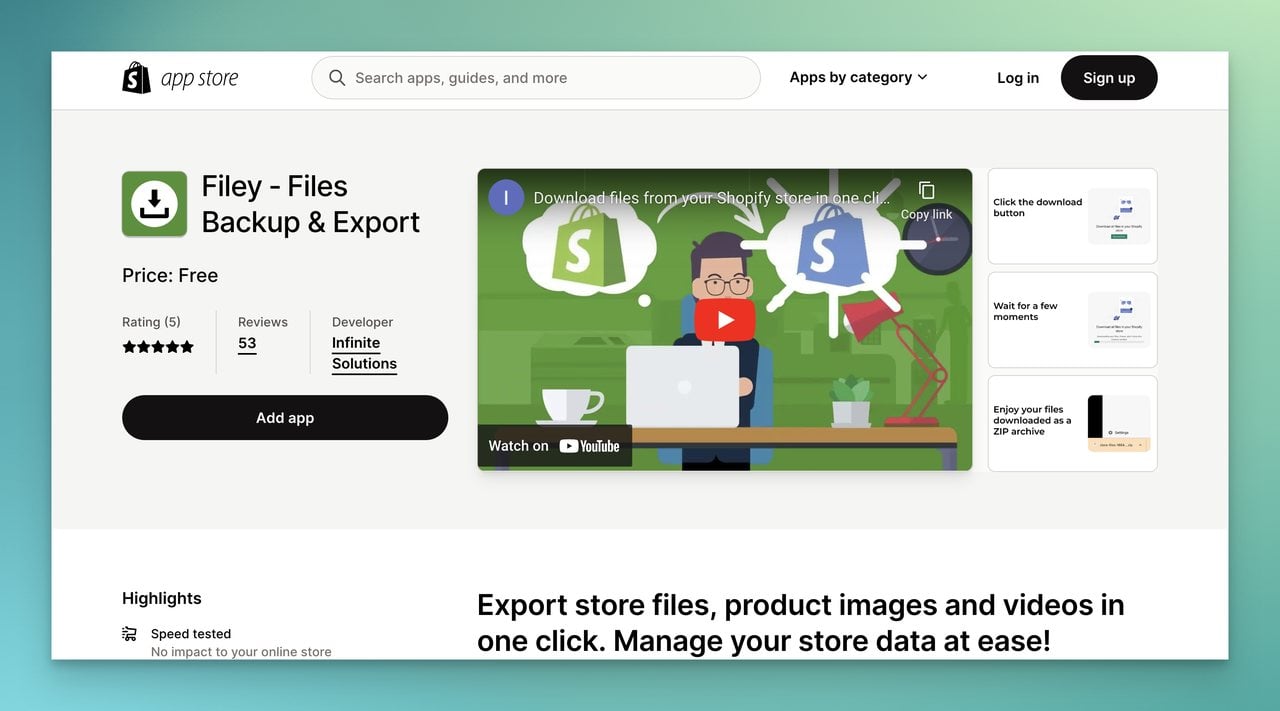
Filey is a free tool that exports your Shopify store files, product images, and videos in one click. It downloads everything stored in the Settings > Files section while keeping original filenames intact. This means you can upload these files to a new store without modifying your theme references.
Pricing: Free
Watch out for:
• Apps that export URLs instead of files: Some apps labeled as "image exporters" only give you a spreadsheet of URLs, not actual downloaded files. Read the app description carefully before installing.
• Outdated apps with broken functionality: Check the "Last updated" date on the app listing. If it hasn't been updated in 12+ months, there's a real chance it won't work correctly with the current Shopify API version. I've wasted time installing apps that looked promising but crashed on the first export.
Pro tip: Before committing to a paid app, test the free tier or demo with a small product set.
Step 4: Bulk Export Images Using a Chrome Extension
Chrome extensions offer the fastest way to grab all visible images from any Shopify page without installing Shopify apps or writing code. They work by scanning open browser tabs and downloading every image they find.
1. Install the Tab Save or similar extension from the Chrome Web Store
2. Log in to your Shopify admin page
3. Navigate to Products and open the product whose images you want
4. Click the Tab Save icon in your Chrome toolbar
5. The extension will list all image URLs found on the current page
6. Filter the list to include only product images (exclude Shopify UI icons and logos)
7. Click Download to save all selected images at once
8. For multiple products, open each product page in a separate tab, then use Tab Save's multi-tab scanning feature
One user shared their experience with Tab Save: "Needed to download 500+ images from a list. This extension worked perfectly. Took no time at all."
If you're looking for ways to optimize your Shopify collection image sizes after exporting, proper sizing can significantly improve your store's load time and conversion rates.
You'll know it's working when: Tab Save displays a list of image URLs in its popup panel. You should see URLs containing cdn.shopify.com or cdn.prod.website-files.com. After downloading, check your Downloads folder for the image files.
Pay attention to:
• Downloading every image on the page, including icons: Tab Save grabs all images, not just product photos. You'll get Shopify's admin UI icons, your logo, payment badges, and other non-product images mixed in. Filter the URL list before downloading to save cleanup time.
• Extension permissions and security: Some image download extensions request broad permissions to read all your browsing data. Stick with well-reviewed extensions that have 10,000+ users and check the permissions before installing. Tab Save has over 100,000 users and a solid review history.
Pro tip: For stores with 100+ products, open product pages in batches of 20 tabs at a time. Chrome starts getting sluggish beyond that on most machines with 8GB RAM. I process exports in batches and rename the download folders by collection name to keep everything organized.
Step 5: Download Images from the Shopify Files Section
The Shopify Files section (Settings > Files) stores images and media that aren't tied to specific products, like banners, logos, lifestyle photos, and marketing assets. If you need these files, the standard product export methods won't include them. You'll need a different approach.
According to GemPages Help Center, Shopify allows users to export uploaded images and files from the gallery, though the process isn't as straightforward as product exports.
1. Go to Settings > Files in your Shopify admin
2. You'll see all uploaded files listed with their URLs, sizes, and upload dates
3. For small batches: click each file, right-click the preview, and save locally
4. For bulk exports: install Matrixify from the Shopify App Store
5. In Matrixify, select Files as the export type
6. Export to Excel/CSV format, which gives you a spreadsheet of all file URLs
7. Use the URL list with a batch downloader or terminal command to download all files
For the terminal method, save all URLs to a file called files.txt and run: xargs -n 1 curl -O < files.txt
You'll know it's working when: The Matrixify export generates a spreadsheet with file URLs. Each URL should be accessible in your browser and return the correct image. Downloaded files should match the original filenames from your Shopify Files section.
Watch out for:
• Confusing Files section with Product images: The Files section only contains media uploaded through Settings > Files. Product images uploaded through the Products page are stored separately and won't appear here. You need the CSV method (Step 2) or an app (Step 3) for product images.
• Hitting Shopify API rate limits on large exports: If your Files section has thousands of items, batch your downloads to avoid getting temporarily blocked. Space out requests by adding a 1-second delay between downloads.
Pro tip: Before running any export from the Files section, I always sort by "Newest first" and cross-reference with my theme's asset references. This tells me which files are actively used versus leftover from previous themes.
How to Preserve Original Image Quality During Export on Shopify
One question I see constantly in Shopify Community forums is whether exported images match the originals. The short answer: it depends on your method.
Shopify applies automatic compression when serving images through its CDN. The original files you uploaded are stored, but what visitors (and many export methods) receive is a compressed version. This compression typically reduces file size by 20-40% while maintaining visual quality at standard viewing sizes.
To get the closest-to-original files:
• Use the CSV method and look for URLs without size parameters (remove any _small, _medium, or dimension suffixes from the URL)
• Use Filey or Mega Media Exporter, which specifically claim to access original uploads
• Download from the admin panel directly, clicking into each image's full view
Best practices checklist for exporting Shopify images
Proper image optimization for conversion rates matters even after export. If you're moving images to a new platform, take the opportunity to audit your product photography quality at the same time.
Now You Can Export Your Shopify Images
You now have five tested methods to export images from your Shopify store. For most store owners, I'd recommend starting with the CSV export method (Step 2) because it's free, reliable, and gives you a reusable workflow. If your catalog is large enough that manual downloading feels painful, move to an app like Filey for a zero-cost solution or Mega Media Exporter for more control.
Before you start, back up your product data from Products > Export as a safety net. This takes 30 seconds and saves you from potential headaches down the line.
Looking for more ways to optimize your Shopify store? Check out our guide to the best Shopify apps to increase sales and conversions, or explore proven Shopify marketing strategies to drive more traffic to your store. If you're setting up new products, our walkthrough on adding featured products to your Shopify store covers the complete setup process.
Frequently Asked Questions
Can I Export Shopify Images in CSV Format?
Shopify's CSV export includes image URLs, not the actual image files. When you export products as CSV, the Image Src column contains CDN links pointing to each product image. You can open these URLs in your browser to view or download individual images, or use a batch downloader to grab them all at once. This method gives you a structured spreadsheet that's useful for managing product variants and their associated images.
How Can I Automate the Image Export Process in Shopify?
You can automate Shopify image exports by using apps like Filey that offer scheduled backup features, or by writing a script that uses the Shopify Admin REST API's Product Image endpoint. The API lets you programmatically pull image data for any product. For non-developers, the simplest automation is setting a monthly calendar reminder to run the CSV export method, which takes about 15 minutes once you've done it the first time.
How Do I Bulk Download Files from Shopify?
For product images, use the CSV export method combined with a batch downloader. For files stored in Settings > Files (banners, logos, theme assets), install Matrixify to export all file URLs to a spreadsheet, then batch-download them. If you have terminal access, save the URLs to a text file and use xargs -n 1 curl -O < urls.txt to download them all. This approach handled a 4,000-file export for one of the stores I worked with in under an hour.

How would you rate your experience with this article? 😊