
Boost Customer Loyalty Using Smart Tags on Your Campaigns
Smart Tags are specifically formatted texts that help display dynamically changing texts on popup campaigns based on user data.
Smart Tags help personalize and personalized messages increase customer loyalty more than generic marketing messages on popup forms because they help 20% increase revenue for businesses.
Here are a few creative ways to boost your brand's customer loyalty using Popupsmart's Smart Tags on your campaigns.
1. Welcome Messages for New Shoppers
Believe us welcoming new visitors by addressing them by name has never been easier.
This will ensure a sincere start and loyalty. To do that on your campaign, follow the simple steps below.
Step 1: Sign in to your Popupsmart account and create a new campaign.

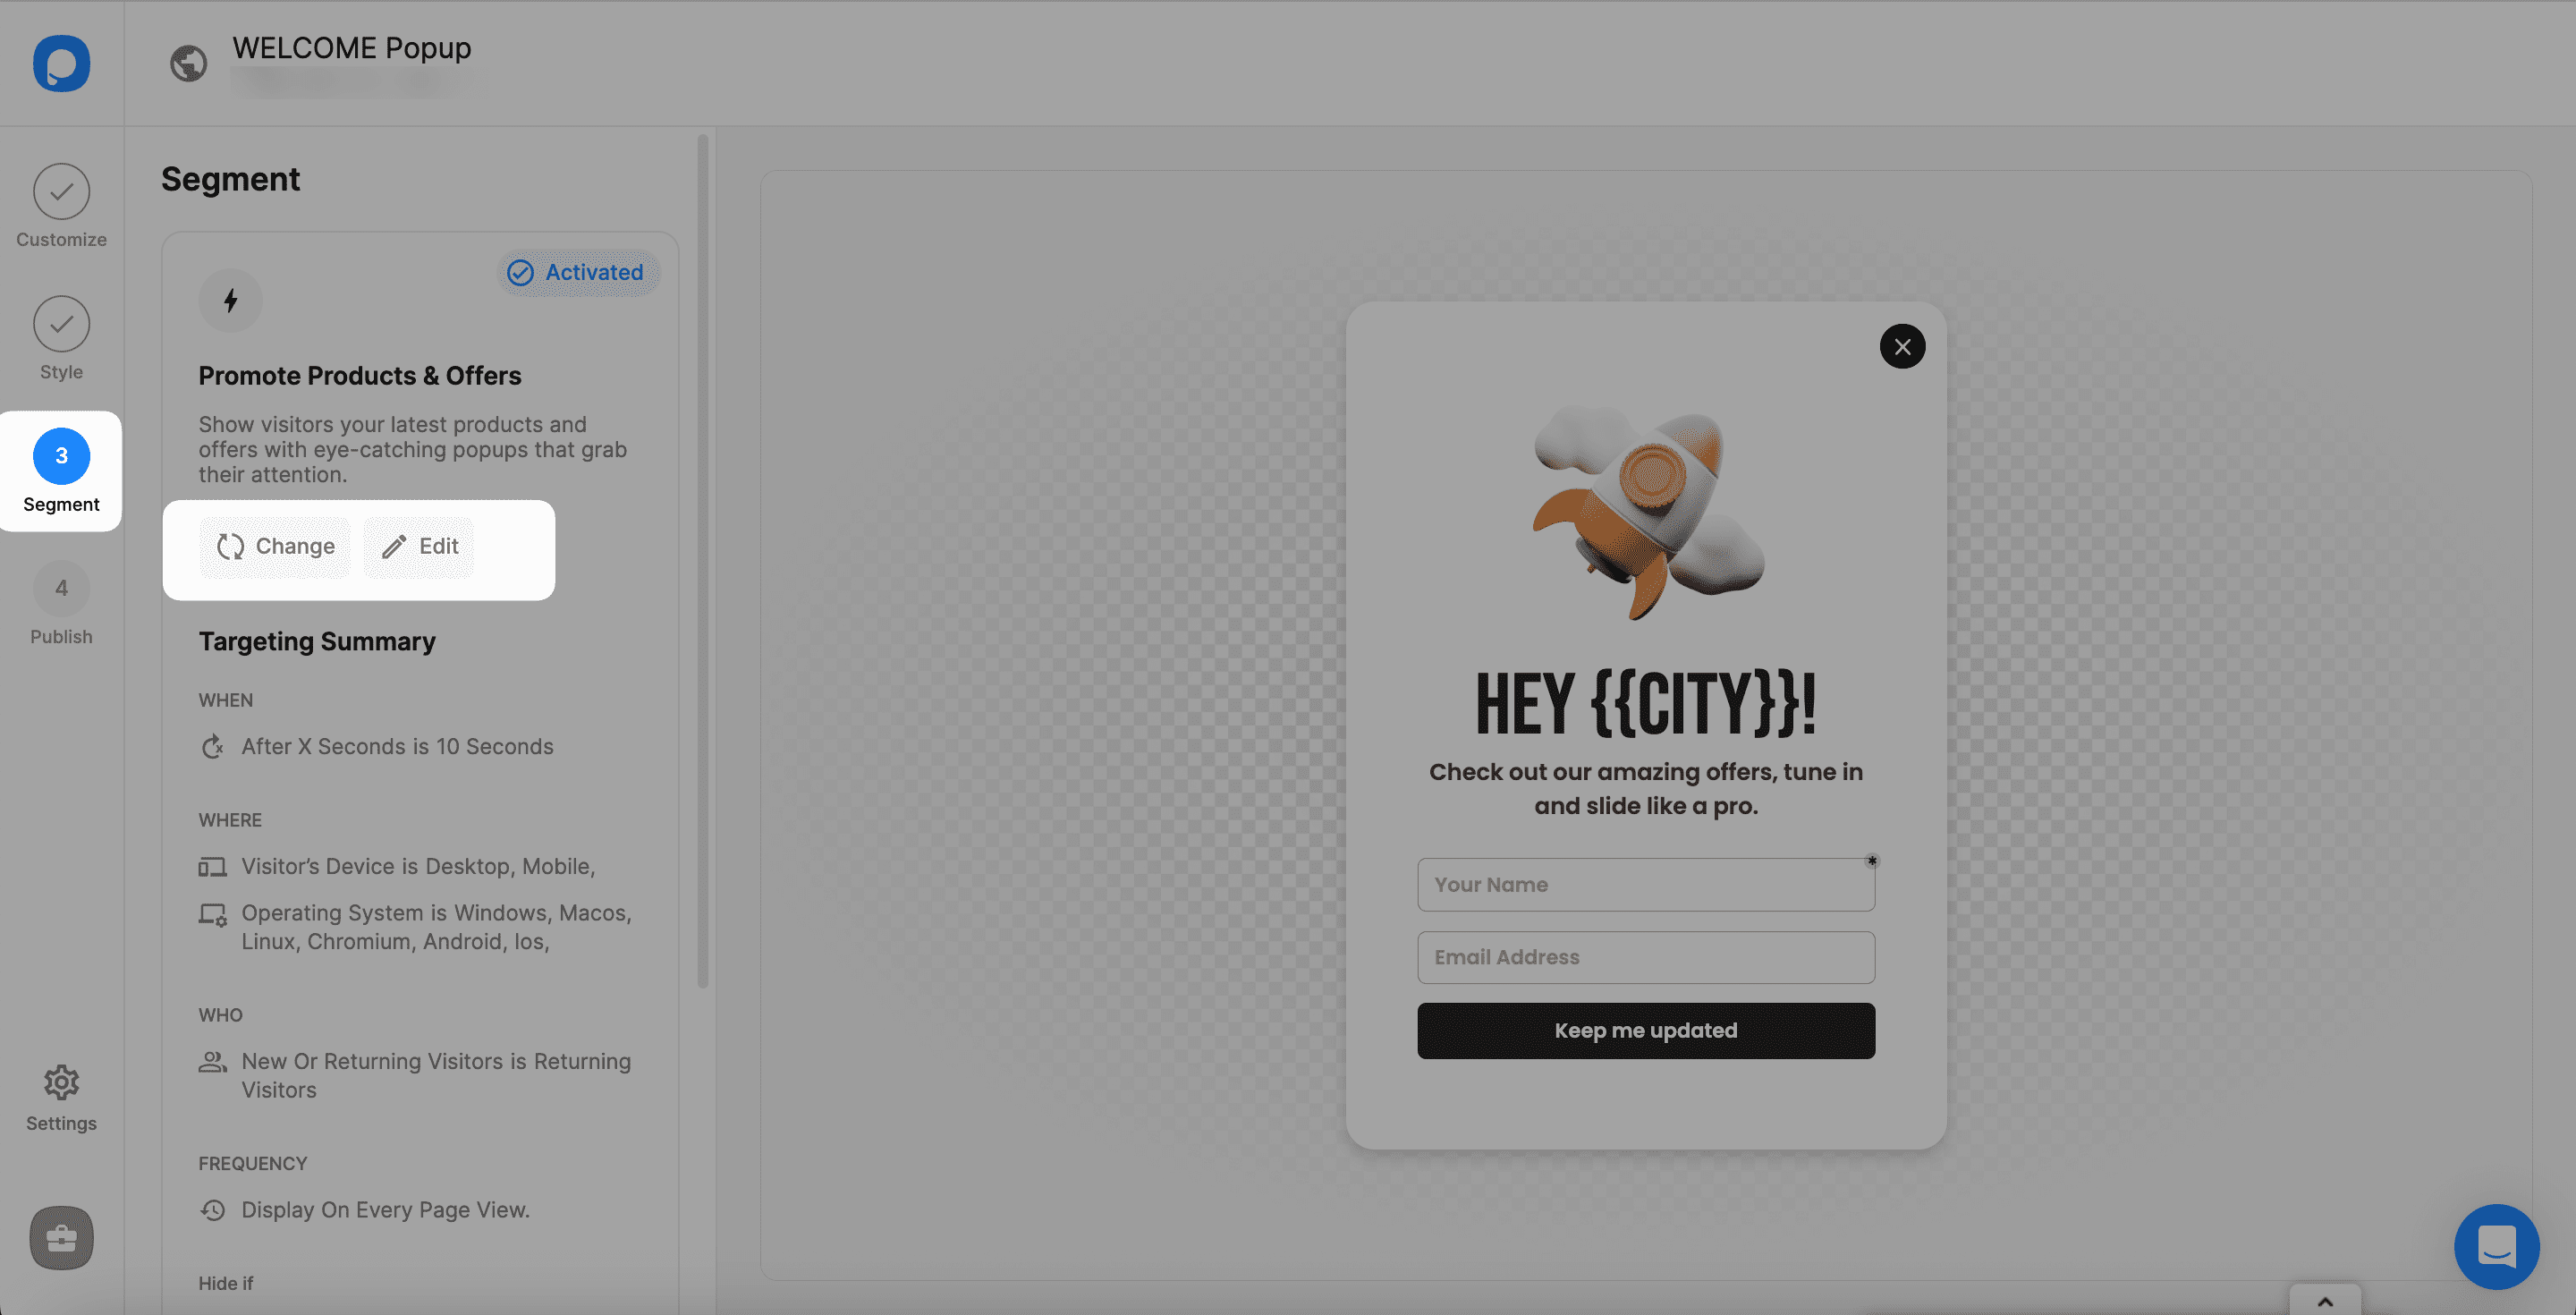
Step 2: On the Customize step, choose the Text element you want to personalize with a Smart Tag. Then, click the {>} icon to add a Smart Tag.
You can easily choose from the options we provide.

Also, it's possible to arrange a value if the target value is empty. You can click the Smart Tag in the text field to write the value you want to display.
Step 3: Next, on the Segment step, click to change or edit the current segment.
Step 4: Now, you need to choose "New Visitors Welcome" on the Connect with Visitors tab.
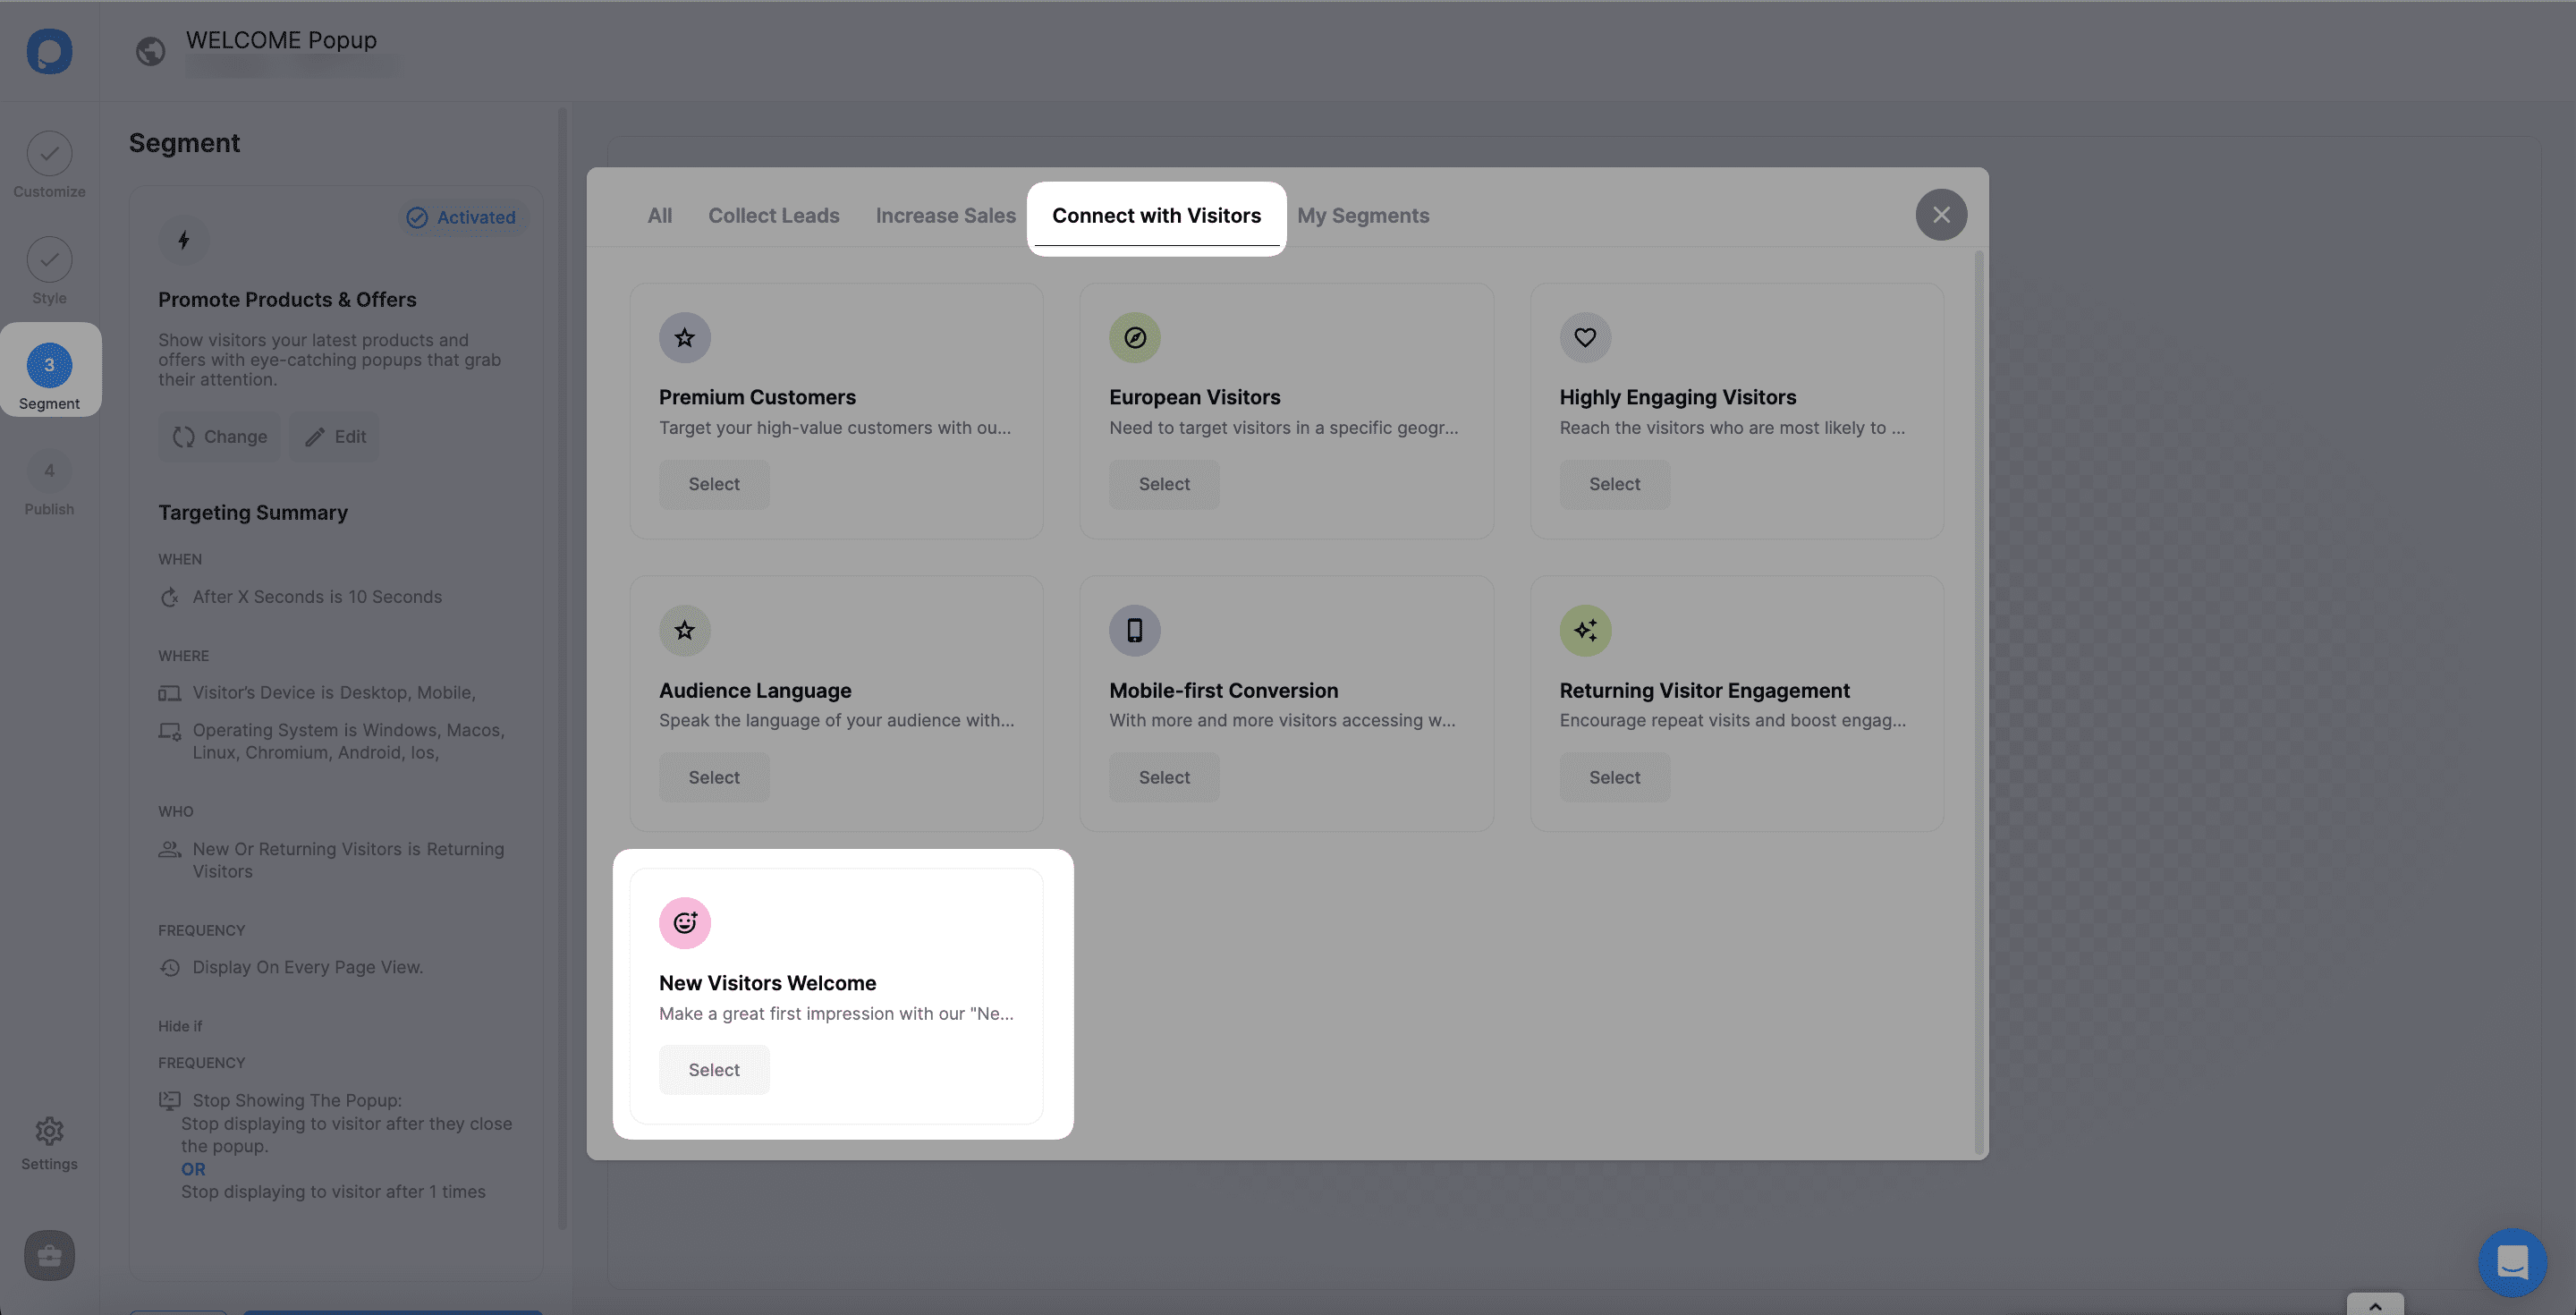
Yes! Your essential details to welcome your new visitors are set up!
If you wish to specialize your campaign, you can add integrations or set up respondent email notifications in the Settings section on the left sidebar.
Now, you are ready to publish your personalized campaign with Popupsmart's Smart Tags.
2. Address a Country-Specific Target Audience
Some campaigns might be specific to some regions.
It's an excellent tactic to maximize customer loyalty for a specific spot.
In that case, after configuring the little details as you like, you can follow the steps below:
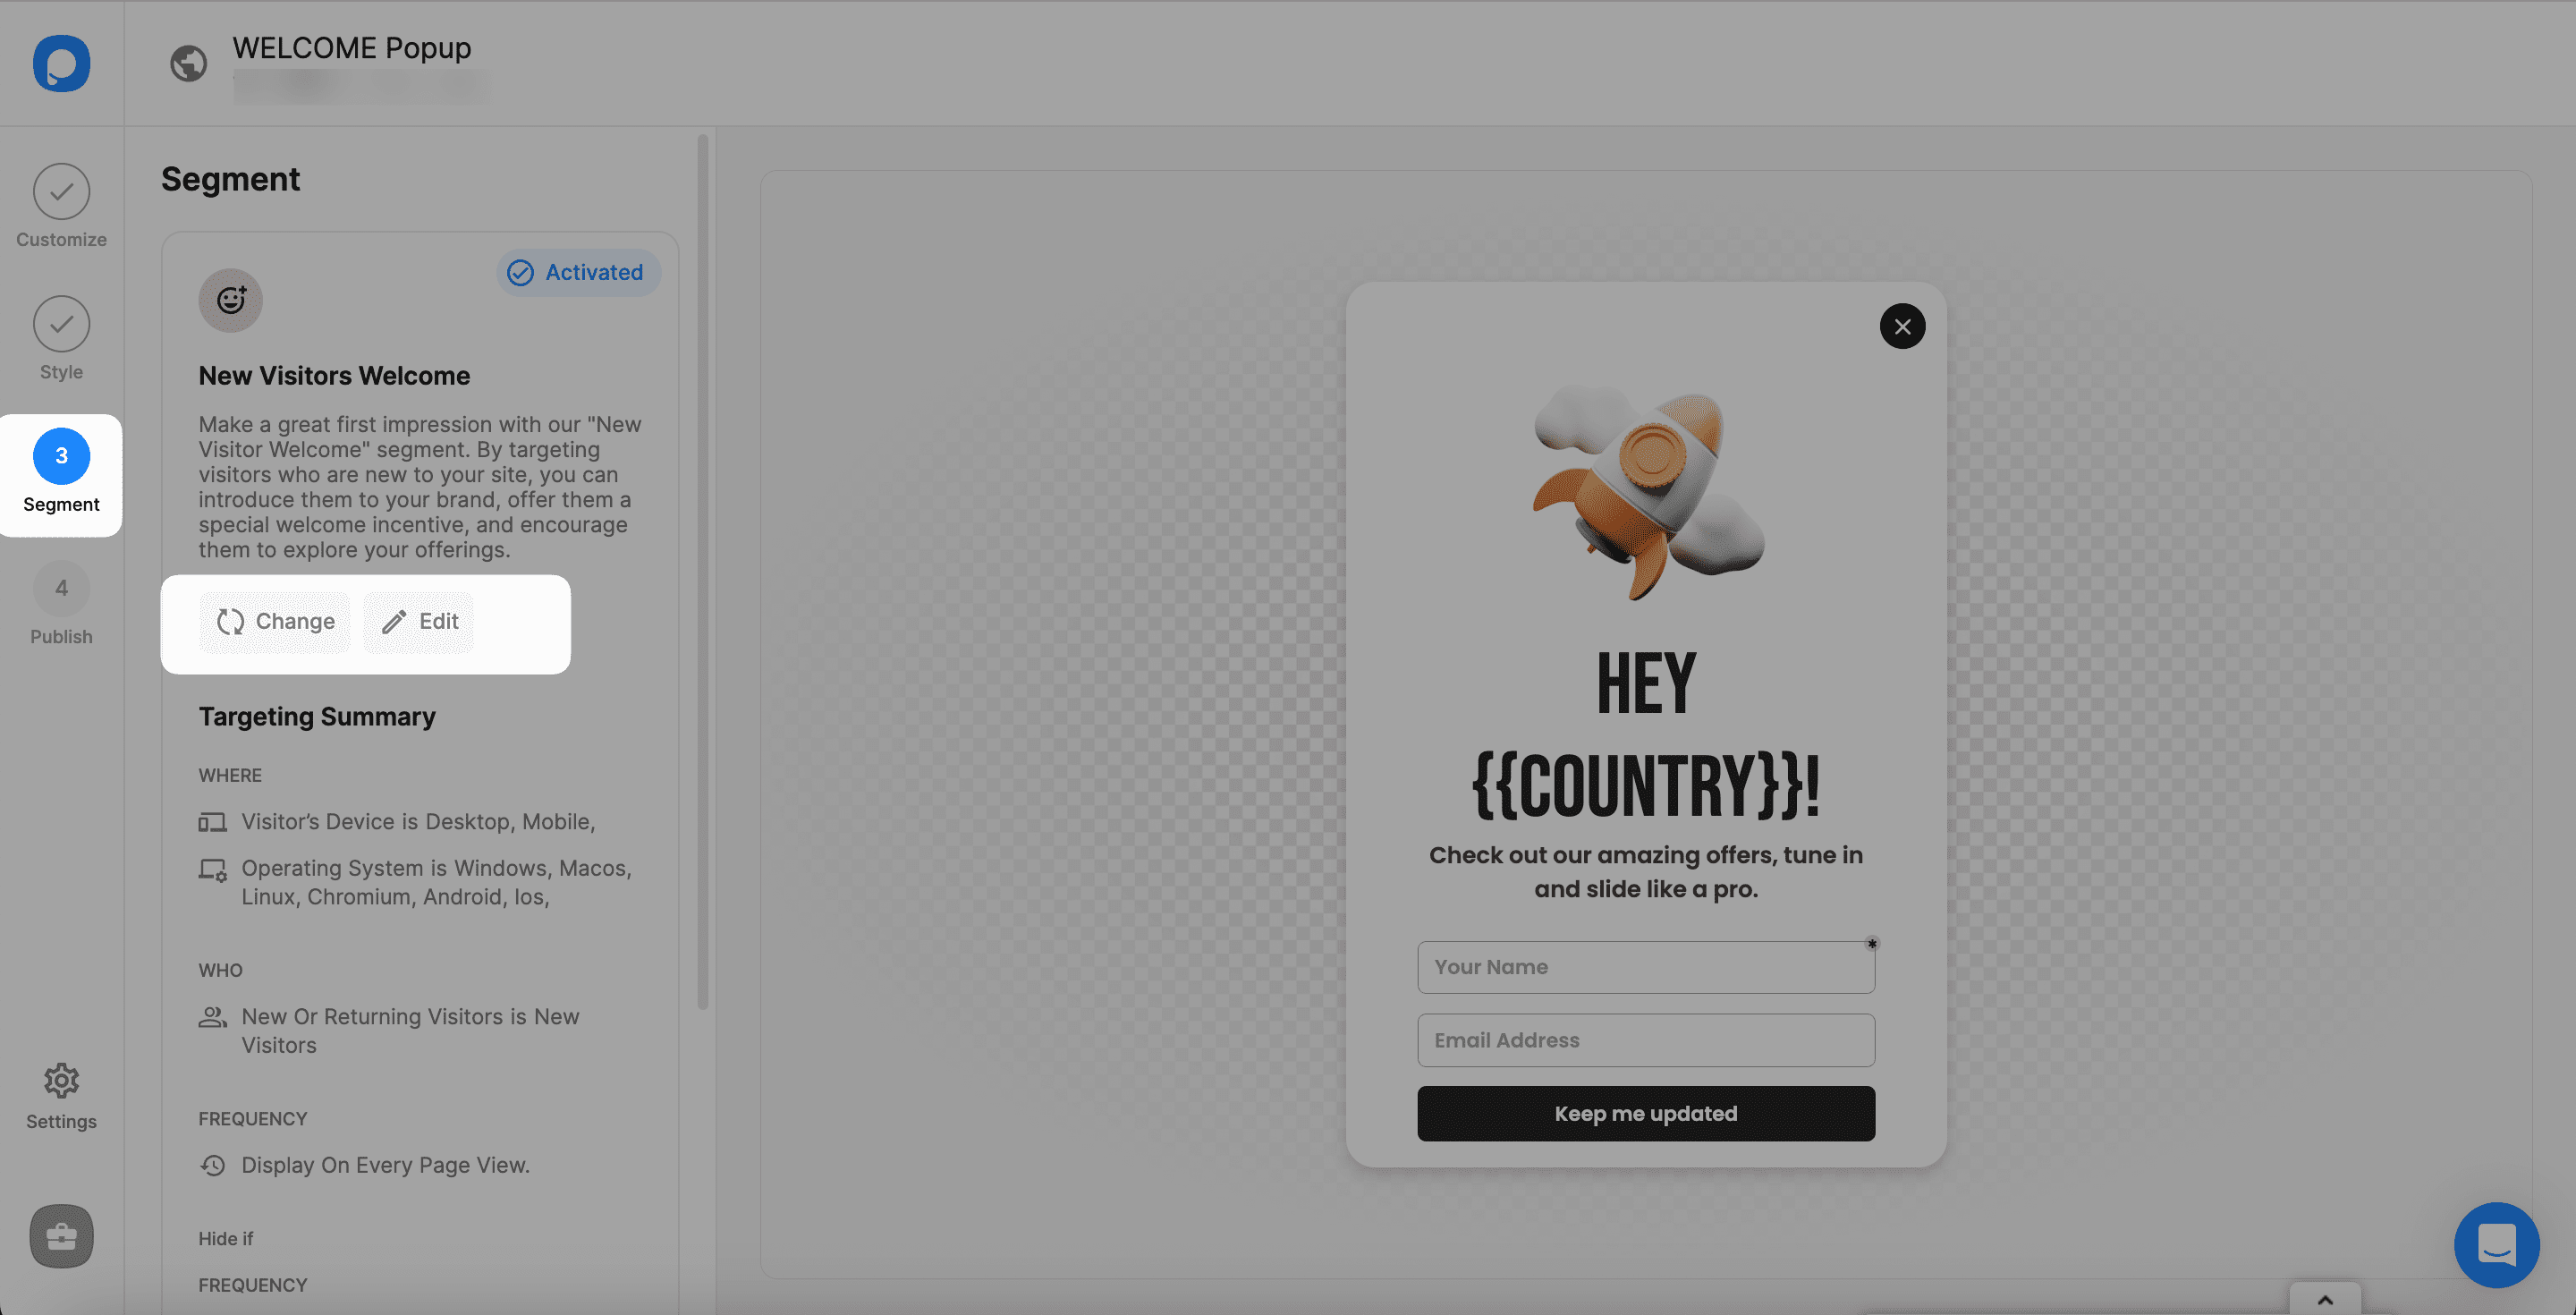
Step 1: Click on the Text element that you will include the country, and then click the {>} icon for the Smart Tag.

You can find the Country under the System category and add it.
You can arrange the condition if the value is empty by clicking on the Smart Tag itself.
Step 2: For the geo-location targeting, change or edit the current segment on the Segment step.
Step 3: In the Audience section, you need to add Geo-Location Targeting and customize it for a specific region.

You can add multiple geo-location targeting and arrange the location by choosing "Show in these locations" or "Don't show in these locations."
Lastly, you can save and publish it for your visitors in a specific location.
If you feel stuck creating your awesome popup, feel free to contact us and let us find the answers for you!


