What is HTML Element in Popupsmart?
Learn how to add custom HTML, CSS, and JavaScript to your popup using the HTML Element. Step-by-step guide for embedding third-party widgets, forms, and schedulers.
The HTML Element lets you place custom HTML, CSS, and JavaScript directly inside your popup. It's designed for cases where you want to embed a third-party widget (like a scheduler or form) or build a custom layout that isn't available through native Popupsmart elements.
Security Note
Any JavaScript you add here will run on your website. Only paste code from sources you trust.
When to Use the HTML Element
Use the HTML Element when you need:
- A third-party embed (scheduler, form, chat, review widget, etc.)
- A custom layout built with HTML/CSS
- A snippet from another platform that requires script tags
- Device-specific embeds (different markup for desktop vs mobile)
Step-by-step: Add HTML to Your Popup
Add the HTML Element to your popup
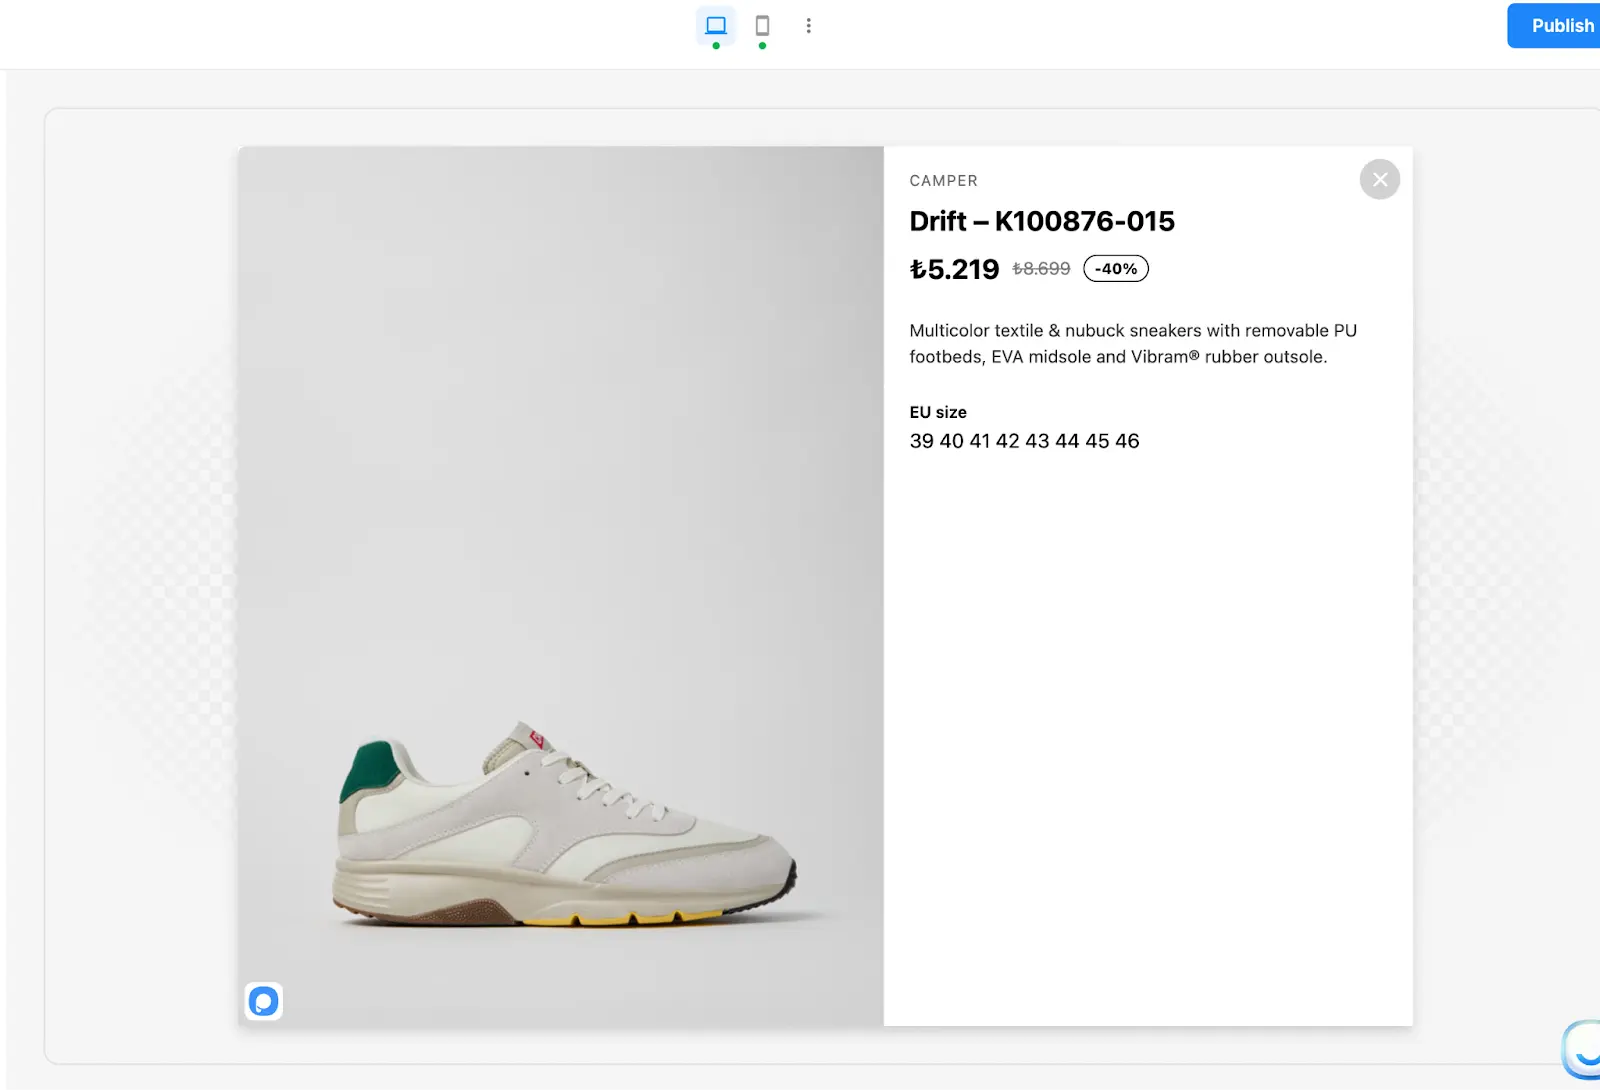
- Open your popup in the Customize view.
- Find the Content Elements list.
- Select HTML Element to add it to your popup canvas.
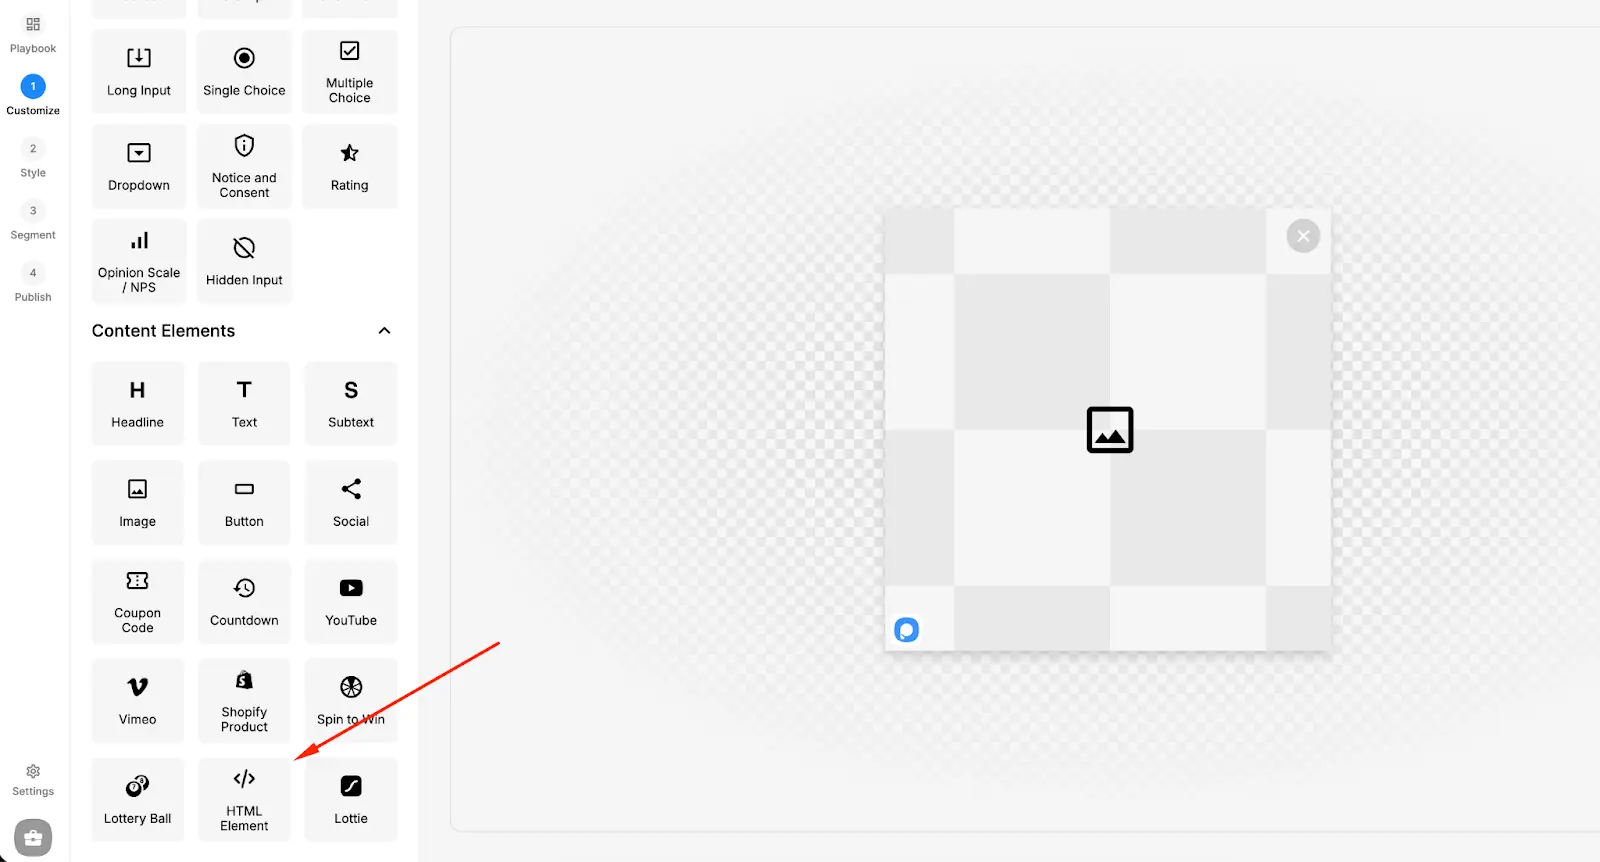
Once added, the element appears as a block in your popup that you can click to edit.
Open the HTML Editor
- Click the HTML Element on the canvas.
- Click HTML Editor.
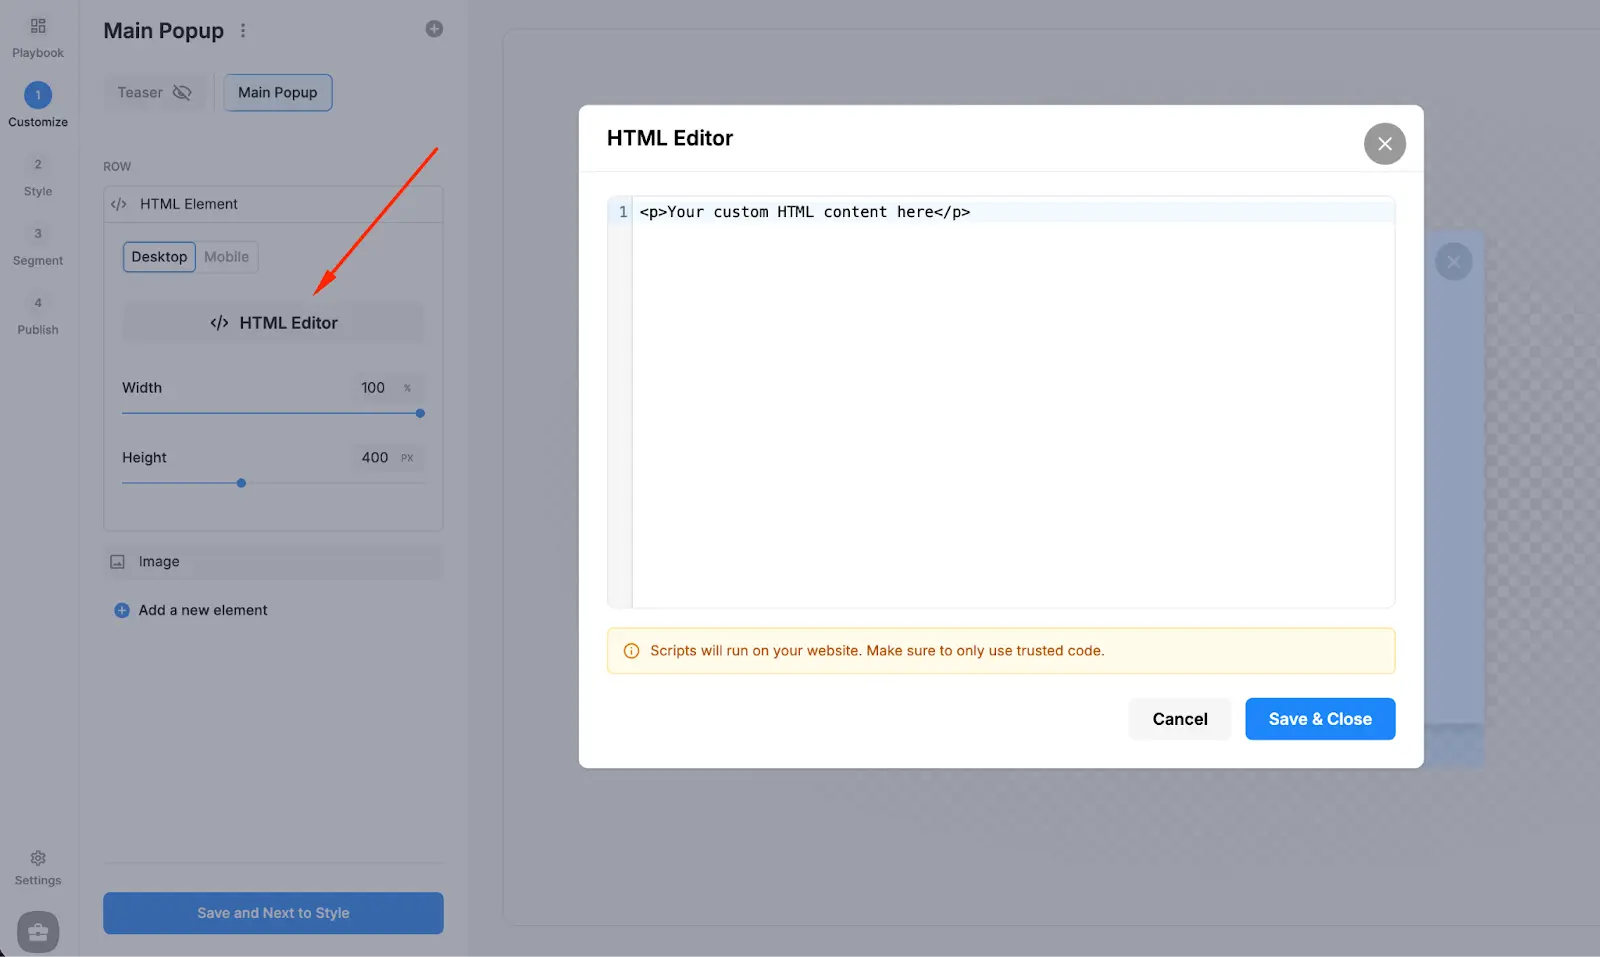
This opens the editor modal where you can paste and manage your code.
Paste your HTML (and optional CSS/JS)
Paste your code into the editor field.
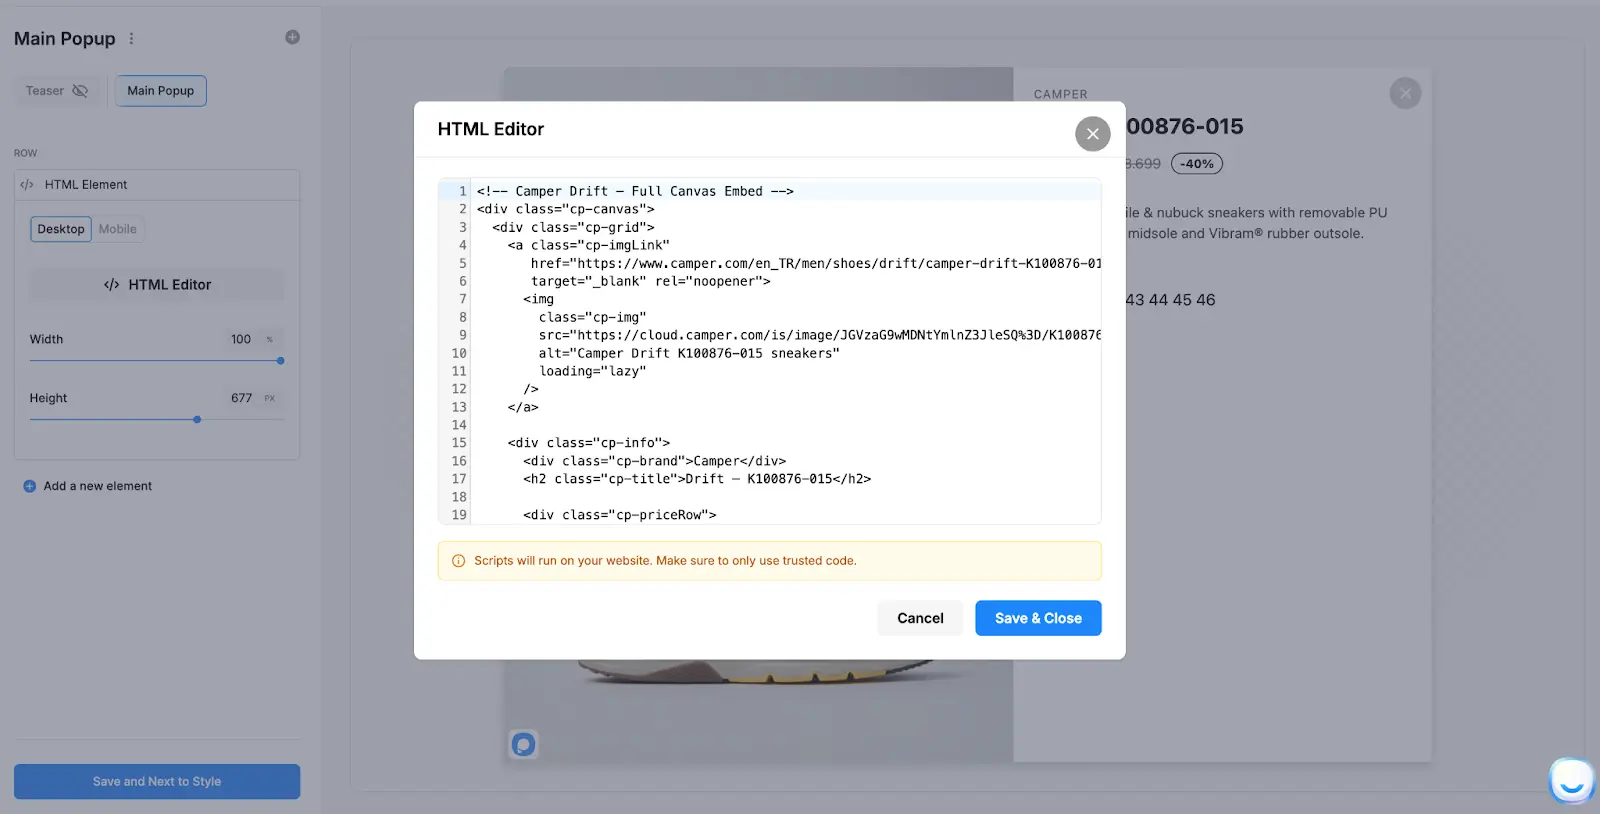
You can typically include:
- HTML markup (divs, headings, buttons, etc.)
- Inline CSS (style attributes or
<style>blocks) - Script tags (when required by third-party widgets)
Click Save & Close to apply the content to your popup.
Tip
If you're embedding third-party tools, use the provider's official "embed code" and paste it as-is.
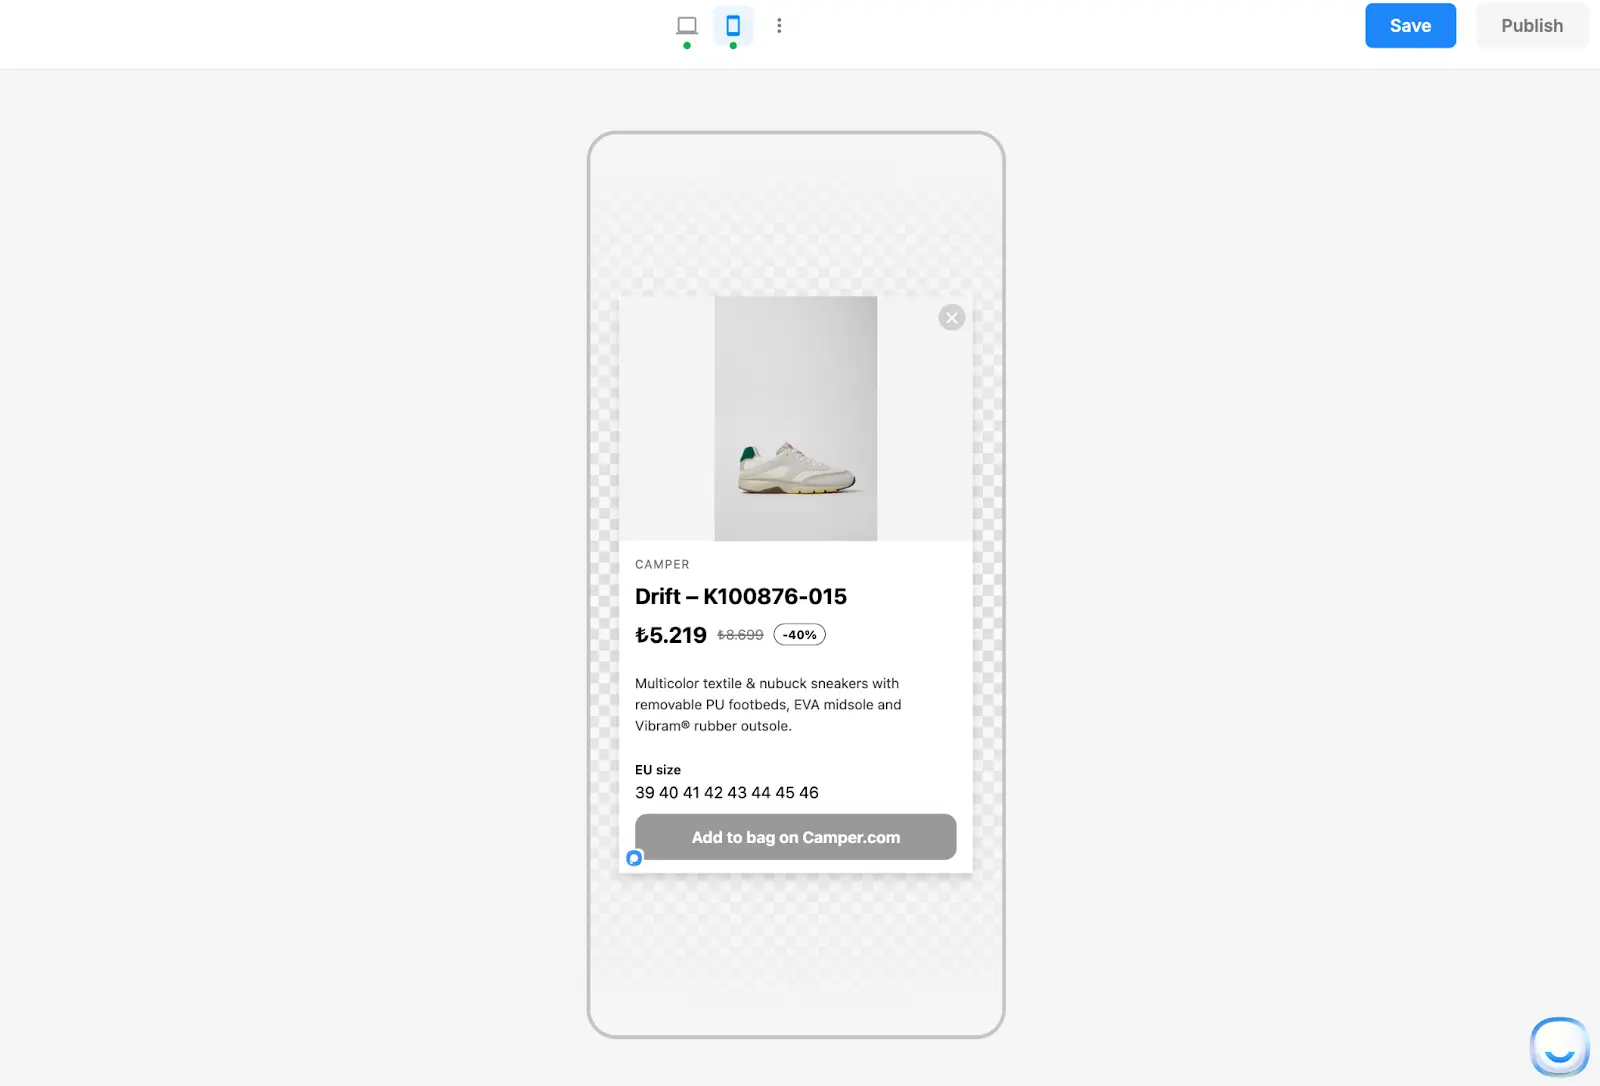
Set Width and Height for a clean fit
After adding your code, adjust the element sizing controls:
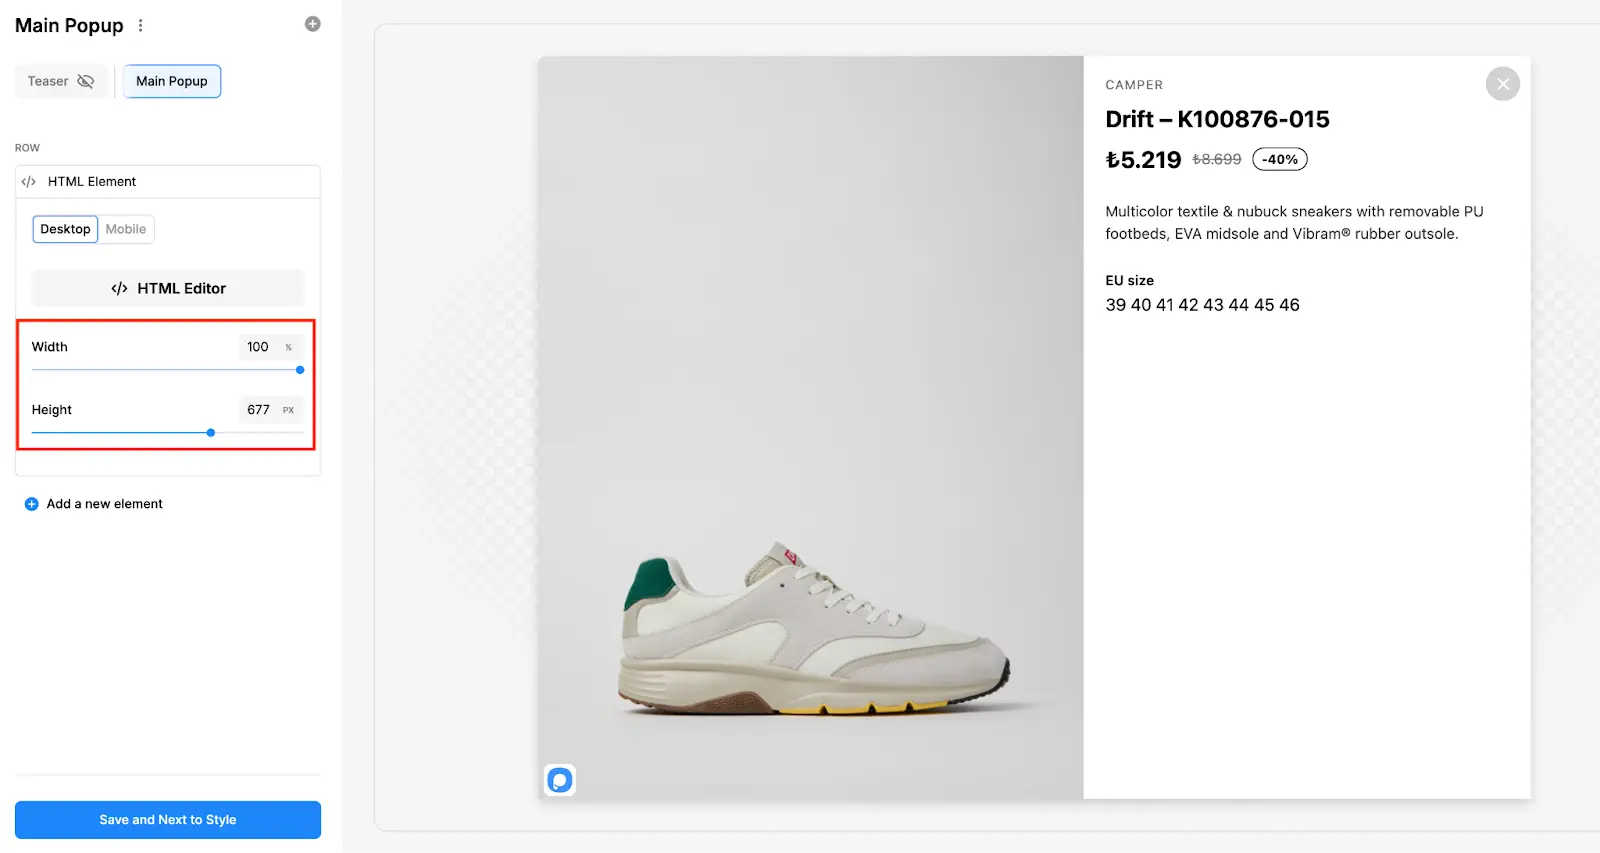
- Width (often a percentage): Use 100% when you want the embed to fill the popup column/container.
- Height (usually pixels): Increase height if content is cut off, especially for forms, calendars, and multi-step widgets.
Common sizing guidance:
- Short embeds (badges, small widgets): 200–400px height
- Forms or multi-step widgets: 500–900px height
- Scheduling widgets: often 600–800px height (varies by provider)
Preview and test
Before publishing:
- Preview the popup on desktop and mobile.
- Confirm the embed loads correctly.
- Check for cut-off content (increase height), horizontal scrolling (reduce width or ensure responsive HTML), and slow loading (remove unnecessary scripts or optimize embed).
Publish
When everything looks right, publish/update your popup as usual.
Popular Use Cases
Troubleshooting
Best Practices
- Only paste trusted code (especially anything with
<script>). - Keep HTML embeds responsive (avoid fixed pixel widths when possible).
- Use Desktop/Mobile versions when an embed needs different sizing or layout.
- Test on real devices to confirm scrolling, touch behavior, and load time.
How is this guide?